
CharlieVoodoo
New Member
- Joined
- Apr 16, 2010
- Messages
- 23
This is how I installed an internal car antenna in my EK4 connected to the rear window defogger
PARTS NEEDED:
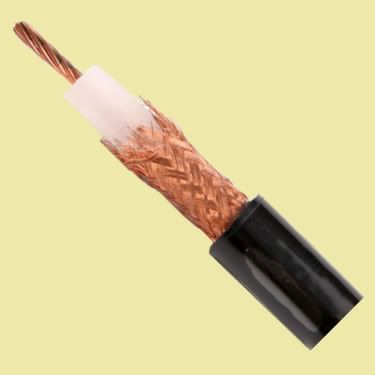
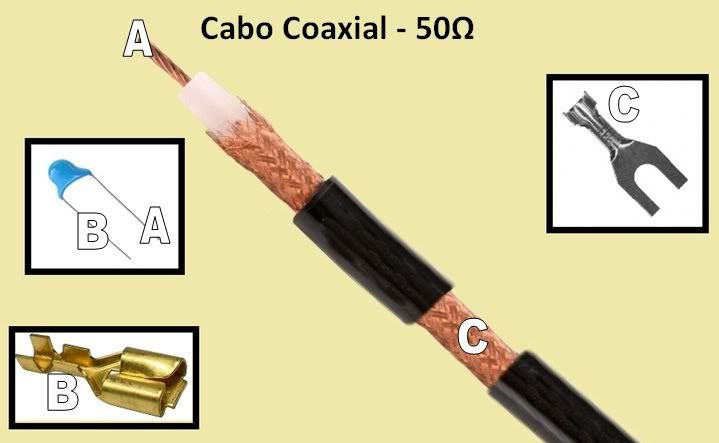
» 4meters (aprox.) 50Ω Coaxial cable
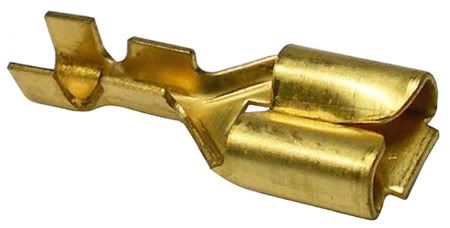
» 1 Female terminal
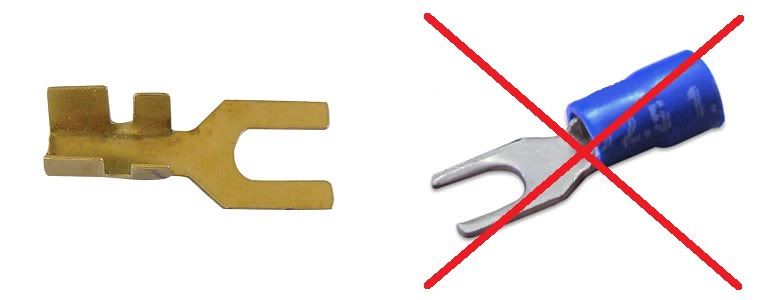
» 1 Fork terminal
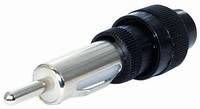
» 1 Male antenna plug
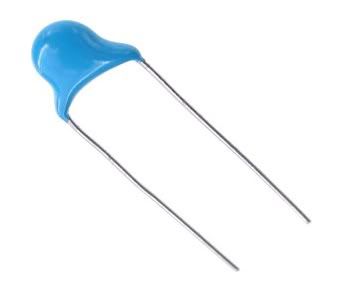
» 1 Capacitor
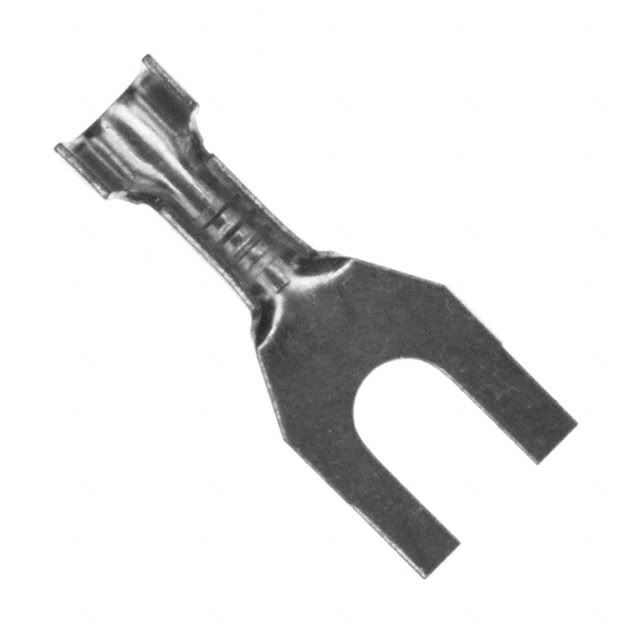
*The fork terminal that will be attached to a chassis screw (ground=negative) has to be open because it has to be spiked to the external layer of the coaxial cable later.
Example:
Defogger connection scheme:
Explanation:
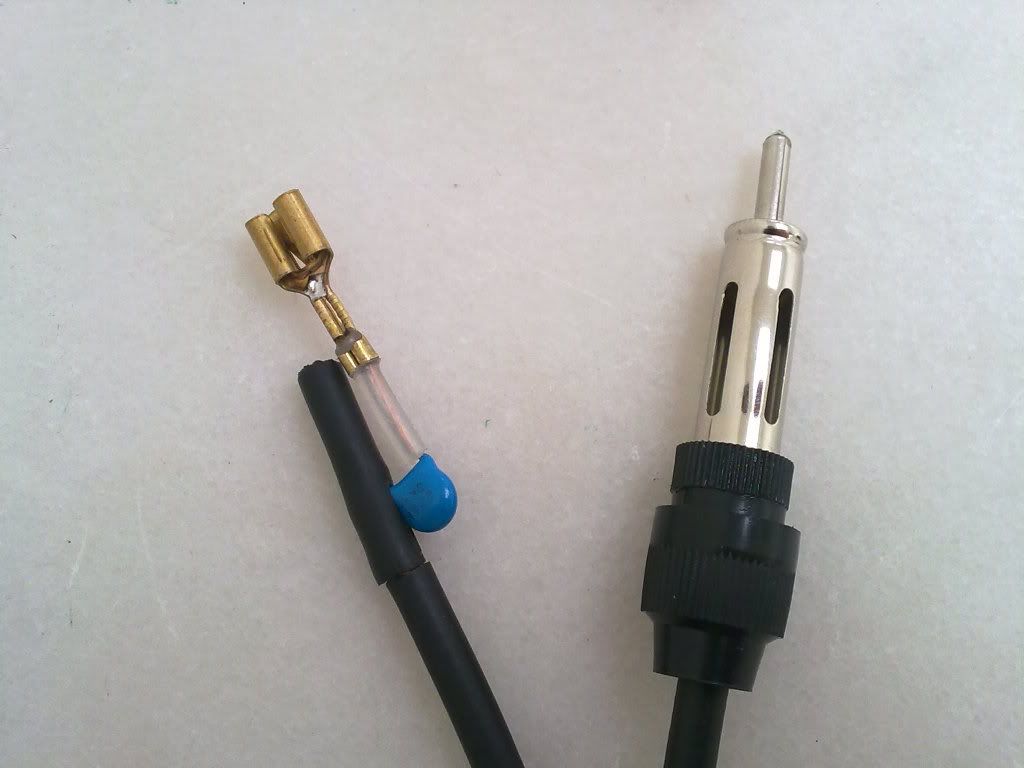
A) Weld the internal layer of the coaxial cable to one end of the capacitor.
B) Spike and weld the other end of the capacitor to the female terminal. This terminal will be connected to the positive pole in the rear window defogger. (in my car that is left hand drive, the positive pole of the rear window defogger is in the drivers side)
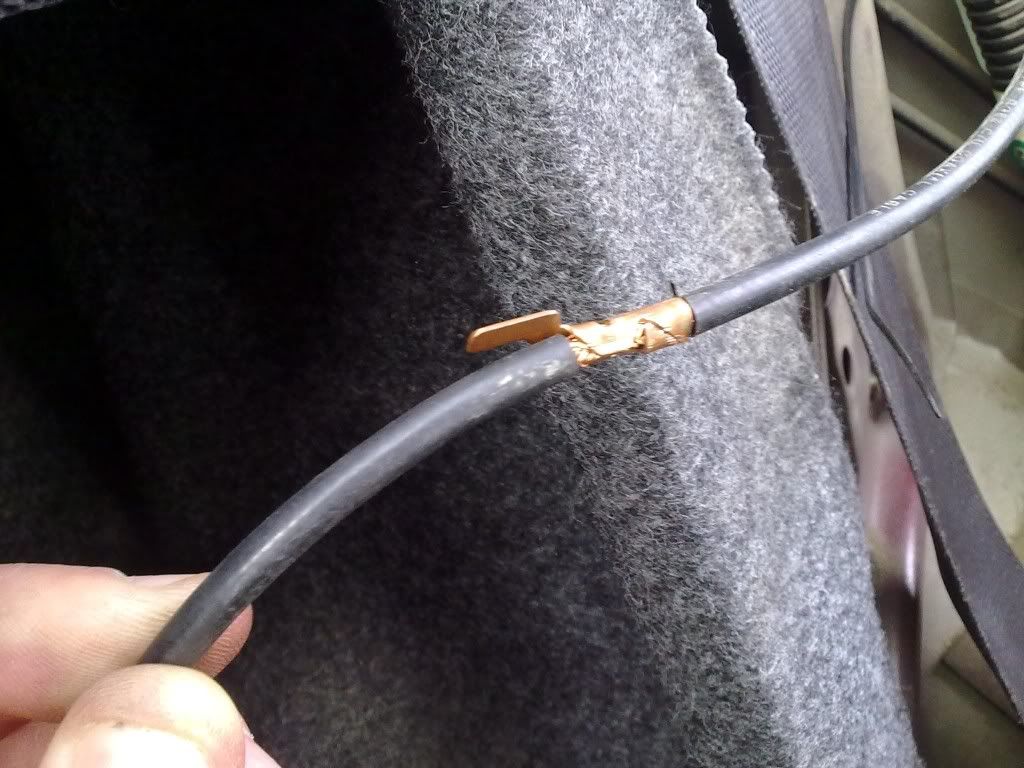
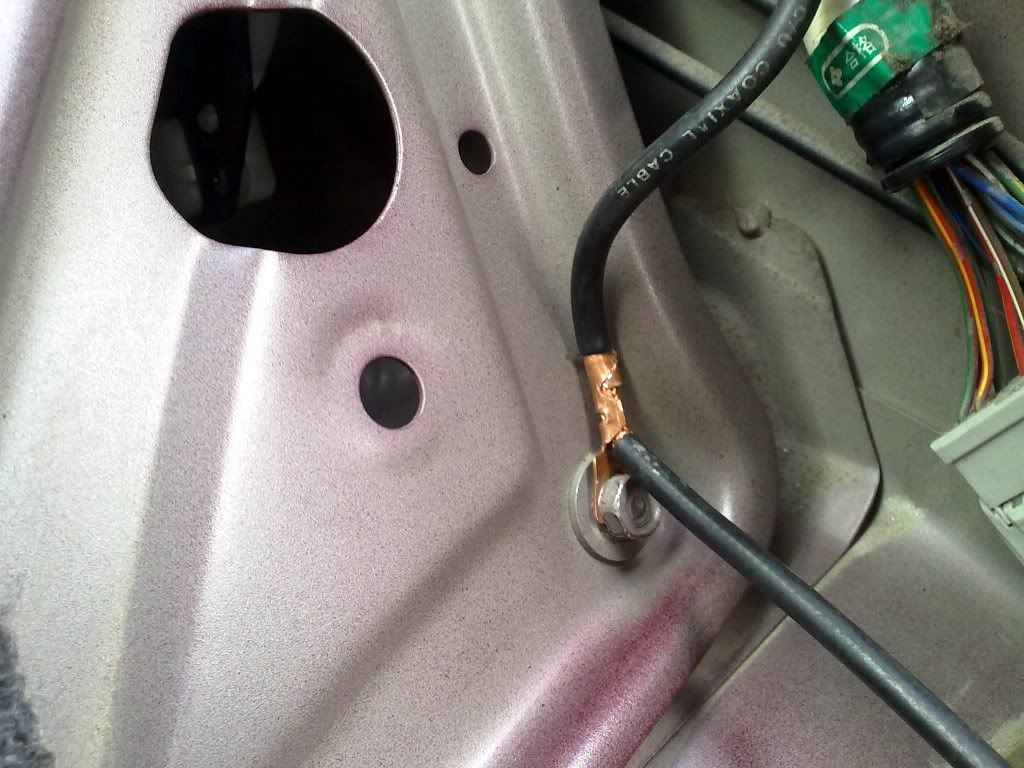
C) Strip ONLY the outside rubber of the coaxial cable so that only the outer conductive layer is visible to spike the fork terminal that will be connected to a chassis screw.
Before stripping the rubber, measure the distance needed to get to the chassis screw that you choose to hold this terminal
*In the other end of the coaxial cable, install the male antenna plug that I don't think that will be needed to explain how to do.
PROCEDURE IN MY CAR:
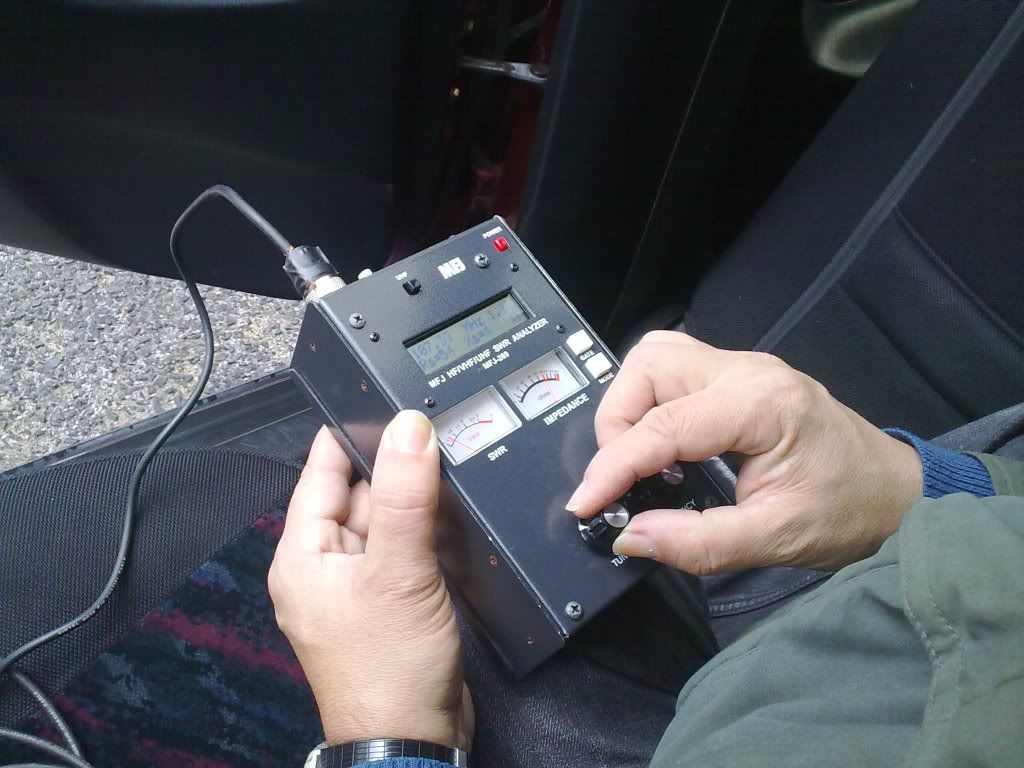
In this first step after finding out that this was the positive pole, was used an antenna frequency analyzer/tuner just to make sure that there will be a good signal capture.
(Don't really need to have or use this device, is guaranteed that this kind of antenna is aproved and works fine)

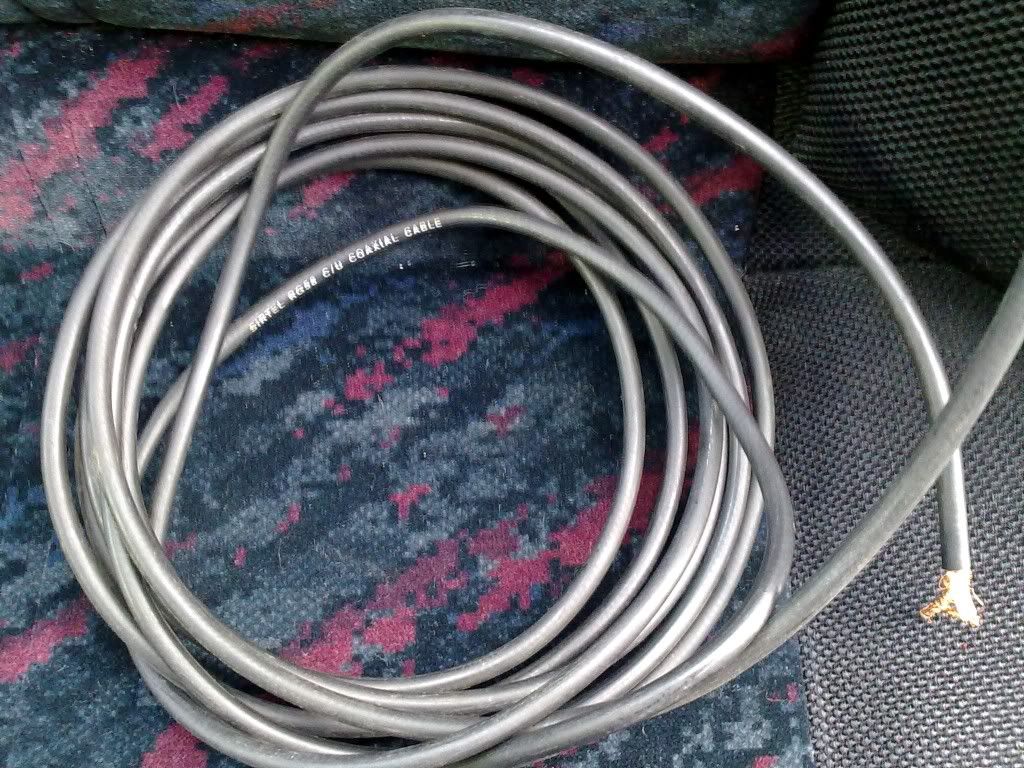
This is the coaxial cable that was used.
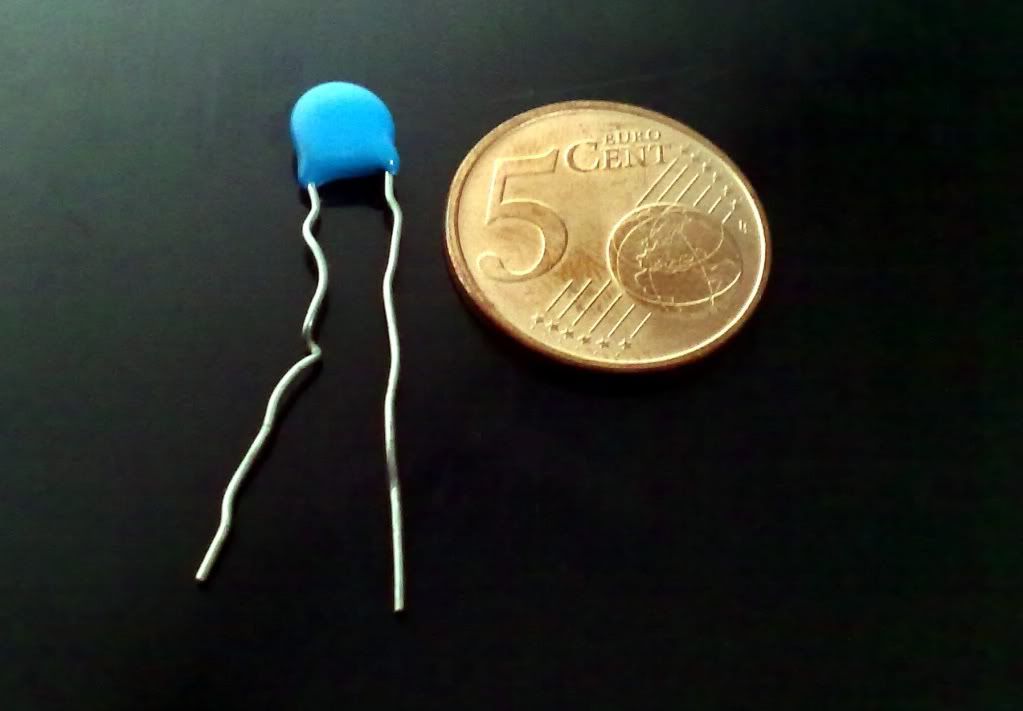
The capacitor was used to eliminate the return of electrical charge to the radio when the defogger is turned on. (821k/3kV Capacitor)
This is the coaxial cable ready to install in the car with the antenna plug in one end and the capacitor and female terminal in the other end to connect to the rear window defogger.
This step is when the outside rubber of the cable was stripped to spike the fork terminal and hold it in a chassis screw behind the rear seats.
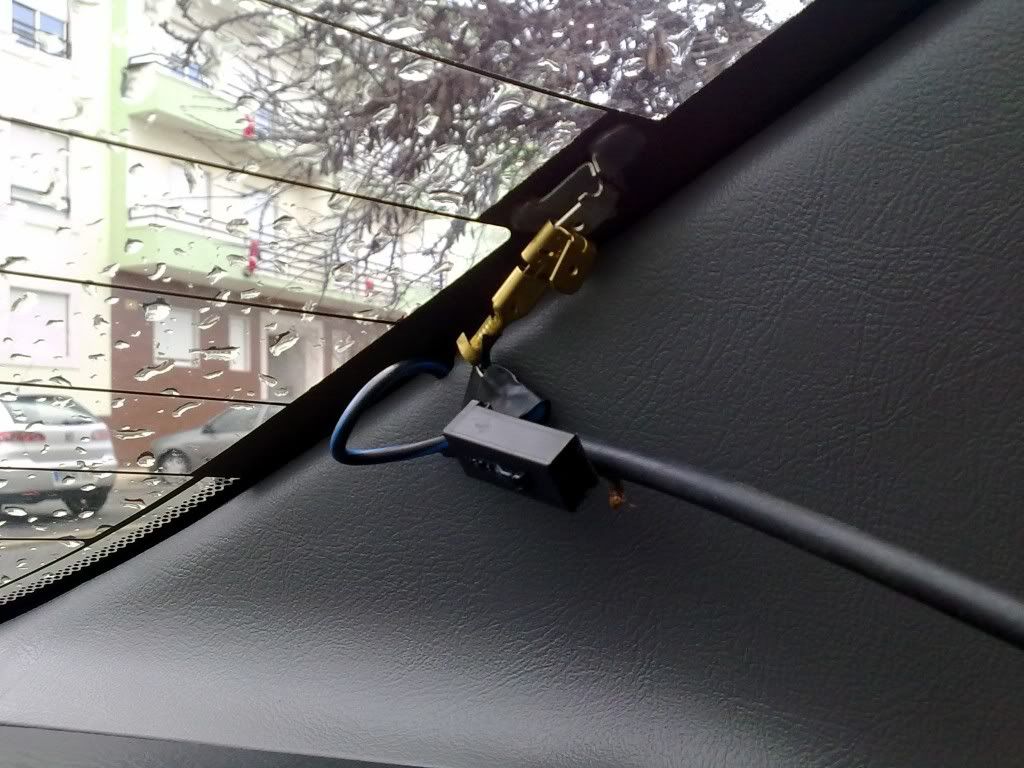
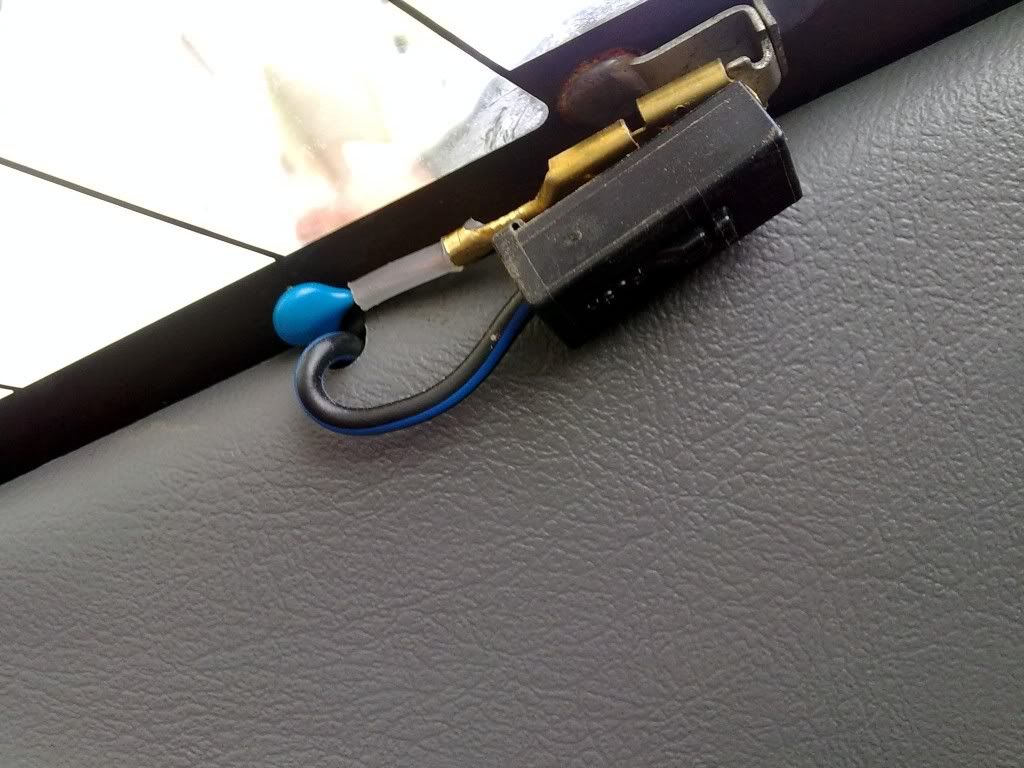
This is the final result. Very discrete and fully functional!
I'm sorry if there are some writing errors... I'm portuguese.
PARTS NEEDED:
» 4meters (aprox.) 50Ω Coaxial cable
» 1 Female terminal
» 1 Fork terminal
» 1 Male antenna plug
» 1 Capacitor
*The fork terminal that will be attached to a chassis screw (ground=negative) has to be open because it has to be spiked to the external layer of the coaxial cable later.
Example:
Defogger connection scheme:
Explanation:
A) Weld the internal layer of the coaxial cable to one end of the capacitor.
B) Spike and weld the other end of the capacitor to the female terminal. This terminal will be connected to the positive pole in the rear window defogger. (in my car that is left hand drive, the positive pole of the rear window defogger is in the drivers side)
C) Strip ONLY the outside rubber of the coaxial cable so that only the outer conductive layer is visible to spike the fork terminal that will be connected to a chassis screw.
Before stripping the rubber, measure the distance needed to get to the chassis screw that you choose to hold this terminal
*In the other end of the coaxial cable, install the male antenna plug that I don't think that will be needed to explain how to do.
PROCEDURE IN MY CAR:
In this first step after finding out that this was the positive pole, was used an antenna frequency analyzer/tuner just to make sure that there will be a good signal capture.
(Don't really need to have or use this device, is guaranteed that this kind of antenna is aproved and works fine)
This is the coaxial cable that was used.
The capacitor was used to eliminate the return of electrical charge to the radio when the defogger is turned on. (821k/3kV Capacitor)
This is the coaxial cable ready to install in the car with the antenna plug in one end and the capacitor and female terminal in the other end to connect to the rear window defogger.
This step is when the outside rubber of the cable was stripped to spike the fork terminal and hold it in a chassis screw behind the rear seats.
This is the final result. Very discrete and fully functional!
I'm sorry if there are some writing errors... I'm portuguese.

).gif ":)) :))")

 I know this is an old thread, but did you measure the impedance at 70-100MHz, and 500 1500 KHz? I think that you did measure it with the frequency analyzer, but I can`t see the values in the picture.