
rs250nut
Boosting since 1998
- Joined
- Feb 14, 2011
- Messages
- 598
I hunted about for a guide on how to convert the ek9 quick rack to be a proper manual rack but found nothing decent so decided to crack on with it today and take a number of pics. I dont have pics of me removing the rack from the car but in all honesty its not all that hard. From start to finish removing it from the car and doing the mods I would allow at least 3-4 hours and just to be safe I would have the front end alignment checked afterwards.
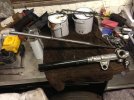
First off remove the tie rods compete with track rods ends, remove all pipes and hoses, watch out for oil here it goes every where, then mount the steering rack in a suitable vise
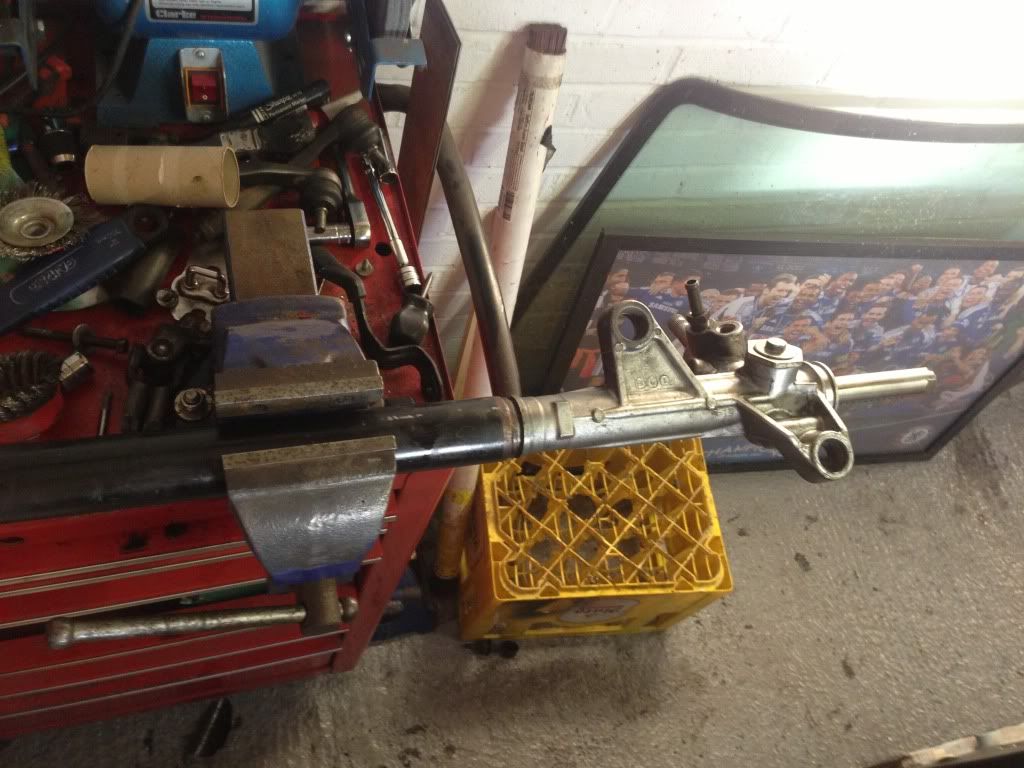
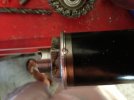
Next on the passenger end of the steering rack is a big aluminium nut, from factory this has an indent to stop the nut loosning.
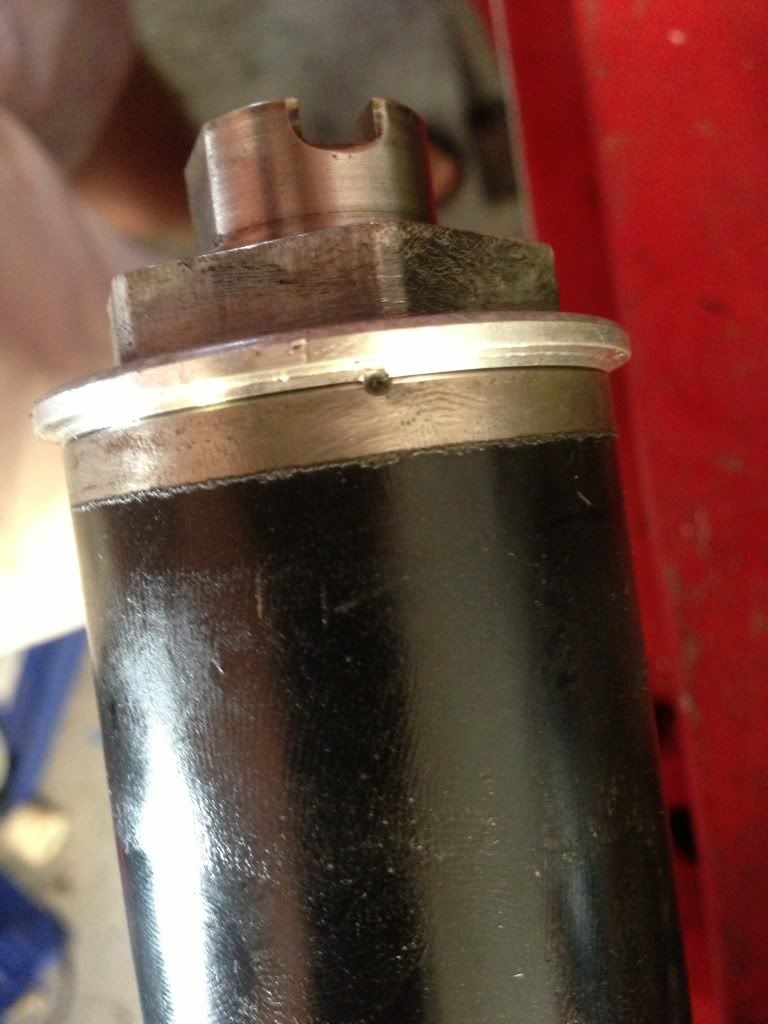
The next step is very important as if you dont do it the fine threads on the aluminium nut will strip and you wont be able to re fit it. Take a 3mm drill and using the indent as your guide drill it to around 2mm deep

Now you should be able to loosen the nut, its a 35mm so i doubt many people will have one in their tool box as its an odd size so a decent quality adjustable will do the job.
Go to the other end of the steering rack now and remove the pinion, it has two 6mm allen bolts holding it in place, it may be a little stiff to come out if so use a lever bar on both sides to prise it free, next there is a slide on the under side again that has a large nut to loosen, its a 42mm so a socket or spanner will do here, once the nut is loose take it all the way out, then with a 14mm spanner wind the whole assembly out, remember to keep it in order as you take it out.
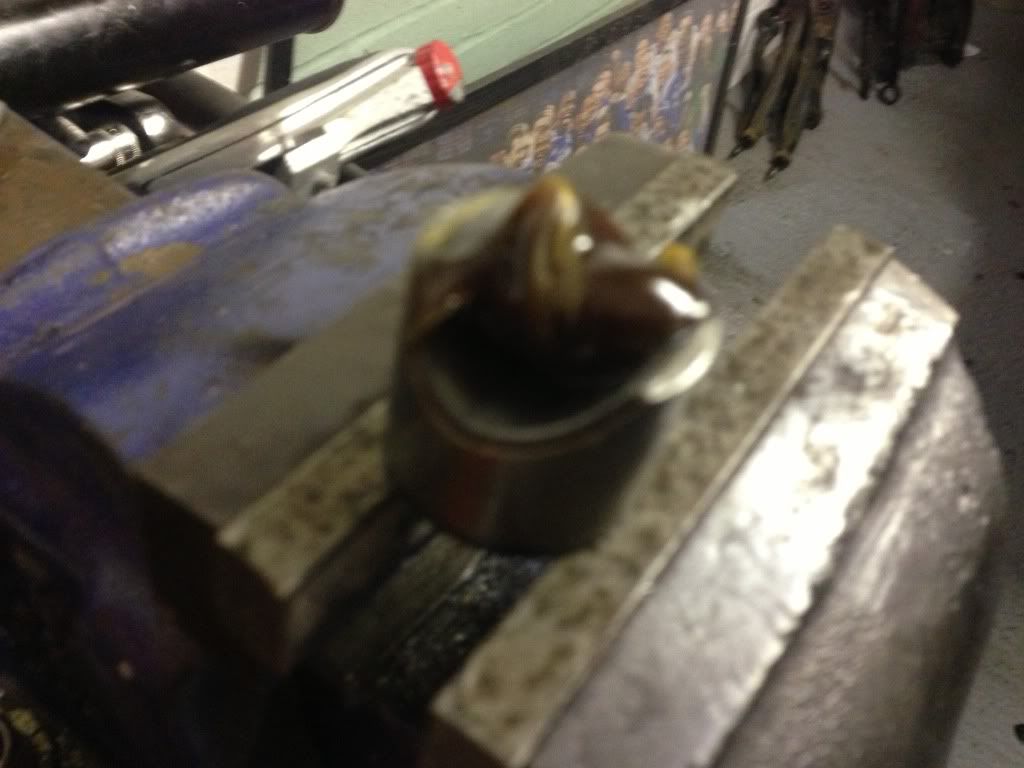
The rack should now be down to the bear bones, this is where you need to get creative, wether you use a press, some sort of bearing puller or good old fashioned brut force. If you hammer it out use a soft punch brass etc, you will also need to take up the play when doing this or otherwise it will feel like your hitting a spring I did this by pulling down on the end of the rack as much as I could and then clamping down with some vise grips with a cloth wrapped around the rack as not to damage it.
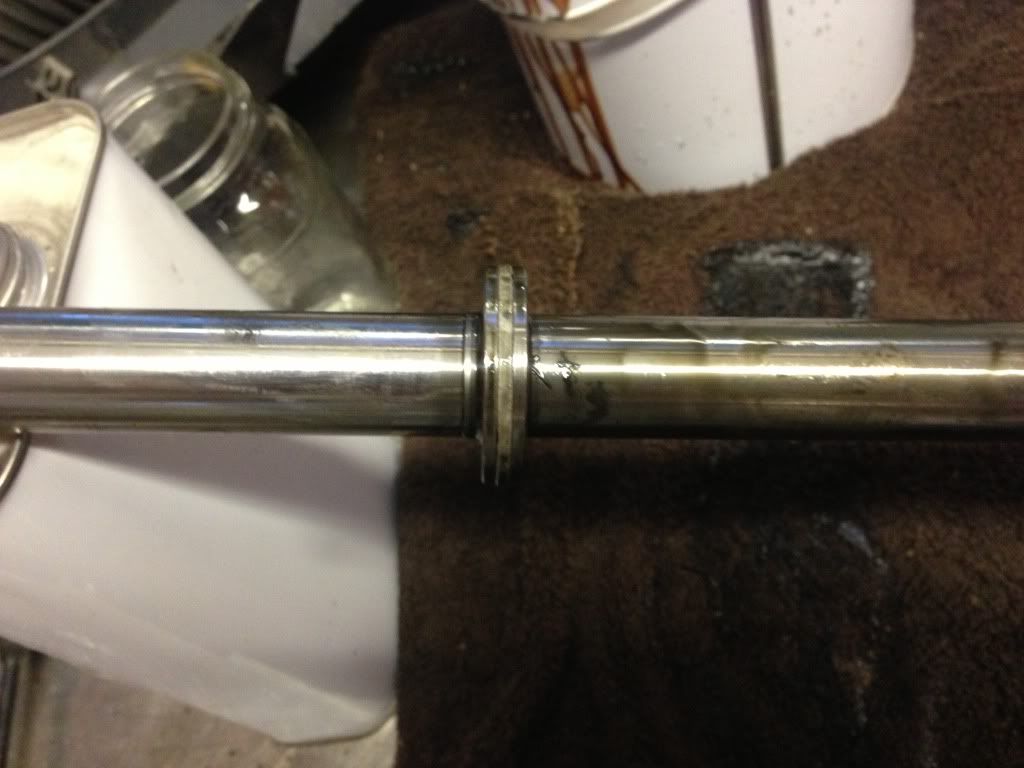
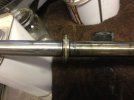
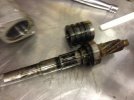
It should now look something like this.

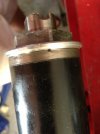
In the middle of the rack you can see the piston, this is the part that needs to be removed.
Being very carefull not to damage the rack I put two saw cuts down either side of the piston just shy of the rack.
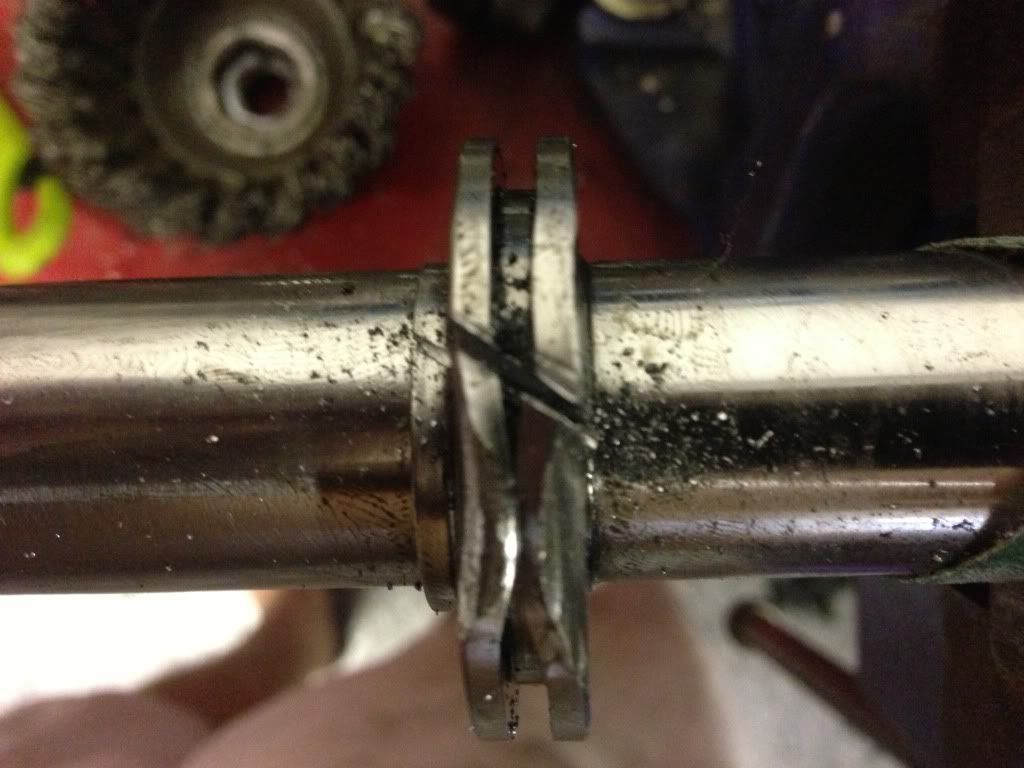
Then with a hammer and chisel, hammer down the saw cuts, it should crack in half

The hardest part of the job is now done, you can now refit the rack to the housing, dont go mad with the grease but lube up all of the areas that come in contact with the bushes.Also when refitting the large aluminium nut dab a small amount of loctite on the threads just to make sure it can never back out.
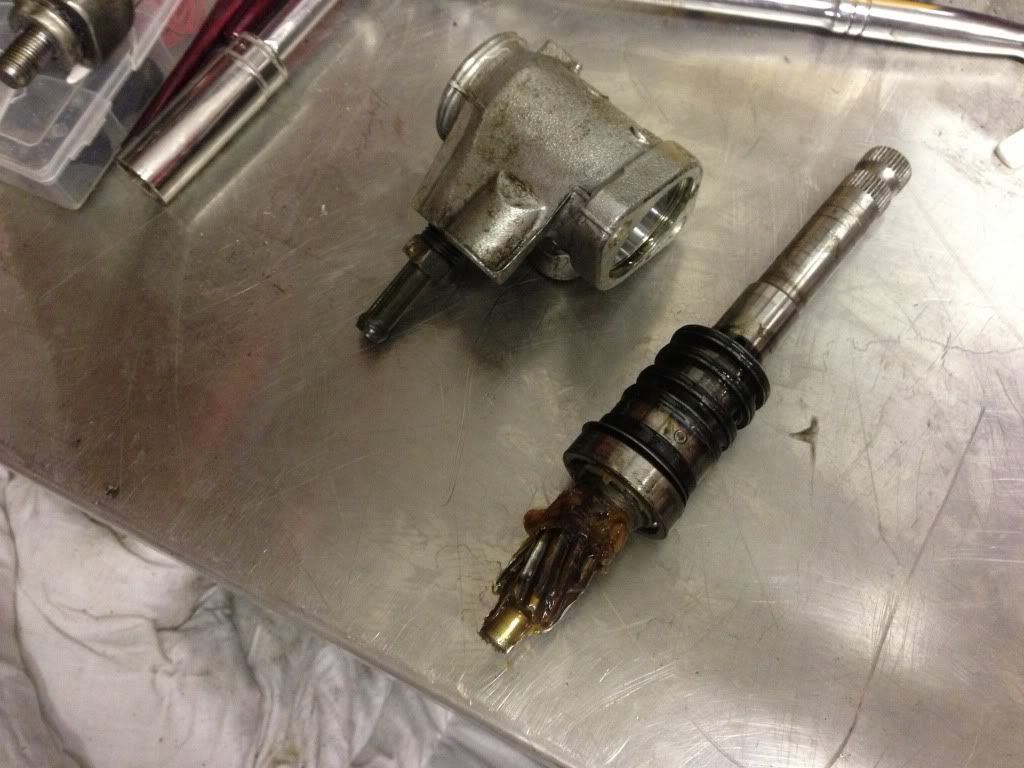
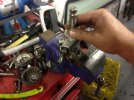
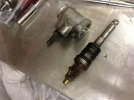
Next up is to remove some parts from the pinion.

With the pinion setup in the vise as shown, using a rubber mallet knock the centre of the complete pinion out, should now look like this.
You need to remove a circlip here.
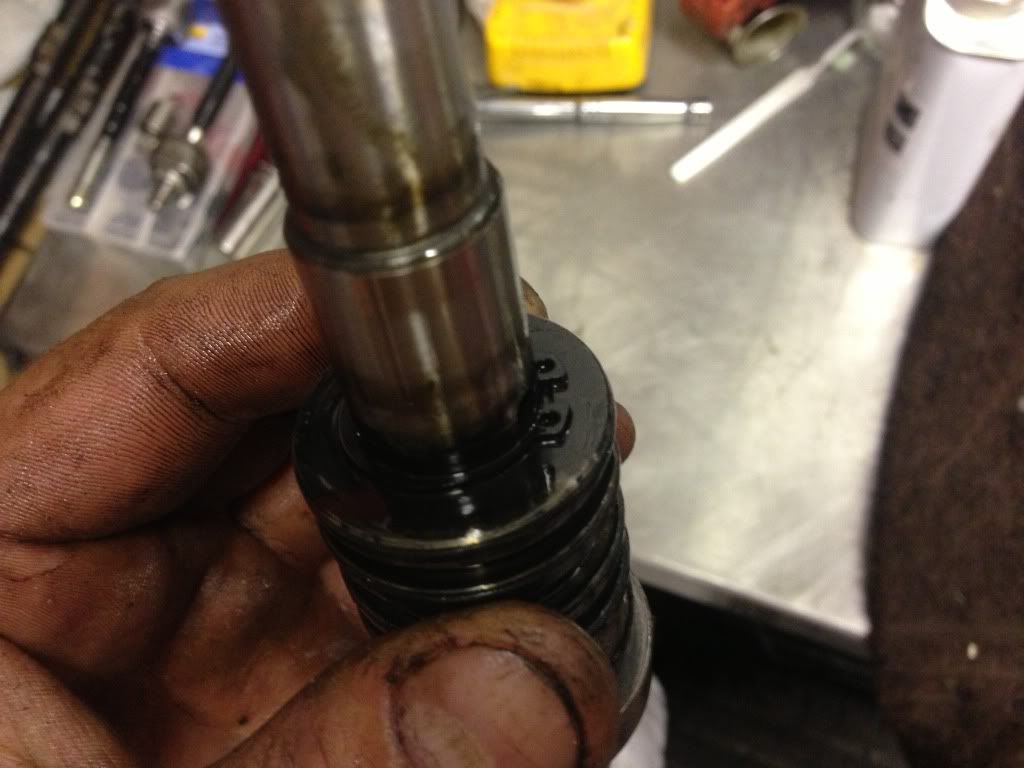
Now it should look like this.

With the part removed knock the pinion back into its housing and using plenty of new grease refit it to the steering rack. The sprung loaded slide that applys tension to the rack that you removed earlier can now be refitted with a nice load of grease.
Dont over tighten this, you should be able to get a feel for it when its tight enough as there should be no play on the end of the rack when you give it a stern wiggle.
Thats pretty much it, a proper conversion that wont be too much of a bar steward to steer.
First off remove the tie rods compete with track rods ends, remove all pipes and hoses, watch out for oil here it goes every where, then mount the steering rack in a suitable vise

Next on the passenger end of the steering rack is a big aluminium nut, from factory this has an indent to stop the nut loosning.

The next step is very important as if you dont do it the fine threads on the aluminium nut will strip and you wont be able to re fit it. Take a 3mm drill and using the indent as your guide drill it to around 2mm deep

Now you should be able to loosen the nut, its a 35mm so i doubt many people will have one in their tool box as its an odd size so a decent quality adjustable will do the job.
Go to the other end of the steering rack now and remove the pinion, it has two 6mm allen bolts holding it in place, it may be a little stiff to come out if so use a lever bar on both sides to prise it free, next there is a slide on the under side again that has a large nut to loosen, its a 42mm so a socket or spanner will do here, once the nut is loose take it all the way out, then with a 14mm spanner wind the whole assembly out, remember to keep it in order as you take it out.
The rack should now be down to the bear bones, this is where you need to get creative, wether you use a press, some sort of bearing puller or good old fashioned brut force. If you hammer it out use a soft punch brass etc, you will also need to take up the play when doing this or otherwise it will feel like your hitting a spring I did this by pulling down on the end of the rack as much as I could and then clamping down with some vise grips with a cloth wrapped around the rack as not to damage it.
It should now look something like this.

In the middle of the rack you can see the piston, this is the part that needs to be removed.

Being very carefull not to damage the rack I put two saw cuts down either side of the piston just shy of the rack.

Then with a hammer and chisel, hammer down the saw cuts, it should crack in half

The hardest part of the job is now done, you can now refit the rack to the housing, dont go mad with the grease but lube up all of the areas that come in contact with the bushes.Also when refitting the large aluminium nut dab a small amount of loctite on the threads just to make sure it can never back out.
Next up is to remove some parts from the pinion.

With the pinion setup in the vise as shown, using a rubber mallet knock the centre of the complete pinion out, should now look like this.

You need to remove a circlip here.

Now it should look like this.

With the part removed knock the pinion back into its housing and using plenty of new grease refit it to the steering rack. The sprung loaded slide that applys tension to the rack that you removed earlier can now be refitted with a nice load of grease.

Dont over tighten this, you should be able to get a feel for it when its tight enough as there should be no play on the end of the rack when you give it a stern wiggle.
Thats pretty much it, a proper conversion that wont be too much of a bar steward to steer.
Attachments
-
 $null_zps7c392903.jpg119.3 KB · Views: 1,148
 -
 $null_zpsc60d16f4.jpg89.2 KB · Views: 935
 -
 $null_zps568869d2.jpg75 KB · Views: 912
 -
 $null_zps36e16610.jpg145.5 KB · Views: 840
 -
 $null_zps323f5cfe.jpg67.6 KB · Views: 862
 -
 $null_zps47e9472b.jpg83.2 KB · Views: 883
 -
 $null_zpsc5a3a5b3.jpg97.4 KB · Views: 851
 -
 $null_zps51c774de.jpg106.9 KB · Views: 859
 -
 $null_zps1d581f92.jpg104.3 KB · Views: 832
 -
 $null_zpse17e2546.jpg73.8 KB · Views: 768
 -
 $null_zpsa382f380.jpg78.4 KB · Views: 1,066
 -
 $null_zpse01ba619.jpg68.1 KB · Views: 958
Last edited by a moderator:

