Kanjabrer_kyle
Member
- Joined
- Oct 5, 2023
- Messages
- 64
- Car(s)
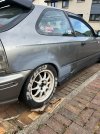
- 1998 Honda civic hatchback, 06 Honda accord
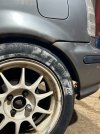
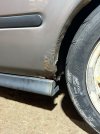
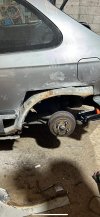
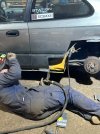
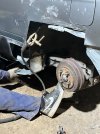
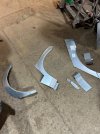
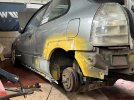
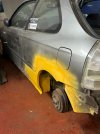
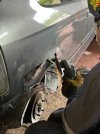
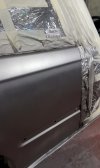
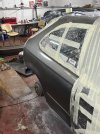
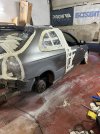
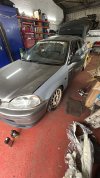
Updatessss!!! on the new rear bumper for the civic, after collecting some resources, more sandpaper, primer, colour code matched paint and clear coat I went to work today, after my last post of prepping, 2/3 hours worth of sanding it, I laid the primer, few coats, wet sanded at 800 grit to smooth it out again and then laid the paint, 3 coats with time inbetween to let it stick and settle, left for an hour and finally 4 coats of clear and here is the result as finished, leaving to dry overnight and then will hit it with some polishing and see how it turns up ") pretty stoked for this as paint is a first time for me properly.
pretty stoked for this as paint is a first time for me properly.
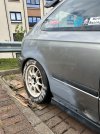
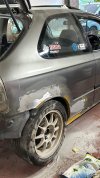
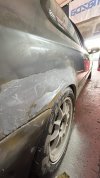
colour match looks bang on too, so over the next couple months I’ll be painting the rest of the bits on the car in similar fashion, rear wing, wing mirrors, front lip (eventually a front bumper), skirts hoping by around June the car will be all one colour again and look put together again
Total costs around £60-£70 for this so not breaking the bank on it as well which is always a bonus

pretty stoked for this as paint is a first time for me properly.colour match looks bang on too, so over the next couple months I’ll be painting the rest of the bits on the car in similar fashion, rear wing, wing mirrors, front lip (eventually a front bumper), skirts hoping by around June the car will be all one colour again and look put together again
Total costs around £60-£70 for this so not breaking the bank on it as well which is always a bonus