Cipriani's EJ9 Build


Cipriani

No smoke no poke!
Joined
Nov 14, 2012
Messages
128
Figured its about time I started a build thread :nice:

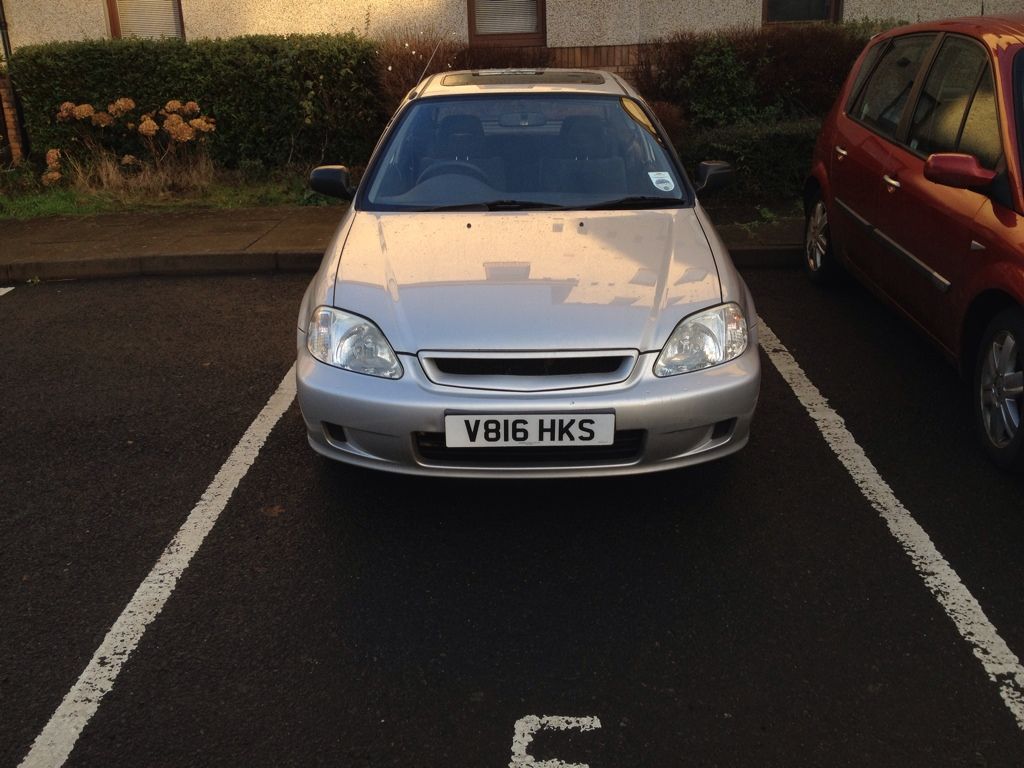
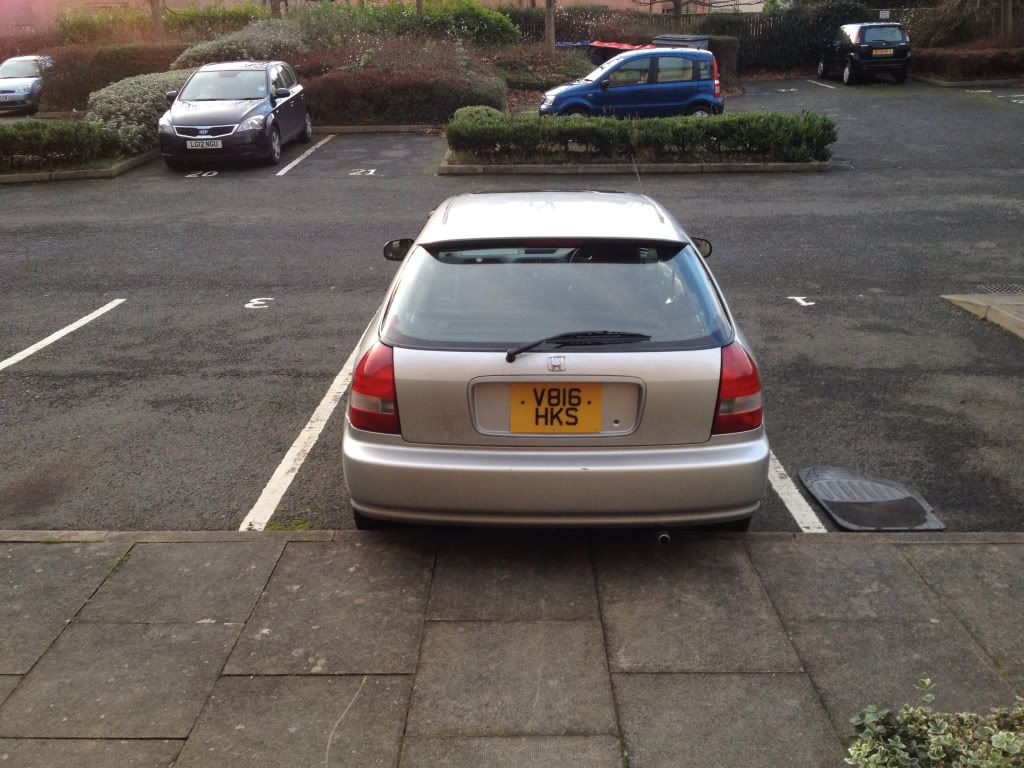
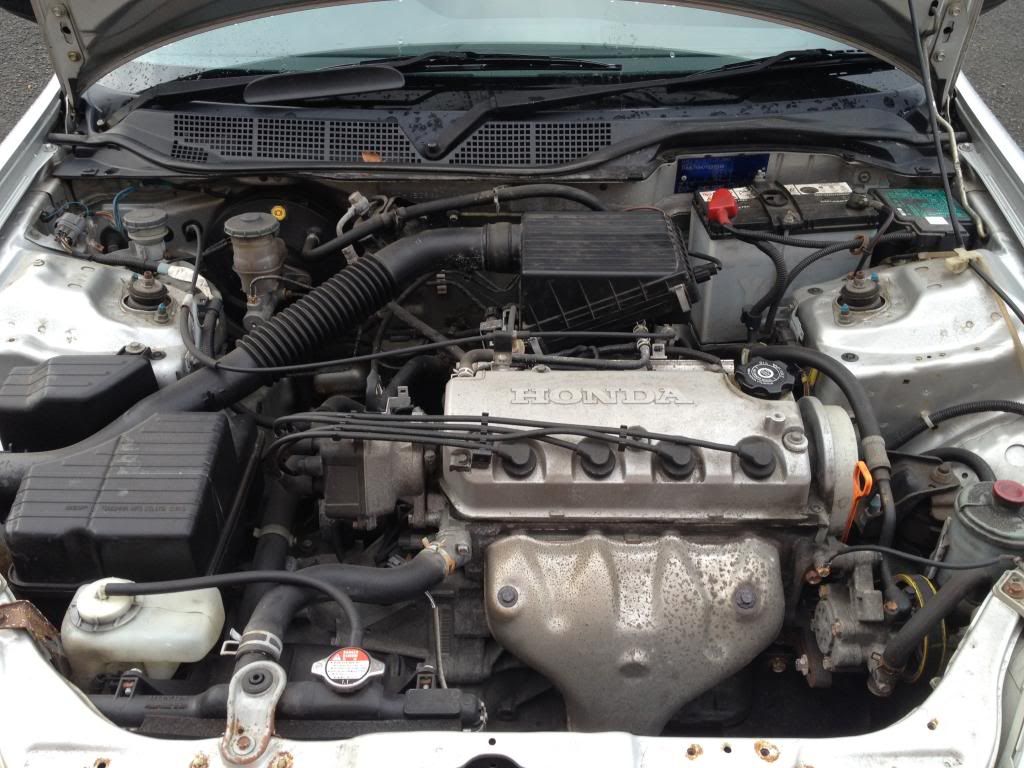
So here she is when I got her back in October from a VERY elderly gent like so bad negotiating a price was a shouting match haha but in the end I settled at £900. I had 92,000 HPI clear, 18 dealer stamps in the book same owner from new I also got the chance to put it on the ramps at a mates garage before I committed to buying and it's incredibly clean and solid underneath for a 12 year old Honda!

IMG_2037.jpg


IMG_2036.jpg


IMG_2035.jpg


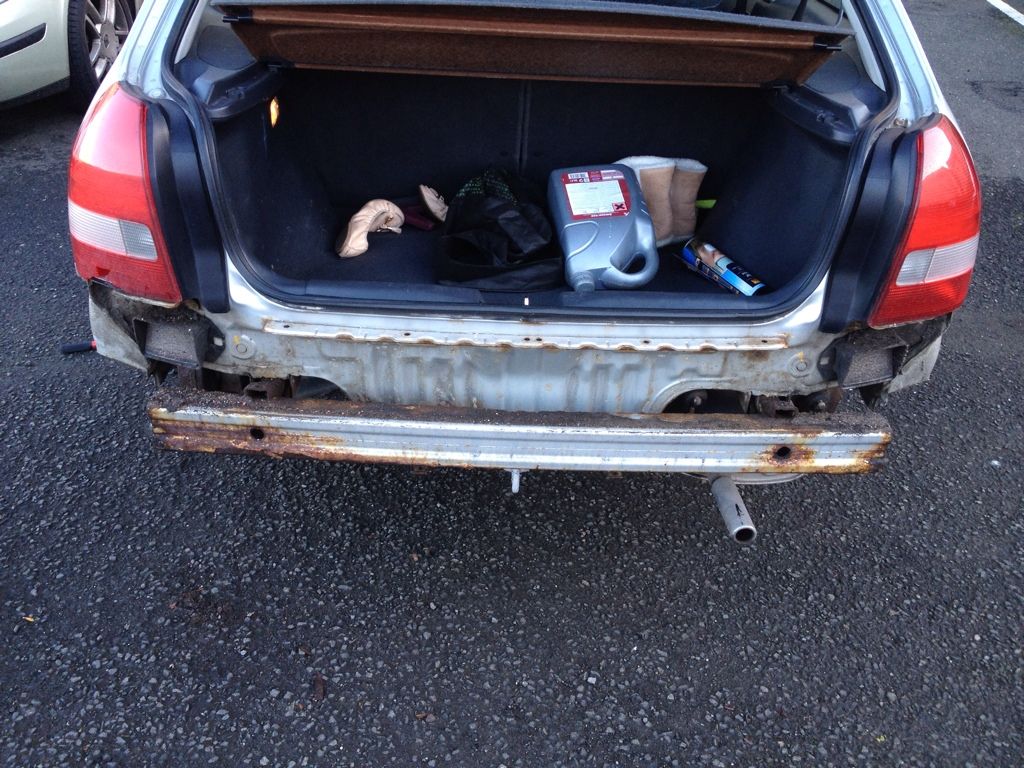
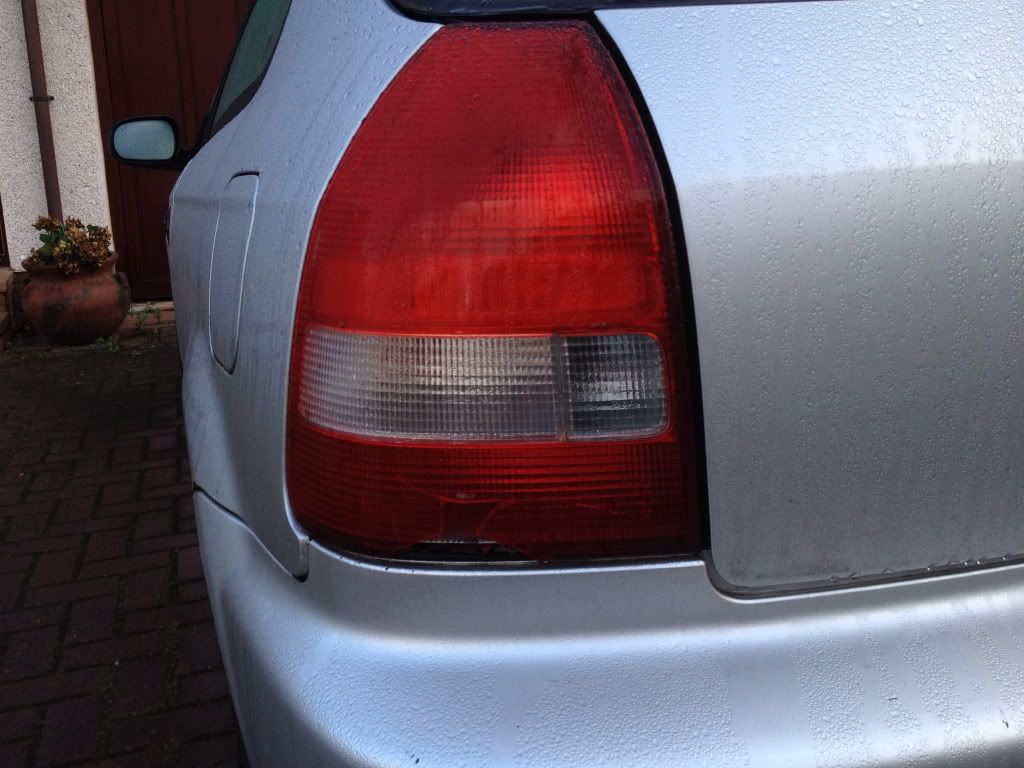
The day after I bought it some old tit reversed into my tail light in Asda carpark :nono: luckily no bumper or panel damage
68dce97b774ebf17678e8716001aa25e.jpg


Since I bought it I have done the following:

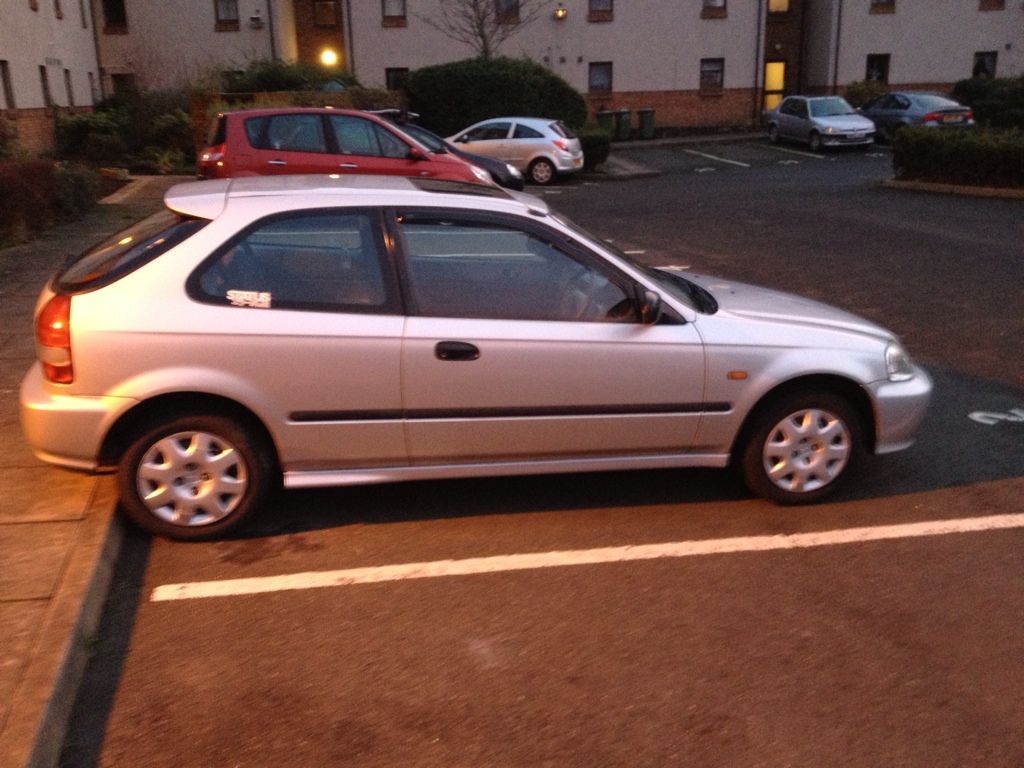
Ek9 grill (colour coded)
De badged rear (except Honda badge)
LED number plate lights
JDM rear plate
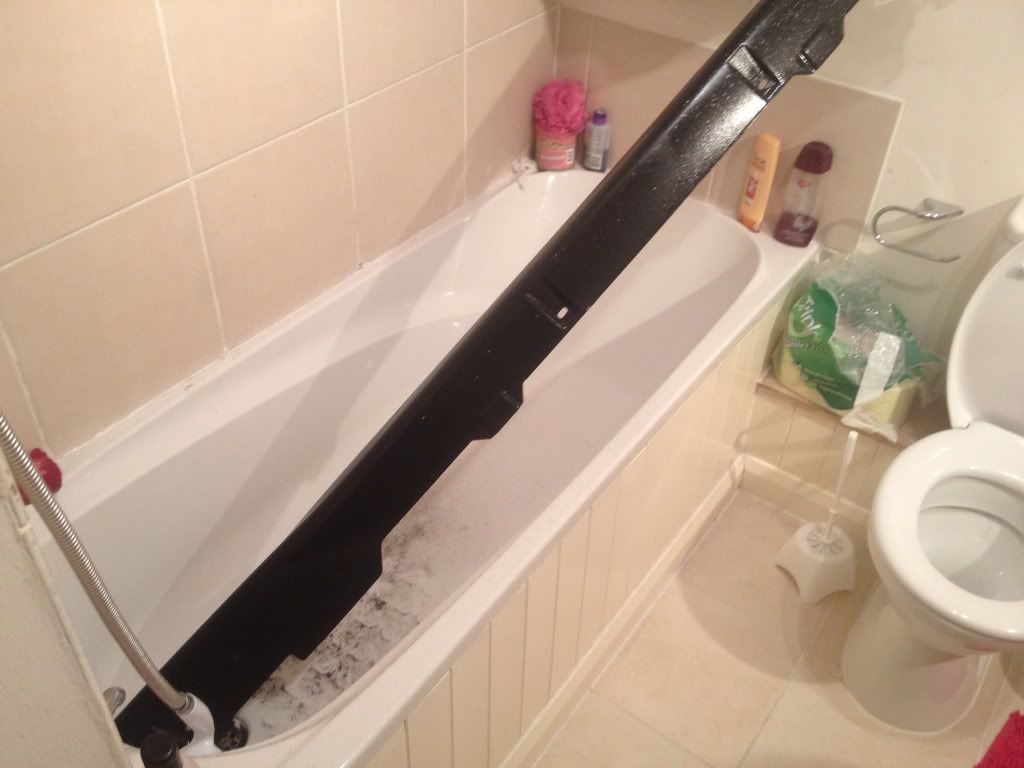
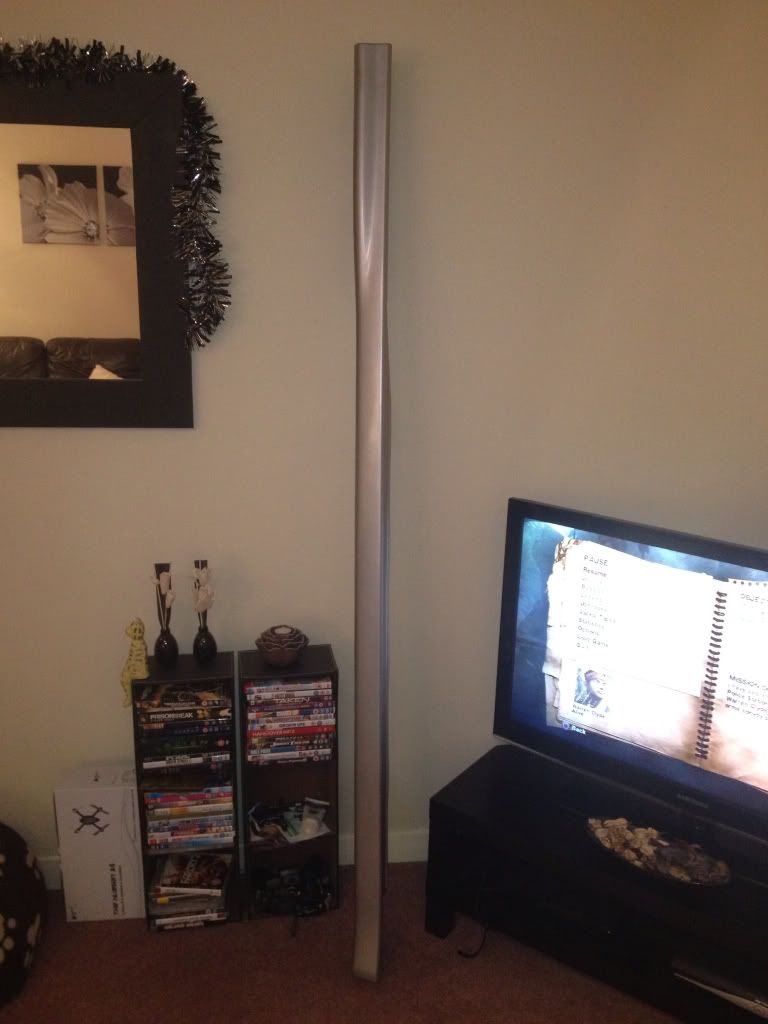
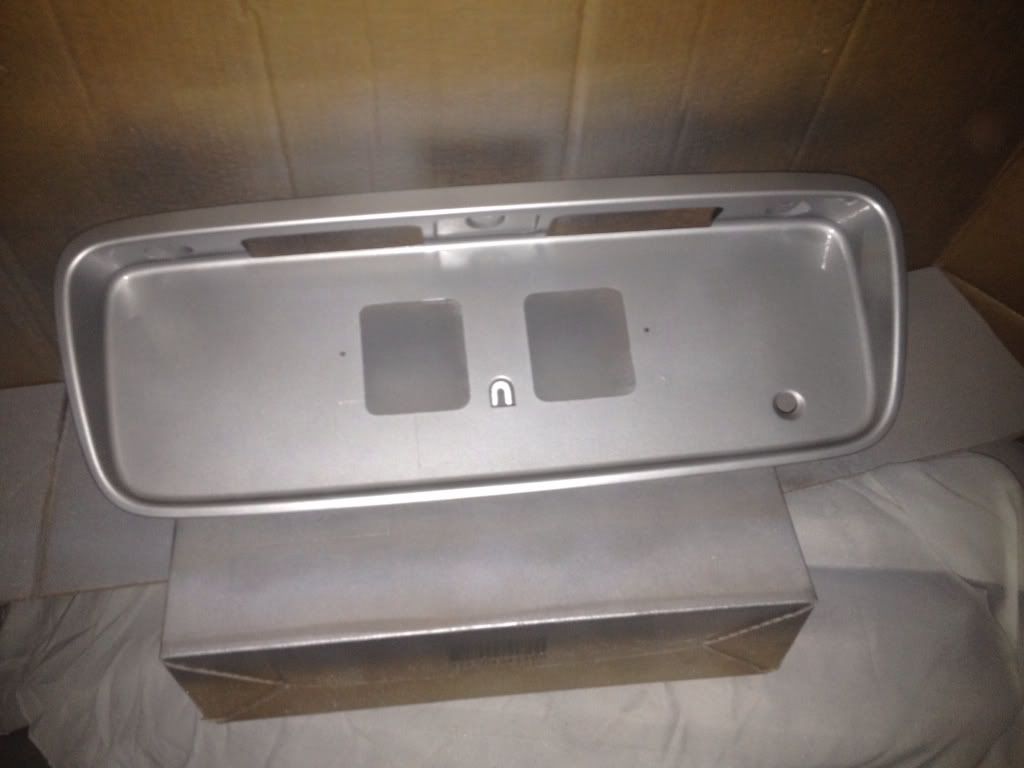
JDM EK9 rear plate recess (yet to be fitted and painted)
Ultra blue headlights
LED sidelights
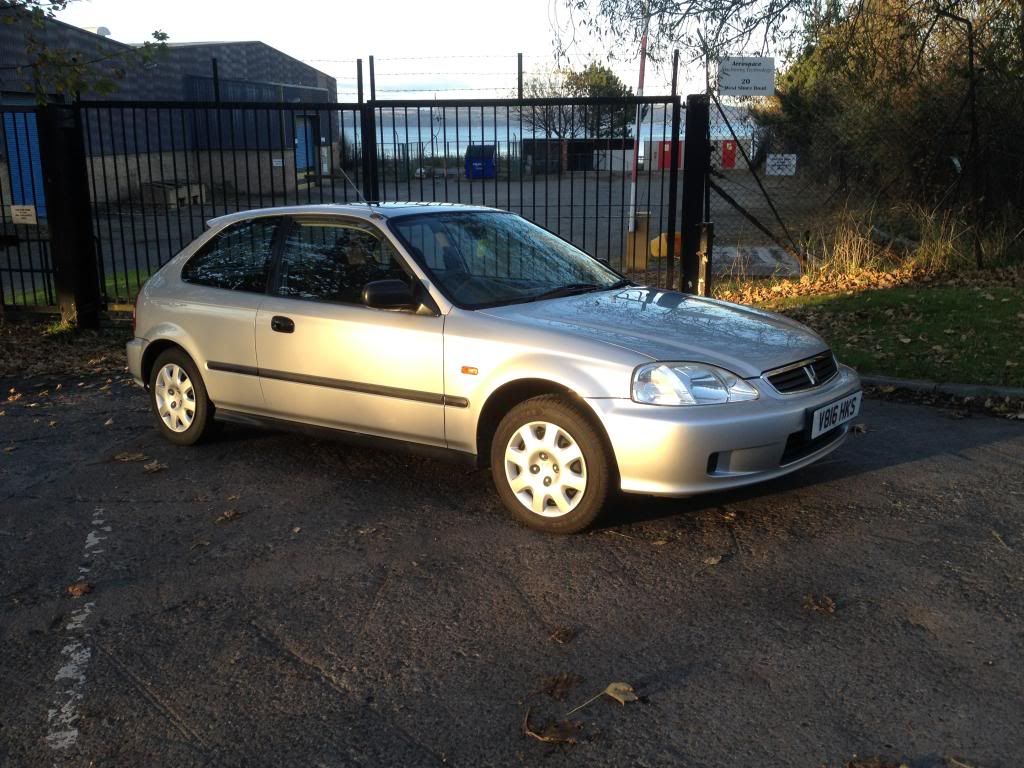
2 full services (overkill but I wanted to flush the oil system)
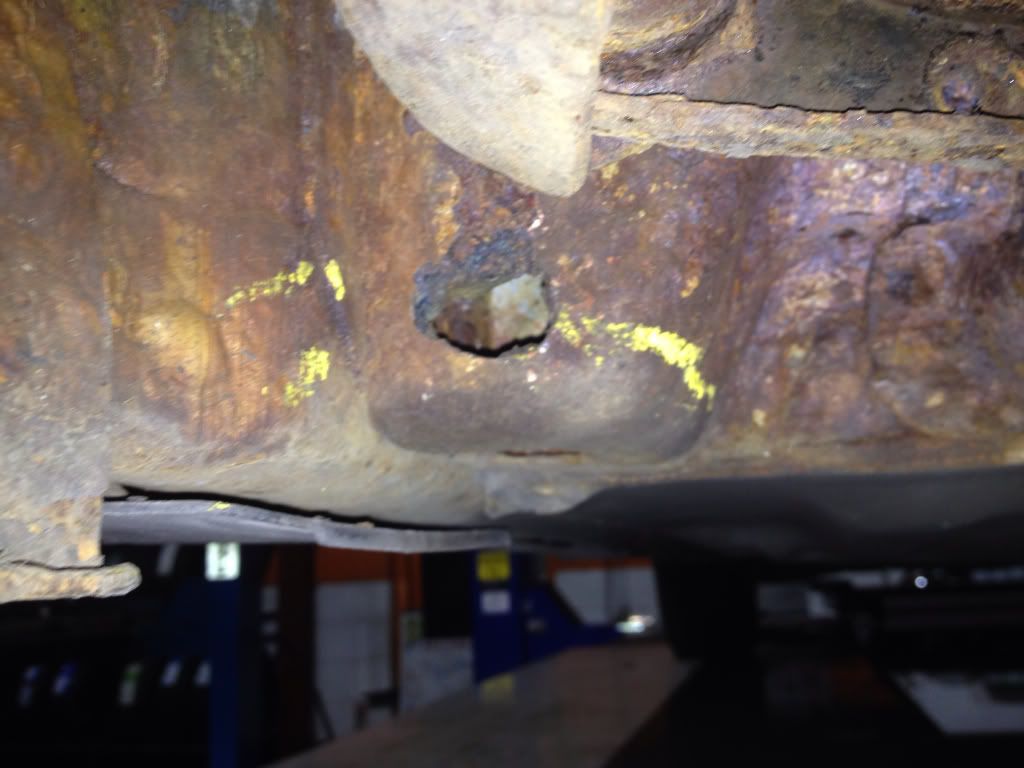
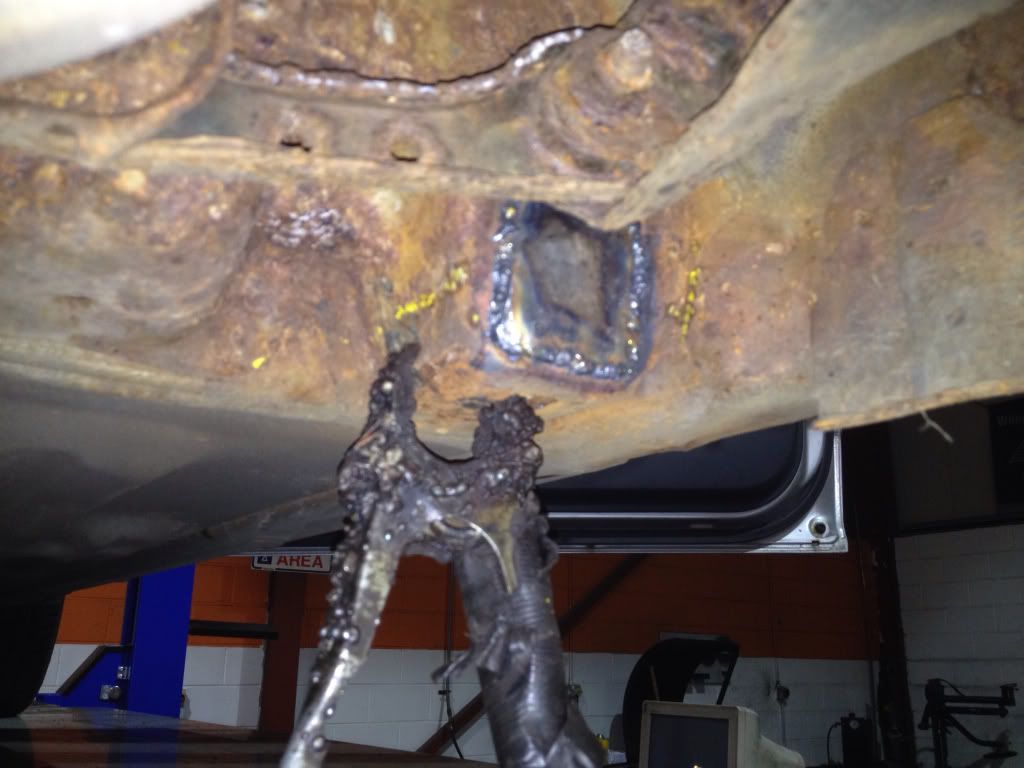
Underseal carried out as far as the fuel tank (more to follow)
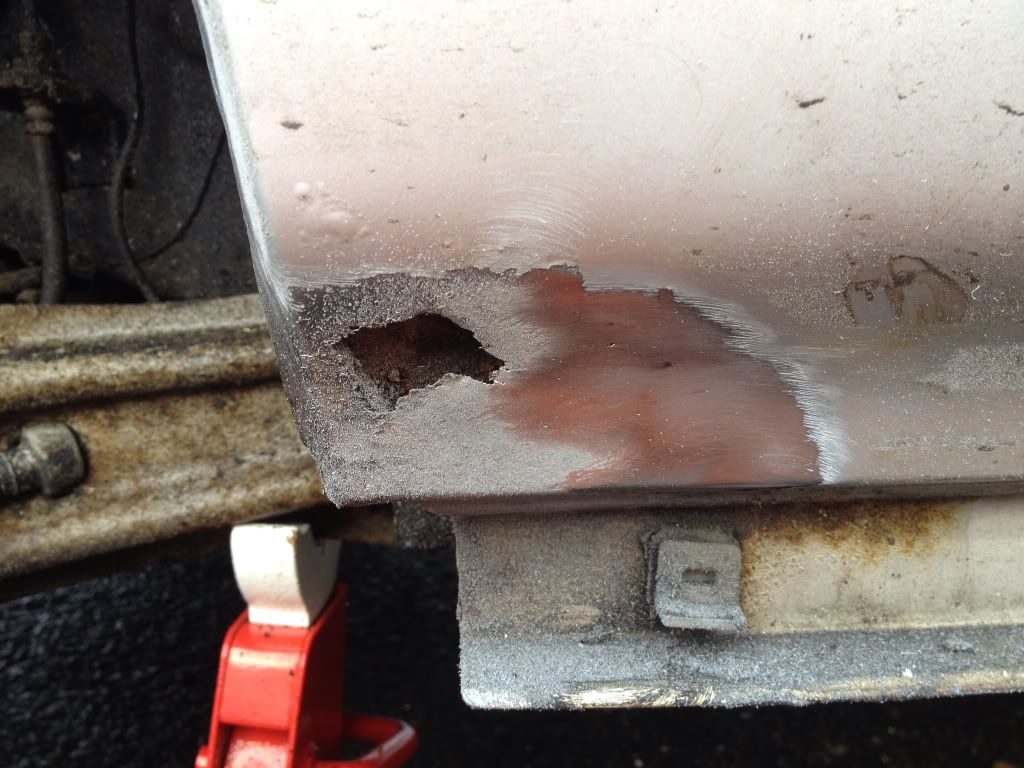
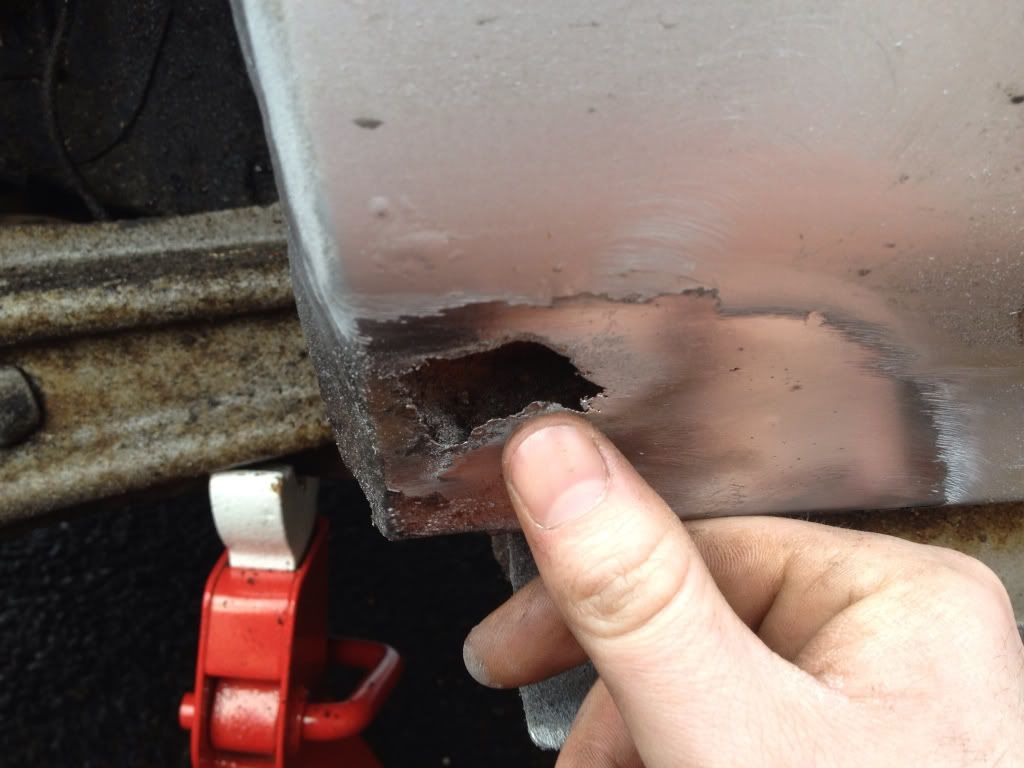
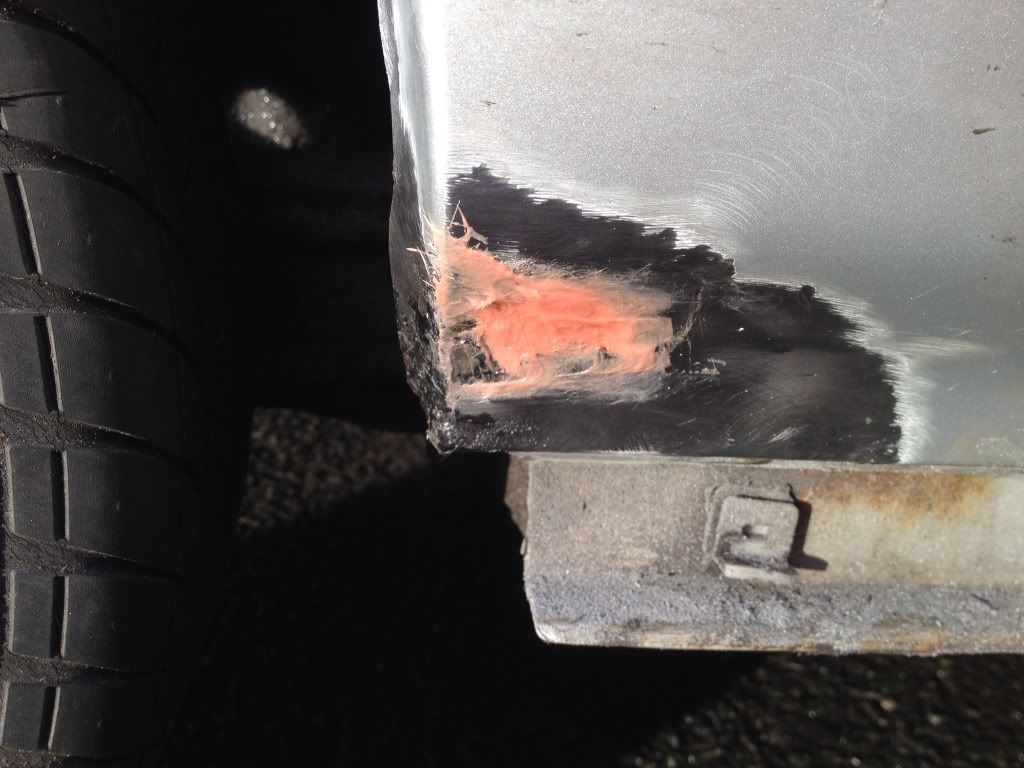
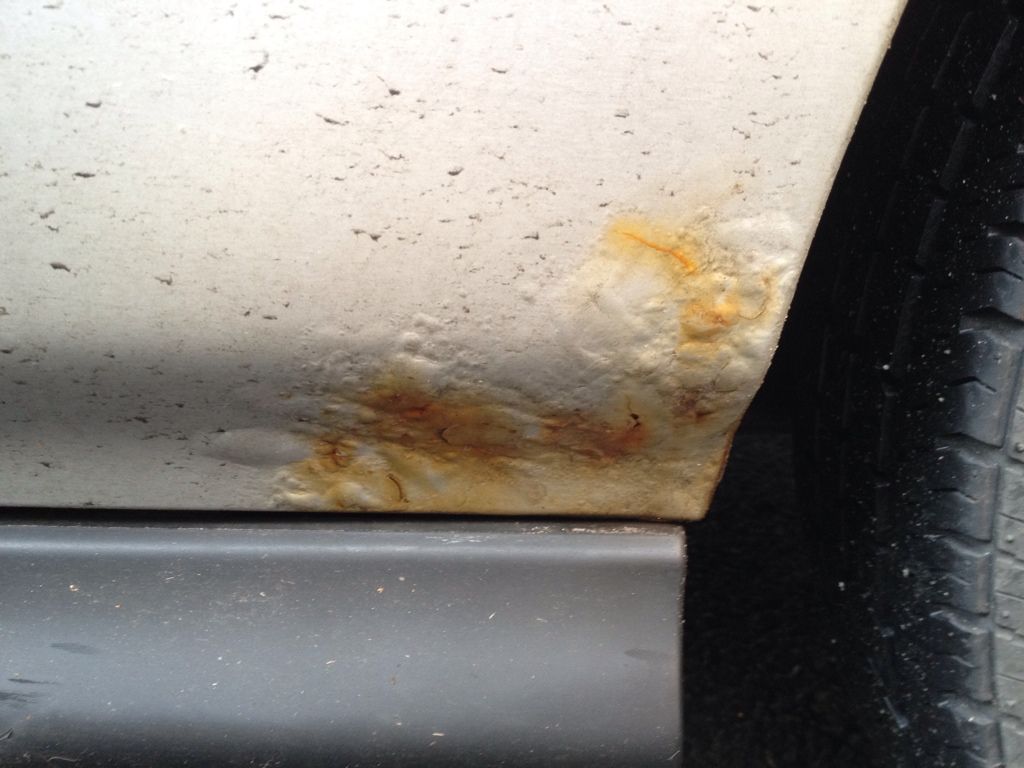
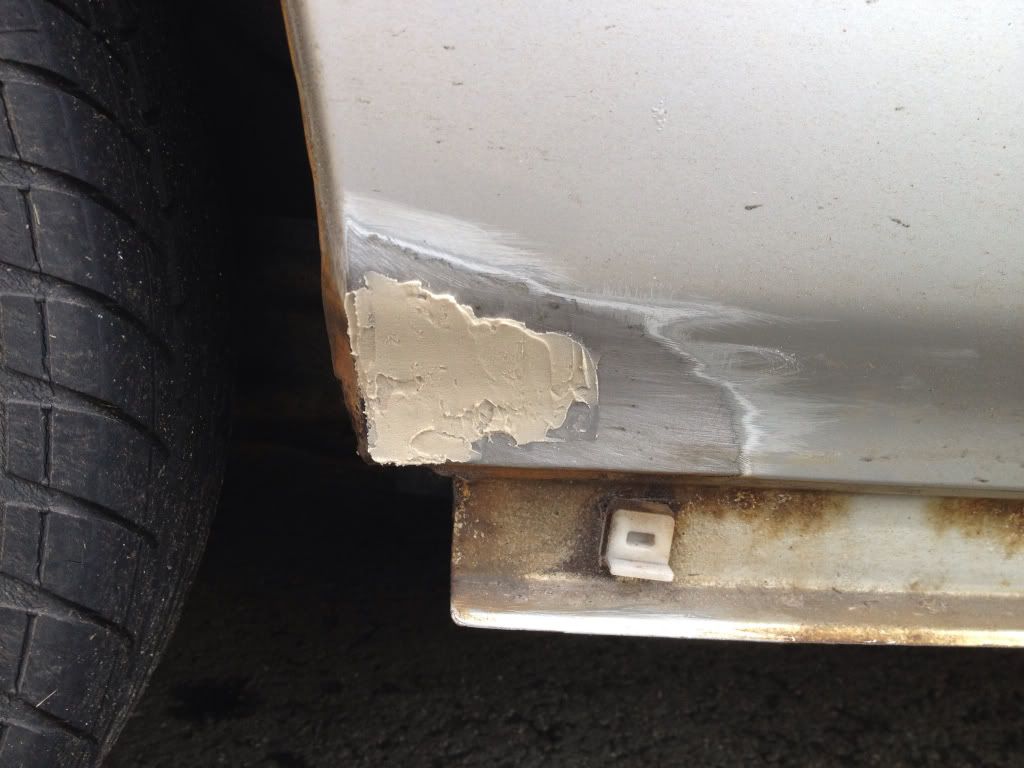
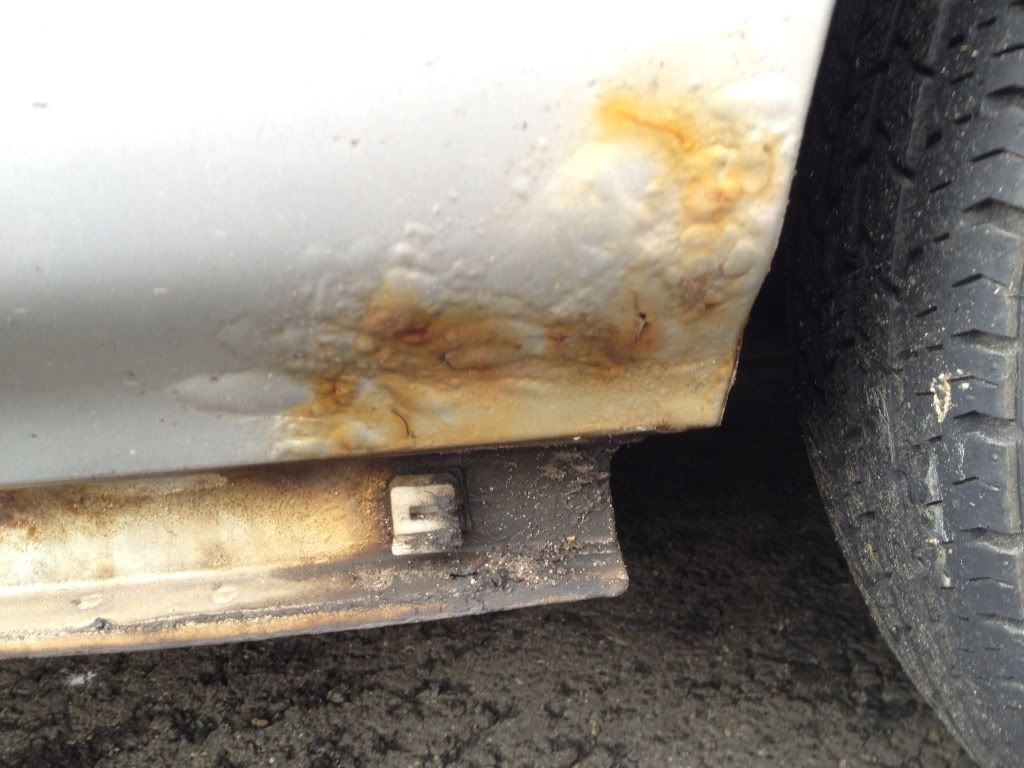
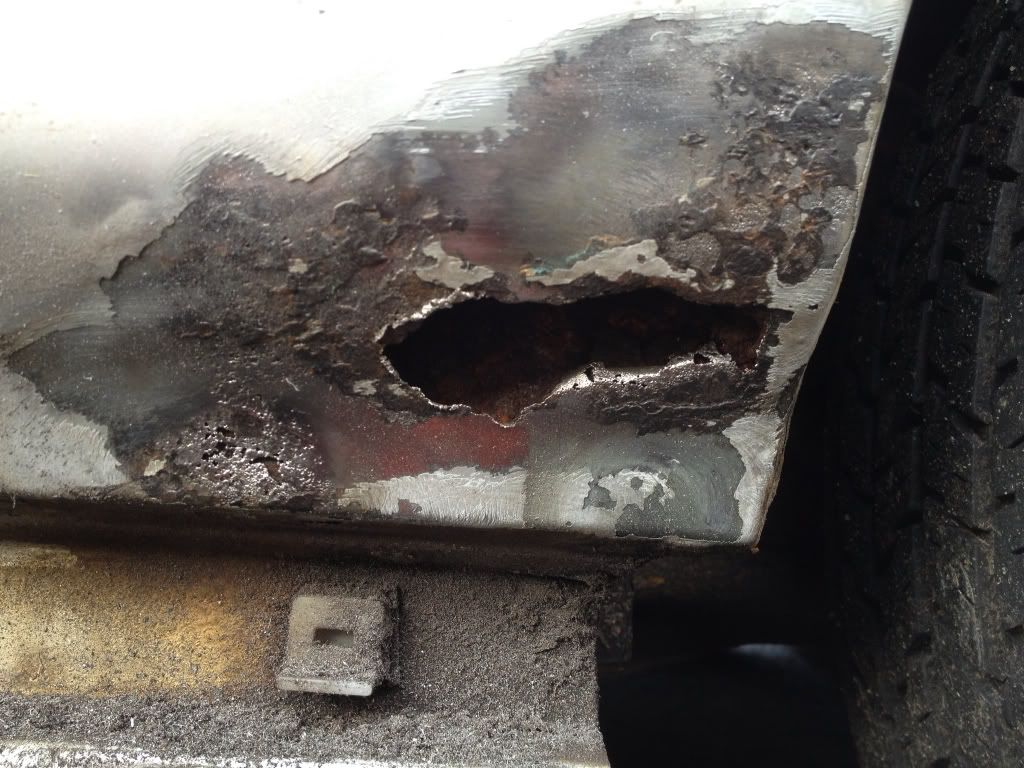
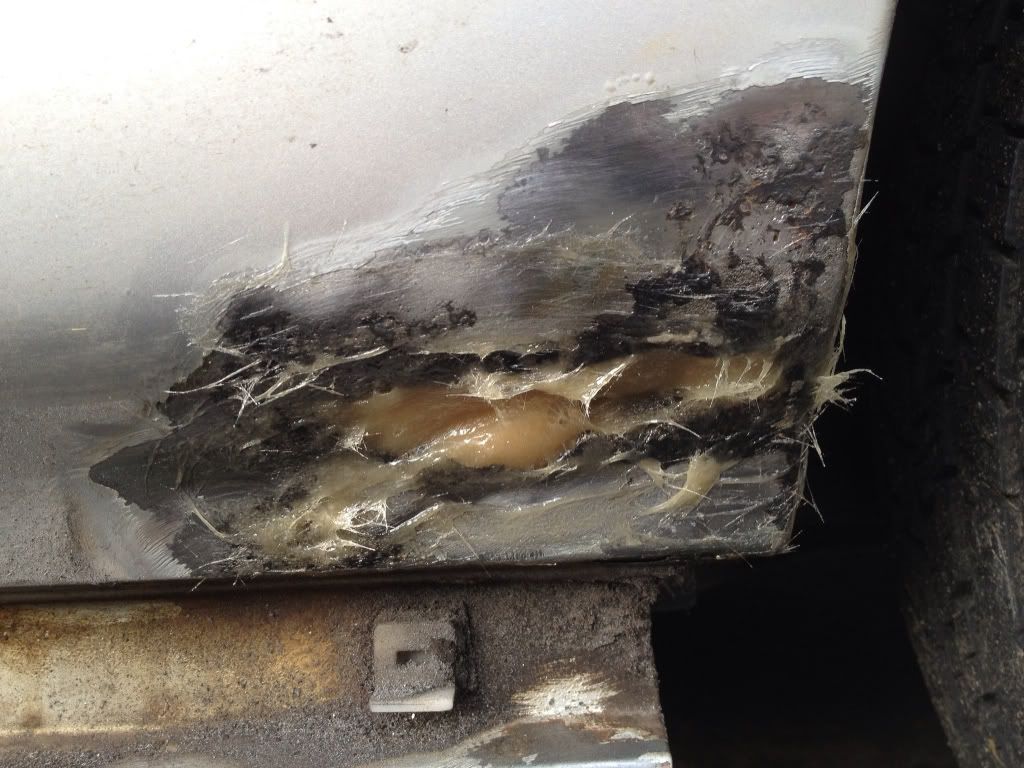
Identify areas of corrosion

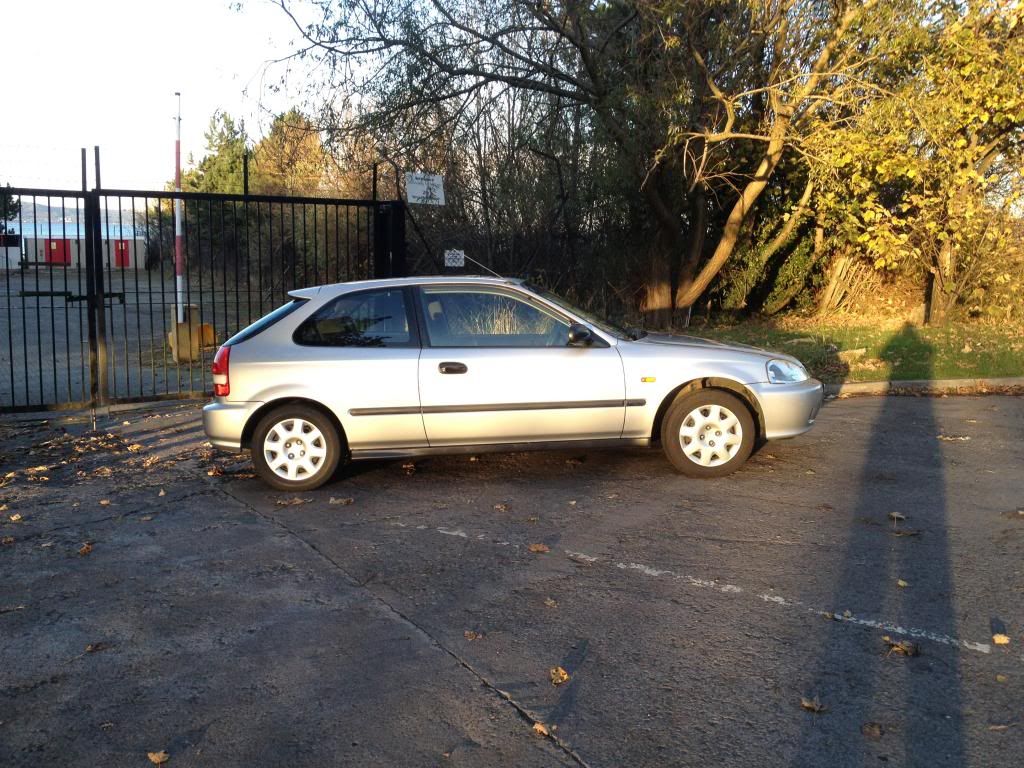
More pics to follow and plans for the car are front + rear type r lips, type r spoiler, full colour coded, Ctr headlights, spoon n1, wheels and tyres, finish underseal, repair any corrosion, H brace and strut braces fitted, zeta s coils, JDM B18C conversion, cusco LSD, probably rear strip out and other weight saving measures.

I'll try to update this as much as possible, I work offshore might be every couple of weeks. C+C appreciated :)
 
Looks a cool base, b18c will be amazing! I've got an oem ek9 dash with the ek9 centre carbon surround bit if that interests you.
 
Good plans mate, i think i recognize that plate!
 
Cheers guys, ill get some more recent pics up soon. I just got a new pair of tail lights from Curtis so ill be getting the broken one sorted later today if I'm still sobre!
 
Ok making a start to the bodywork today, the rear arches have developed a few bubbles so I wanted to tackle that before doing anything else to the car.

After taking on the first bubbled area I realised it was quite far gone and I wore through the panel trying to get back into bare metal.

cb85a00841d1f74d8a8fd51ba798f274.jpg


A reasonable size hole

30beac6449899fd2cbbbb87ae896bb3b.jpg


I filled the hole with good old P40 it looks like I've put to much hardner in but I hardly used any, hopefully it sets ok.

67b88dcad7bd6d66f69b9570b1279d65.jpg


I have a couple of other areas to do over the next few days and ill paint the side skirts while they're off also. More pics to follow.
 
You would be safer cutting the rust out and welding a patch in mate to make a job of it
 
You would be safer cutting the rust out and welding a patch in mate to make a job of it

I know in an ideal world that's what I'd of done, however time and cash constraints aren't permitting that just now. I figured stopping the rust from spreading and repairing it now would be better than waiting 6 months then getting it welded, I will get it welded this year though towards the end of 2013.
 
Here's some pics as it stands today 02/01/2013

Not as clean as when I bought it 2 months ago.

C74A0994-4547-49FC-B171-A622AA86A8BB-900-000001E43AEB38C4.jpg


Type r or mugen lip going on & bumper will be sprayed at this point also
FB7EA5E3-AF36-4FB8-8CC6-1772AB9EC1D0-900-000001E44280A74F.jpg


The bottom of the arch on the passenger side, believe it or not the drivers side looked worse so just 1 wee hole isn't to bad

CFF0842B-A226-4C72-AC43-925D37C7DC20-900-000001E448473A2E.jpg


185D2153-D172-4E5E-9393-C32F9D999FC3-471-00000049AF7B89E4.jpg

Found a crazy amount of mud behind the rear bumper! The rear crossmember is so badly corroded in the left corner that when I touched it a large piece of scaled metal fell off!
 
Last edited:
Damn rust! Some tempory welding done today, I'm going to get a complete new section made up in a few months but for now this will do.

Both sides were bad but the passenger side was the worst

fc417a6c7a801fbecb91b7ecb8dda3b0.jpg


Drivers side welded

611b566bb92c6423ea0d6c427b01dc90.jpg


More to follow!
 
Also on the bodywork front I've begun colour coding the car

I started with the drivers side skirt, I gave it a good wash using the shower before preparing the surface for primer & yes I got an ear bashing from the misses!

d33c75fd2658e9541b76f0bf436b660f.jpg


Next it was keyed and put I'm my spray booth ( I made a ventilated booth in my attic )
The end result

55e8f82ba0d459d3afd3decd5db4d432.jpg


I'm very happy with the result even on this 12 year old piece of plastic :)
 
Picked up my new rear number plate recess this morning, about to start painting it

6ccf6a91201434234e61fe918786b84a.jpg
 
Finally it's a dry day in Edinburgh so I'm making a start to the passenger side of the car. I also got a chance to fill out the remainder of the drivers side arch

91bdf2d6ecd37b9d153bf41e2e2ef2ab.jpg


So here was the passenger side after removing the side skirt

1dbfbb632365d80caa1c7dc8194edf43.jpg


Pretty nasty, looks horrible and is spreading fast ( 3 months ago the bubble was the size of a pea! ) here was the resulting rust damage!

93fd2e7e859939467658388ef0edef24.jpg


Quite a bit of work to do on this side! So far I've glassed up the hole and will get it filled with p38 today if there's time

c9e2f65b8c2ee47752f141cc3289e777.jpg


C&C welcome!
 
looks good so far mate ! will be interested to see how that spray job on the rust turns out
 
Here's a quick pic of the car today after spraying the repaired area, it's not as good as it can be so I'm going to rub it down again and respray to get a better blend.

I also put the painted side skirt back on & the wheel trims (rota slipstreams will be on by the end of the month) the struggle is weatherproofing or even finishing the passenger side before I go to Malaysia on Saturday!

5AADCD0B-63EB-4EDB-B20F-15D501816053-982-000000E33C6CBF82.jpg
 
good work on the rust mate, my drivers side needs a new quarter!! hate rust!! :( good luck with your build mate!
 
Back
Top