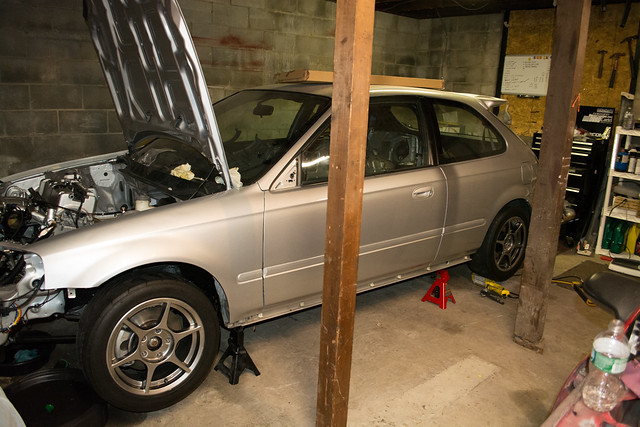
Sorry for lack of updates have been taking care of some other stuff and lack of motivation to work on the car.
Have been messing with intake set ups lately.
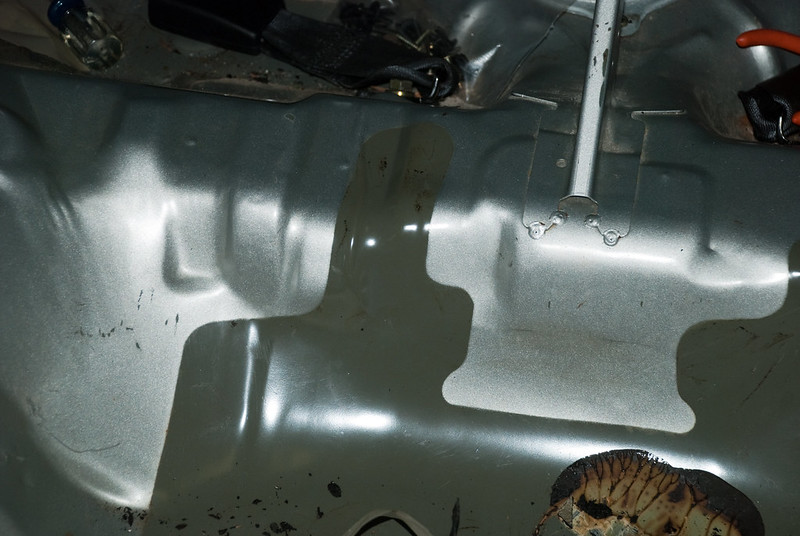
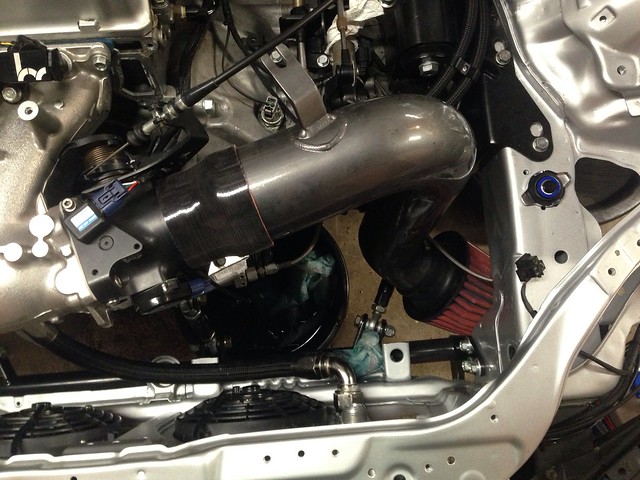
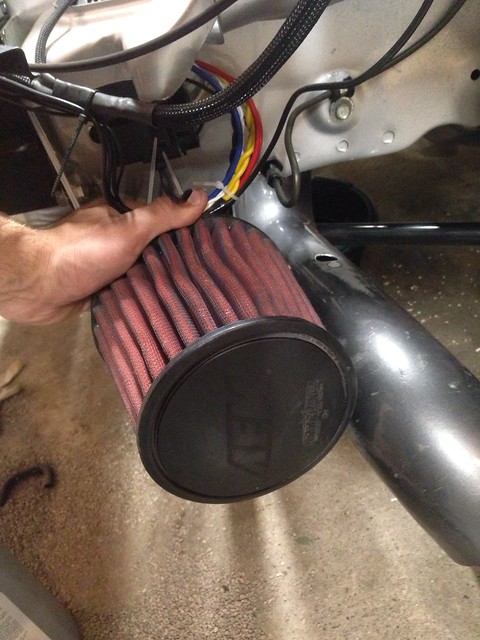
First I have the complete 3.5â
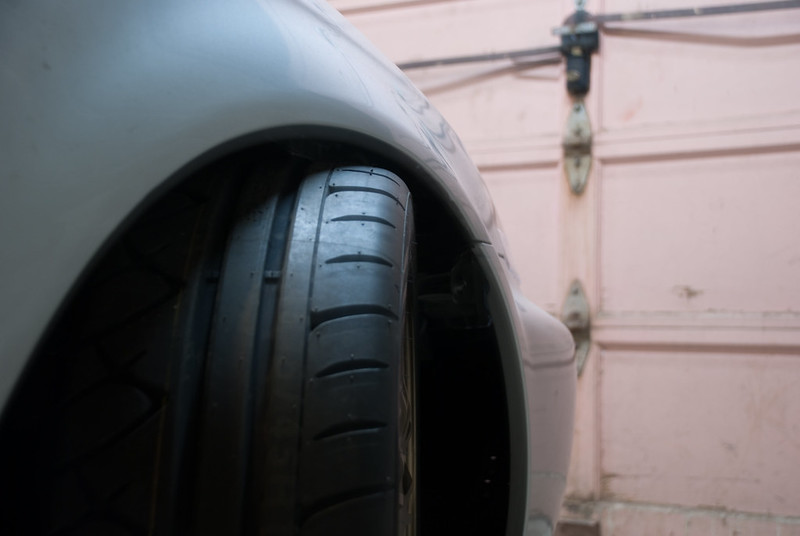
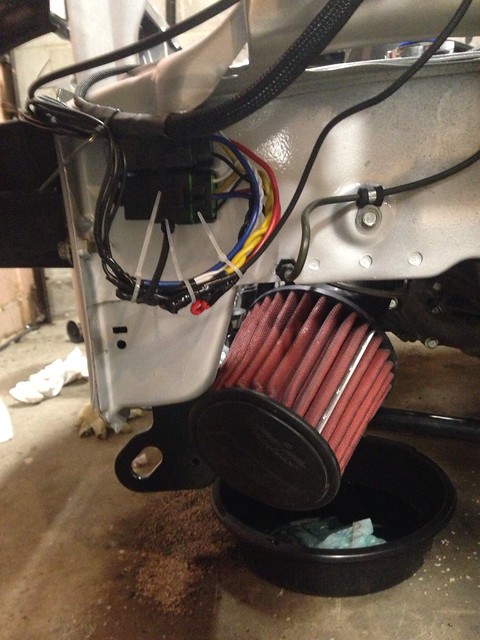
Then I tried to see if a stepped intake would work. 3.5â in the fender well then 3â to throttle body
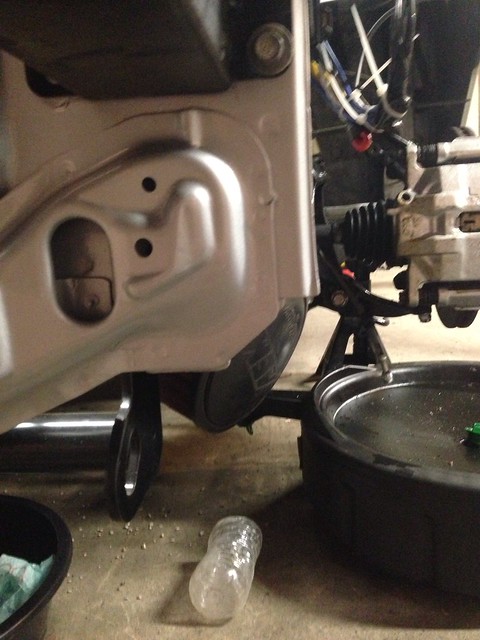
Little out of focus
Would prob cut it so the filter sticks out right into the fender well.
For the intakes the straight 3.5â I donât think has the best positioning for air to get to.
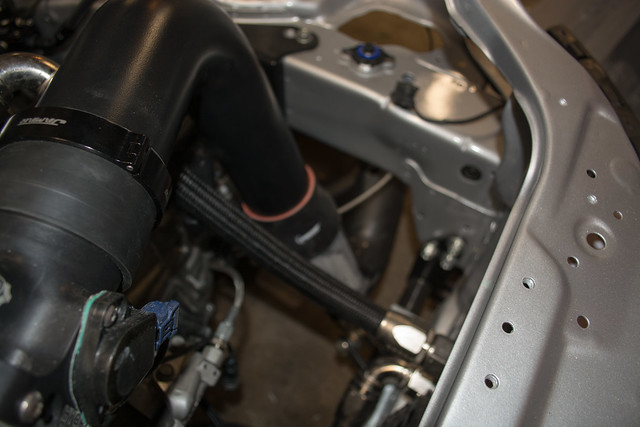
The stepped intake has better positioning and I still get to use my BDL clamps which I love on the TB
Any suggestions would be great! Need to figure this out so I can drop the intake off to the powdercoater.
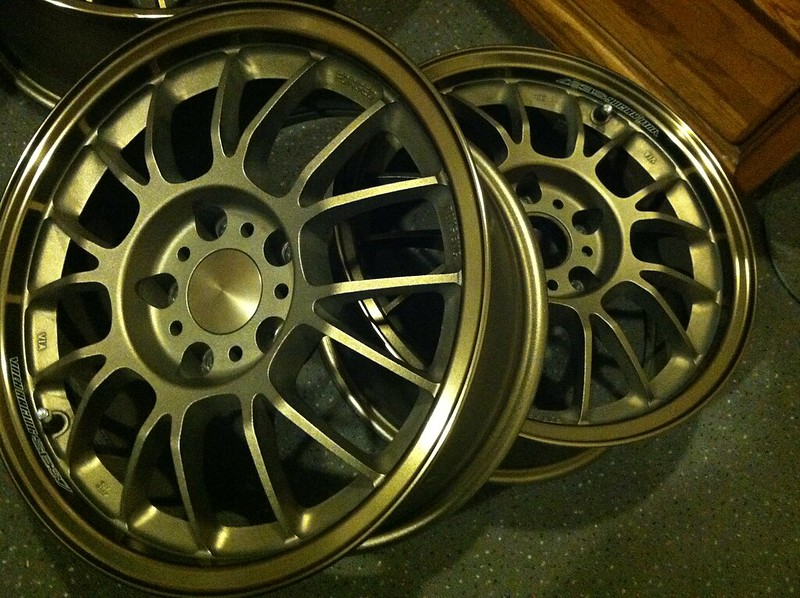
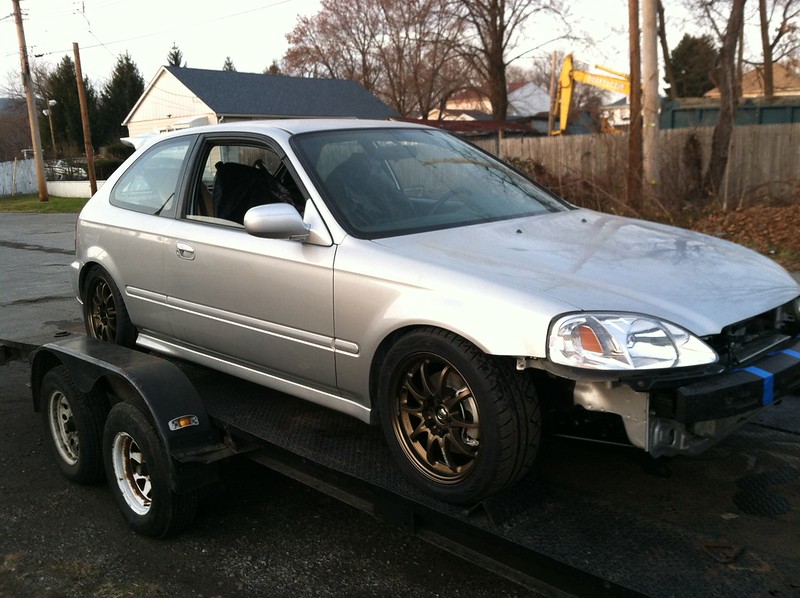
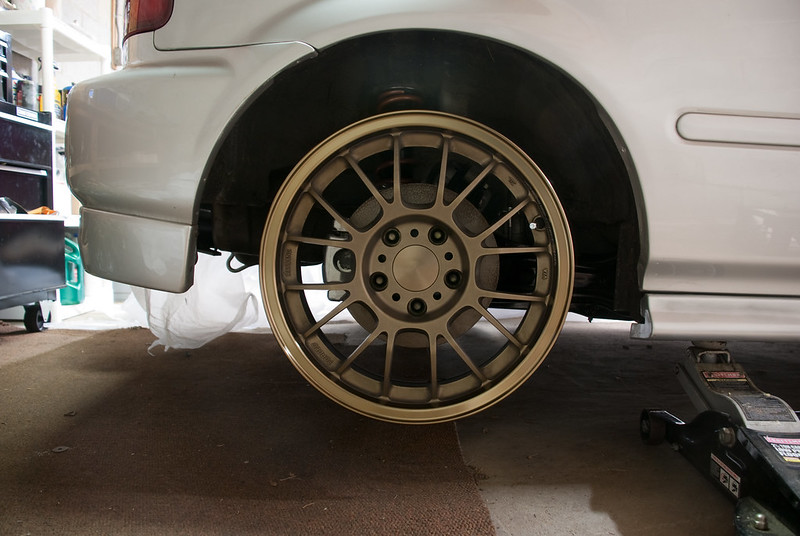
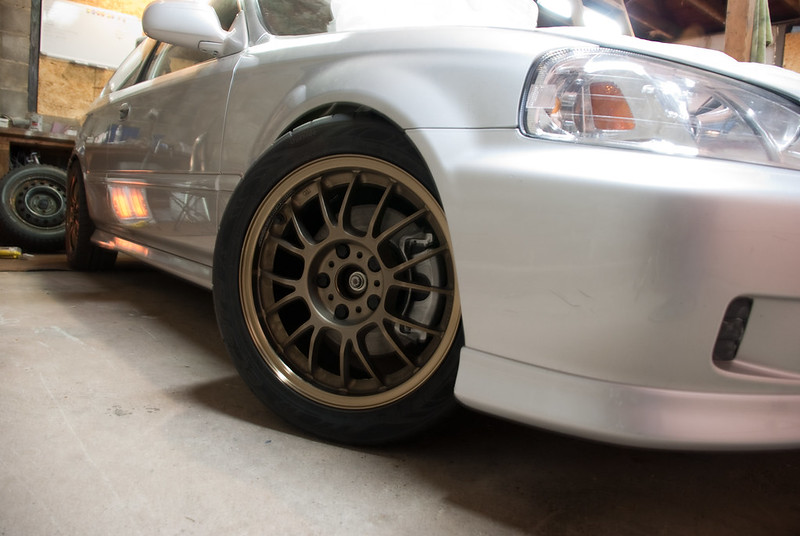
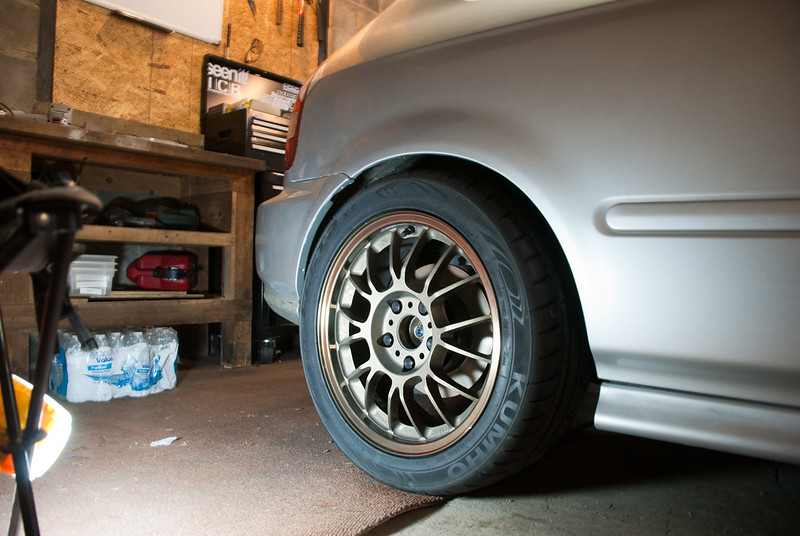
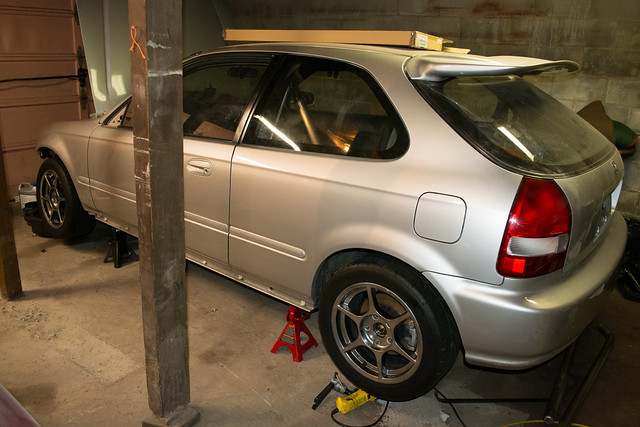
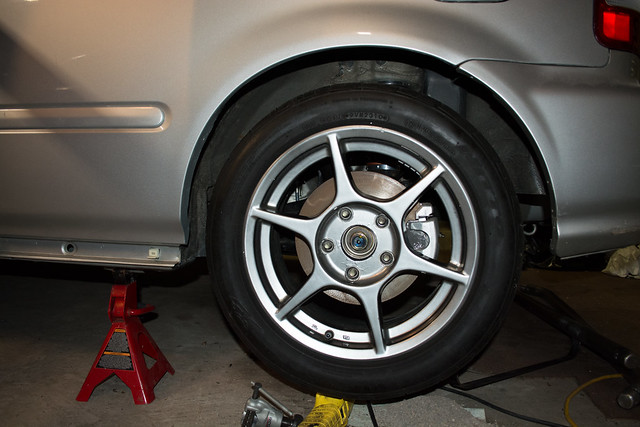
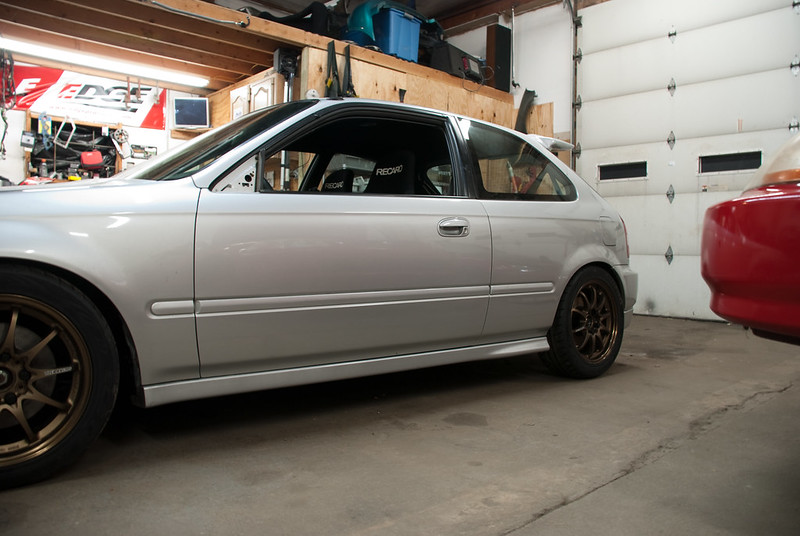
Picked up a set of kosie k1âs 15x7 +45 few weeks ago.
Going to use these are track wheels.
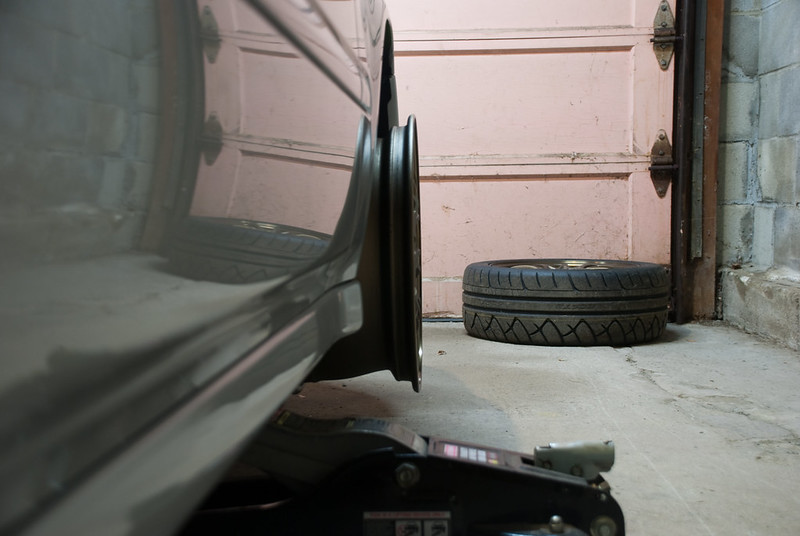
I cant decide what tire I should go with on these. Thinking about doing a 225/45 tire all around or doing a 205/50. (no selection of 215âs for 15â tires)
My 4.7 FD makes me think I should do a 225 just due to the high off set I think the tire could rub on the inside a bit which could be fixed with a 3â spacer if thatâs the case.
Reason I would not do a 225 is bc think it could be over kill for my ability
Let me know what you guys think!
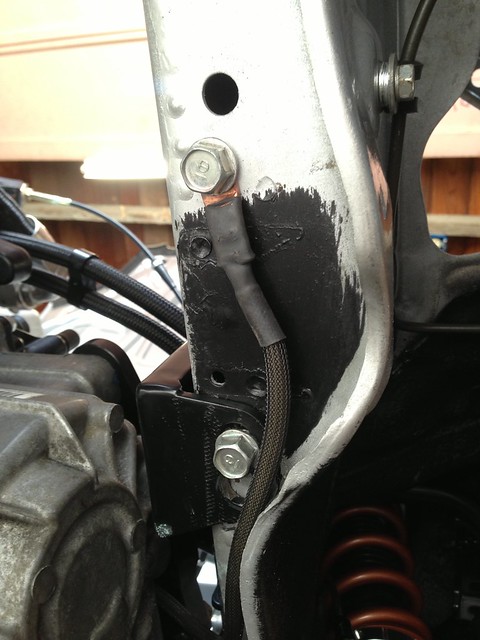
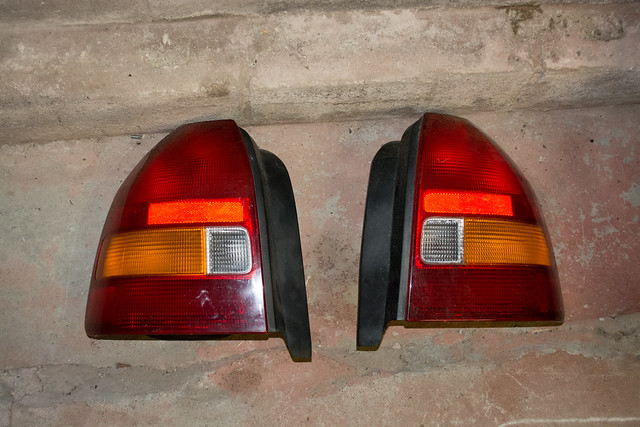
Got a spare set of tail lights for like $15 locally. I am going to put a kill switch in the pass side tail light for drag racing purposes. Also going to switch up and get an odyssey PC680 in the rear.
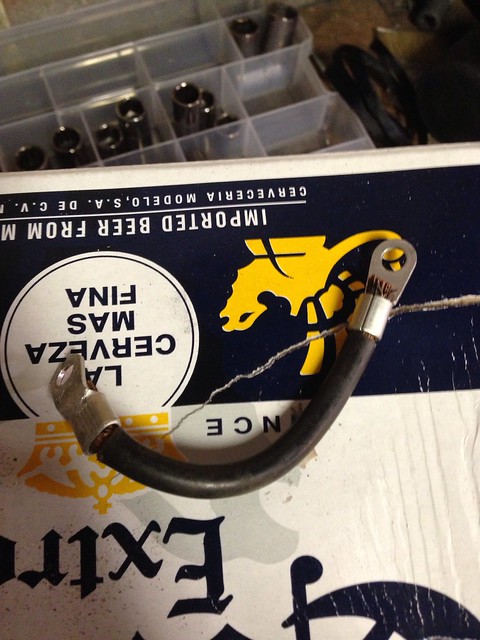
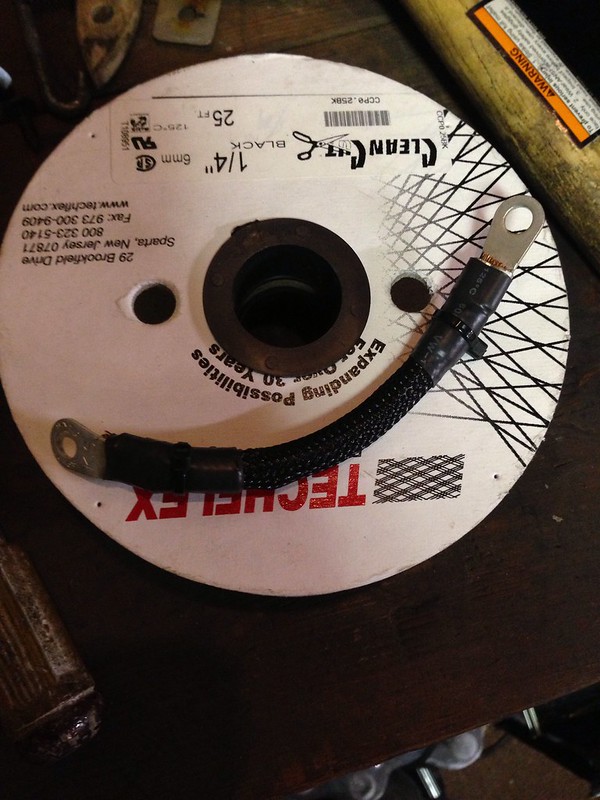
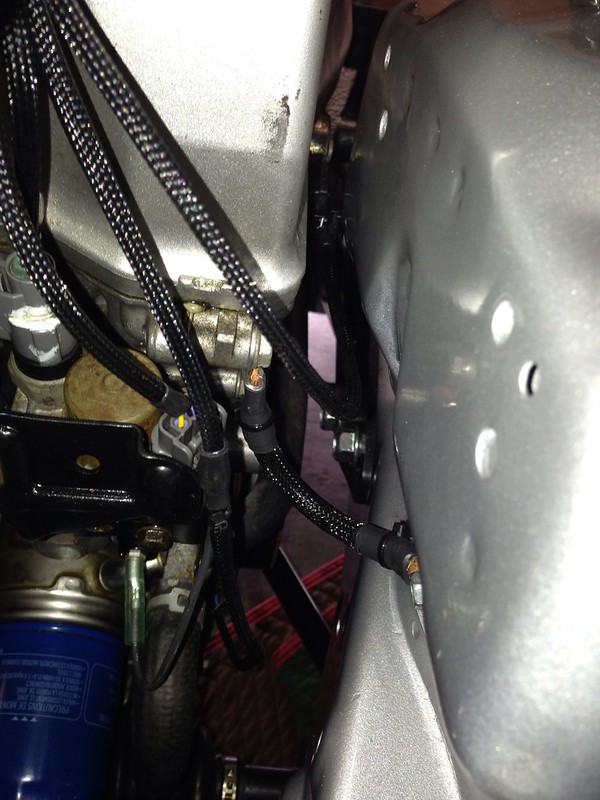
I am redoing the battery cable soon with better material and adding a 200Amp solid state relay with a disconnect so I can remove the tail light with the switch.
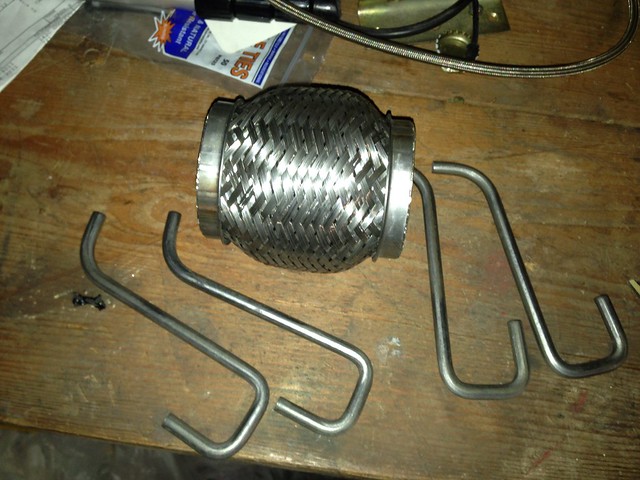
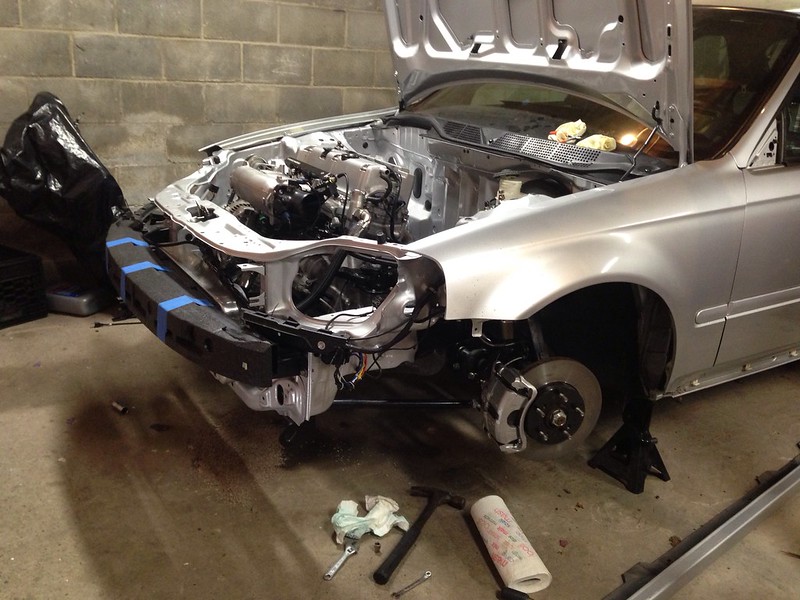
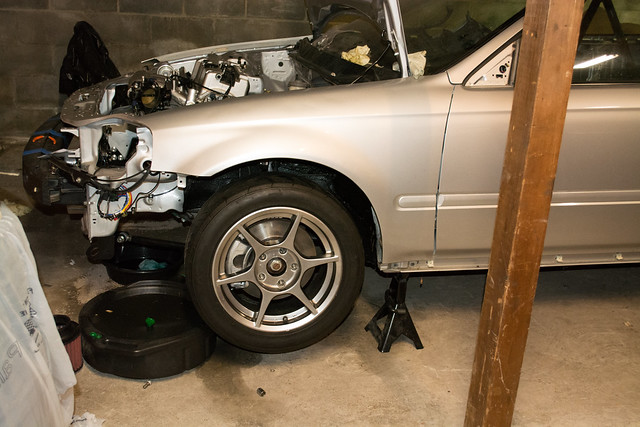
Dropping parts off to paint today and hope to drop off some at the powdercoater later in the week
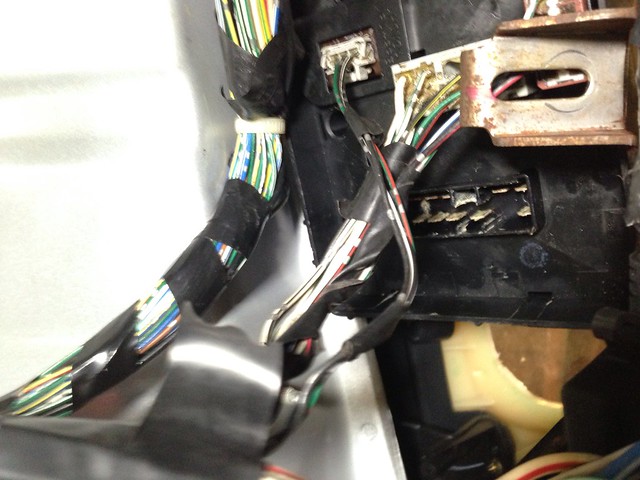
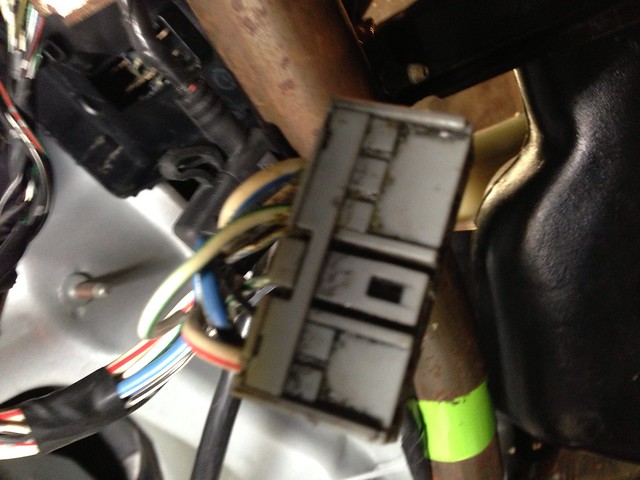
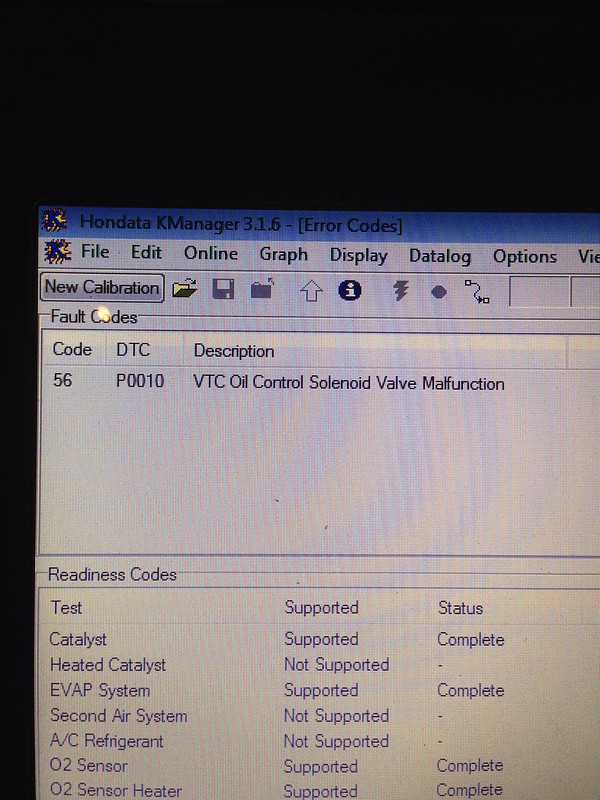
This week i am figuring out the check engine and waiting on a brake line fitting to re do some leaking lines.


")