Finally... my build thread for '98Trackhatch


99BlackHatch

New Member
Joined
May 11, 2009
Messages
127
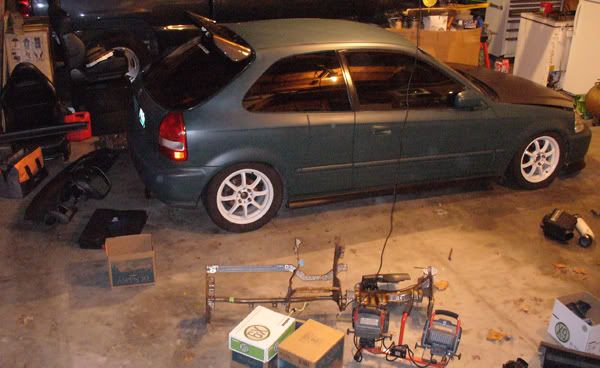
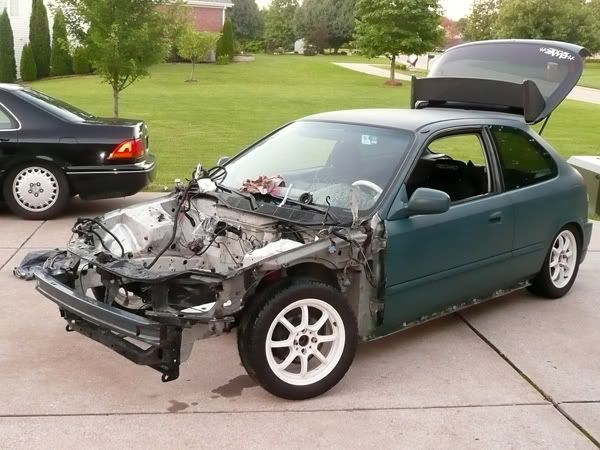
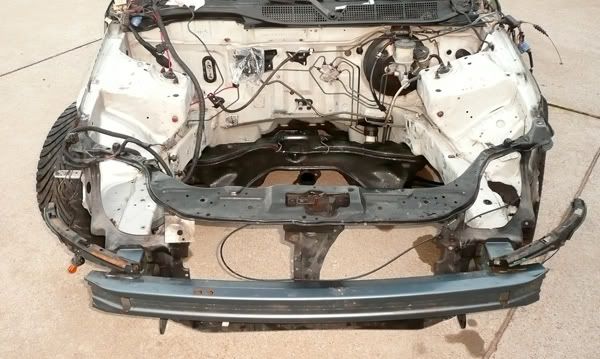
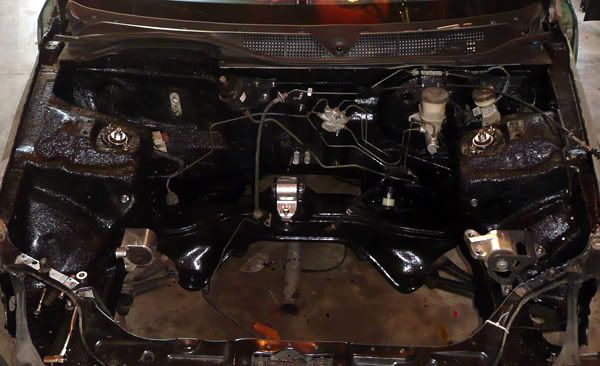
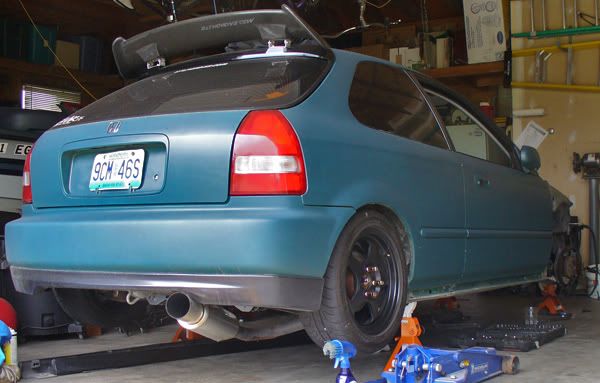
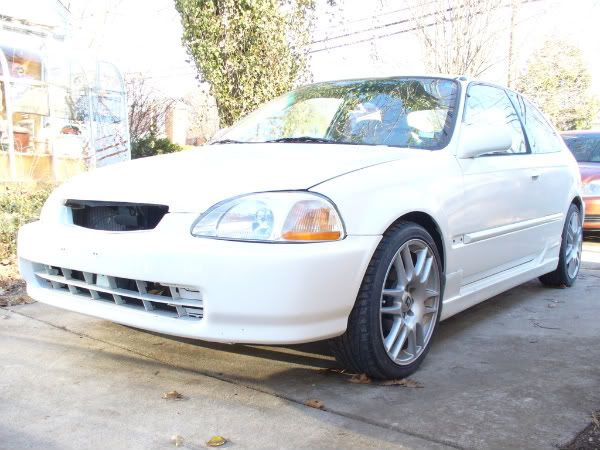
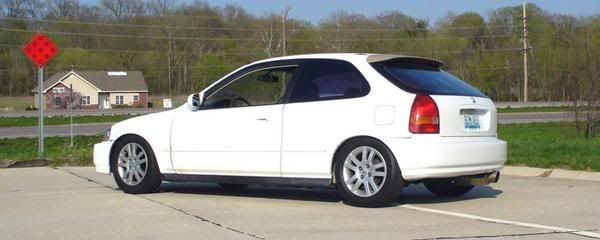
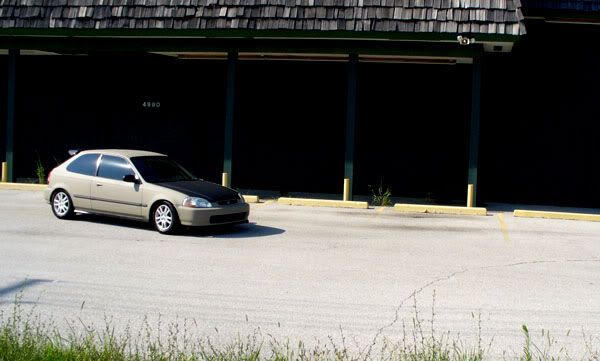
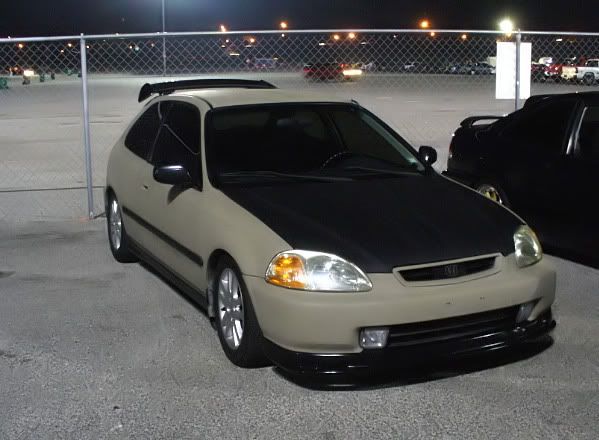
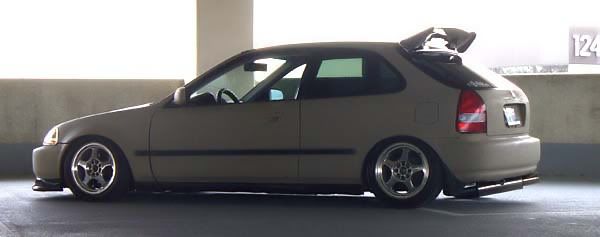
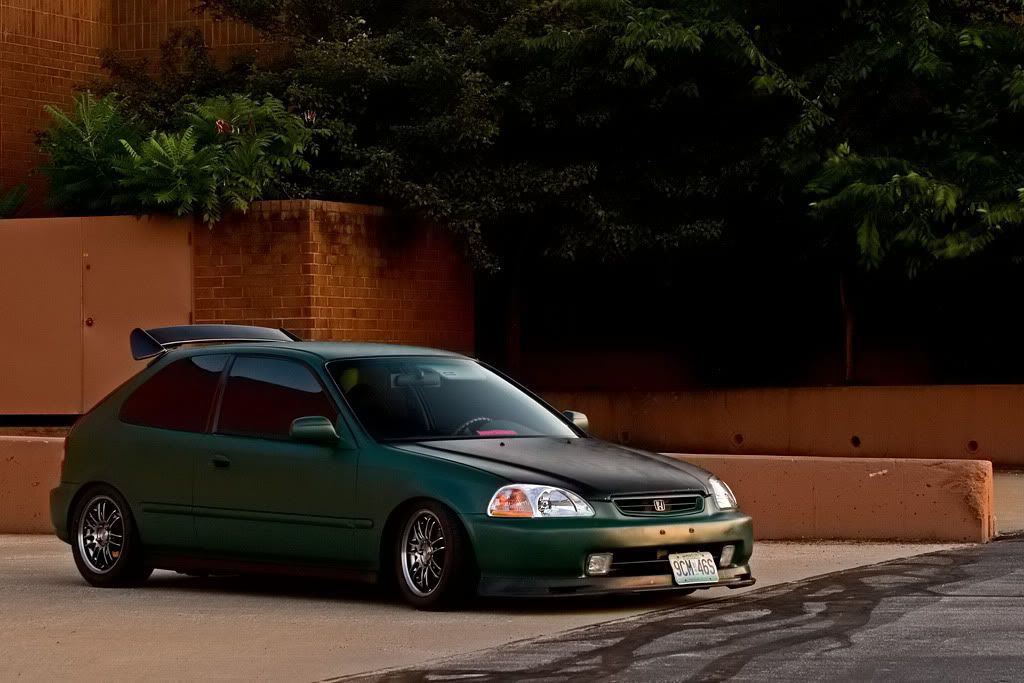
Well I bought the '98 Ej6 back in Feb of 2008... The previous owner had a **** bomb paint job done on it and side skirts and a few things missing...

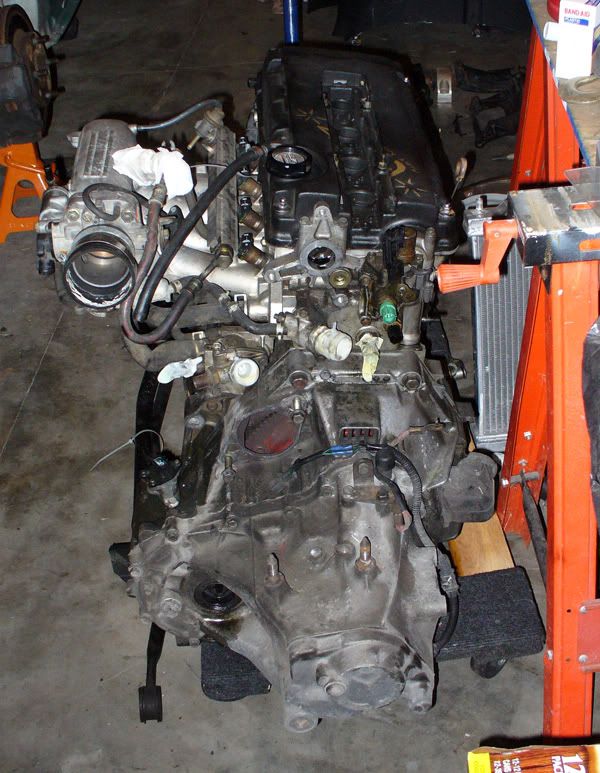
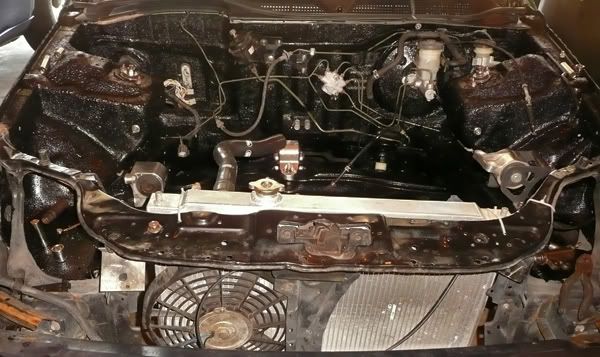
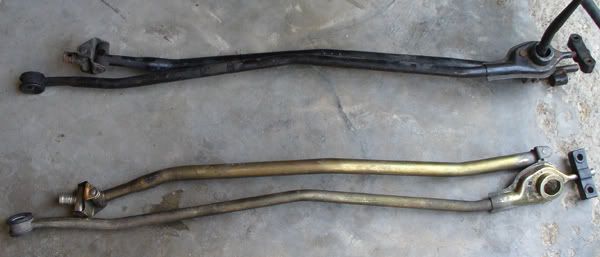
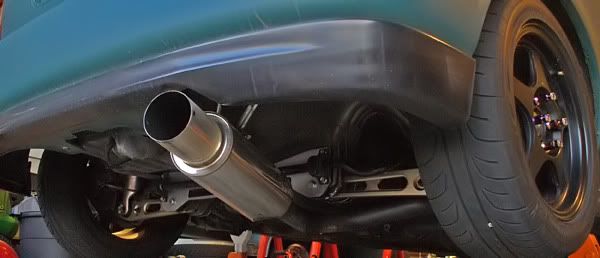
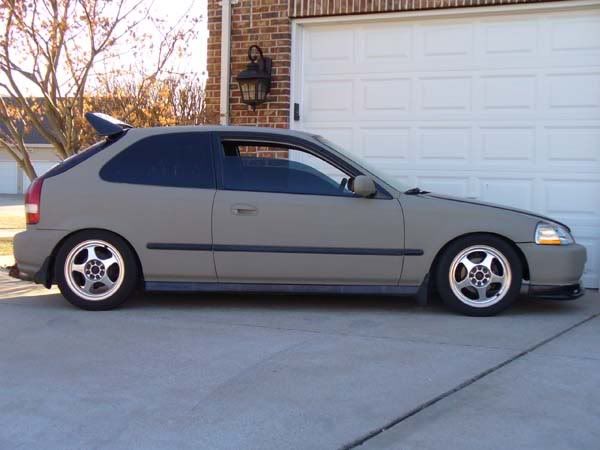
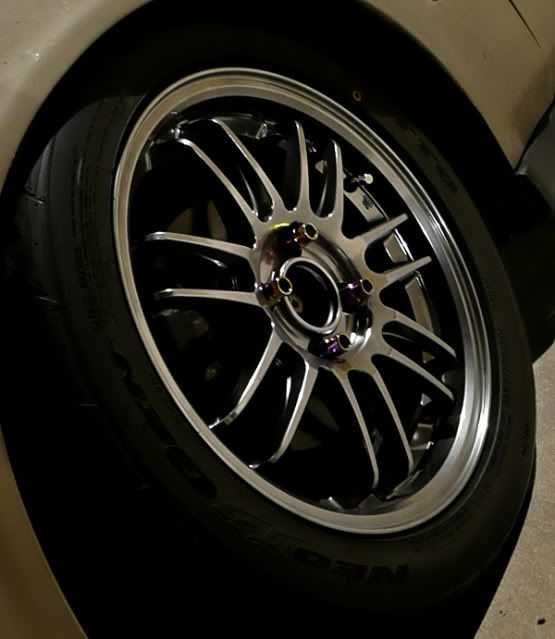
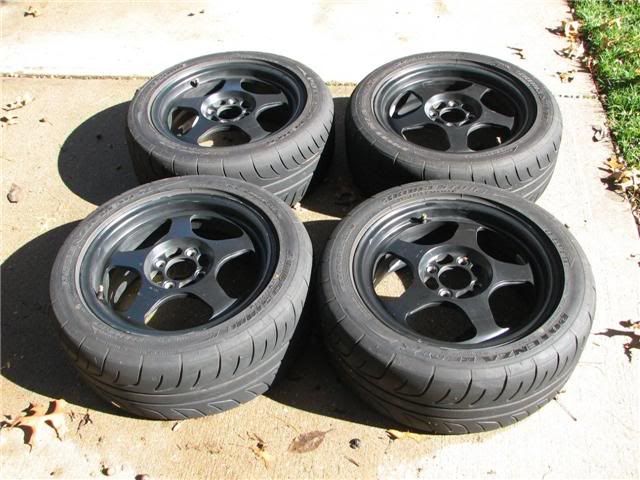
After market side skirts that were molded onto the car, 17" wheels, and no grill at all. Broken motor and torque mounts along with a broken exhaust system.
P1020466.jpg


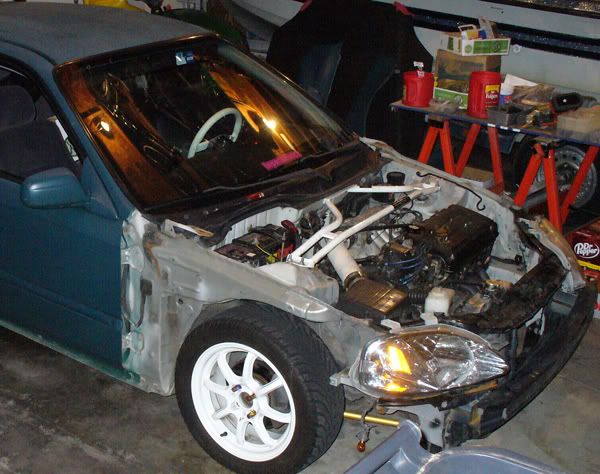
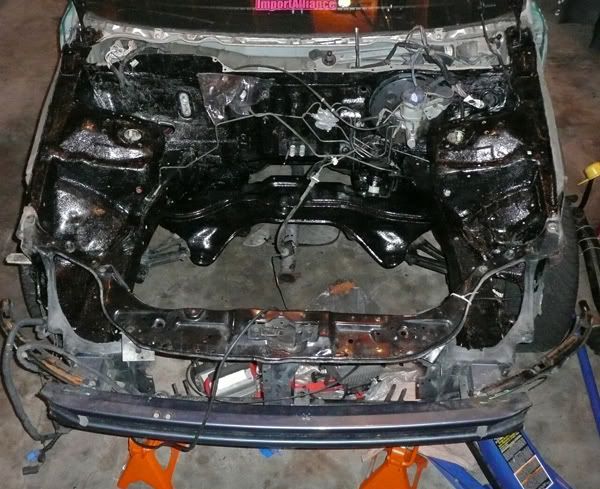
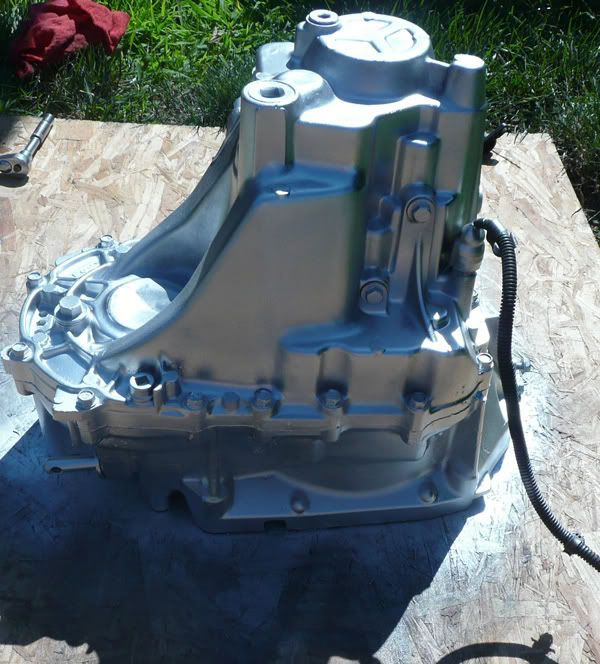
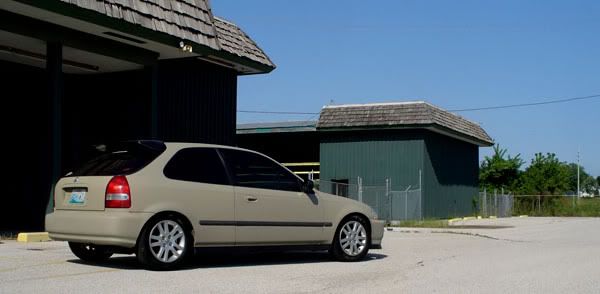
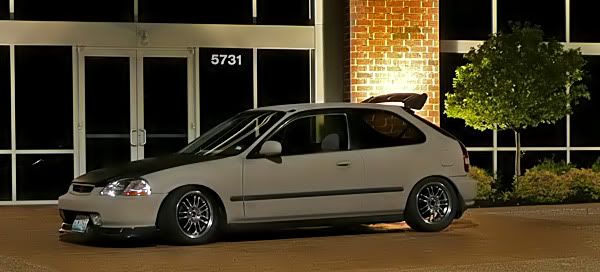
Then I got bored driving a "TURD" so much and start making gradual changes...
l_e01fbc1ad918501f7e0f7341394775a2.jpg
 
I decided to get things right with it... I got rid of the white paint and bought some Dupli-Color Satin Khaki for the hatch.
Along with an Si-R lip, my old Civic Type R spoiler, Civic Type R mirrors, 99-00 tails, EP3 wheels, Tokico Illuminas with H+R Red springs, STOCK exhaust, and the regular upgrades people progressively make... here it is currently.

Khaki1.jpg


Khaki2_filtered.jpg


Khaki9.jpg
 
As of October 5, 2008... Here is how it currently sat with the new OEM foglights, Mugen front lip, and the Mr. Alex replica spoiler.

top_filtered.jpg


P1030195-1_filtered.jpg
 
Finally in Feb, 2009 I bought new suspension for the hatch... Omni-Power Drag coilovers and picked up a set of polished Slips.

illuminahr.jpg


What camber?!
camber.jpg
 
And here is where the ball started to roll quite a bit faster...


And as things progressed over the years.. I got out of my apartment with my ex g/f and had money again to have fun again. And I mean honestly, what a way to celebrate than you go out and buy an HKS Hi Power catback and some more goodies...
boosh-1.jpg


sideview_filtered.jpg


It sat a little low on the ground too...
low_filtered.jpg
 
Then it came time for some different paint... This time I went with Dupli-Color Satin Hunter Green, and also upgraded the interior with a set of RSX Type S black leather seats, "X" brace rear bar, 99-00 Civic Si cluster and the Acura 1.6 EL center console conversion...
IMG_0179_filtered.jpg


IMG_0188_filtered.jpg


interior3quarter2_filtered.jpg


fullinterior2_filtered.jpg
 
Time for some new wheels again... Gram Light 57 Optimize.
HDR_filtered.jpg


rear_filtered.jpg


gram.jpg


You can figure out what they are...
Slips.jpg


slipos2.jpg


desmonds.jpg
 
Welp, time for the main build I guess... The hatch has been needing some upkeep for a while under the hood and all over the car...
  • 96-00 Civic Type R shift linkage
  • Integra Type R red stitching shift boot
  • SPOON hardened shift linkage inserts
  • 99-00 Civic Si front end conversion
  • 99-00 Civic Si radiator core support
  • 99-00 Civic Si power doors
  • Civic Type R door panels and center console
  • 94-01 Dark Gray Integra carpet
  • GSR trans (Temporary fix until my B16 is rebuilt with upgraded everything)
  • painted engine bay
  • tucked engine bay
  • CUSCO hardened exhaust bushings
  • MOMO hub with DINO steering wheel with T1R conversion plate
  • Innovative Mounts polished mounts with Track (BLACK) inserts
  • new axles with good boots (no more axle grease)
  • Skunk2 upper forks
  • PIC PERFORMANCE rear LCAs
  • ASR subframe brace with Civic Type R rear sway bar
  • Megan racing rear camber kit
  • finally installing the stainless steel brake lines up front
  • PASSWORD:JDM cooling plate
  • SAMCO hoses
  • 2" thick full size radiator to help keep the car cool
  • SIM coat the rest of the interior HONDA satin black
  • Energy Suspension full bushing kit!!!... Been wanting this for years now :)


But so far I got this done last night and took tonight off...
exterior.jpg


frontend.jpg


teardown.jpg


torndown.jpg
 
UPDATE: June 14th, 2010

Started earlier and had a lot of hold up due to seized bolts and stuff ****... But then the engine just came out without a problem!

engine.jpg


lol-1.jpg


It needs a lot of cleaning, scrubbing, and detailing. I plan to wire tuck the **** out of this thing and the engine bay will be fun to do. All sorts are parts are still piling up in the garage to go on and in the car... :)

bay.jpg
 
UPDATE: June 15th, 2010

Took her out and scrubbed, sanded, degreased, power washed, and sanded and washed again before I tucked her in. Tomorrow should be interesting and fun.

outside-2.jpg


bay-1.jpg
 
This is the first coat so far. Thin in spots which is expected, but we'll see how the second coat goes tomorrow...
coat1.jpg


Also decided to start cleaning up some old rusted bolts from all over the bay and other areas and then some sealer / clear coat to keep them in good shape. This is what I got so far with just a few minutes on a wire wheel...
coat1again.jpg
 
UPDATE: June 19th, 2010

Woke up this morning and the bay was ready to be put back together. Started out like this for a while...
thismorning.jpg


Then began polishing as you can clearly see the difference...
polished.jpg


And then so far this is how it is after a few hours due having to run around to get high temp paint for the engine and the rest of the bolts for the engine mounts. Polished more bolts, nuts, and the tops of the coilovers...
thisafternoon.jpg


I guess it looks a little different...
bay.jpg
 
Some things so far for the evening...
Somethings.jpg


Test fitment...
testfitment.jpg


Dirty like a whore...
dirtylikeawhore.jpg


I think it's time to get something new...
title.jpg
 
Well, got the SKUNK2 front camber kit installed last night, tore down the engine (valve cover, coolant hoses, alternator bracket, stock intake manifold and such), taped off, degreased, cleaned, and painted the engine finally. Now to go home, unmask all the water tubes and sensors, rebolt up the trans to the engine and slide it under the chassis and prepare for install again.

I also need to paint all the brackets High Temp black for the alternator, AVID billet torque mounts if I keep those on or sell them, Samco hose up front and then install the new radiator core support. So much to do... and not much time. Sounds perfect.

I also cleaned up the PIC Performance LCAs last night and once I jack up the rear end, I will install those and the rear camber kit and the CUSCO exhaust bushings.
 
Welp, engine and trans are back together. Time to get the rear camber kit on, CUSCO exhaust bushings on, PIC Performance LCAs, and the Spoon SW-388s on since the rear of the car is jacked up.

Then to move to the center of the hatch and install the Civic Type R shift linkage with Spoon bushings. and maybe have the engine bolted into the chassis tonight...

I also plan to do some thing not sure has been posted on this site... The weight difference in the stock "B" series shift linkage against that of the hollow aluminum Civic Type R shift linkage. I don't expect a significant difference, but it would be neat to see and I will make sure that the linkages are of exact specs. Same shifter and knobs and misc hardware
 
UPDATE: June 27th, 2010

Went out this morning and got to walk out to this... my motivation.
Exteriorcar.jpg


assend-1.jpg


Out with the old and on with the new...
newparts.jpg
 
Engine pics...

engine-1.jpg


engineback.jpg


Half of the rear suspension is complete...
halfdone.jpg


Stock shift linkage and Civic Type R linkage...
shiftlinkage.jpg
 
Back
Top