Something a bit different for these parts, Ive been lurking for a while now thought I would share.
This is copied from another forum so some may not make sense
A little bit of history on the model;
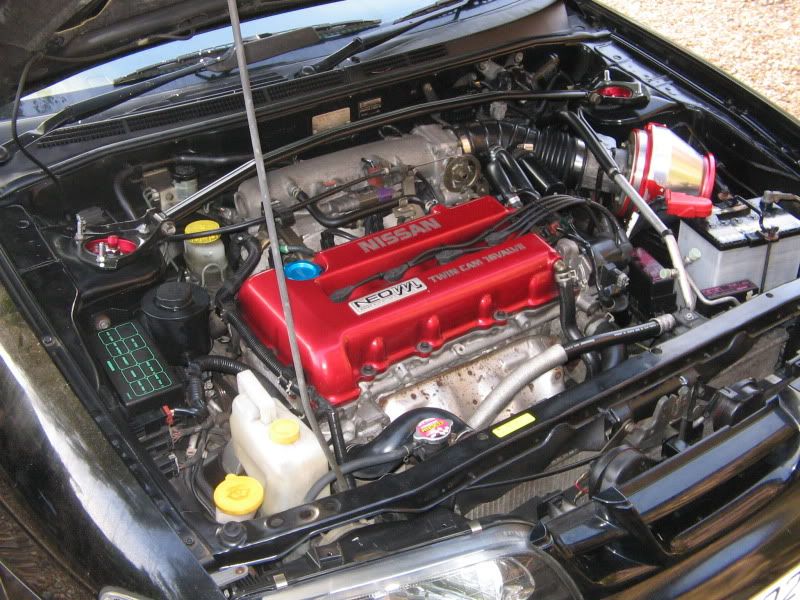
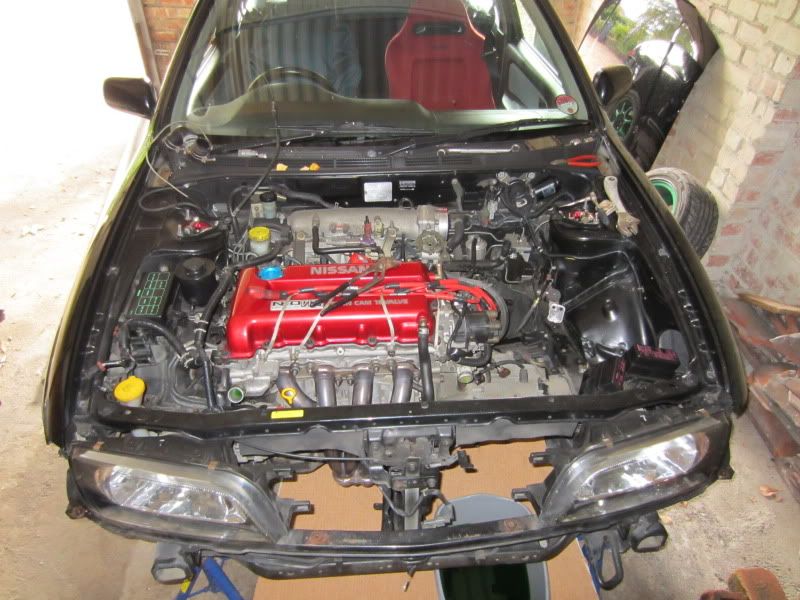
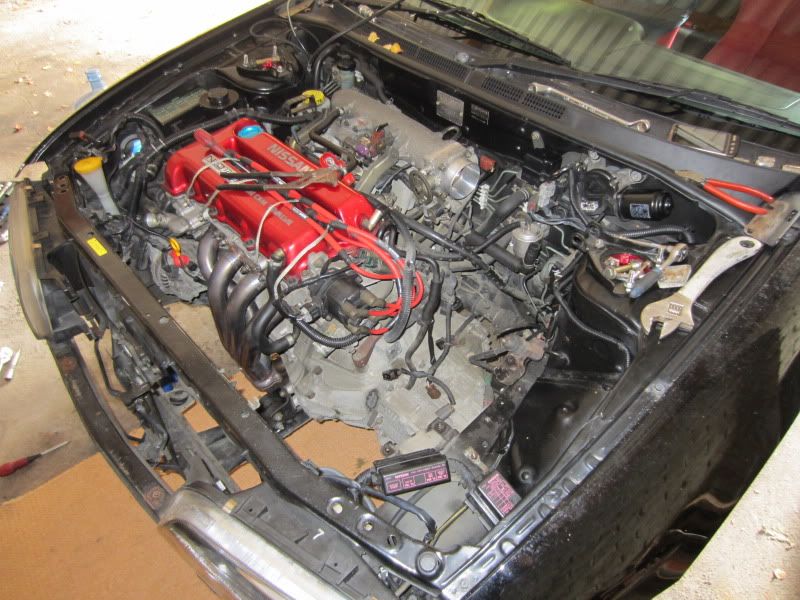
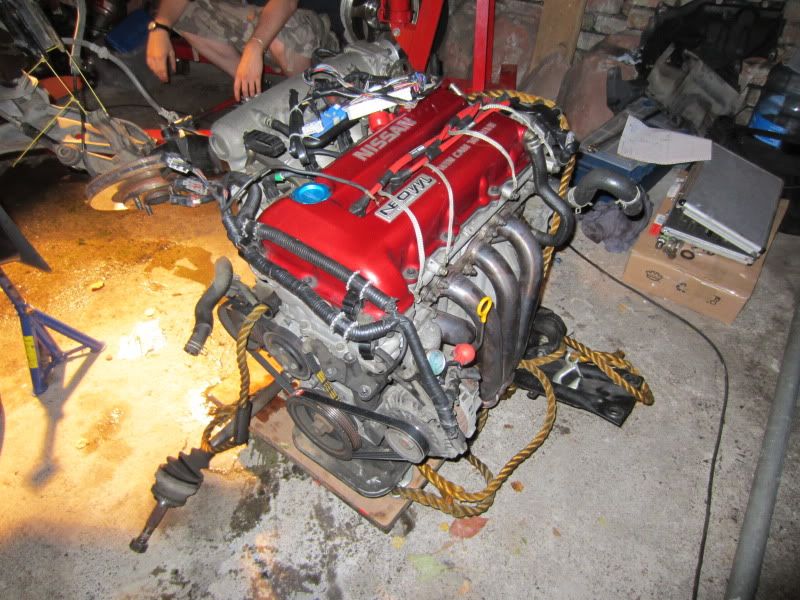
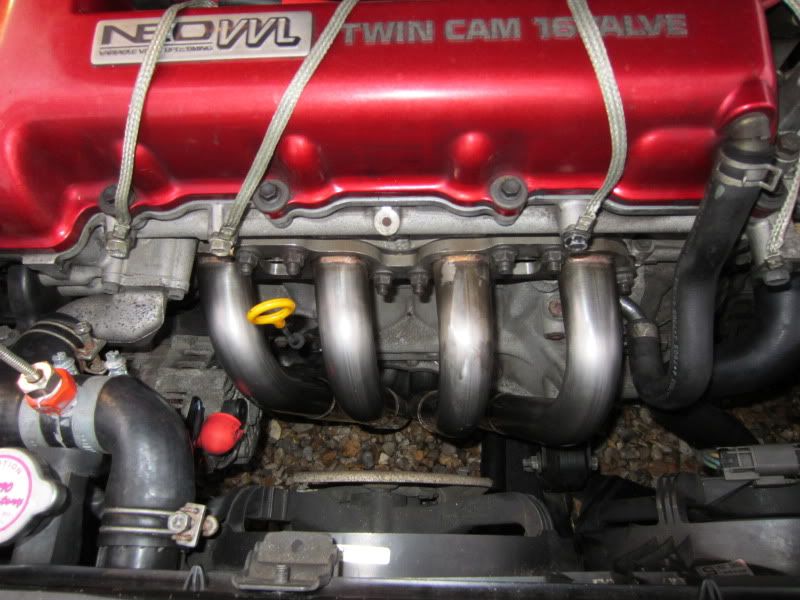
VZ-R N1, which was a racing homologation version intended to compete with the Honda Civic Type-R. Producing 200 PS (147 kW; 197 hp) from its 1.6 L SR16VE engine, it held the highest specific output ever for a naturally aspirated production car, at 123.125 hp/litre until the Honda F20C engine was released in the Honda S2000.
Real king of 1.6L part one - YouTube
So I wasnt actually planning to get this, I was sorting out the next step with the Autech at the time new cams and mapping since everything else had been done.
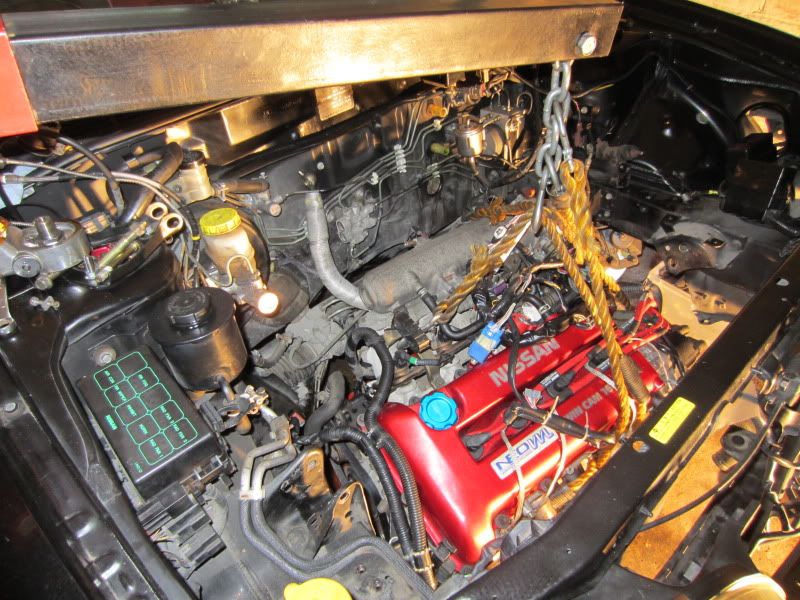
The Autech being this. SR20DE High Compression, Lumpy Cams....
Heres a departing video we made.
AUTECH 2.0 on Vimeo
So onto what you want.
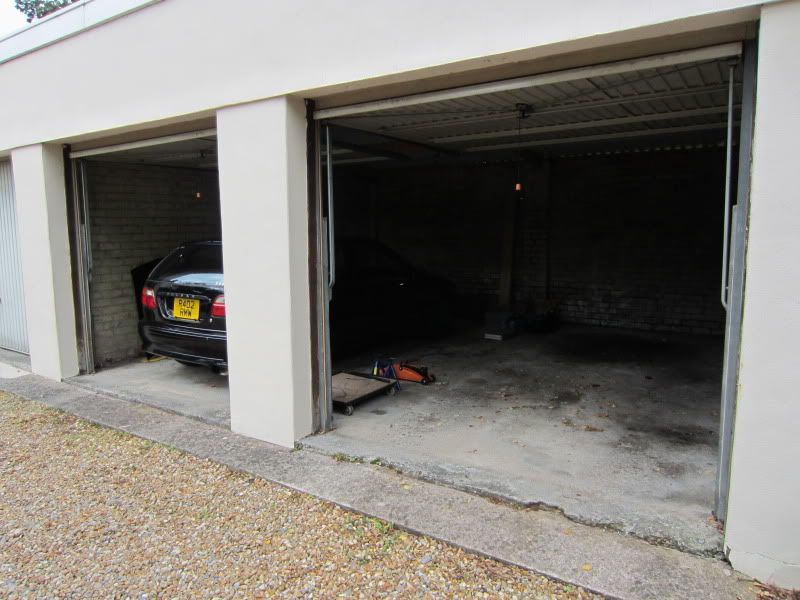
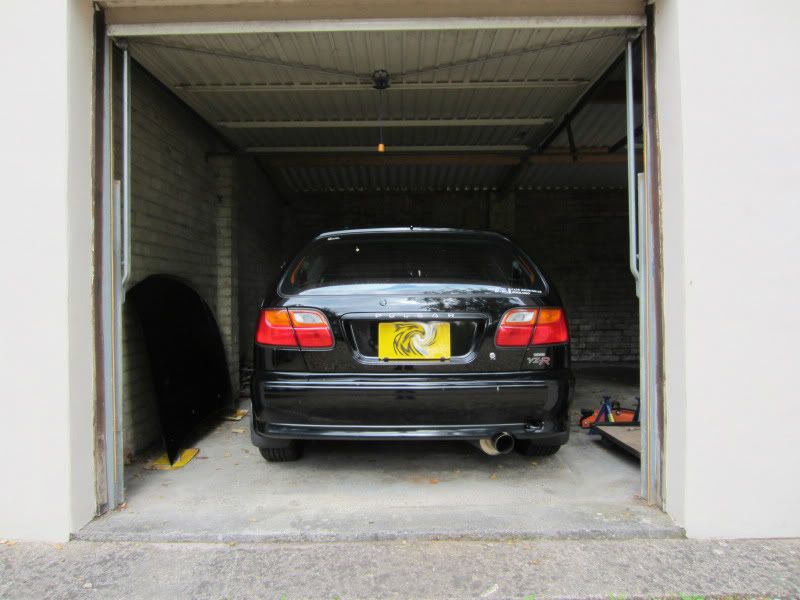
POC in Ireland had this un-registered and up for sale for a while with no interest then decided to break the car for parts which was a real shame I thought, so finances were addresses a deal was struck and I had just agreed to buy my 4th N15 :rockin:
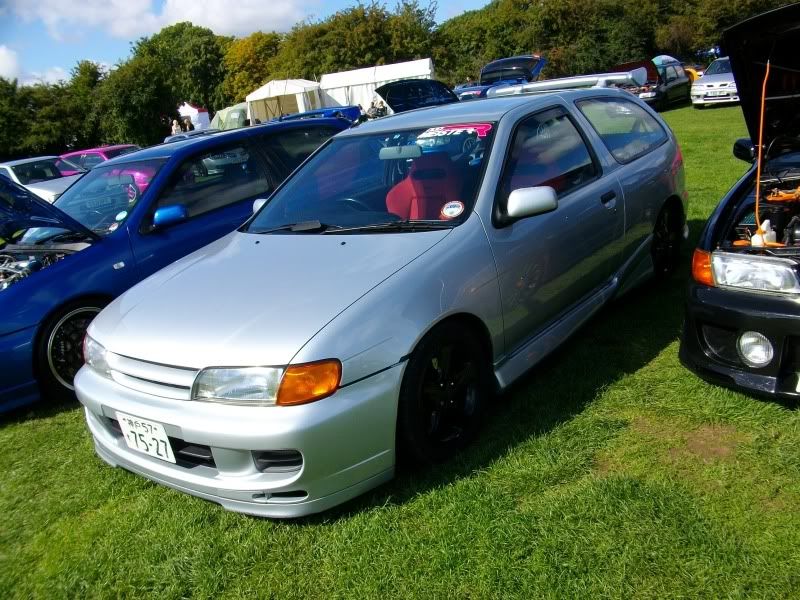
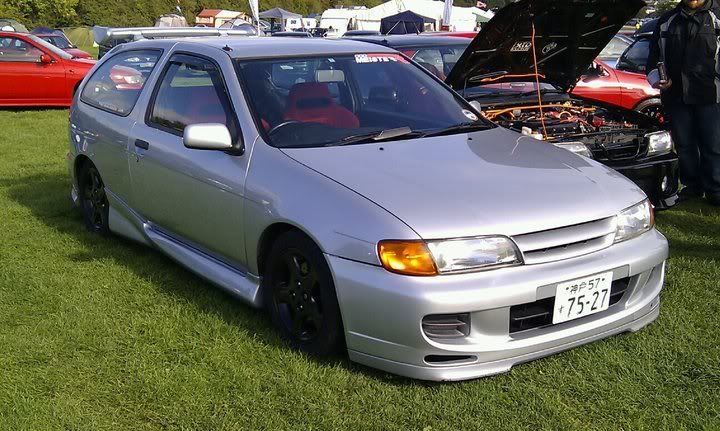
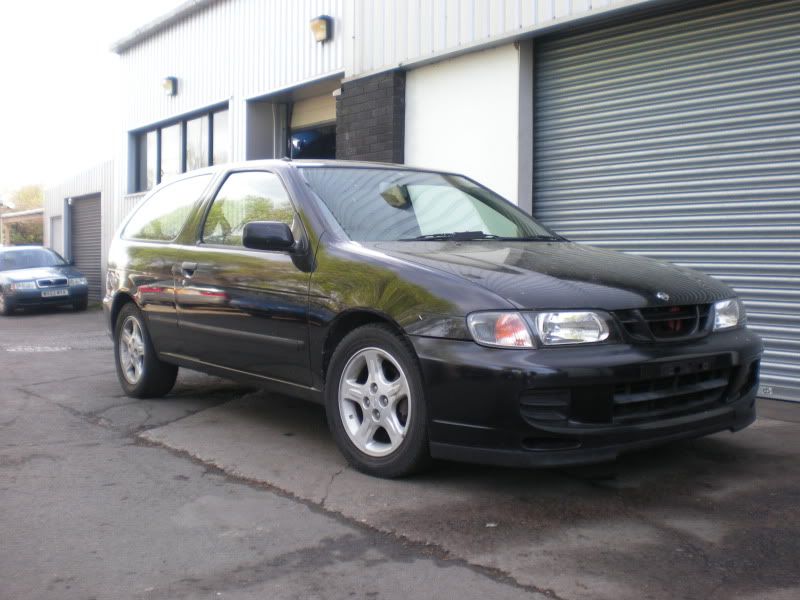
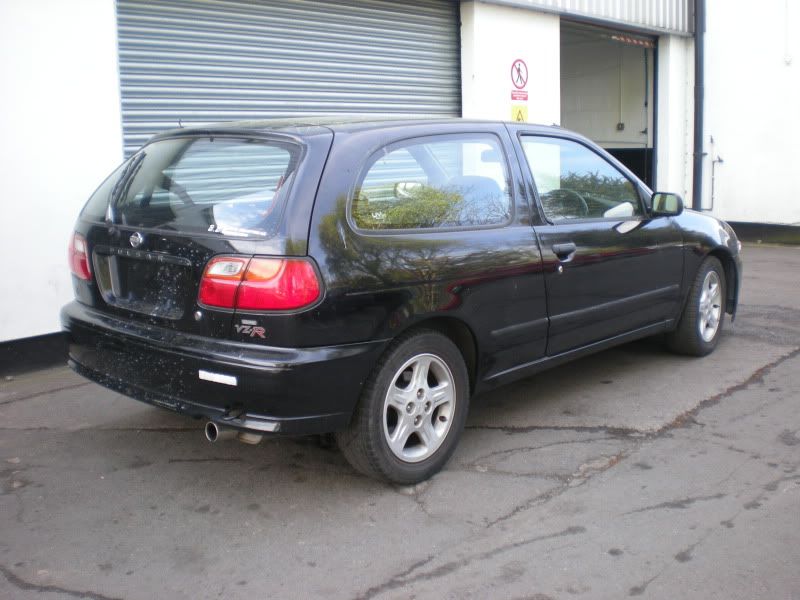
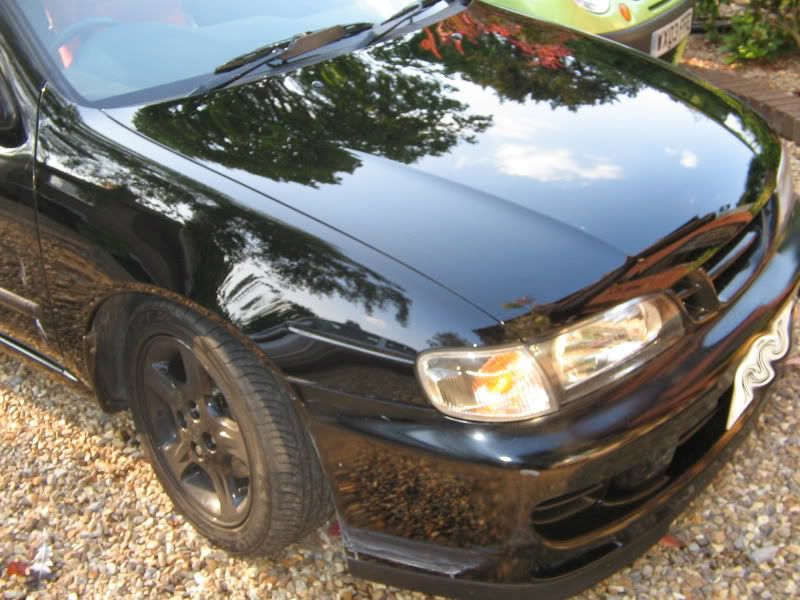
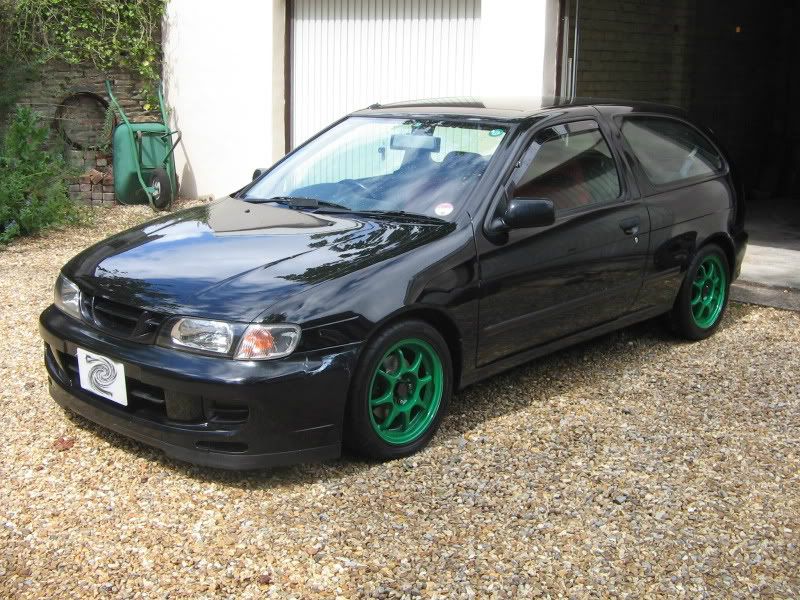
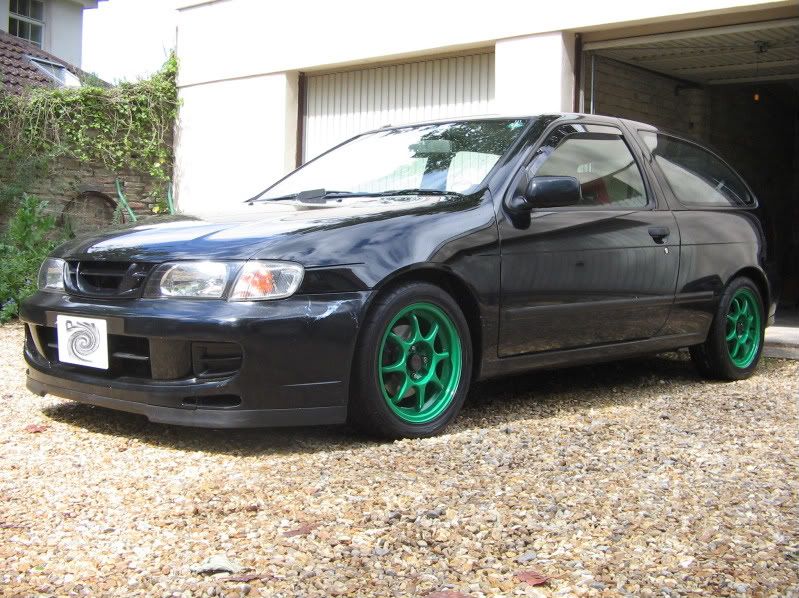
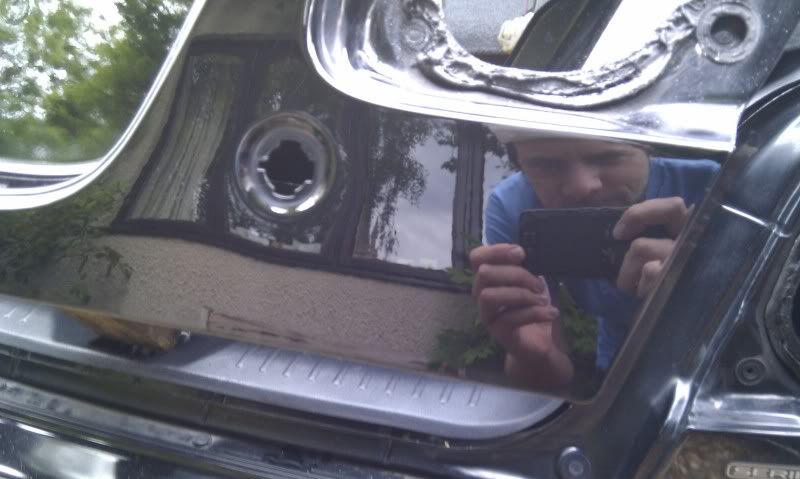
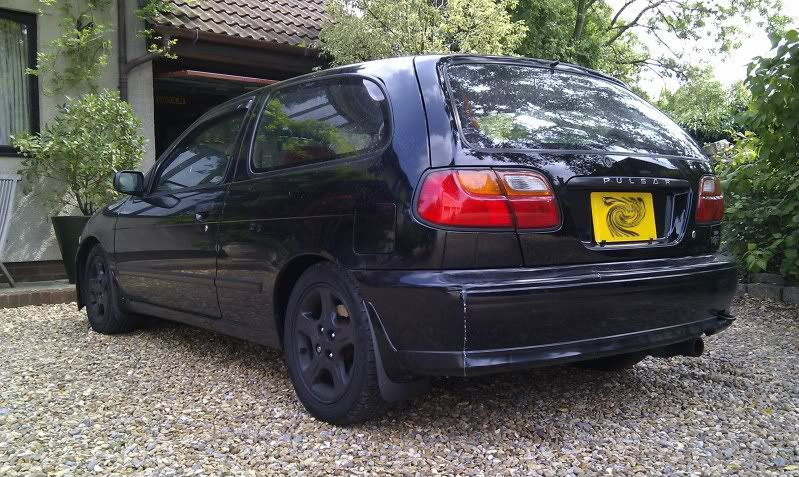
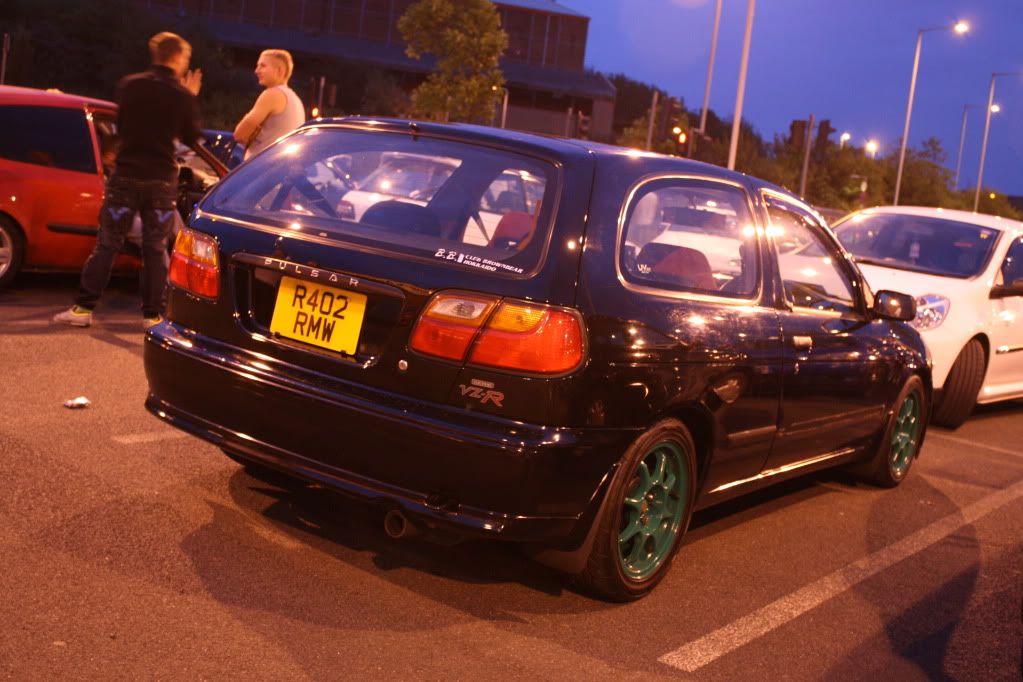
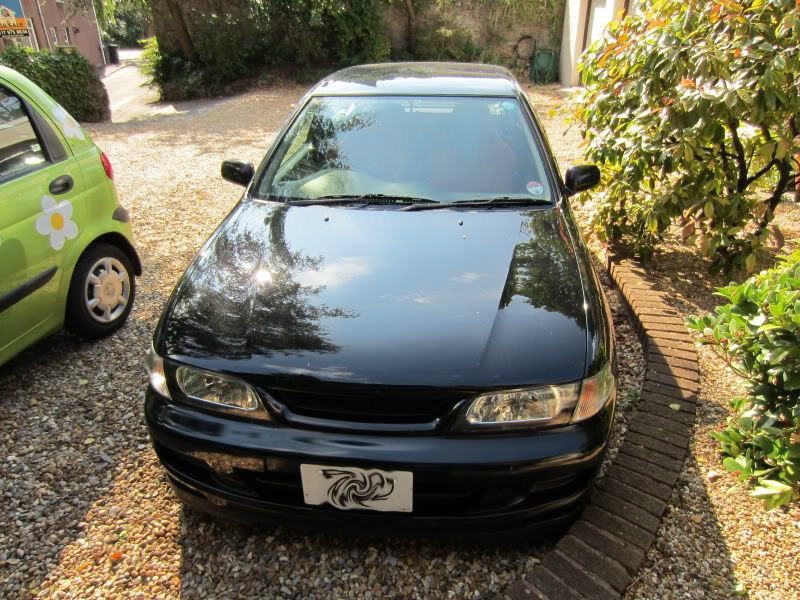
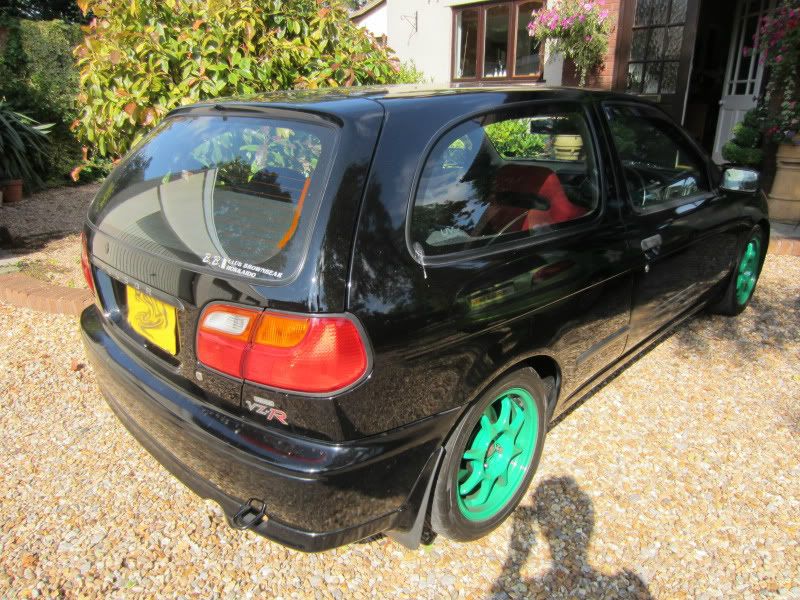
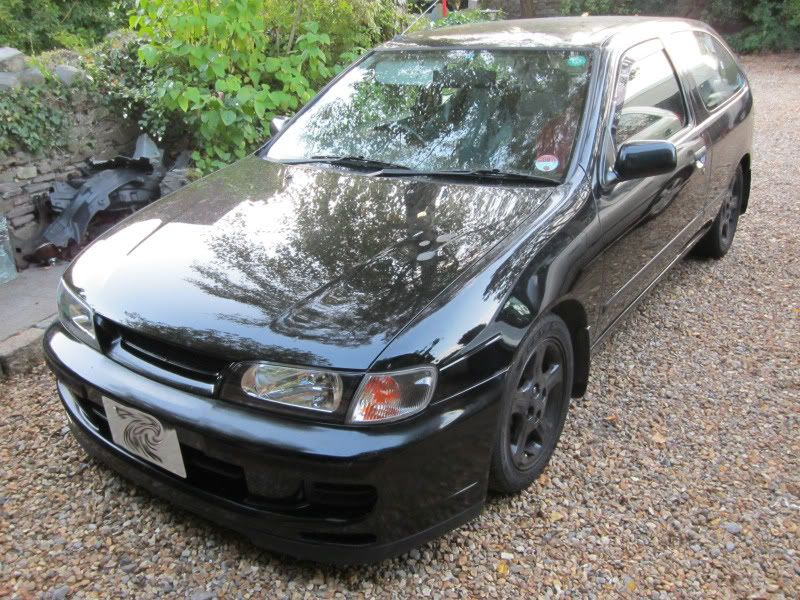
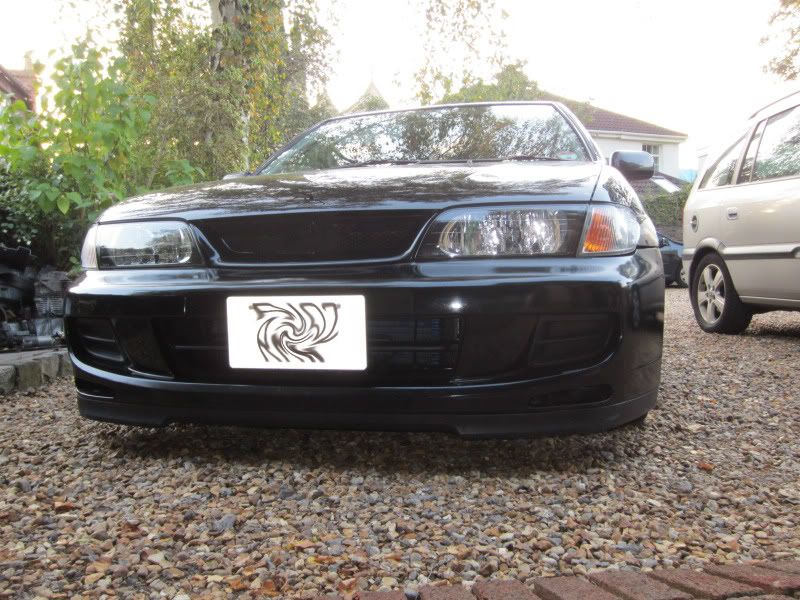
Few pictures from the original for sale advert
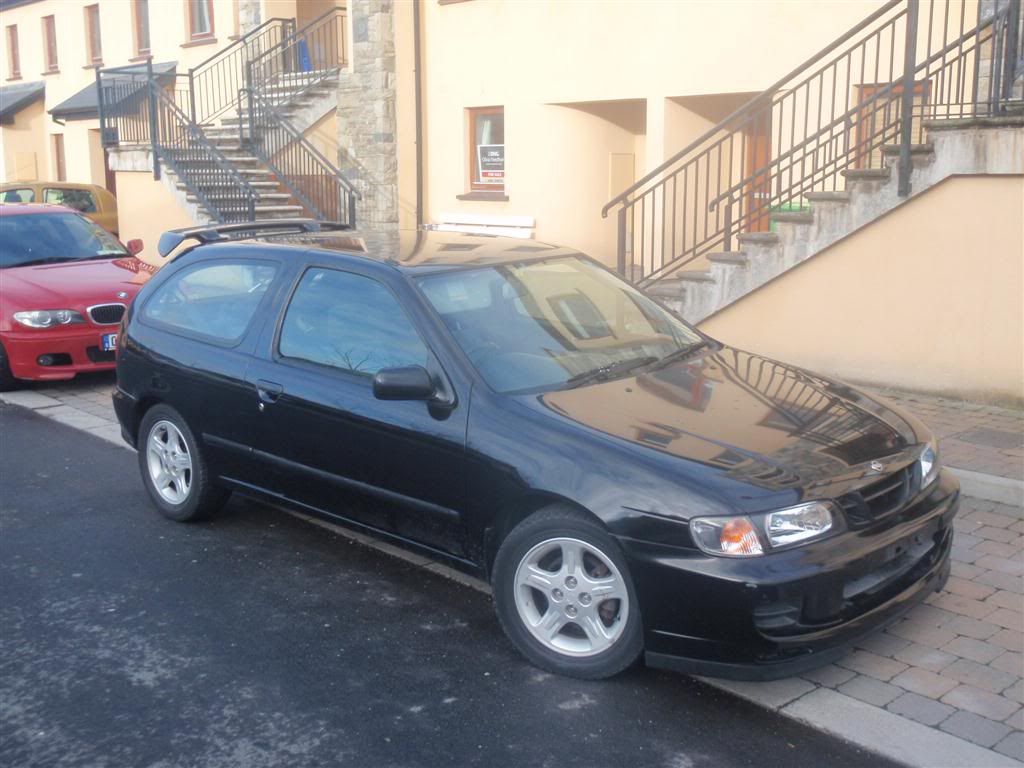
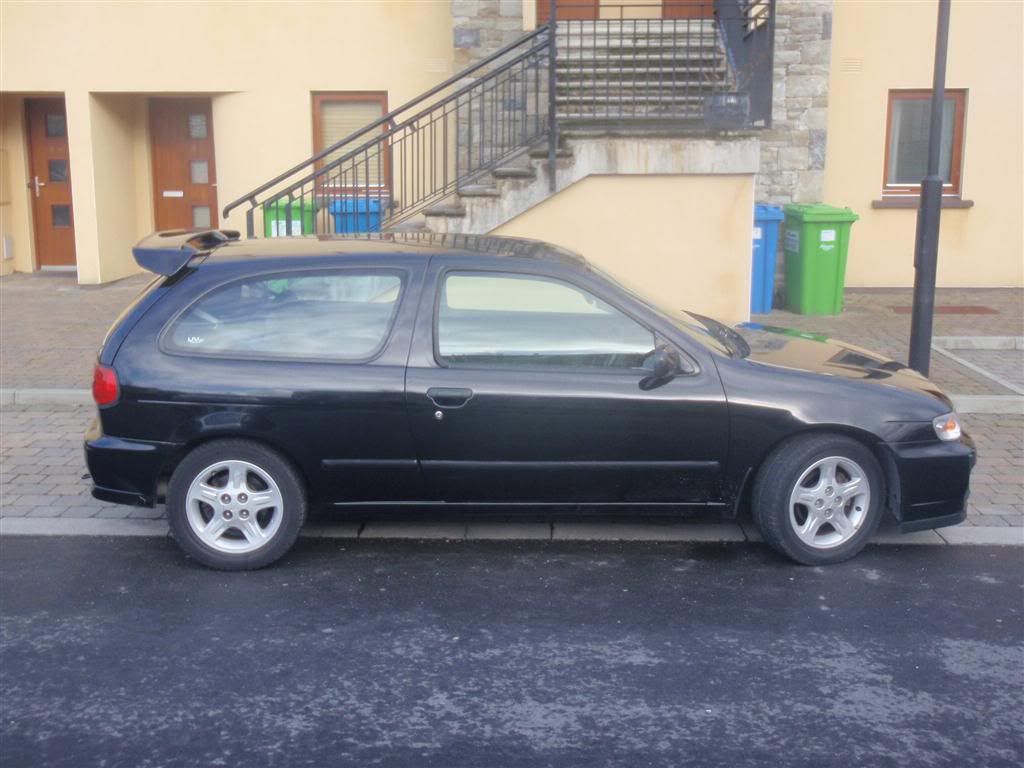
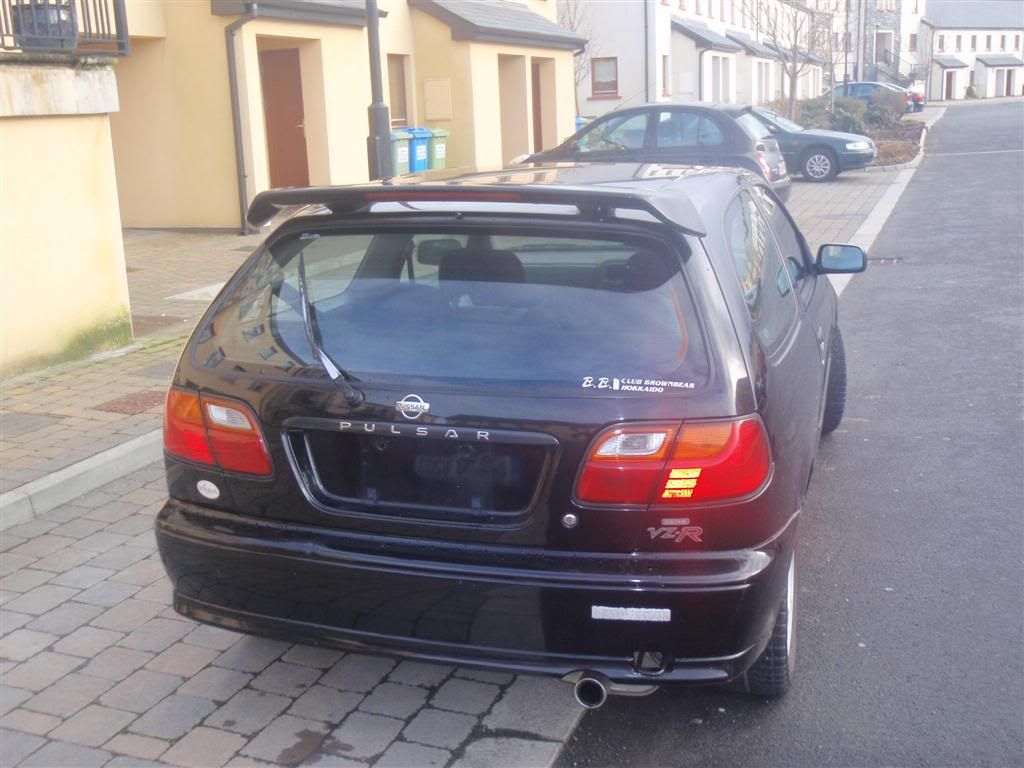
Completely stock bar some lowering springs and a set of HT Leads.
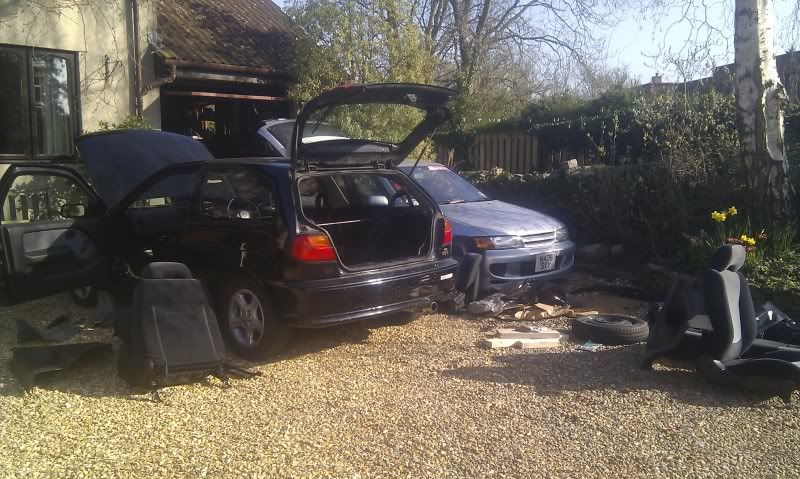
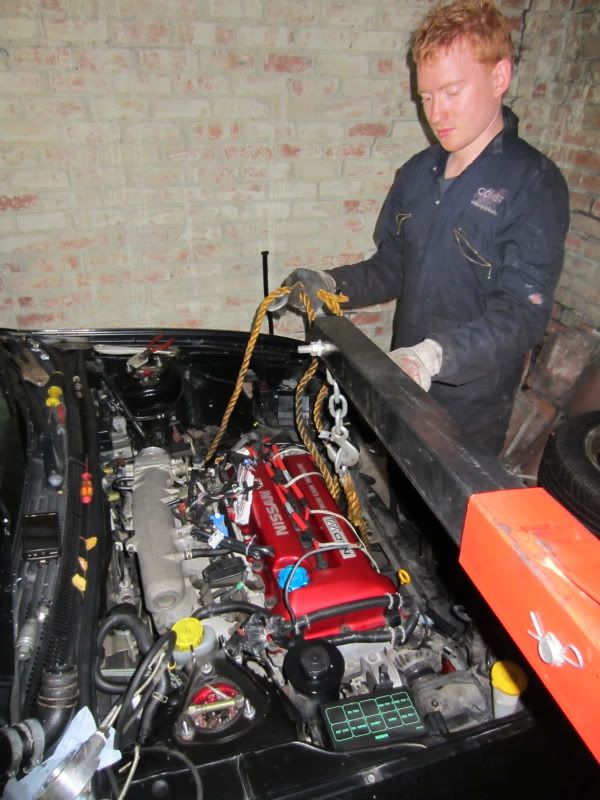
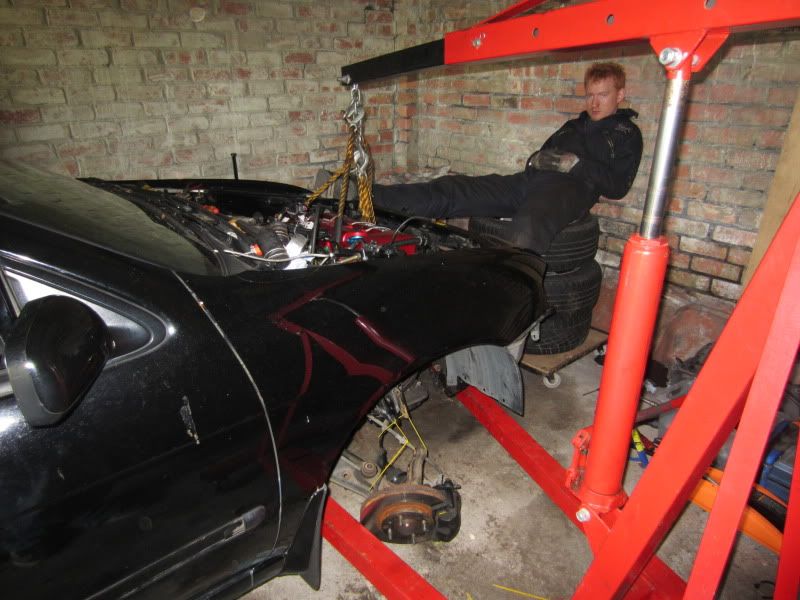
Now I had the task of removing all my go faster mods from the Autech returning it to stock and get it sale ready.
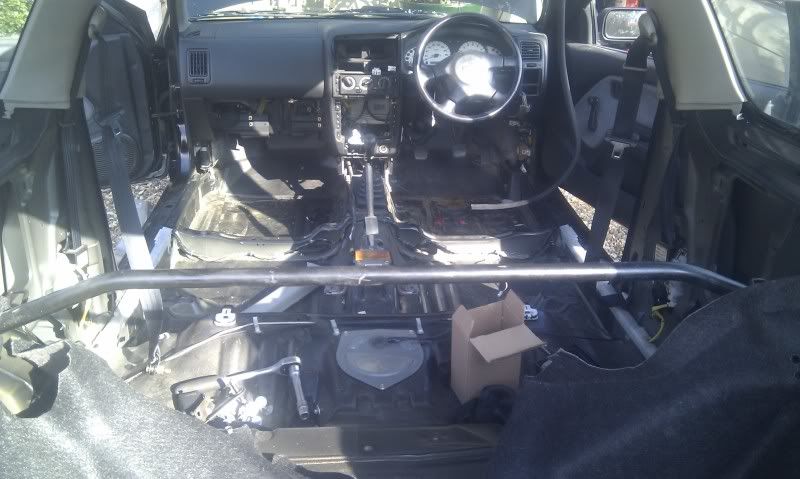
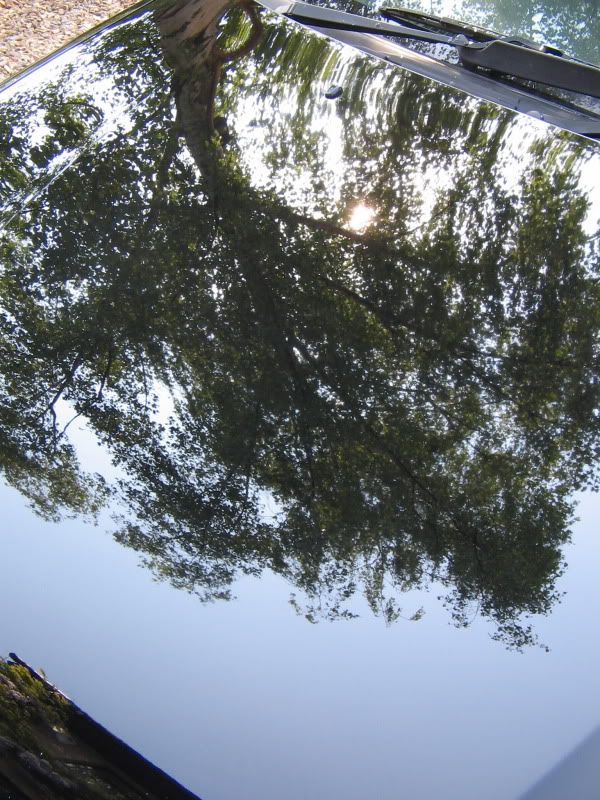
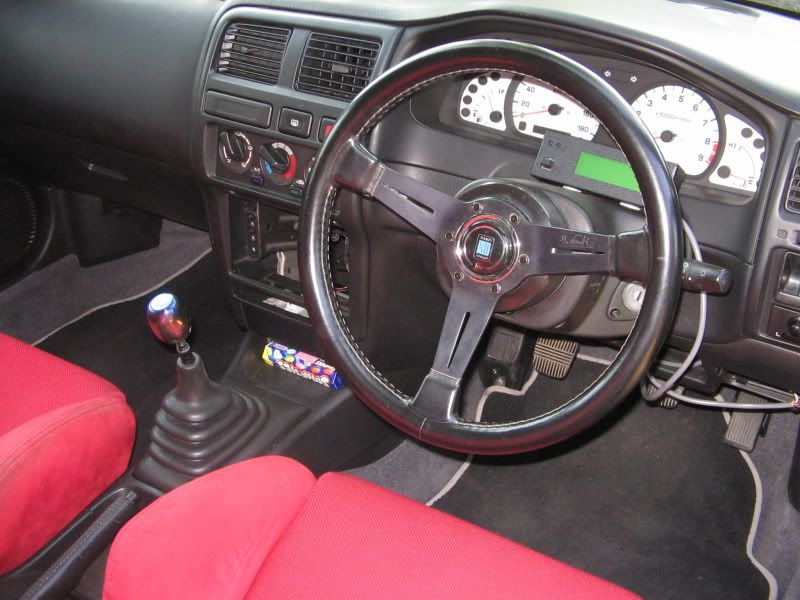
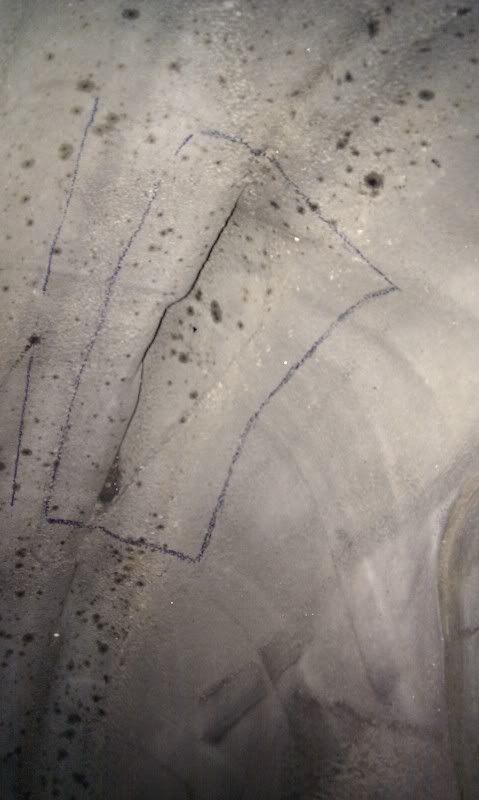
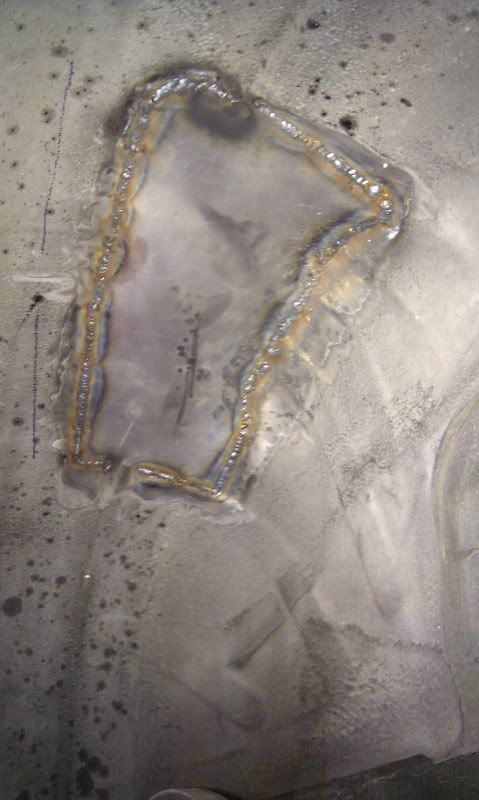
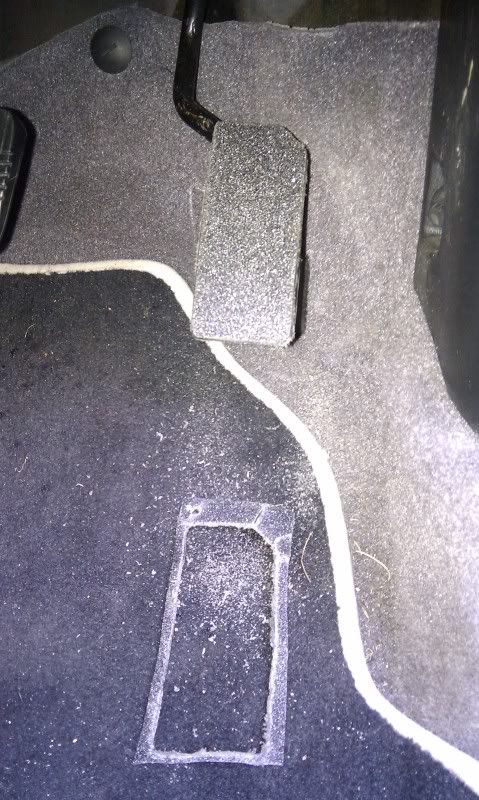
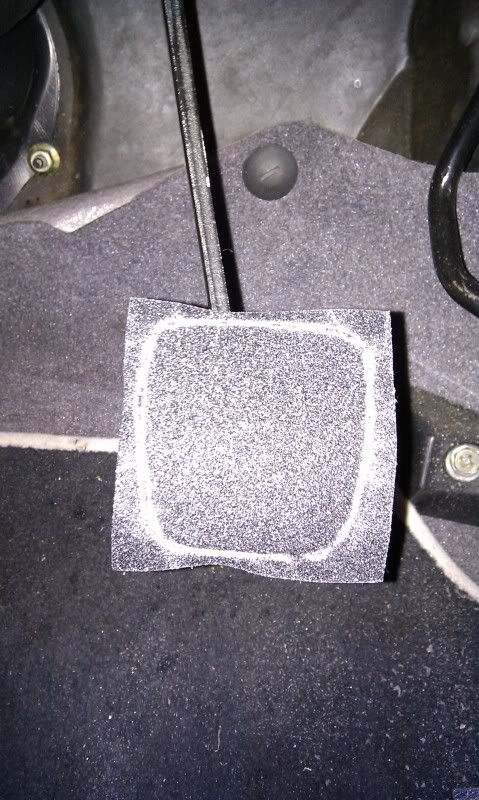
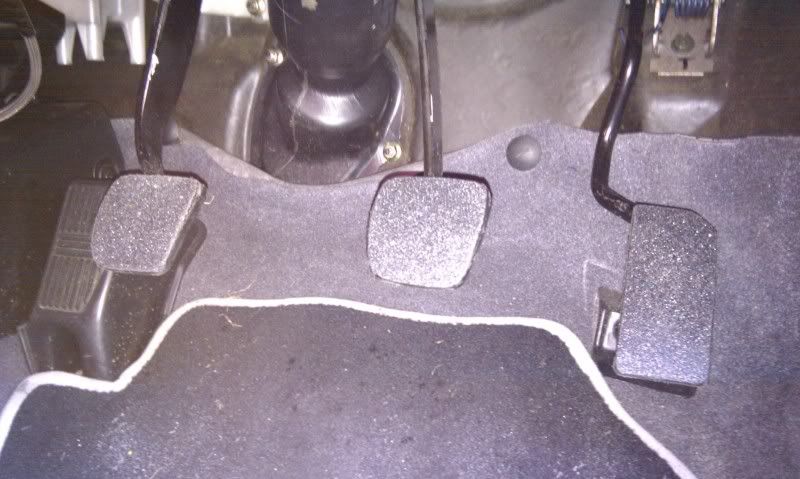
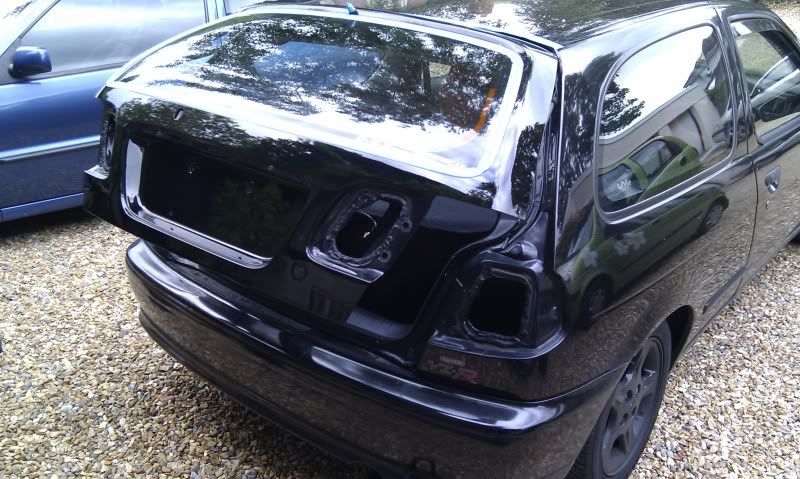
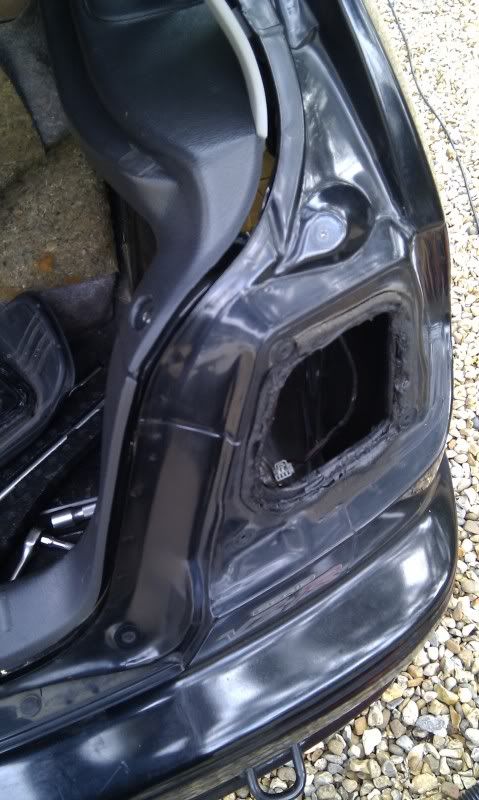
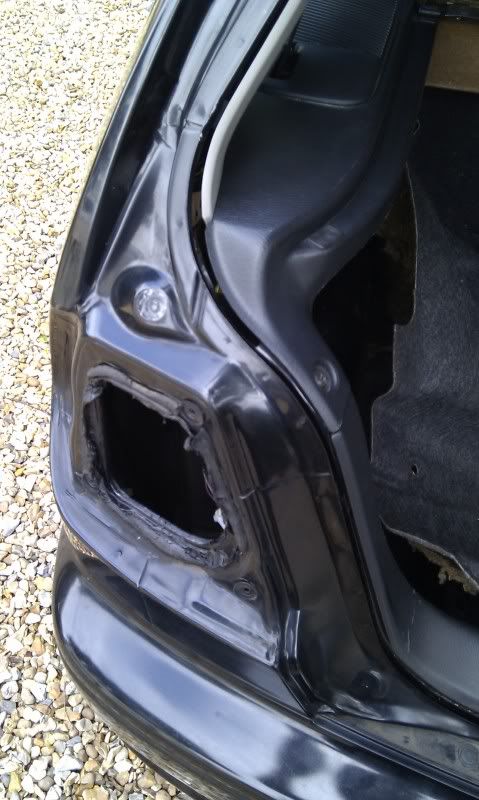
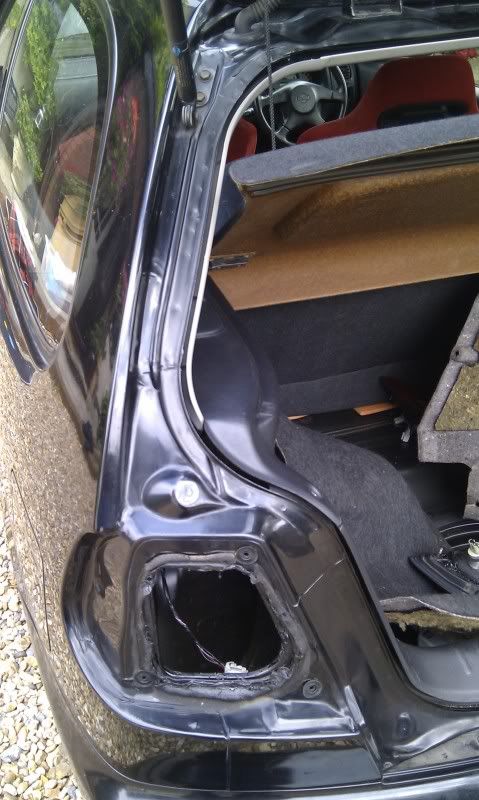
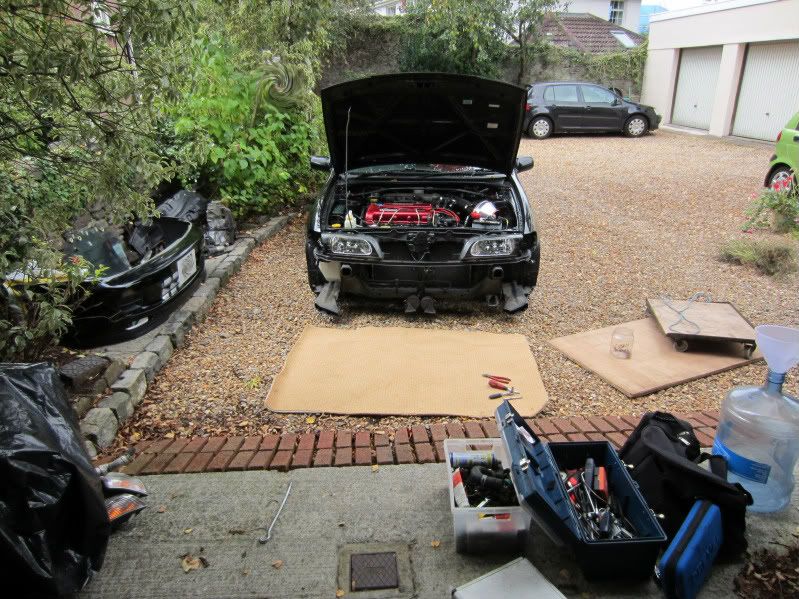
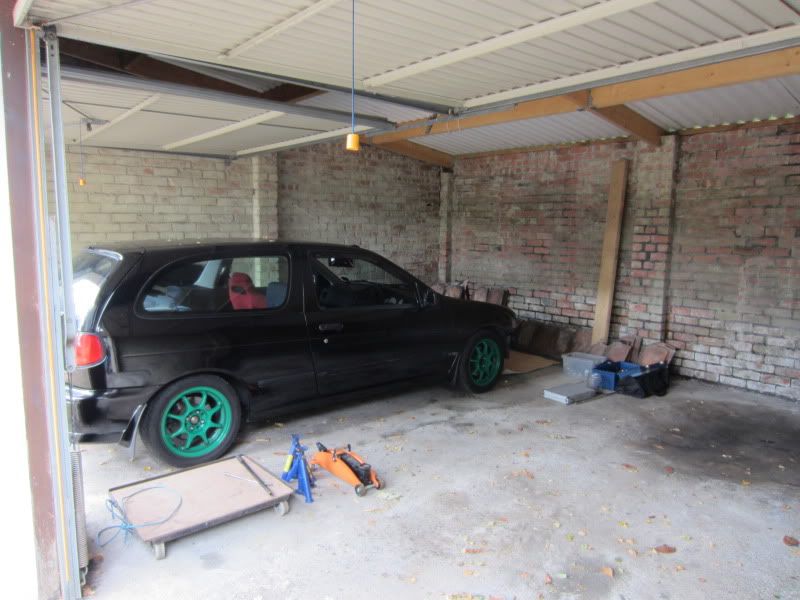
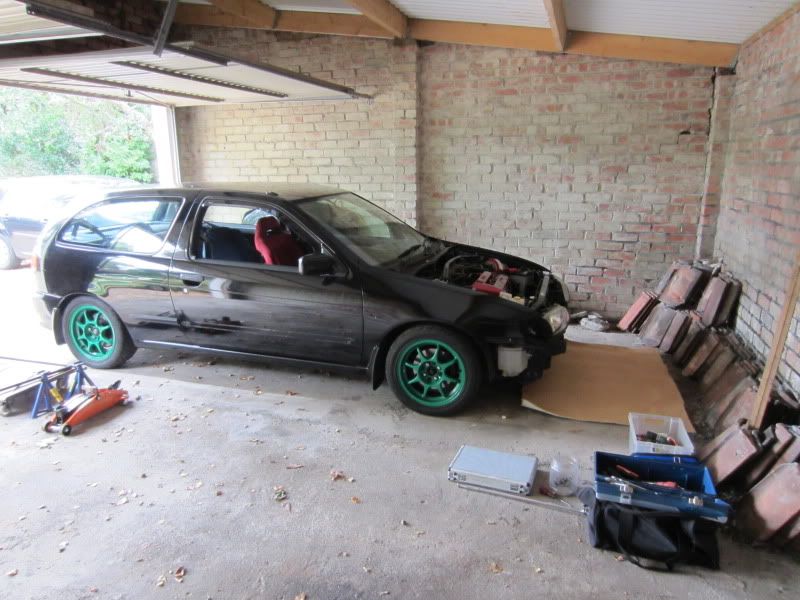
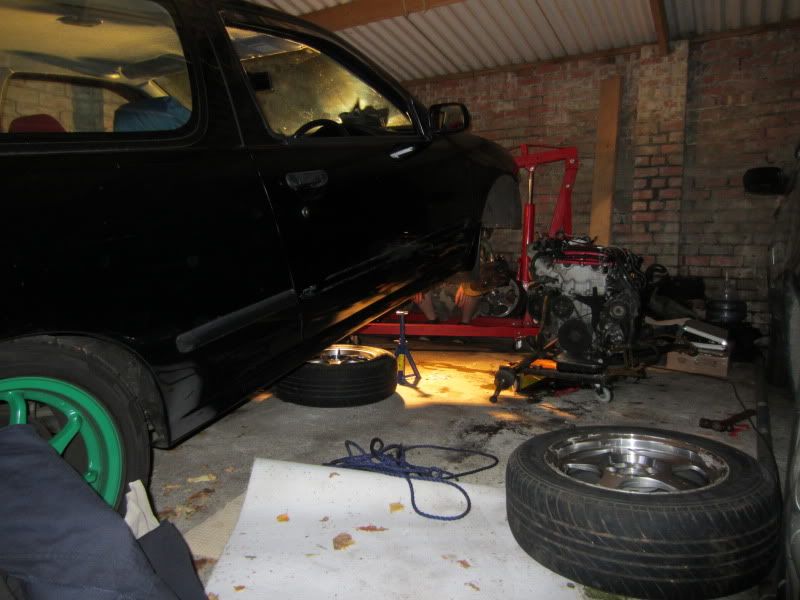
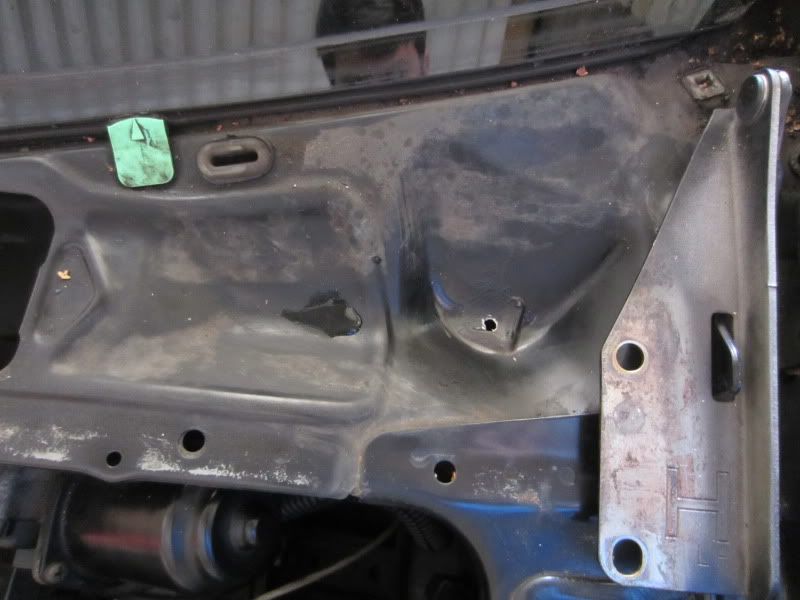
A very long 12 hours later I had the car back on my driveway and got my teeth into it straight away stripping out the interior to find what I was dealing with, the previous owner in Japan had attempted to remove the sound deadening but done a bad job of it removing more paint than anything else. This had resulted in surface rust on the floor of the car the only bad point though really the shell bar a few car park dinks in the panels is mint
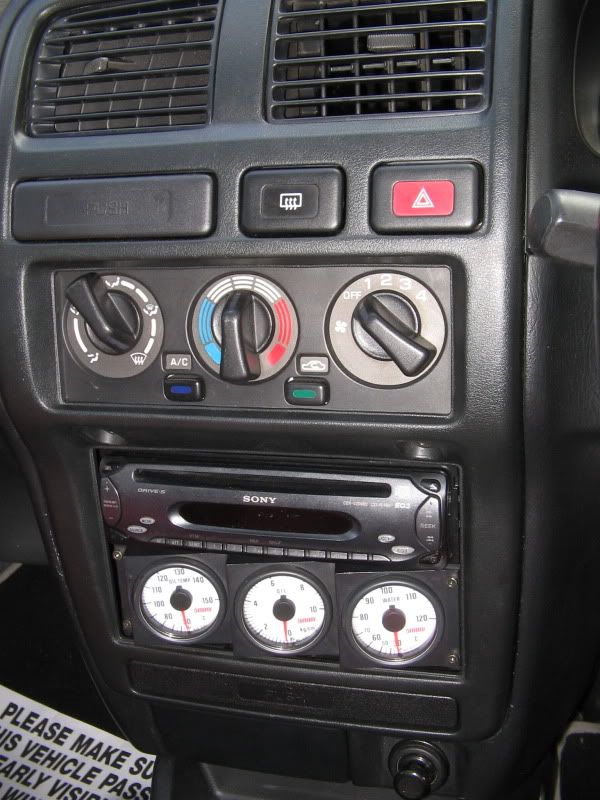
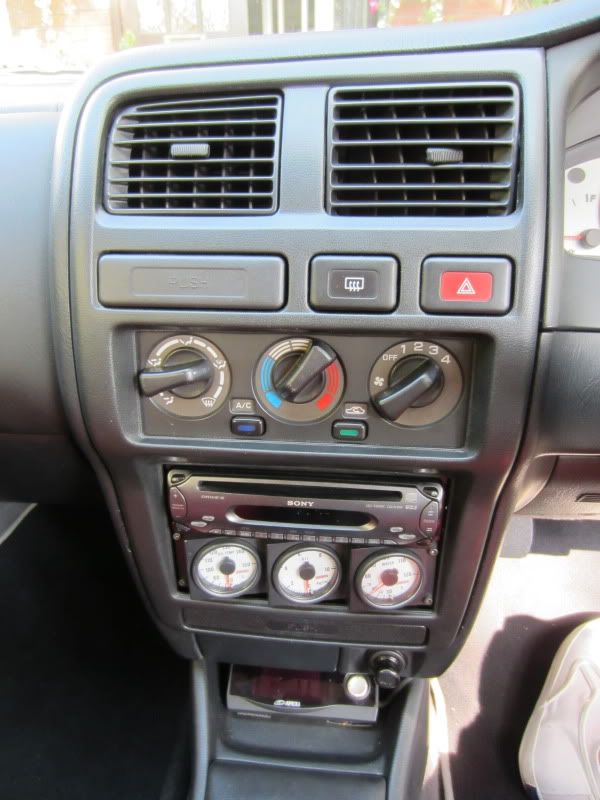
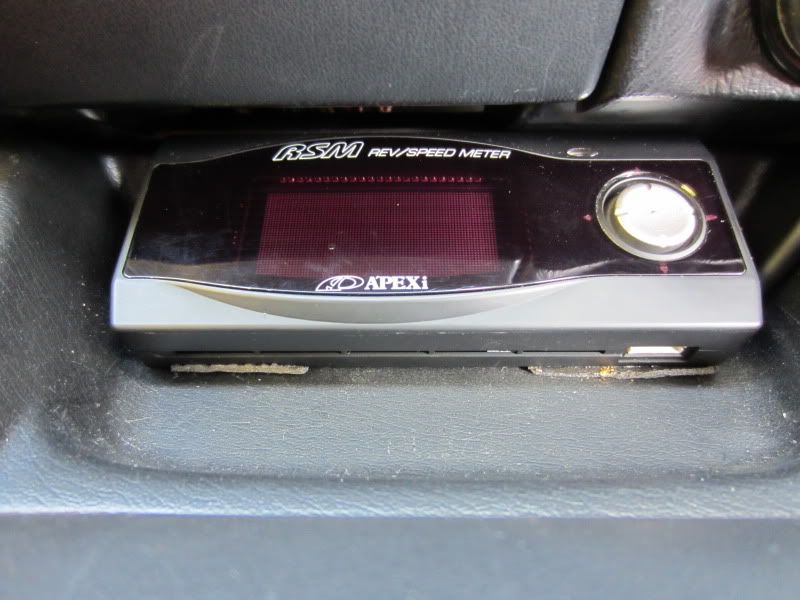
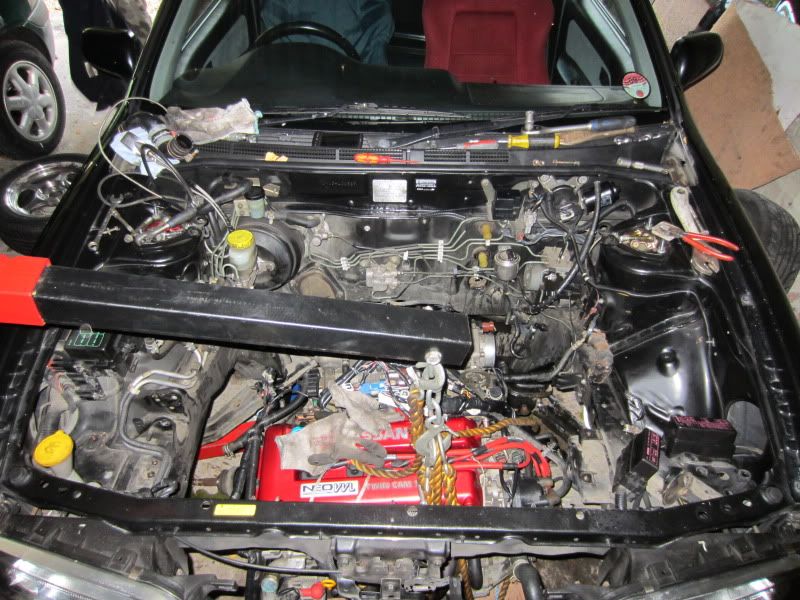
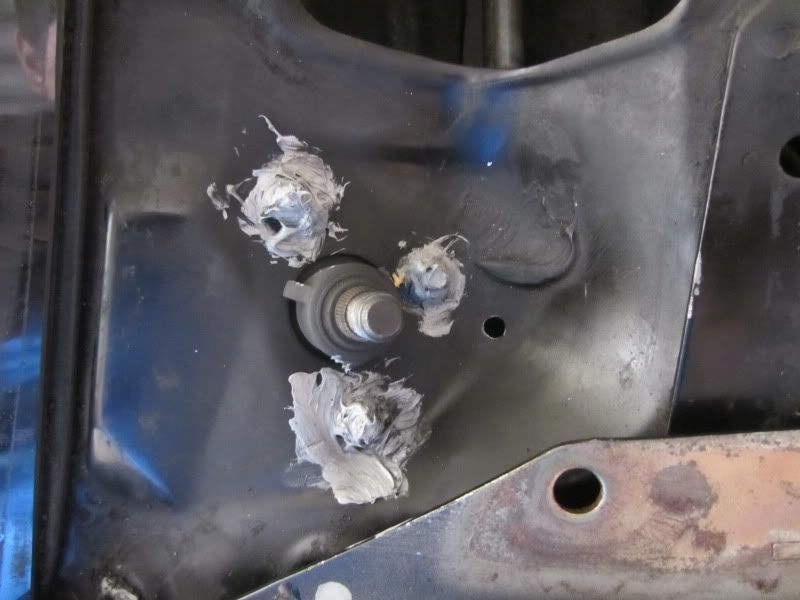
There had clearly been alot of electronics fitted in the car which had been removed so there was alot of redundant wiring in around the dash area.
Registering it and getting it road legal took around 2 weeks once the Licensing agency had sorted themselves out.
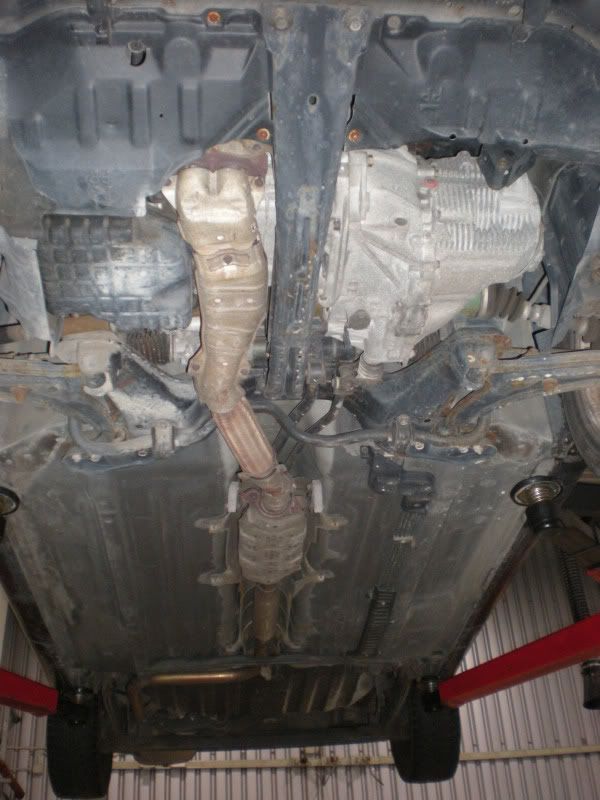
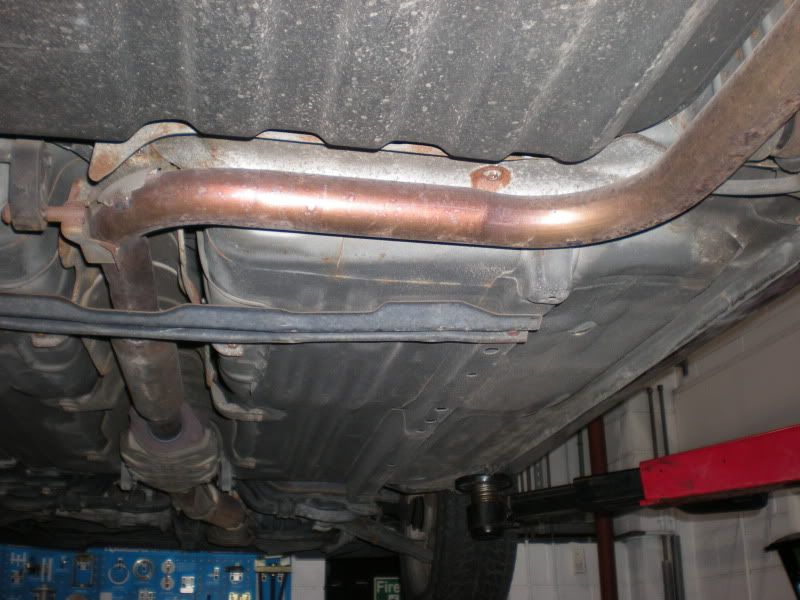
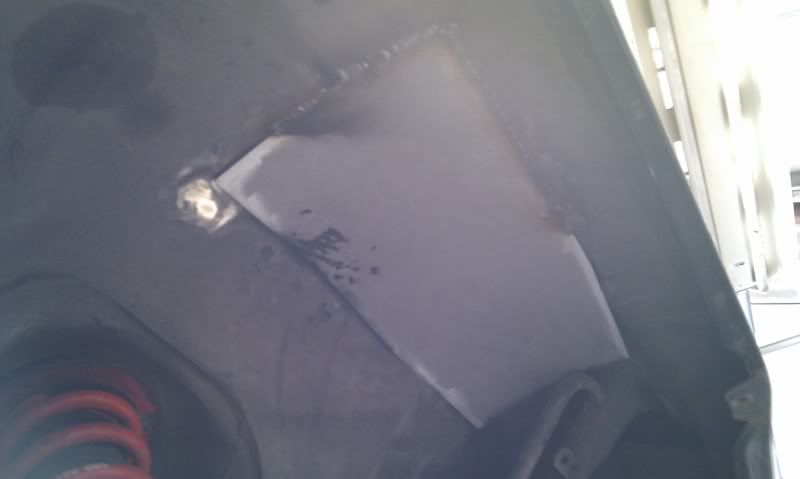
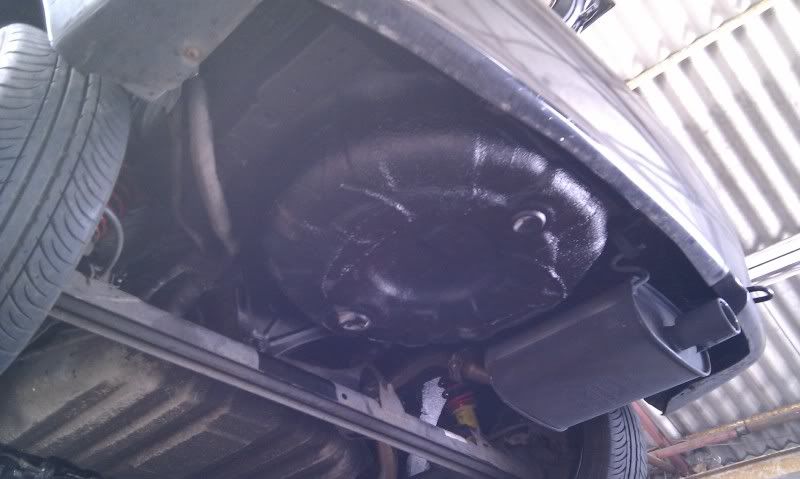
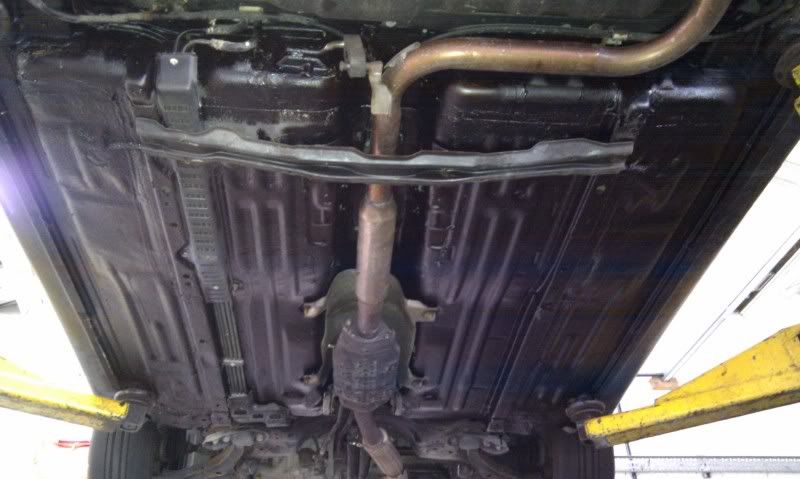
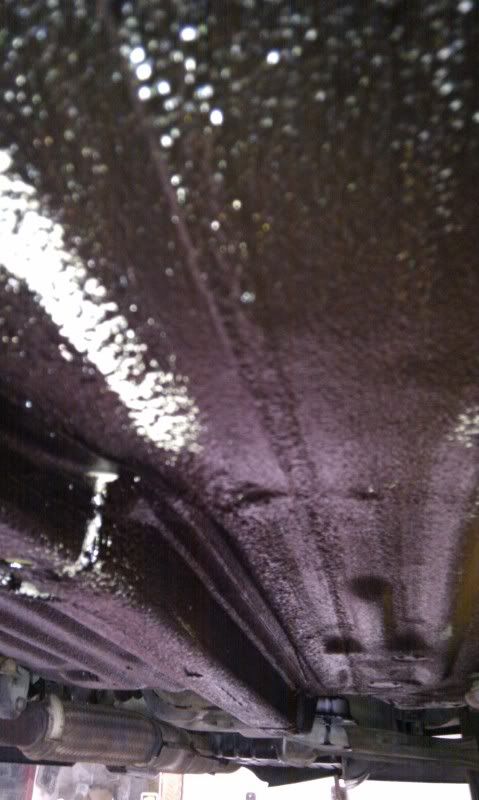
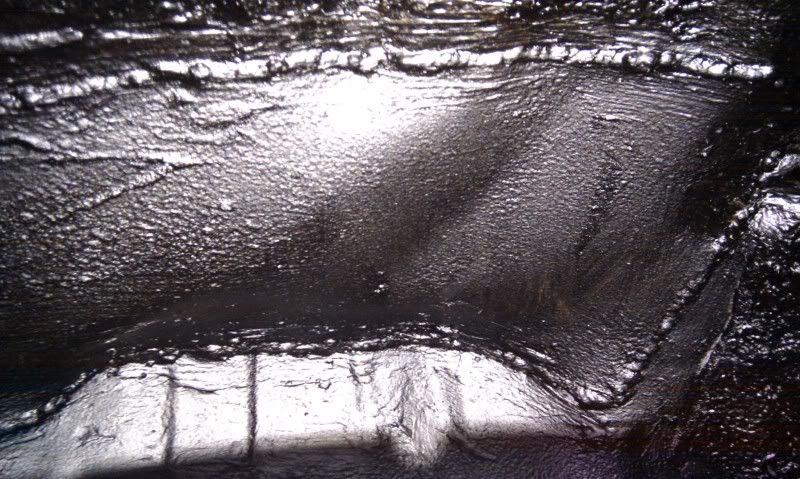
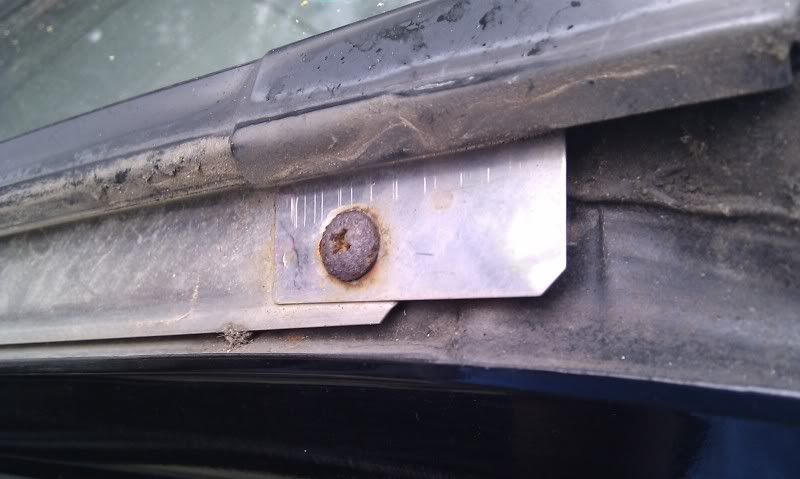
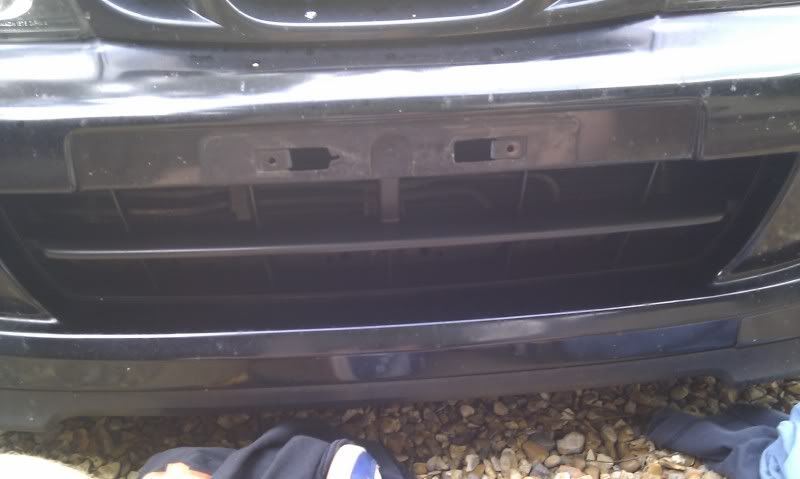
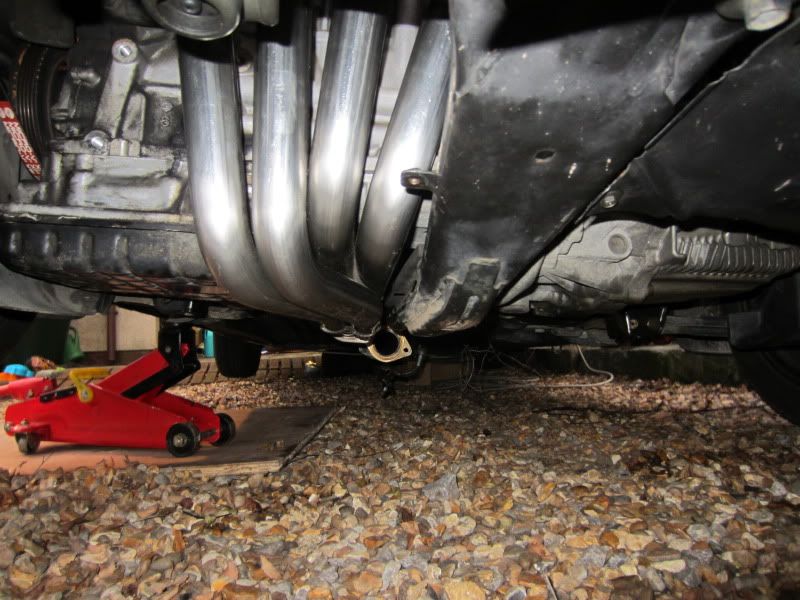
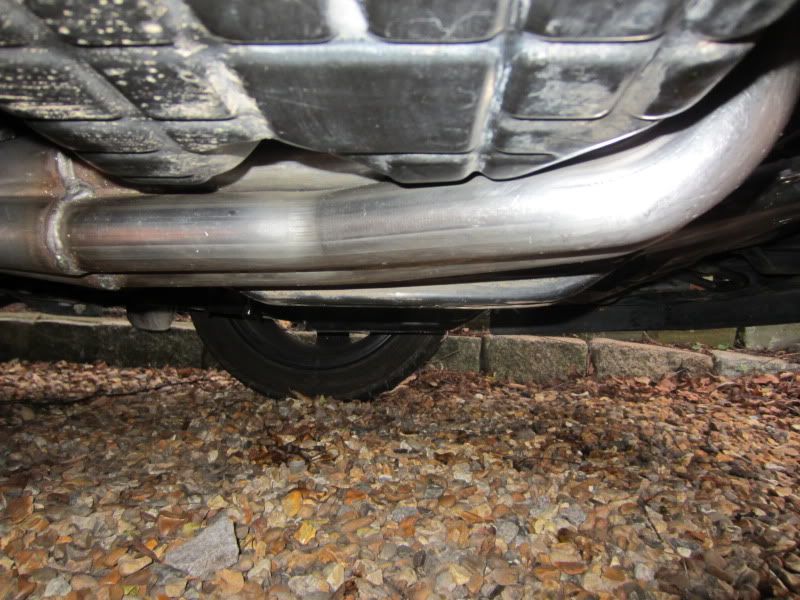
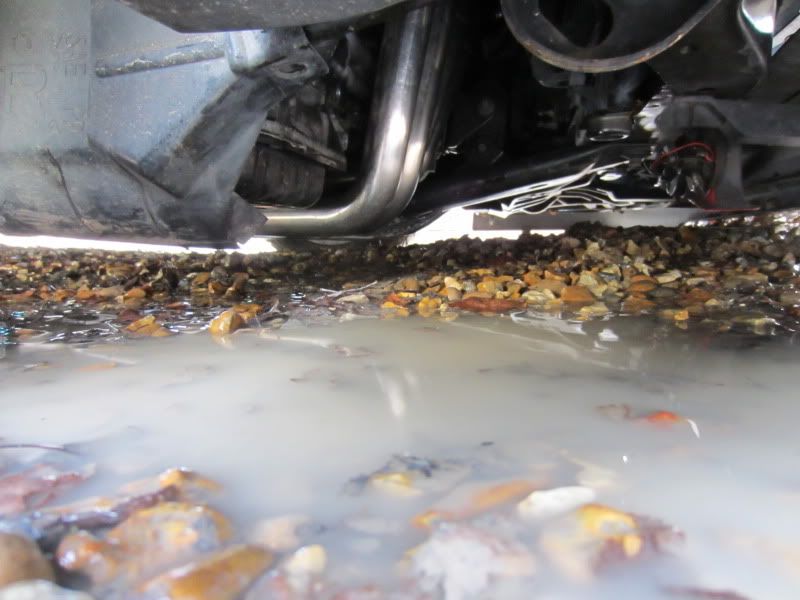
Pictures from the MOT (The wing was sold whilst the car was being parted out)
Nice and clean underneath
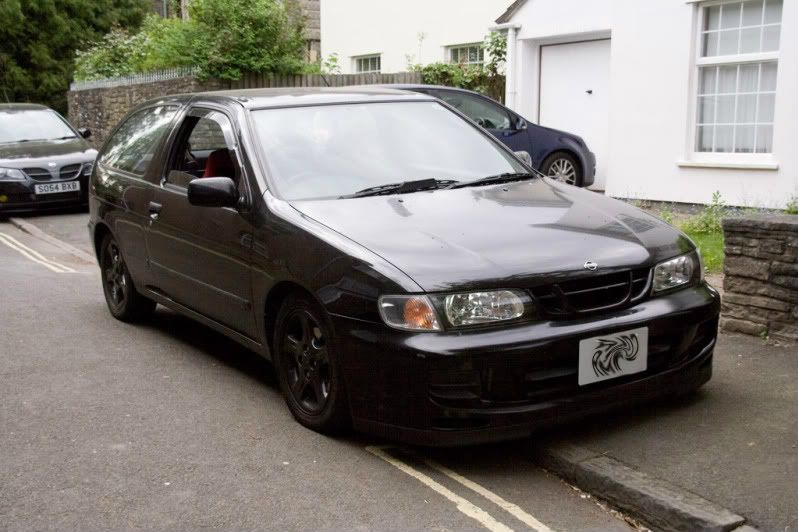
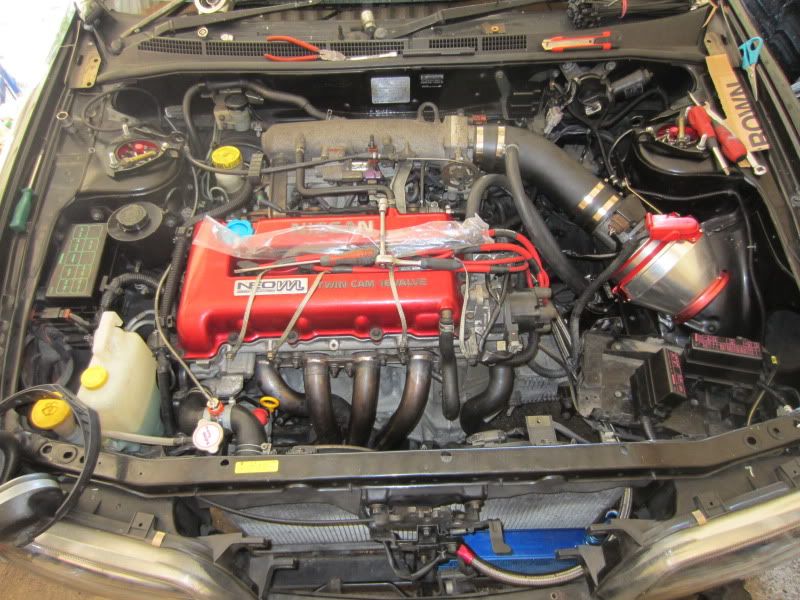
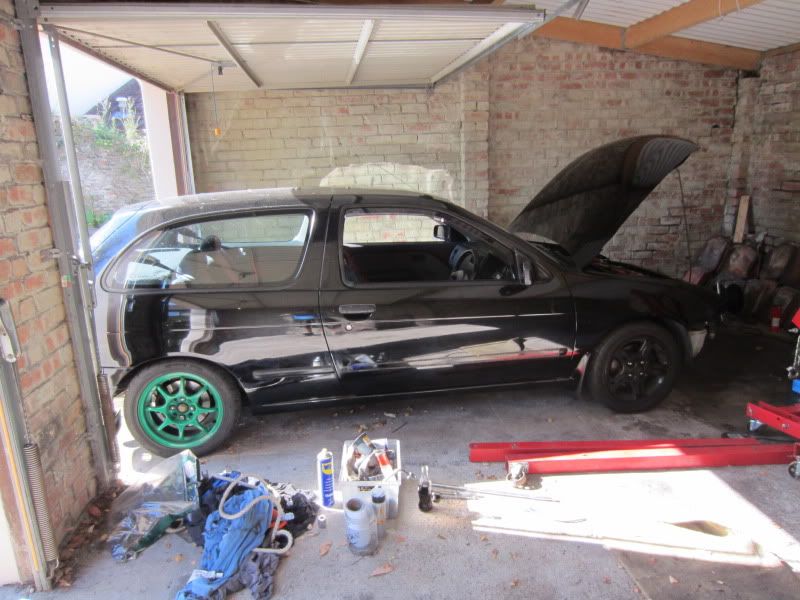
Once this was done as nice as it was to drive in stock form it was a HELL of a difference to the beast that the Autech was so I began fitting bits.
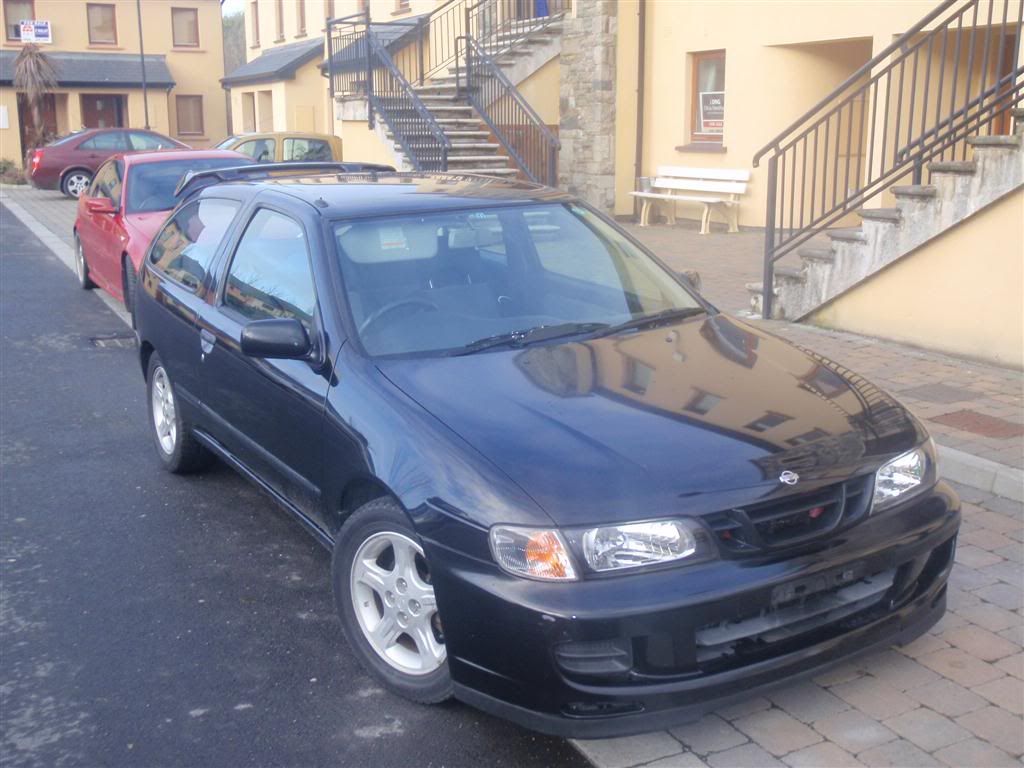
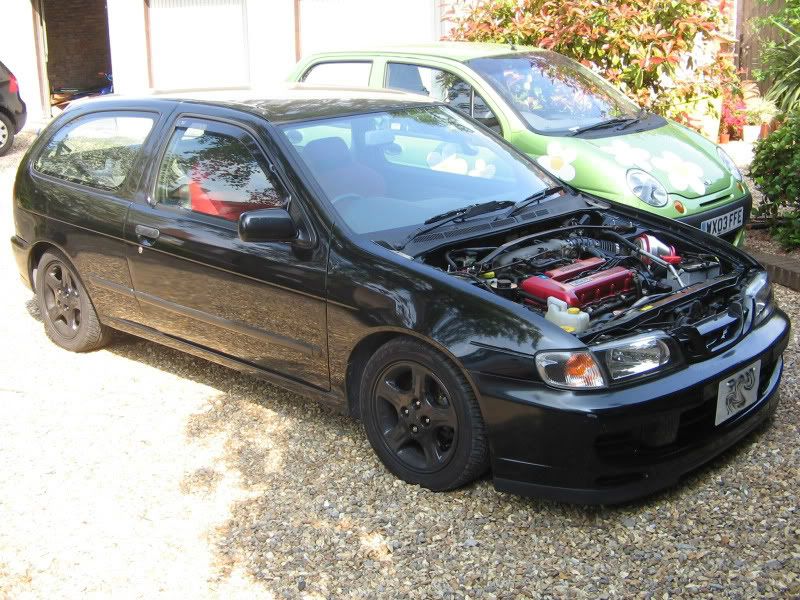
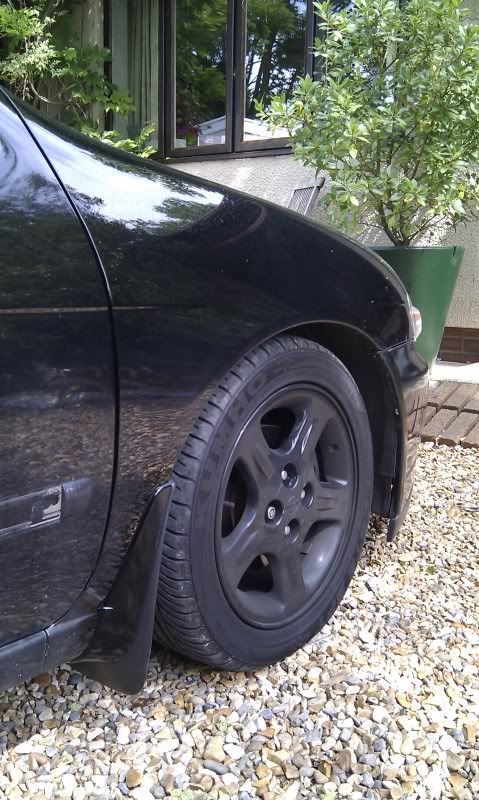
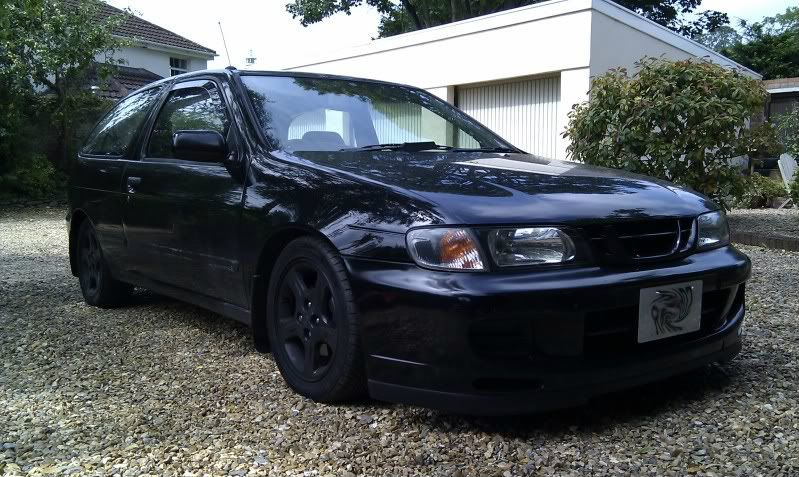
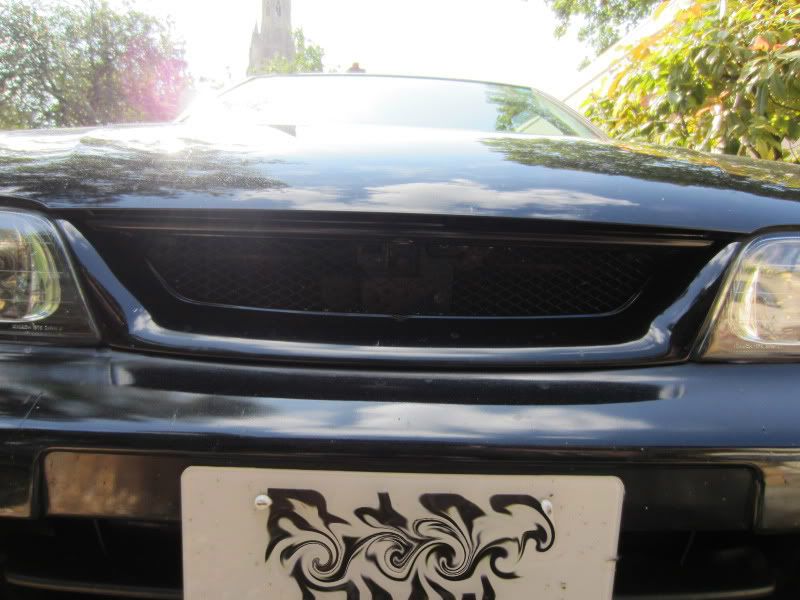
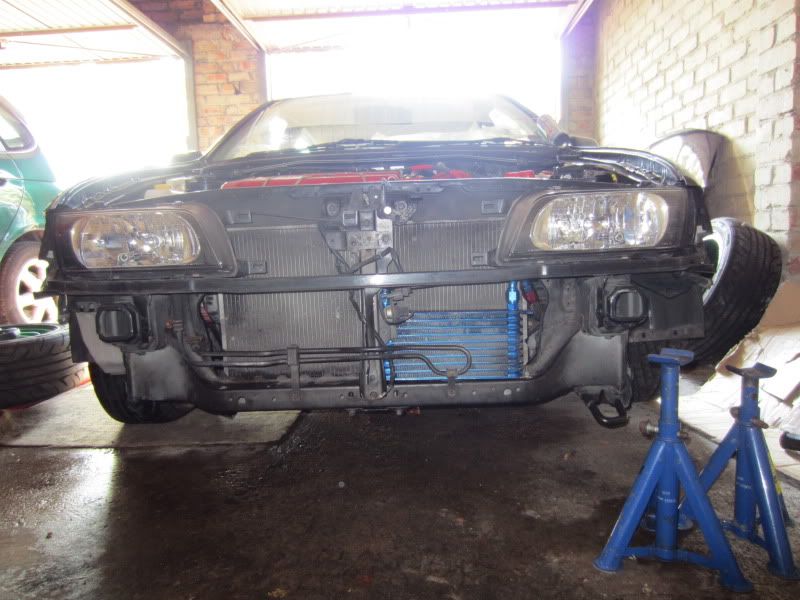
First was the coilovers from the Autech so get it sitting pretty and my stock black wheels which resulted in.
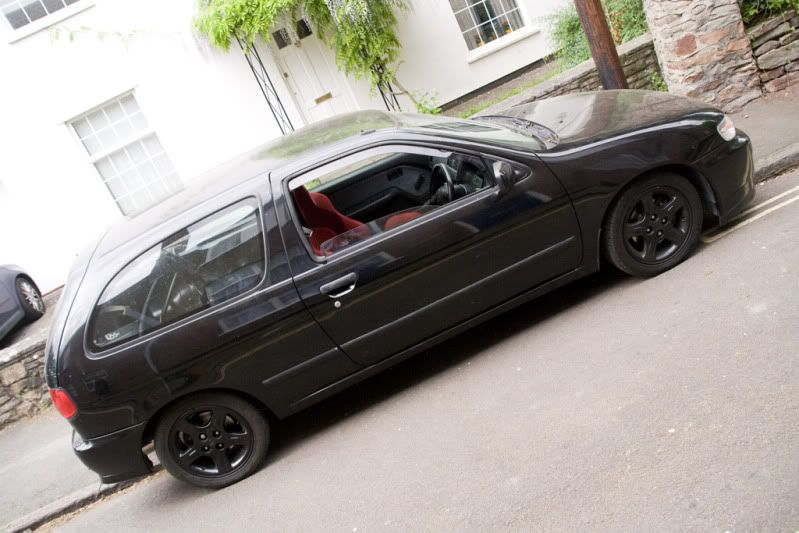
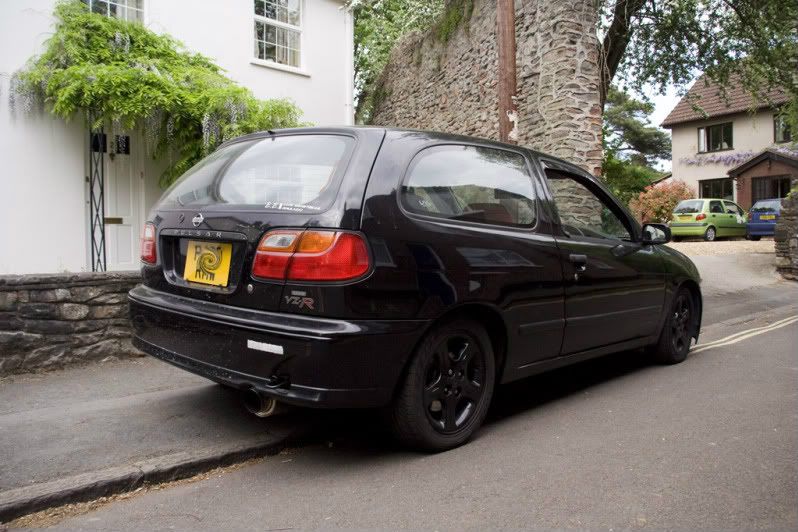
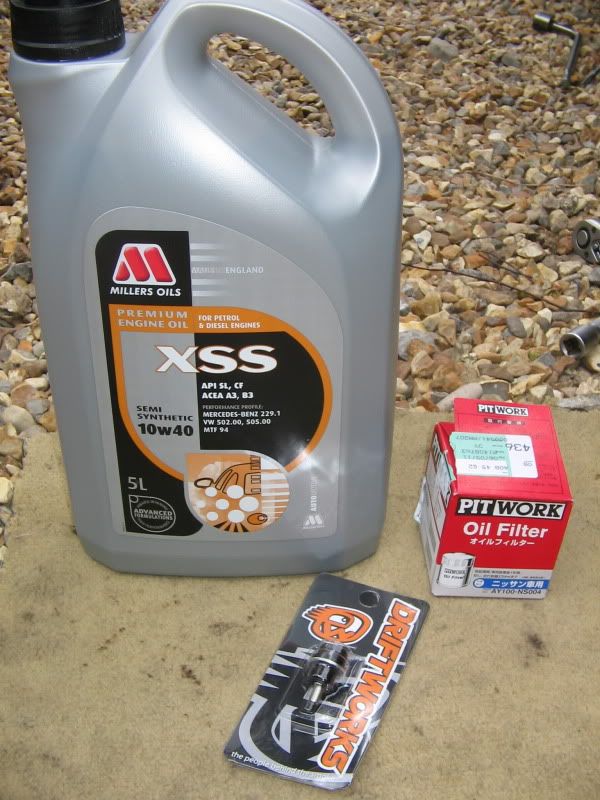
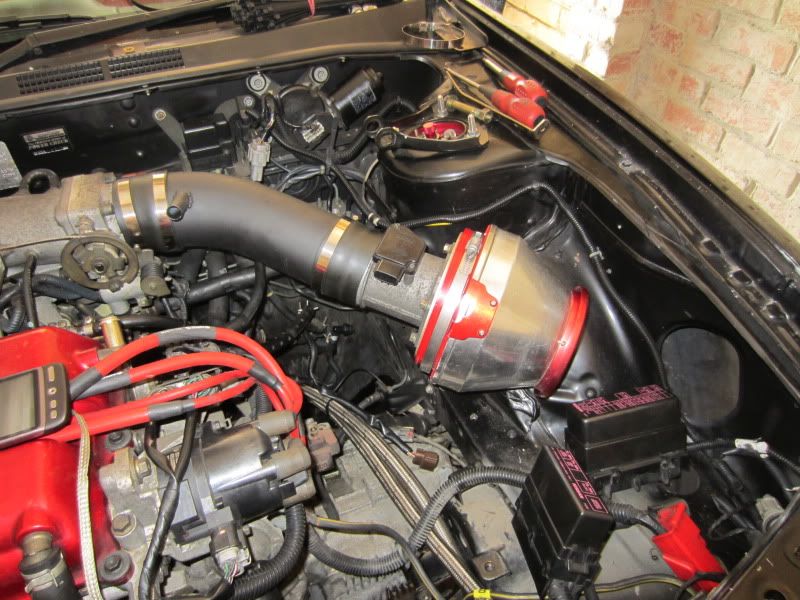
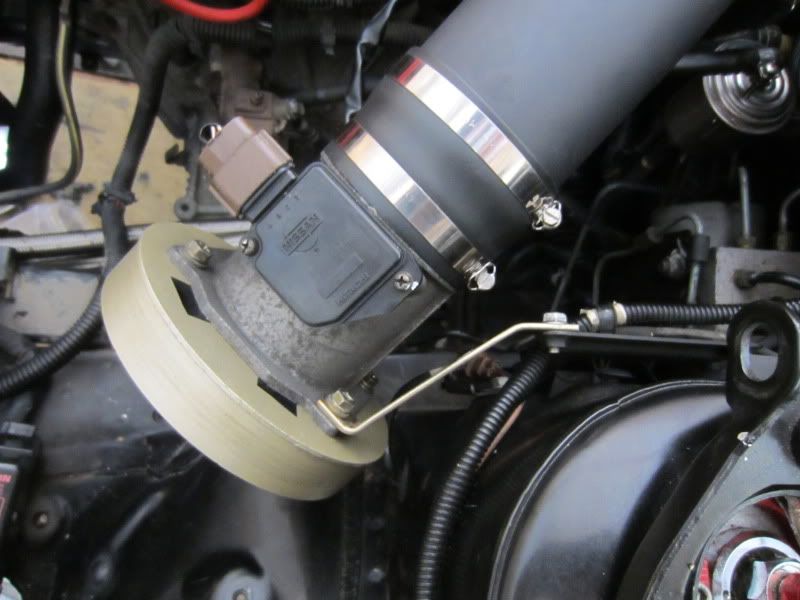
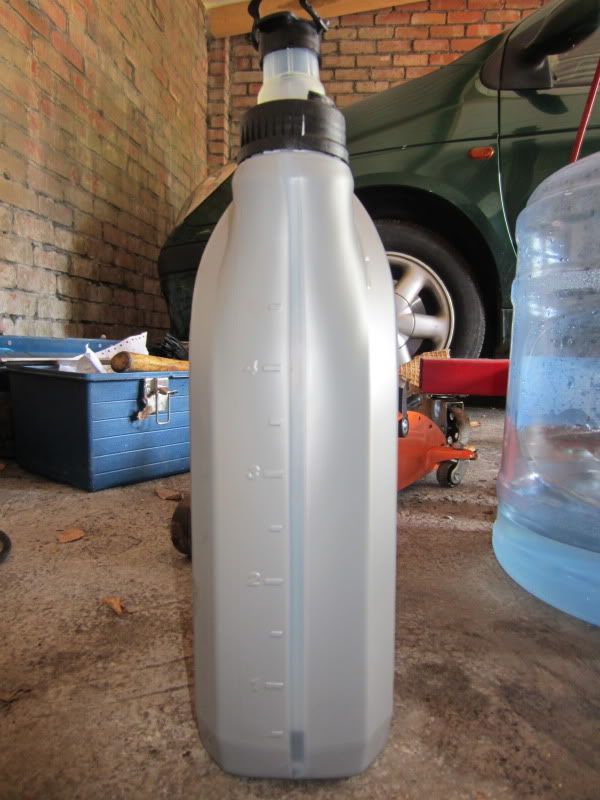
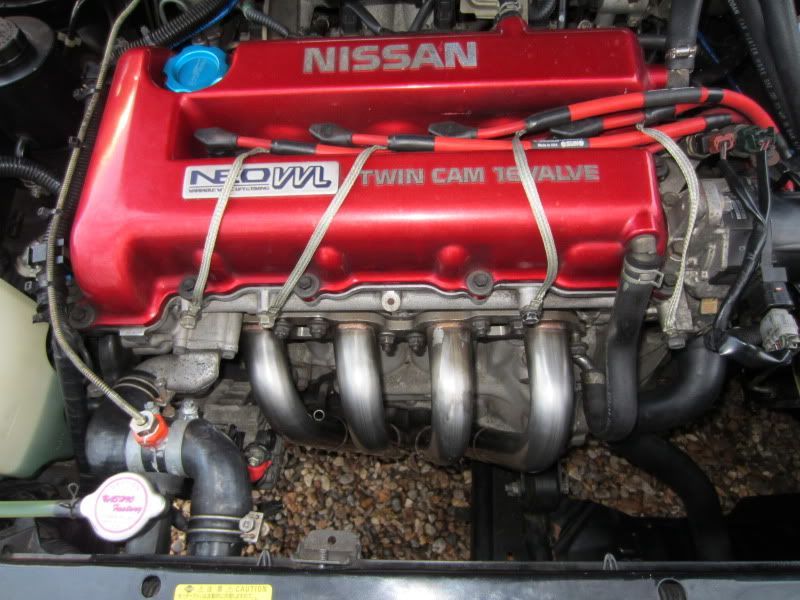
I had got with the car a 5Zigen Pro Racer Catback so naturally this was fitted and again at the same time my Blitz Sonic Air Filter, I had swapped the Ultra Wire HT leads to some new stock ones I had and a nice 5zigen Oil cap.
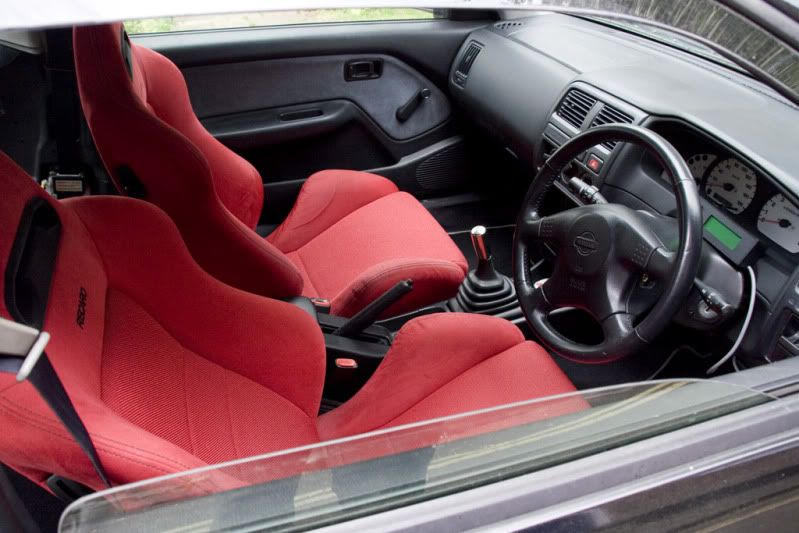
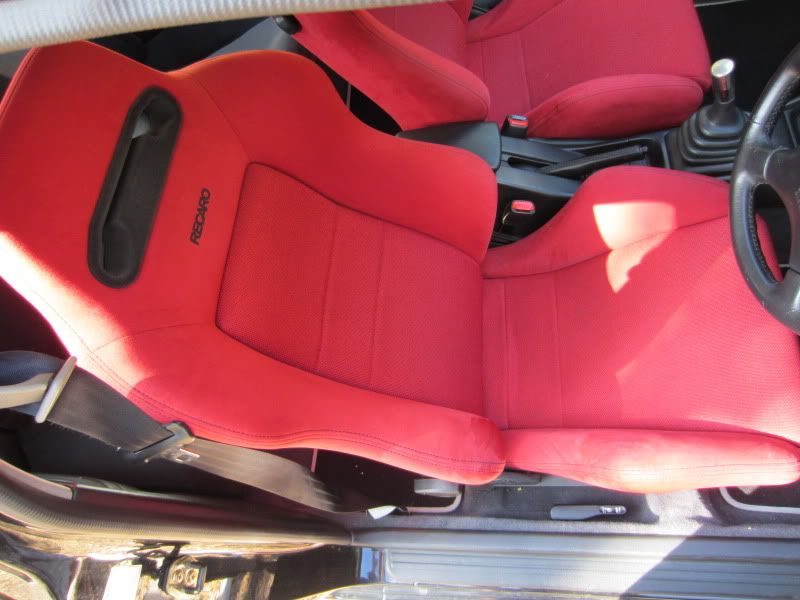
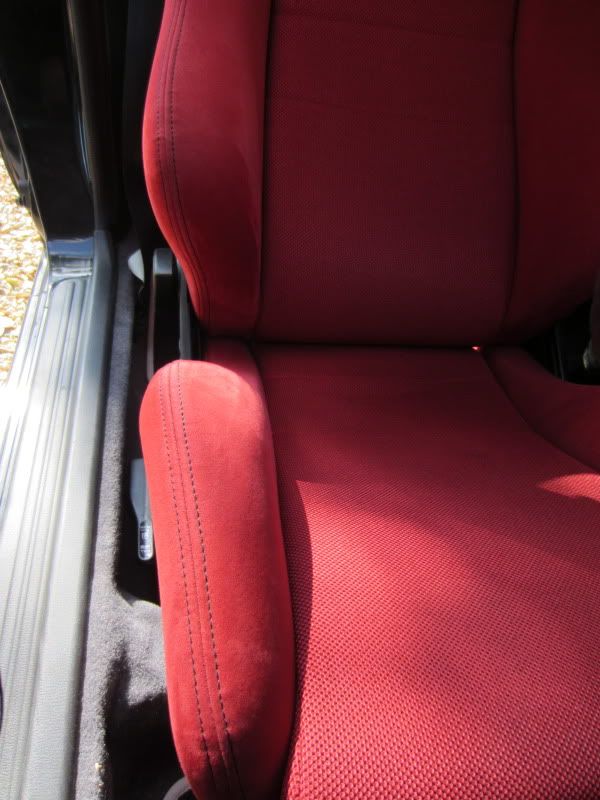
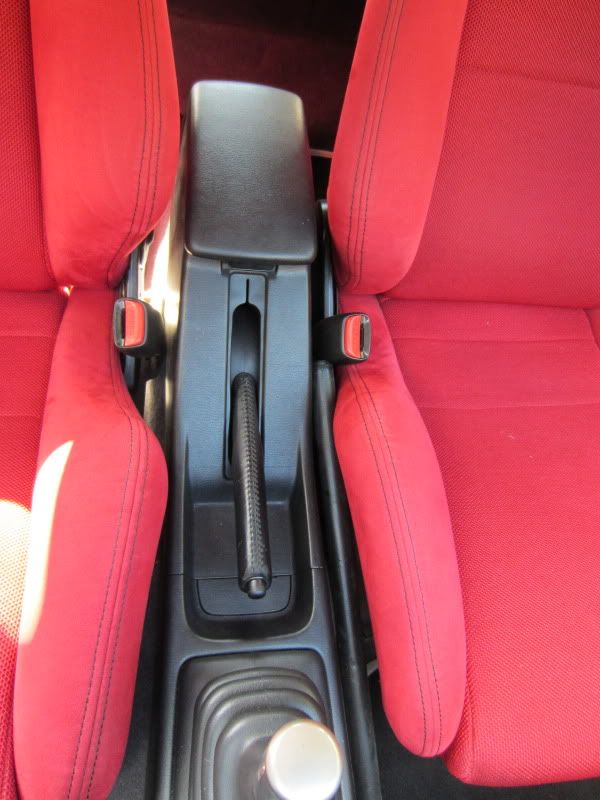
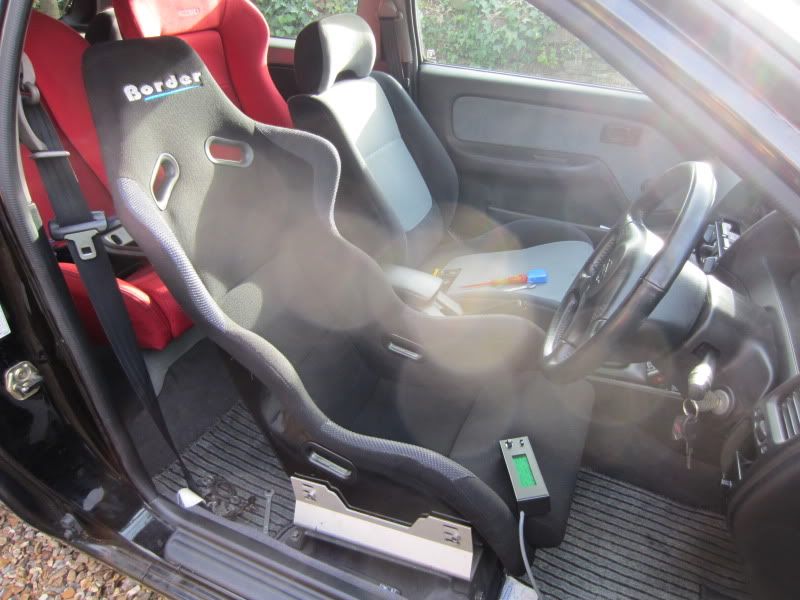
Got my recaro's mounted up too
This is copied from another forum so some may not make sense
A little bit of history on the model;
VZ-R N1, which was a racing homologation version intended to compete with the Honda Civic Type-R. Producing 200 PS (147 kW; 197 hp) from its 1.6 L SR16VE engine, it held the highest specific output ever for a naturally aspirated production car, at 123.125 hp/litre until the Honda F20C engine was released in the Honda S2000.
Real king of 1.6L part one - YouTube
So I wasnt actually planning to get this, I was sorting out the next step with the Autech at the time new cams and mapping since everything else had been done.
The Autech being this. SR20DE High Compression, Lumpy Cams....
Heres a departing video we made.
AUTECH 2.0 on Vimeo
So onto what you want.
POC in Ireland had this un-registered and up for sale for a while with no interest then decided to break the car for parts which was a real shame I thought, so finances were addresses a deal was struck and I had just agreed to buy my 4th N15 :rockin:
Few pictures from the original for sale advert
Completely stock bar some lowering springs and a set of HT Leads.
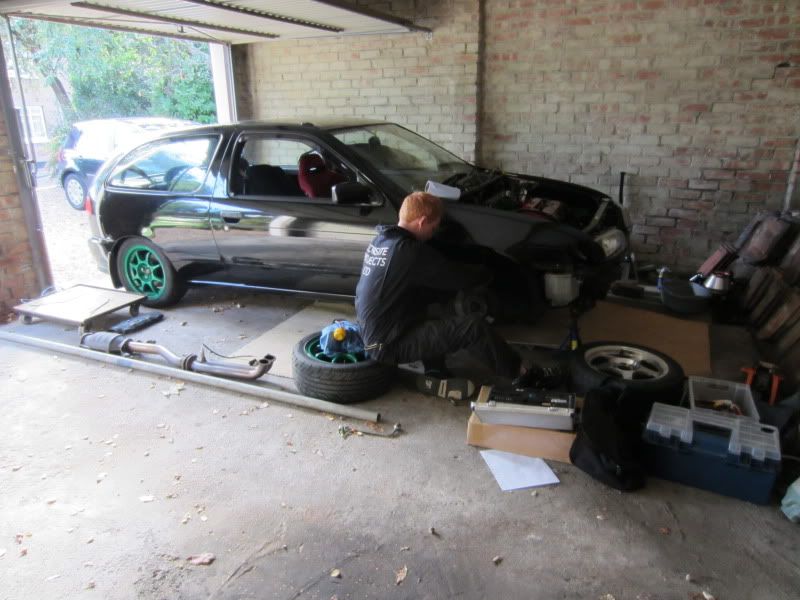
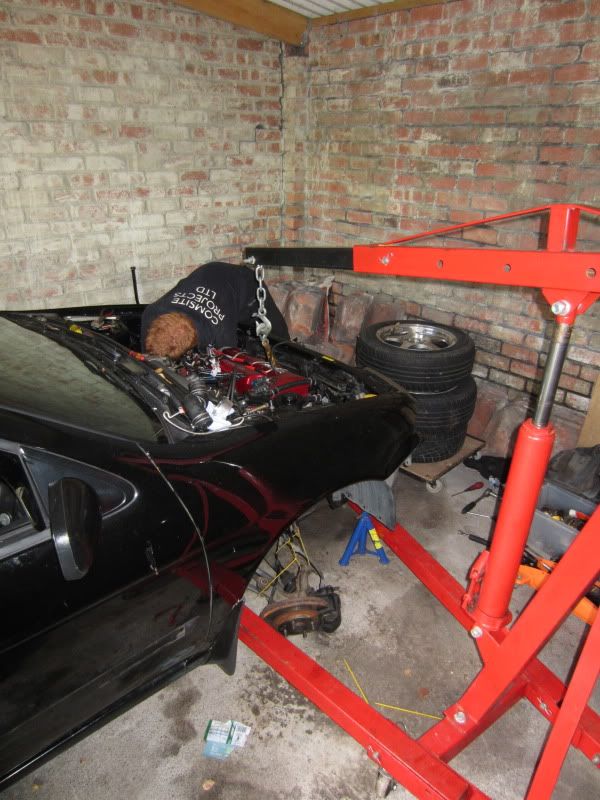
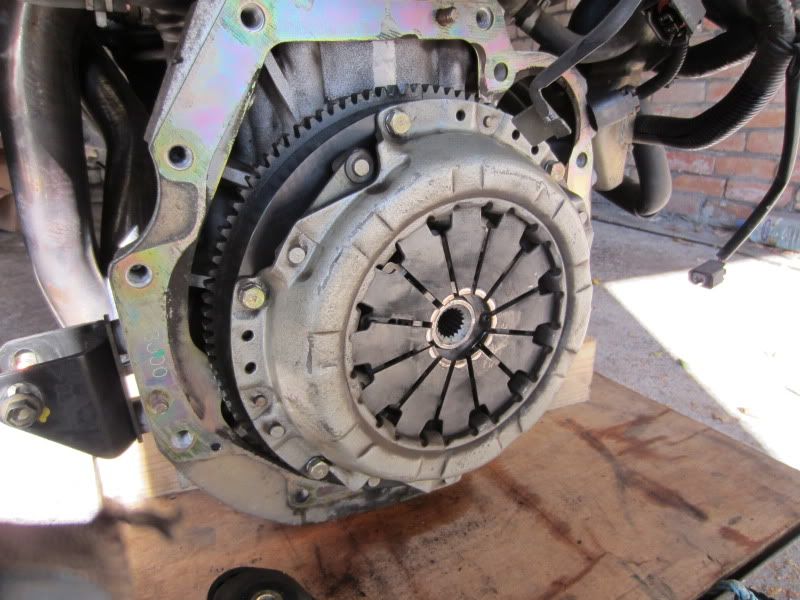
Now I had the task of removing all my go faster mods from the Autech returning it to stock and get it sale ready.
A very long 12 hours later I had the car back on my driveway and got my teeth into it straight away stripping out the interior to find what I was dealing with, the previous owner in Japan had attempted to remove the sound deadening but done a bad job of it removing more paint than anything else. This had resulted in surface rust on the floor of the car
the only bad point though really the shell bar a few car park dinks in the panels is mint There had clearly been alot of electronics fitted in the car which had been removed so there was alot of redundant wiring in around the dash area.
Registering it and getting it road legal took around 2 weeks once the Licensing agency had sorted themselves out.
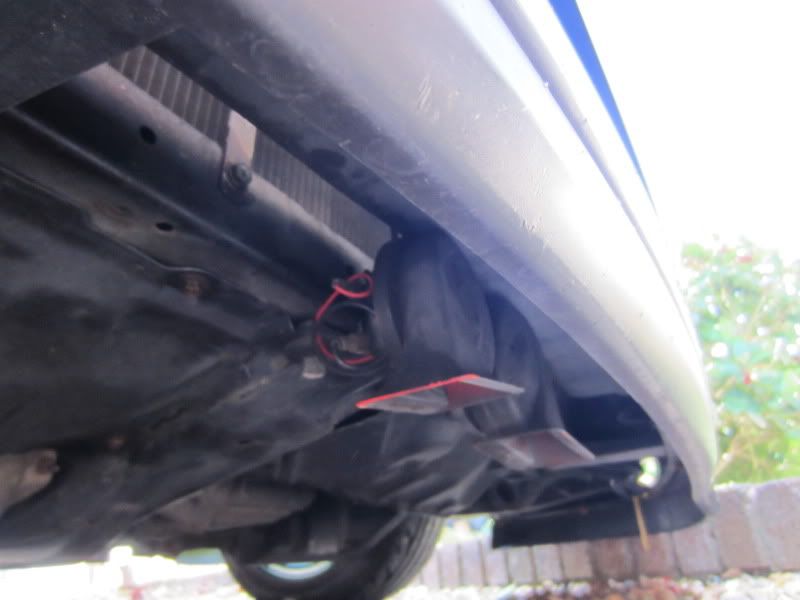
Pictures from the MOT (The wing was sold whilst the car was being parted out)
Nice and clean underneath
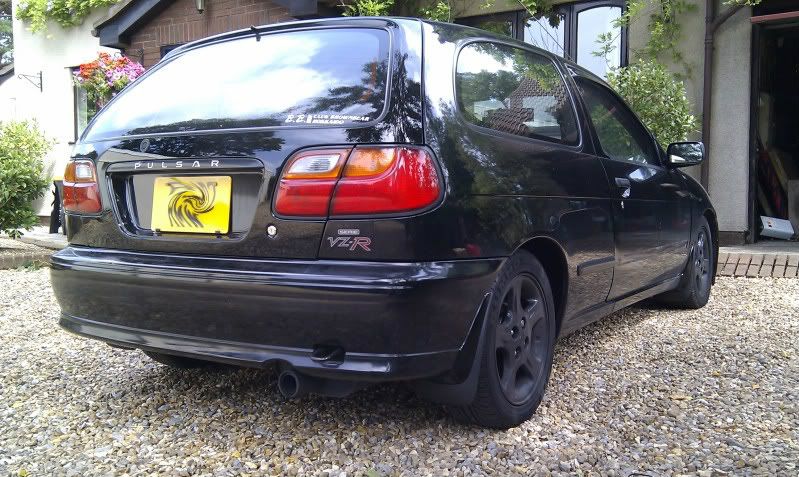
Once this was done as nice as it was to drive in stock form it was a HELL of a difference to the beast that the Autech was so I began fitting bits.
First was the coilovers from the Autech so get it sitting pretty and my stock black wheels which resulted in.
I had got with the car a 5Zigen Pro Racer Catback so naturally this was fitted and again at the same time my Blitz Sonic Air Filter, I had swapped the Ultra Wire HT leads to some new stock ones I had and a nice 5zigen Oil cap.
Got my recaro's mounted up too
Last edited:


 Keep up the good work mate!