
You are using an out of date browser. It may not display this or other websites correctly.
You should upgrade or use an alternative browser.
You should upgrade or use an alternative browser.
EM1 Long term build (sideline EG track build)
- Thread starter SteveOEM1
- Start date
SteveOEM1
Active Member
- Joined
- Mar 24, 2013
- Messages
- 153
With that it was time for the car to go to the new bodyshop for a couple of weeks - the painter loved the car so much he bought an EJ8 straight after!
Needed a little help to get going from m,y daily first though...
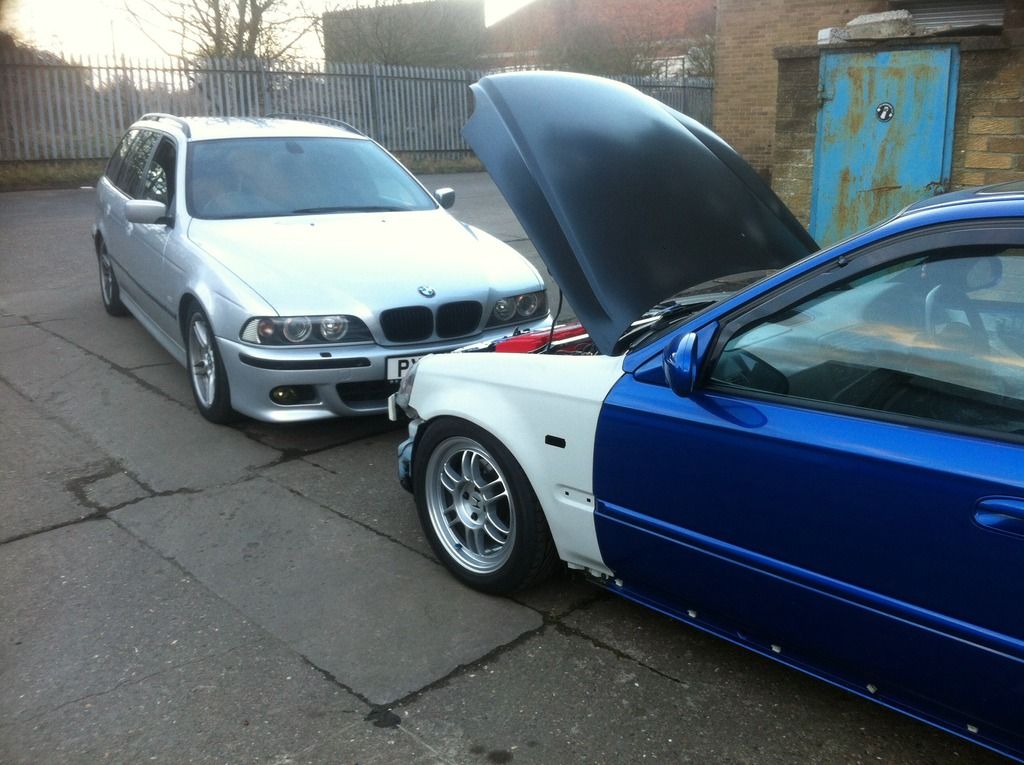
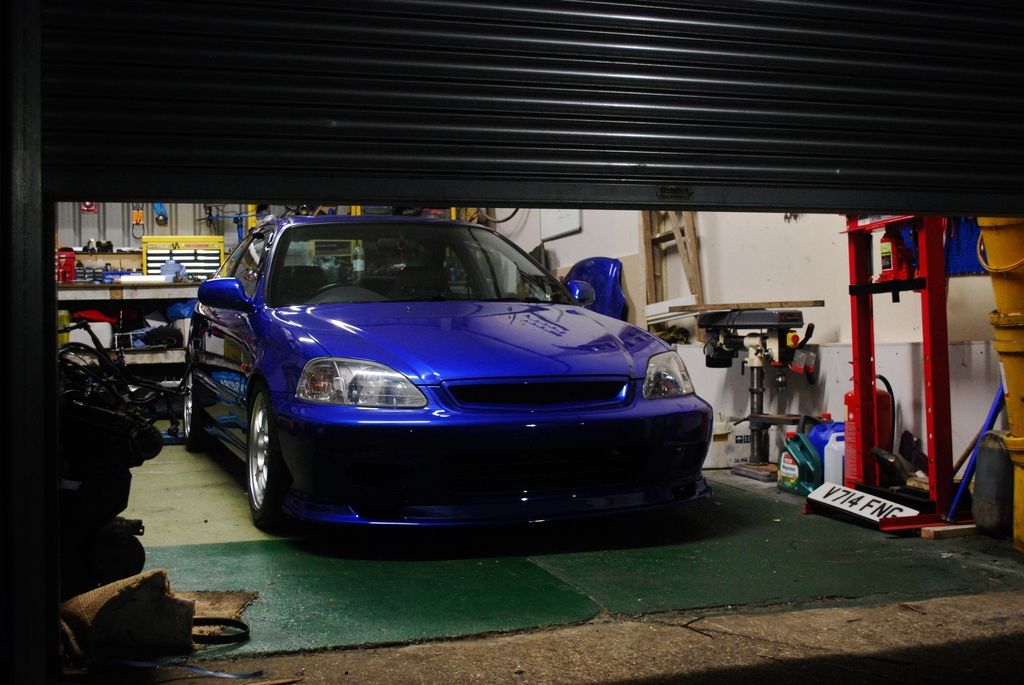
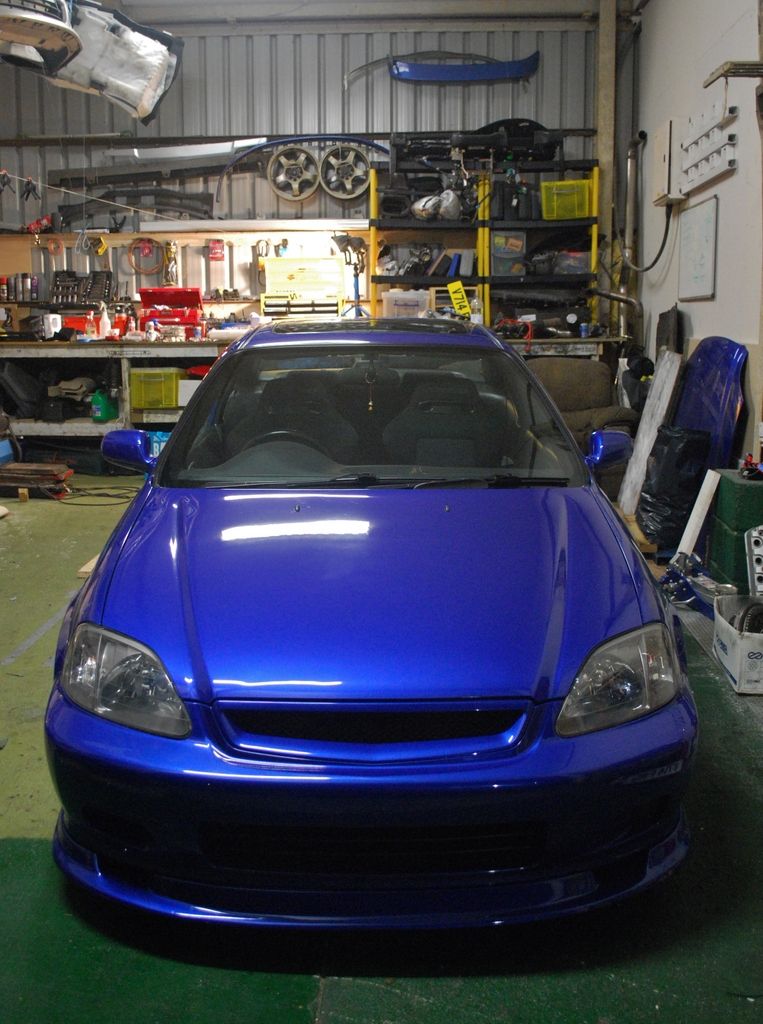
And back home before all the trim was back on
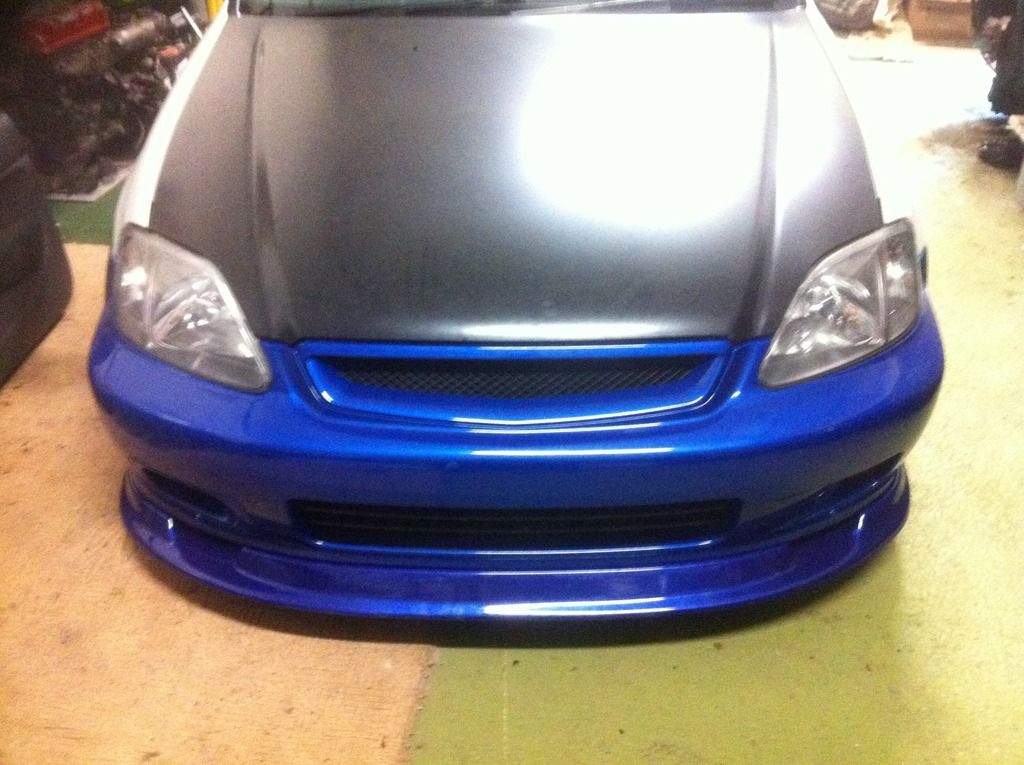
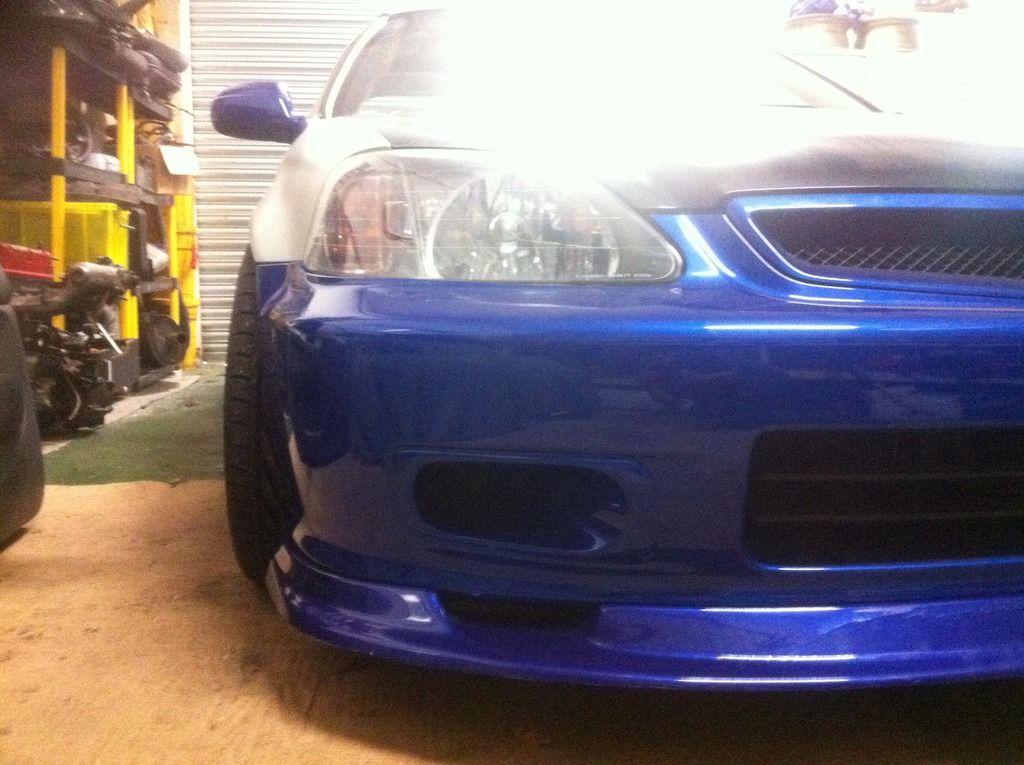
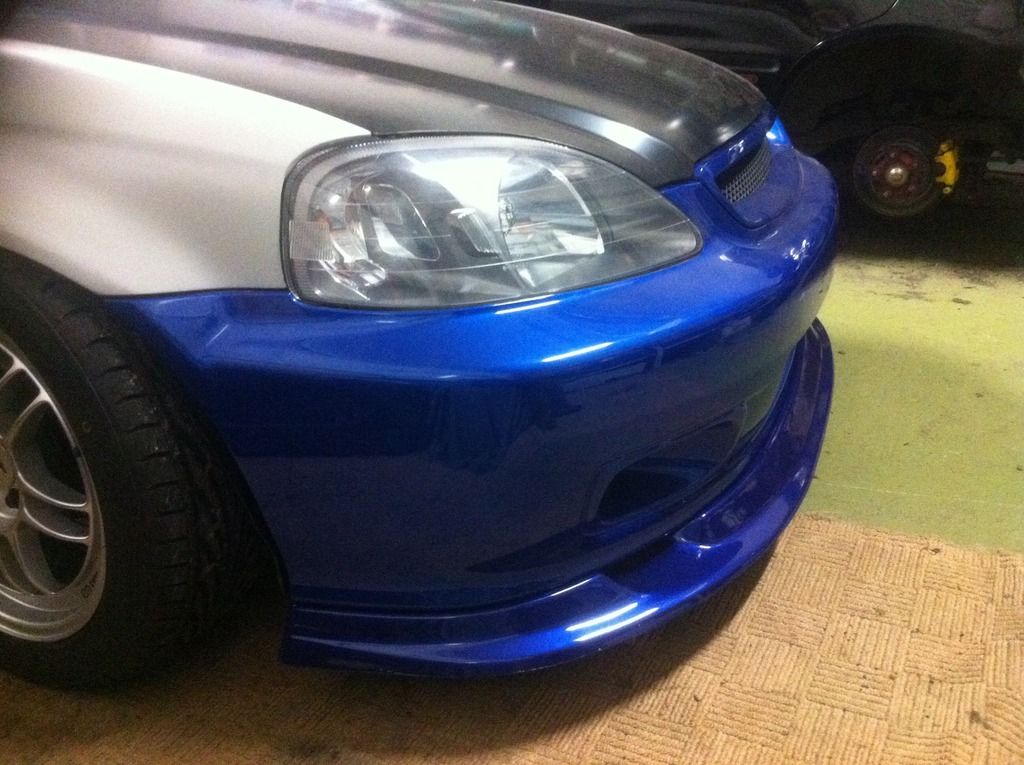
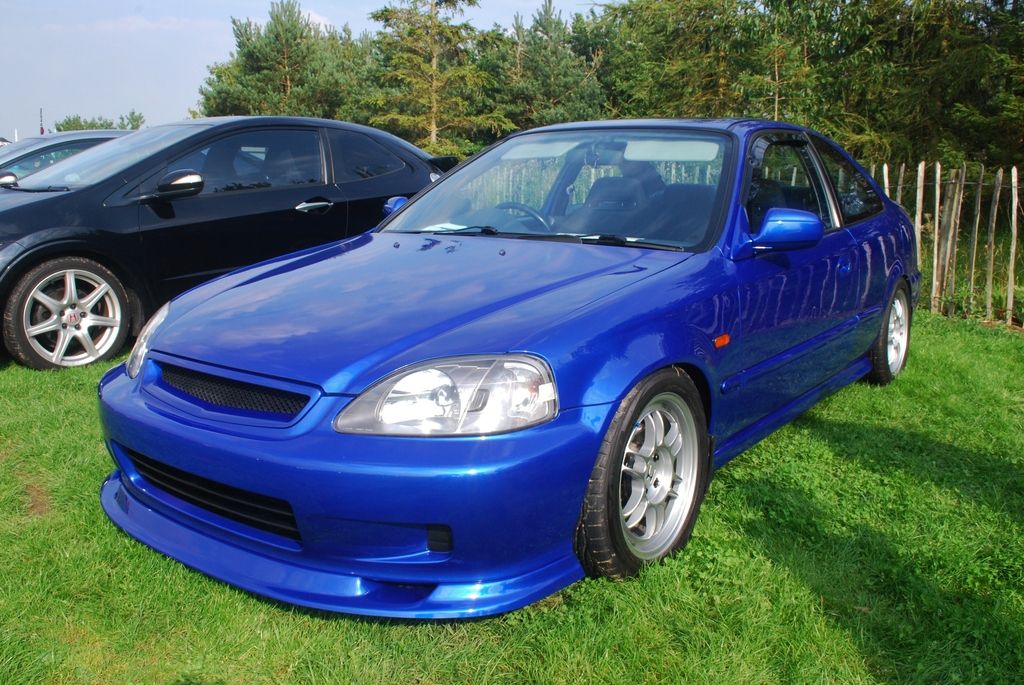
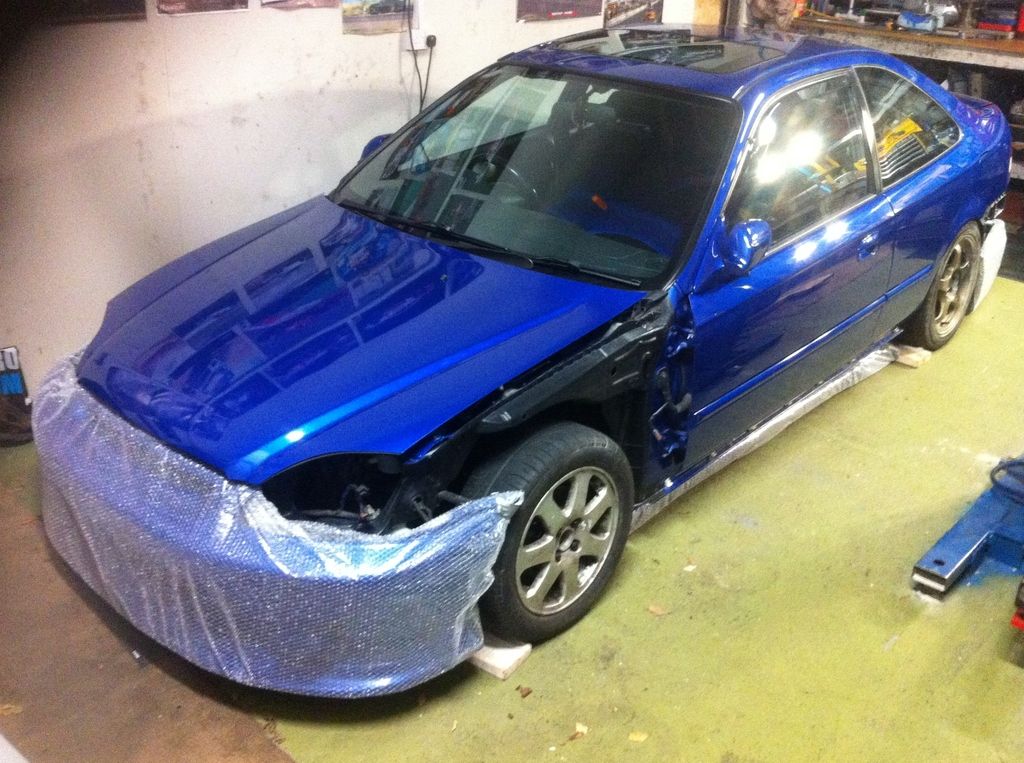
I was incredibly happy with how OEM the wings looked, even with the 10mm widening
Needed a little help to get going from m,y daily first though...
And back home before all the trim was back on
I was incredibly happy with how OEM the wings looked, even with the 10mm widening

SteveOEM1
Active Member
- Joined
- Mar 24, 2013
- Messages
- 153
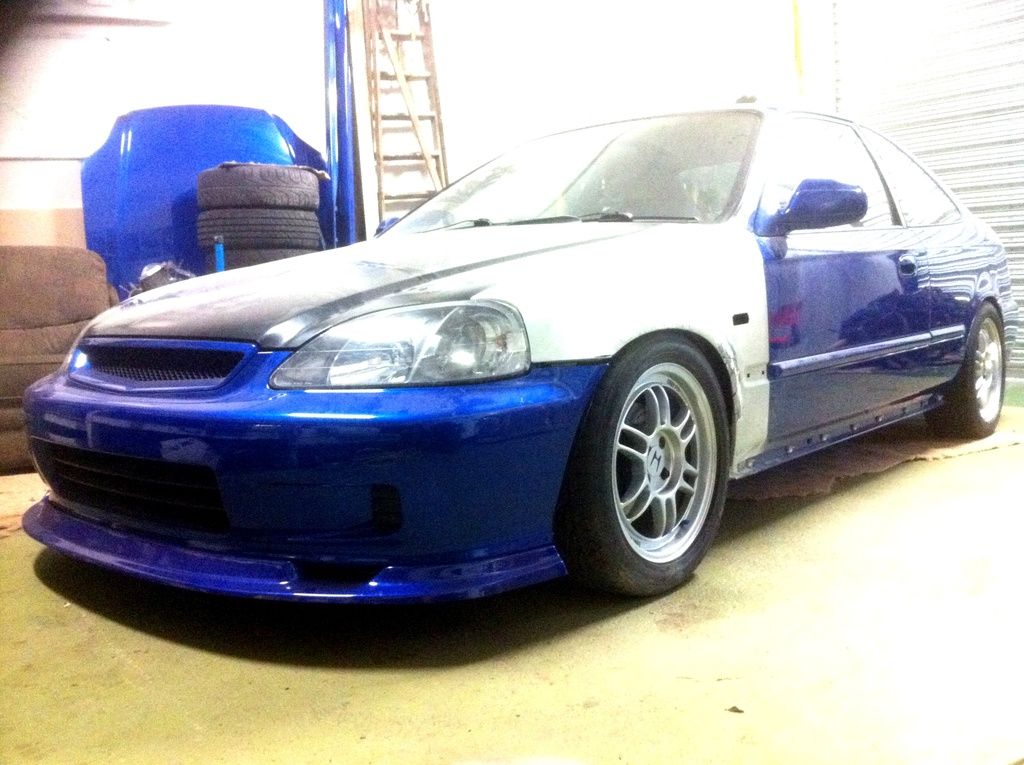
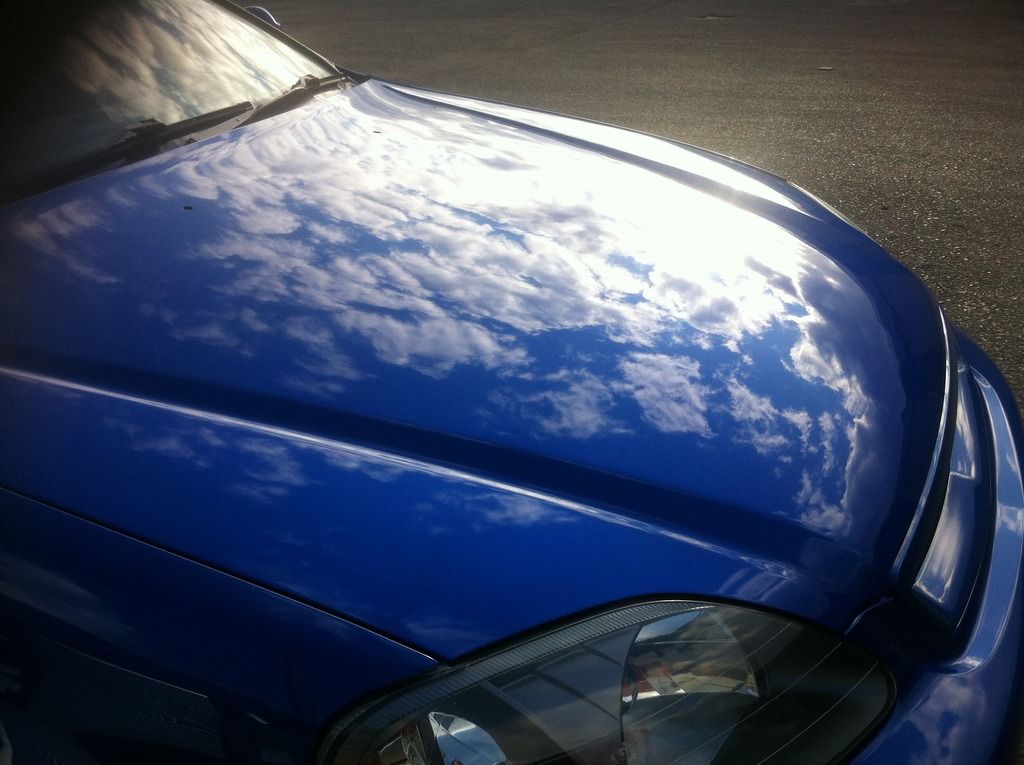
It wasn't long before I got the car out to its first show with my local North East Hondas crew at Croft- was a good day out!
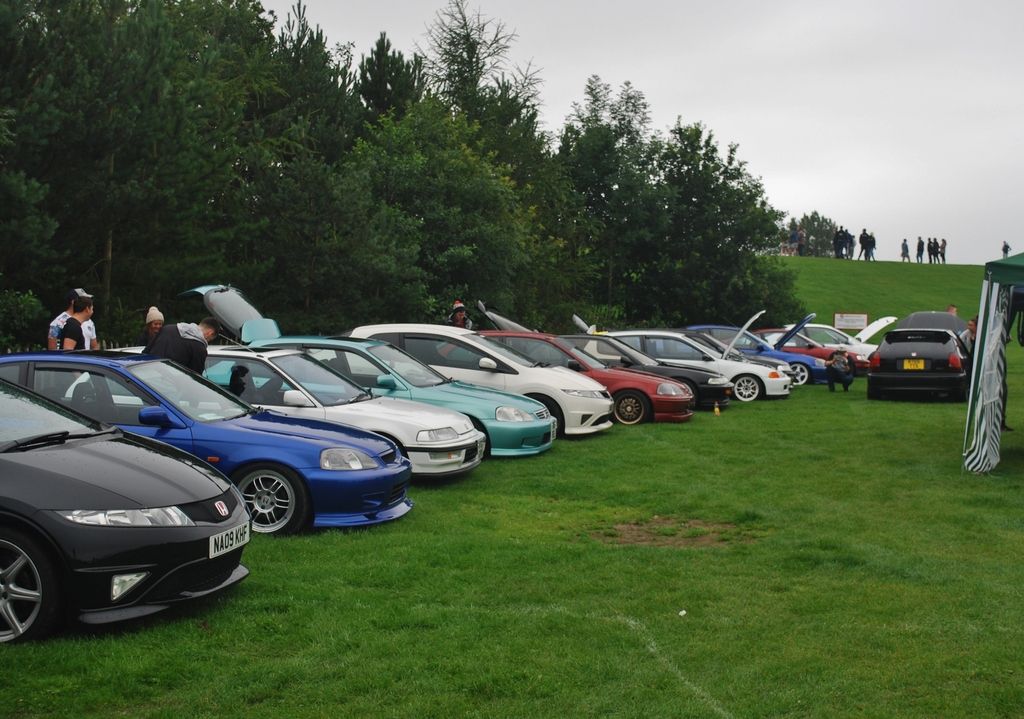
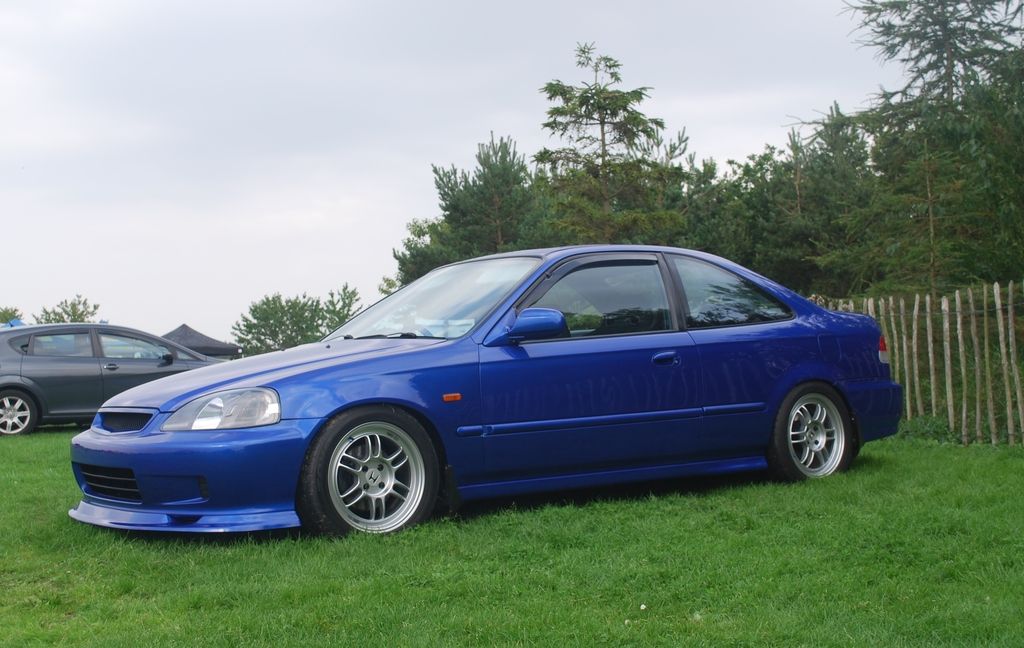
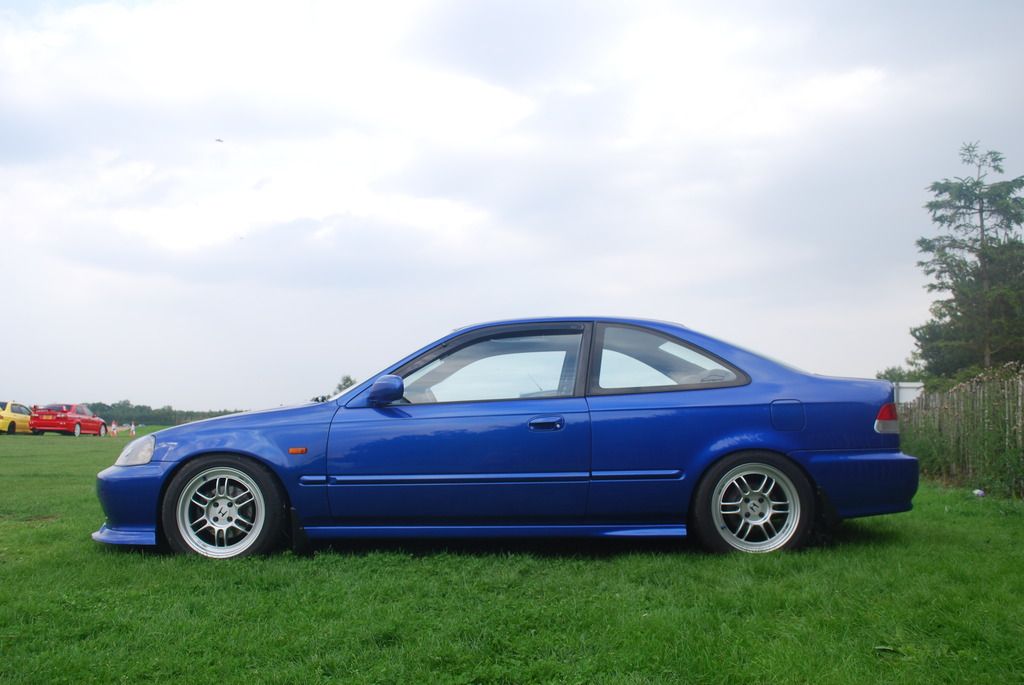
This was August last year and the weather here was crap - haven't got many shots of the paint popping, but you can see a little in this one - it's a nice classic looking metallic which is what I wanted, vs a candy or too much pearl
This was August last year and the weather here was crap - haven't got many shots of the paint popping, but you can see a little in this one - it's a nice classic looking metallic which is what I wanted, vs a candy or too much pearl

SteveOEM1
Active Member
- Joined
- Mar 24, 2013
- Messages
- 153
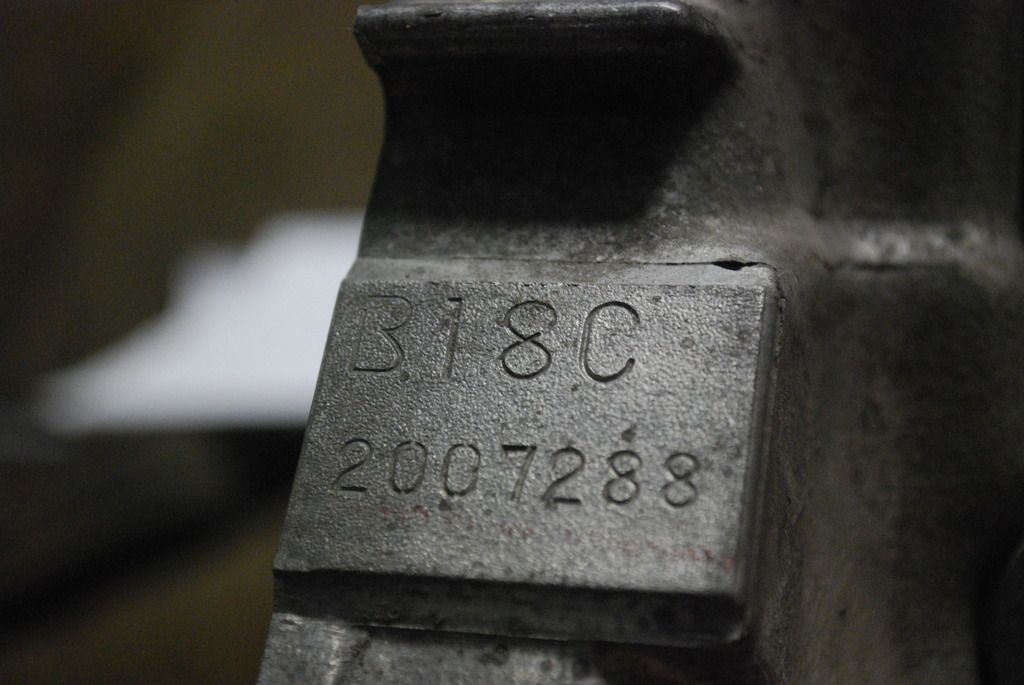
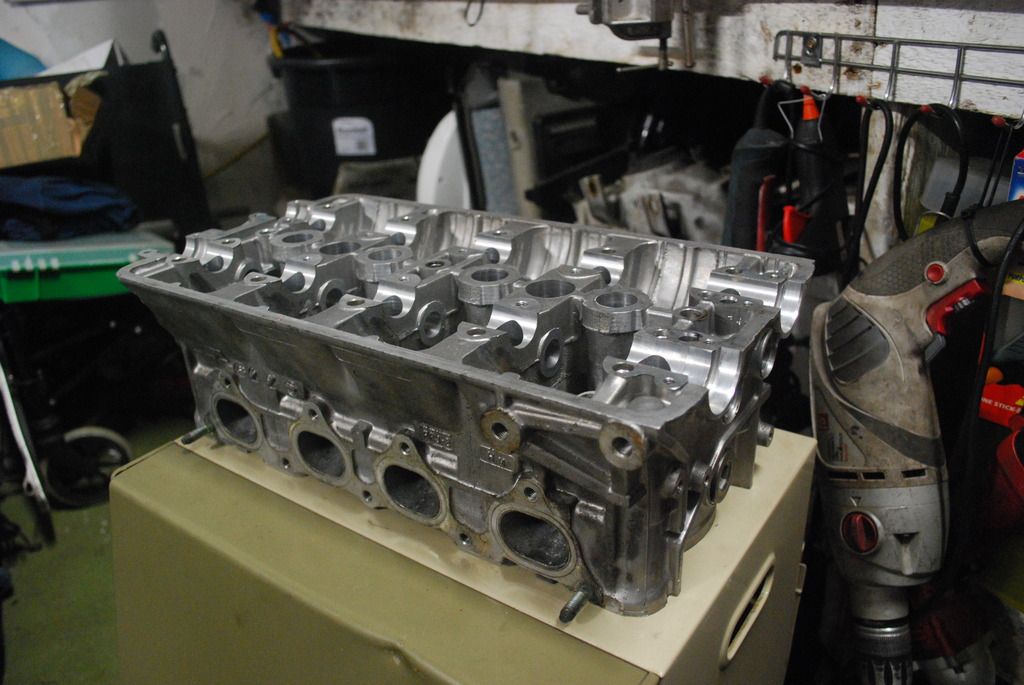
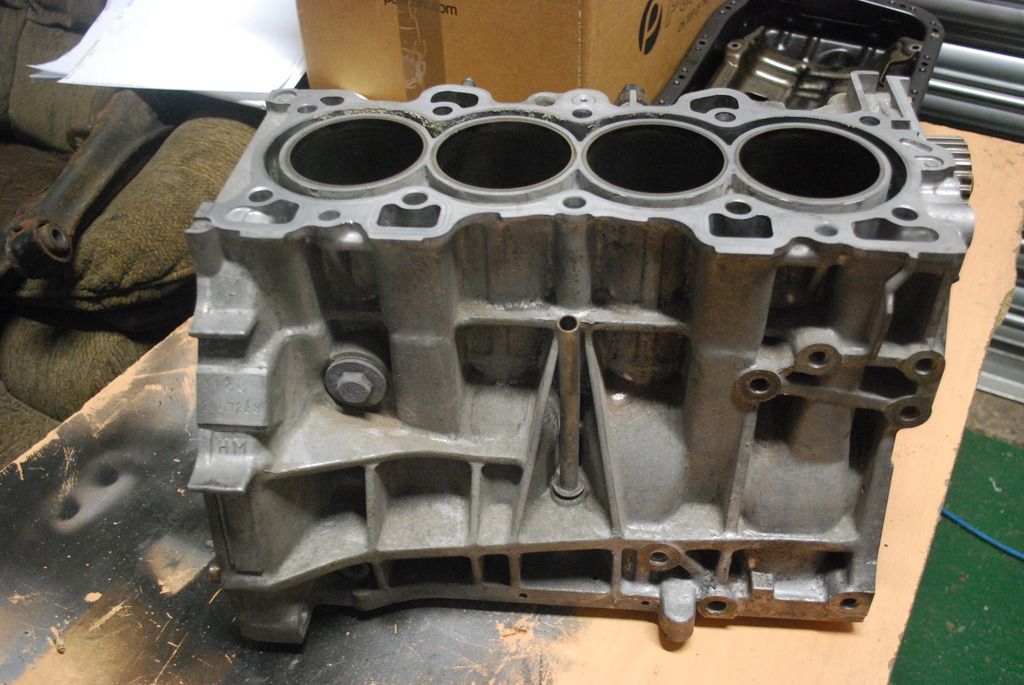
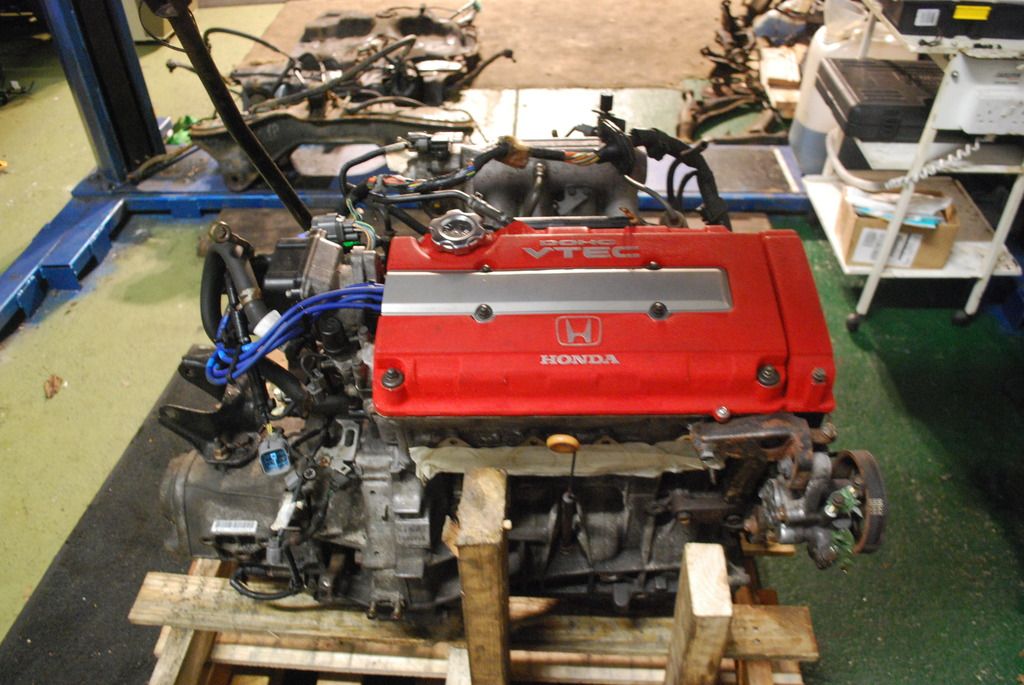
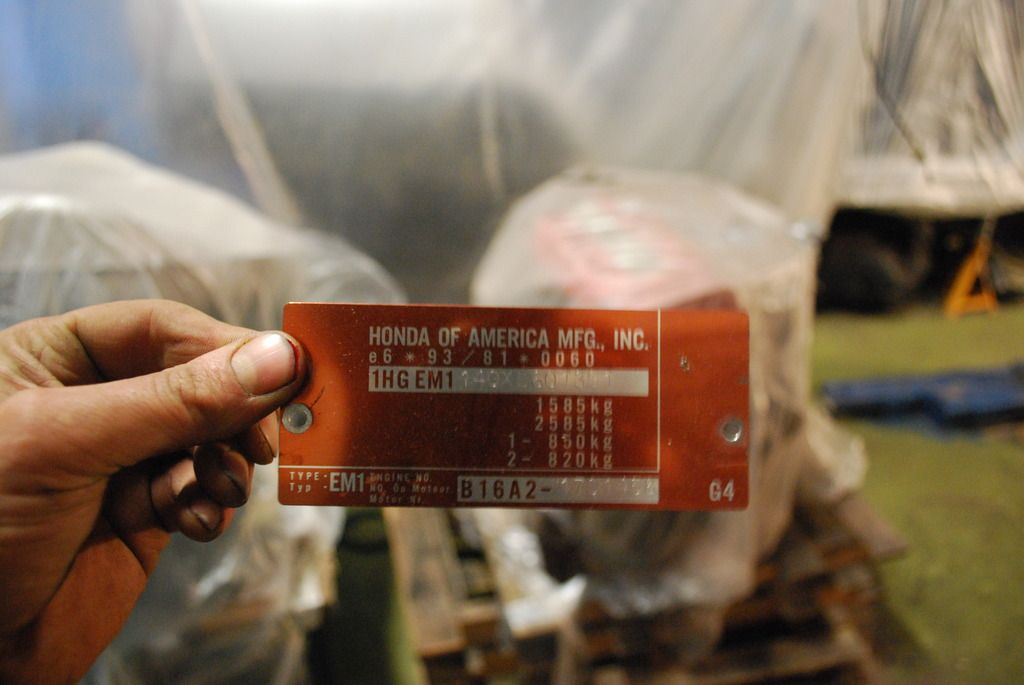
As I said previously in the thread, I'd always wanted to swap in a B18c and S80 to complete the car - that had been the plan for years, but as scene tax rose on Honda parts in the UK over the last few years, I thought my chance had passed. As luck would have it, a very good friend of mine decided he wanted to go down the k20 route for his EG, and needed to find a home for his solid 60k mile B18c. He had already stripped the engine down, not for any concerns, but due to the fact he was planning on going with an M-factory gearset and wanted to be sure the engine was a strong as possible for a life in high revs on the track. As he knew I'd always dreamt of the B18c he offered it straight to me for a proper price (so no additional scene tax)
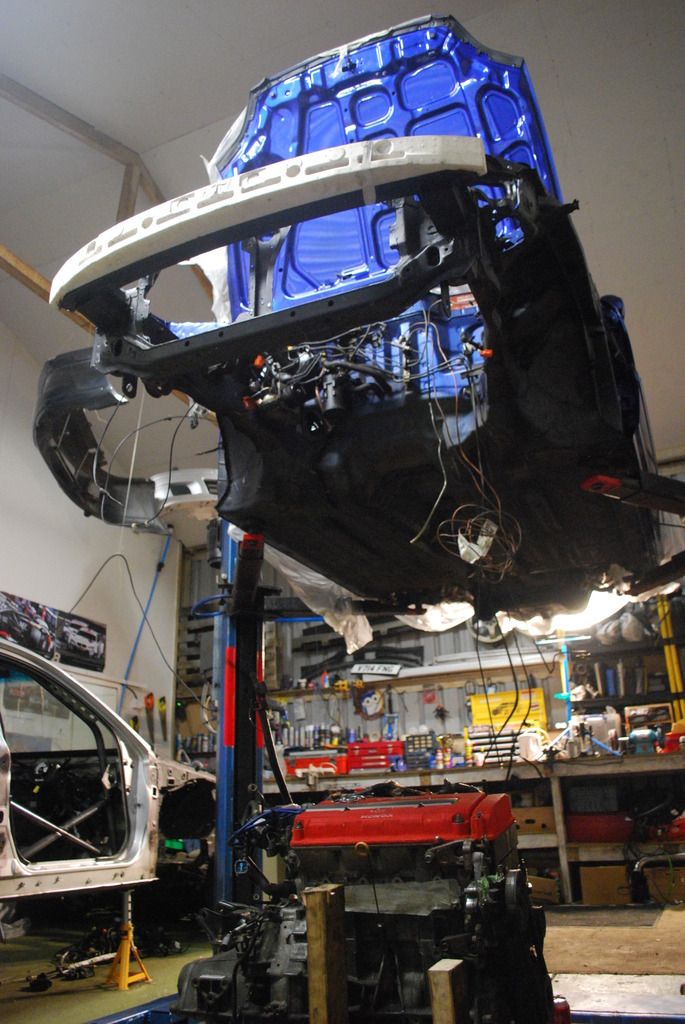
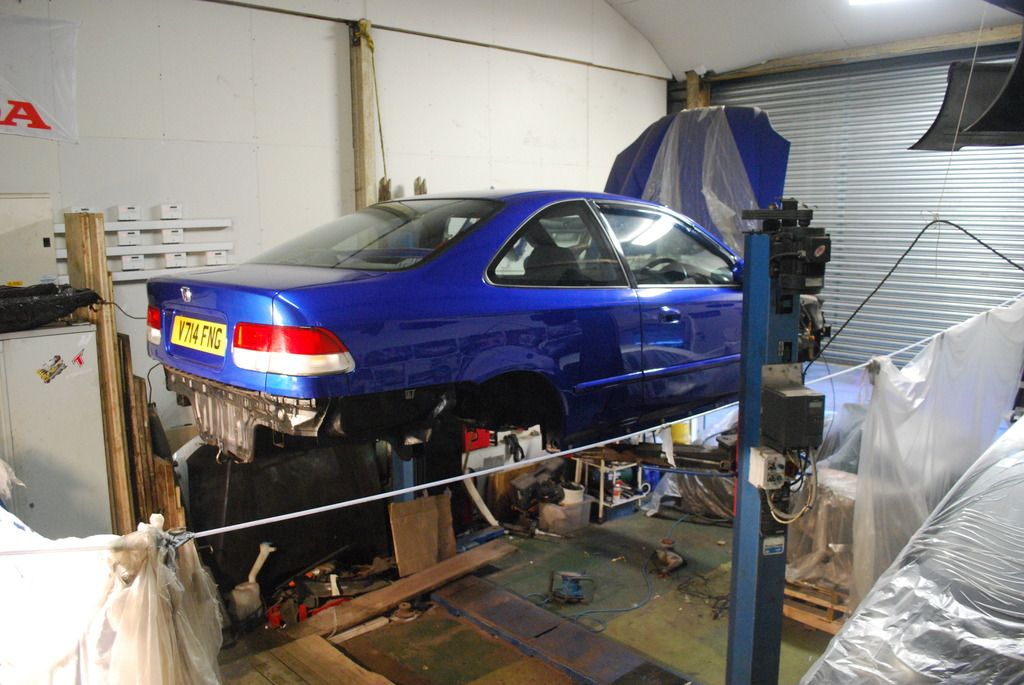
Another lucky opportunity arose when some guys I knew where closing their rent a ramp business, which meant I was able to pick up a 2 post lift for good money - this was really was a dream come true
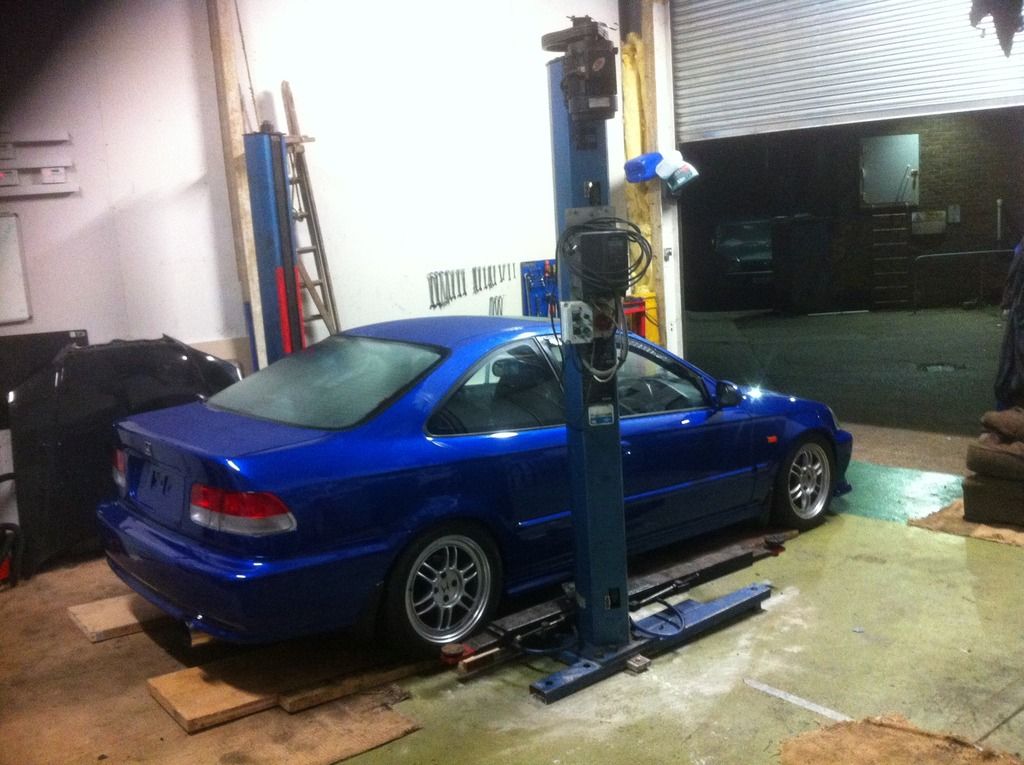
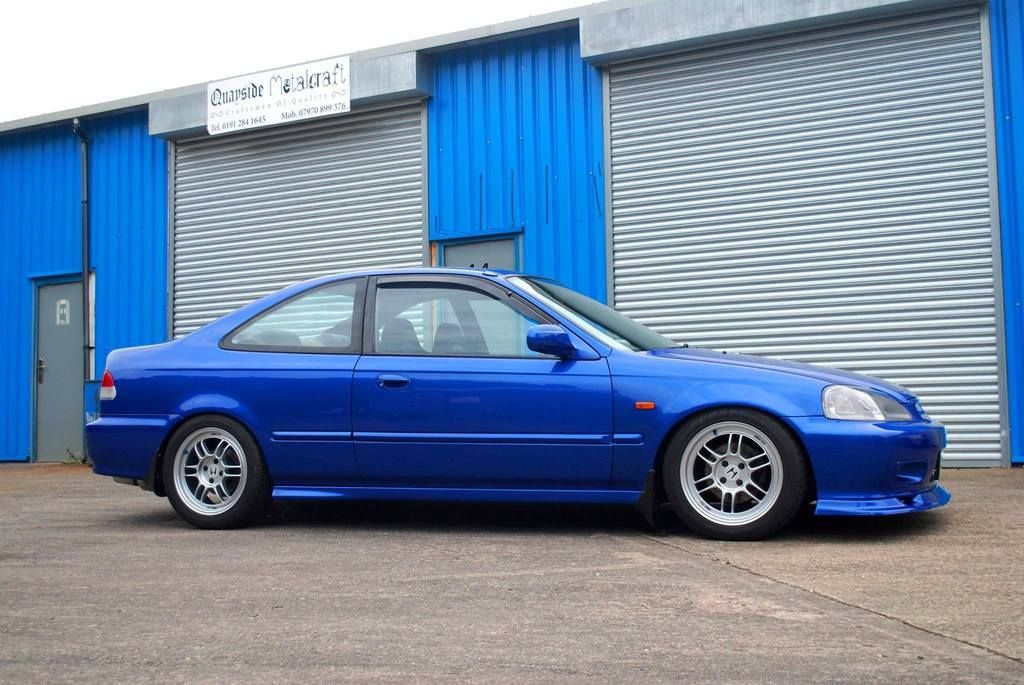
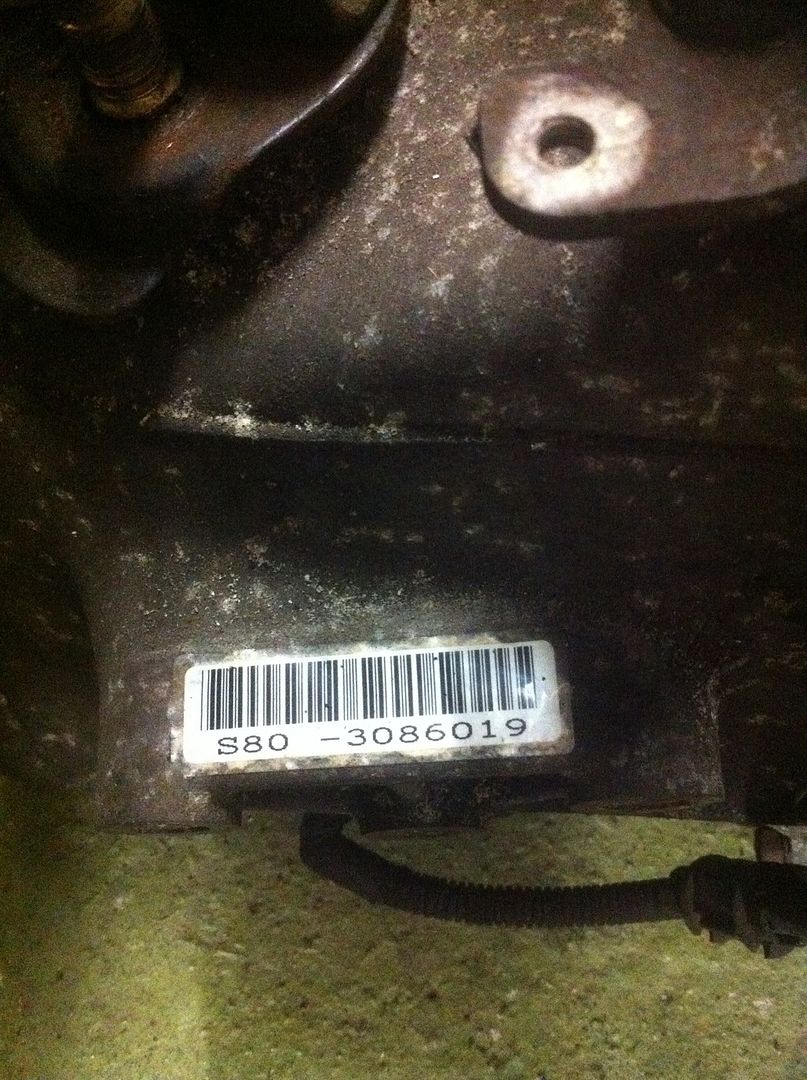
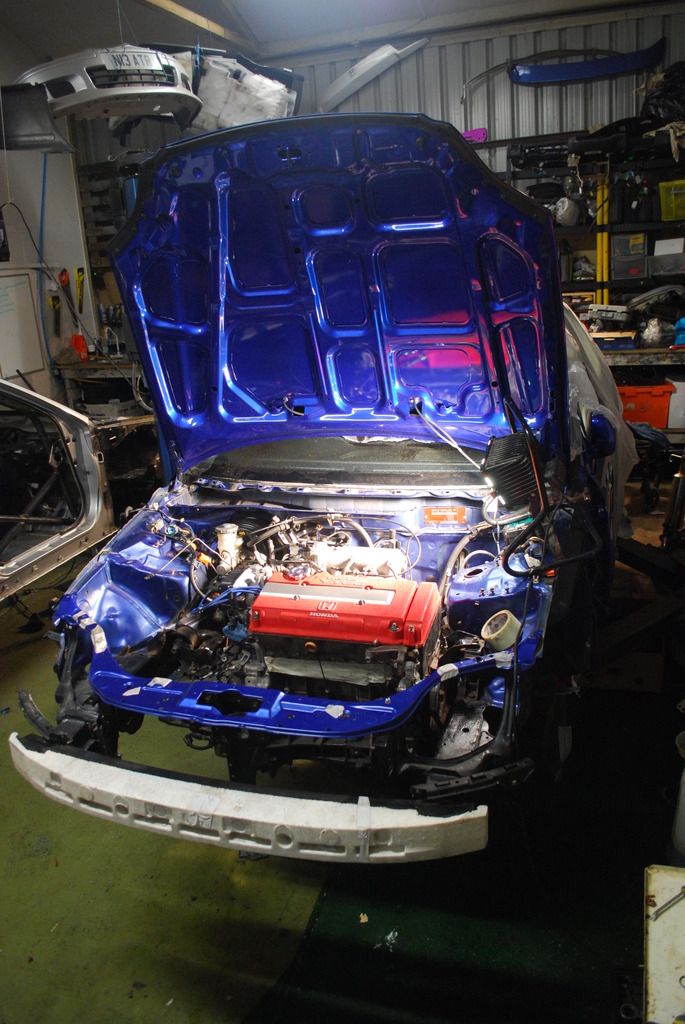
As the car was just back on the road, and I wanted to resrpay the bay before the new engine went in, I just swapped over the S80 for the time being - what a difference that made!
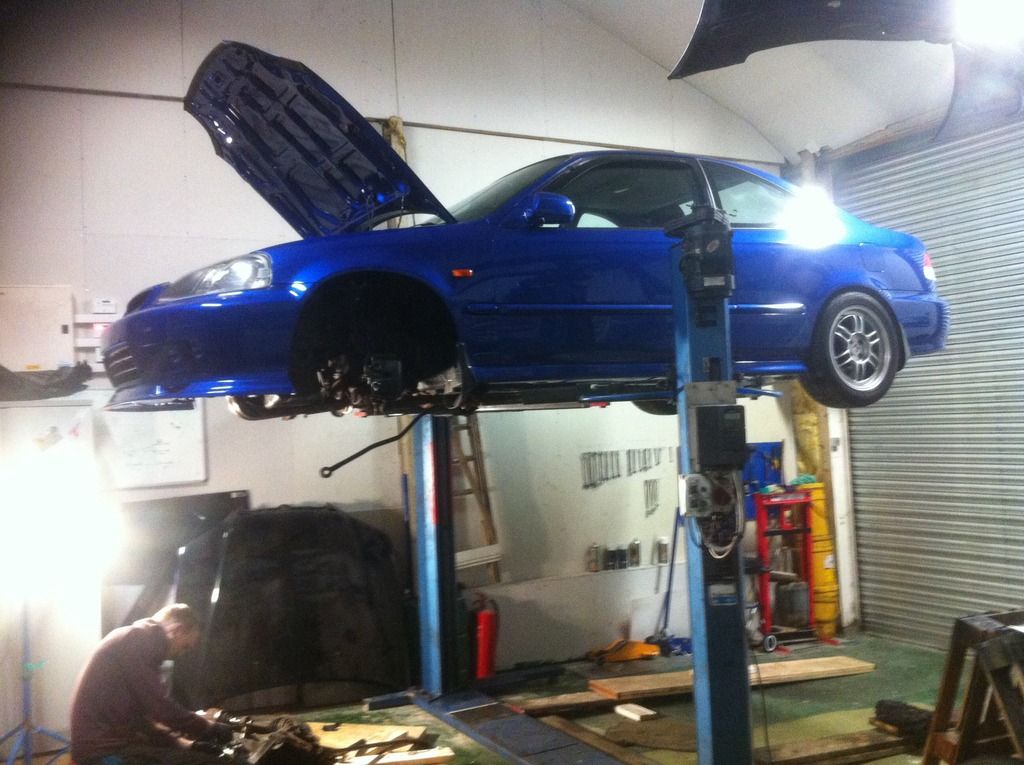
Another lucky opportunity arose when some guys I knew where closing their rent a ramp business, which meant I was able to pick up a 2 post lift for good money - this was really was a dream come true
As the car was just back on the road, and I wanted to resrpay the bay before the new engine went in, I just swapped over the S80 for the time being - what a difference that made!

SteveOEM1
Active Member
- Joined
- Mar 24, 2013
- Messages
- 153
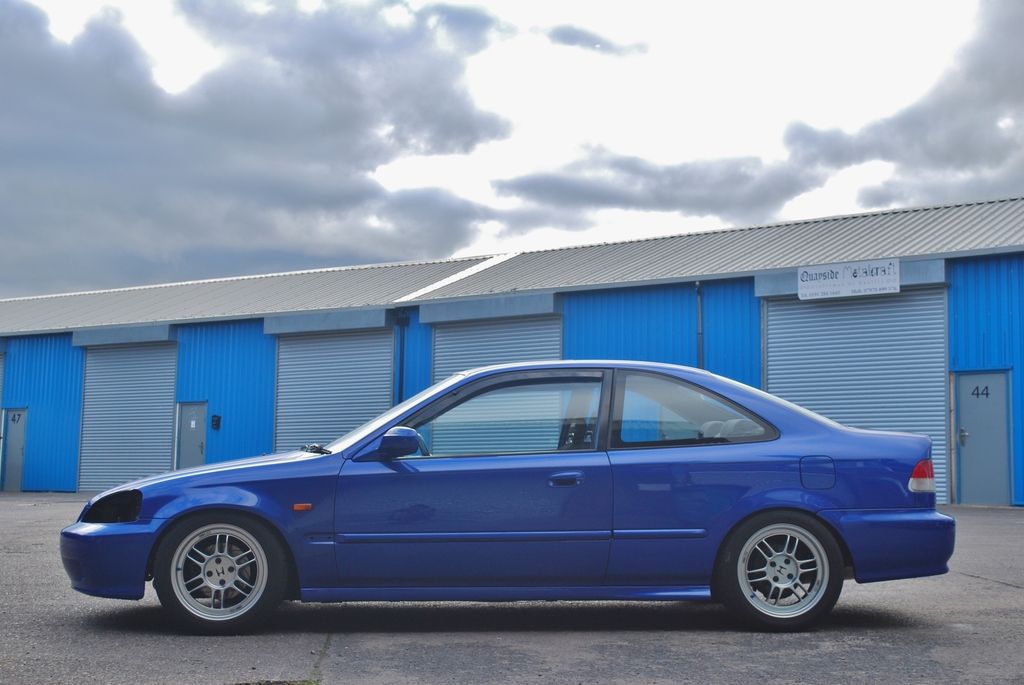
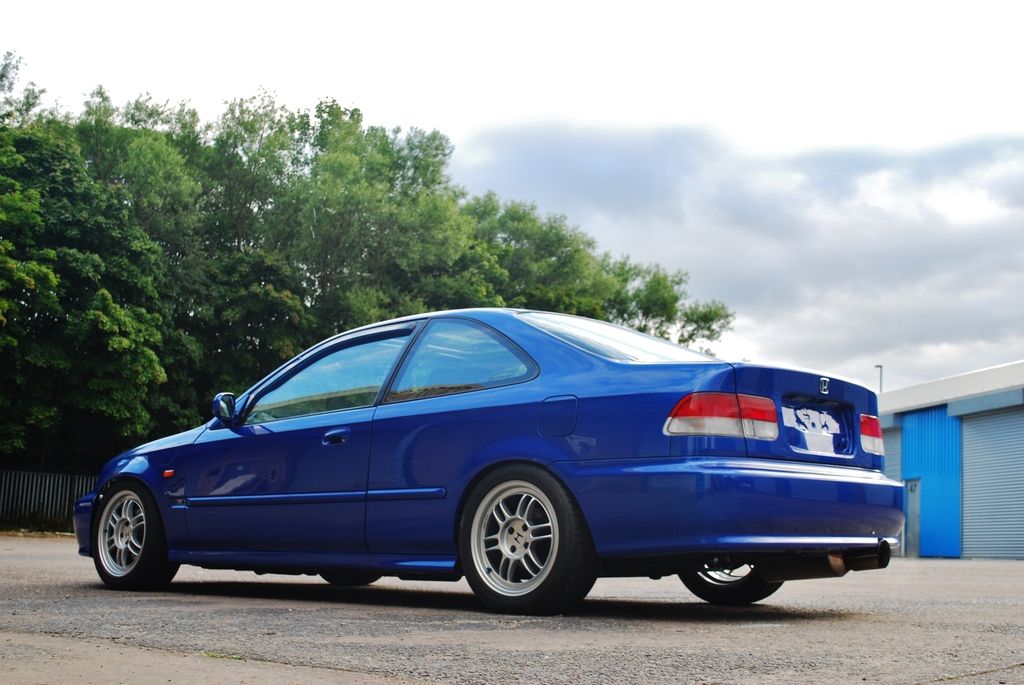
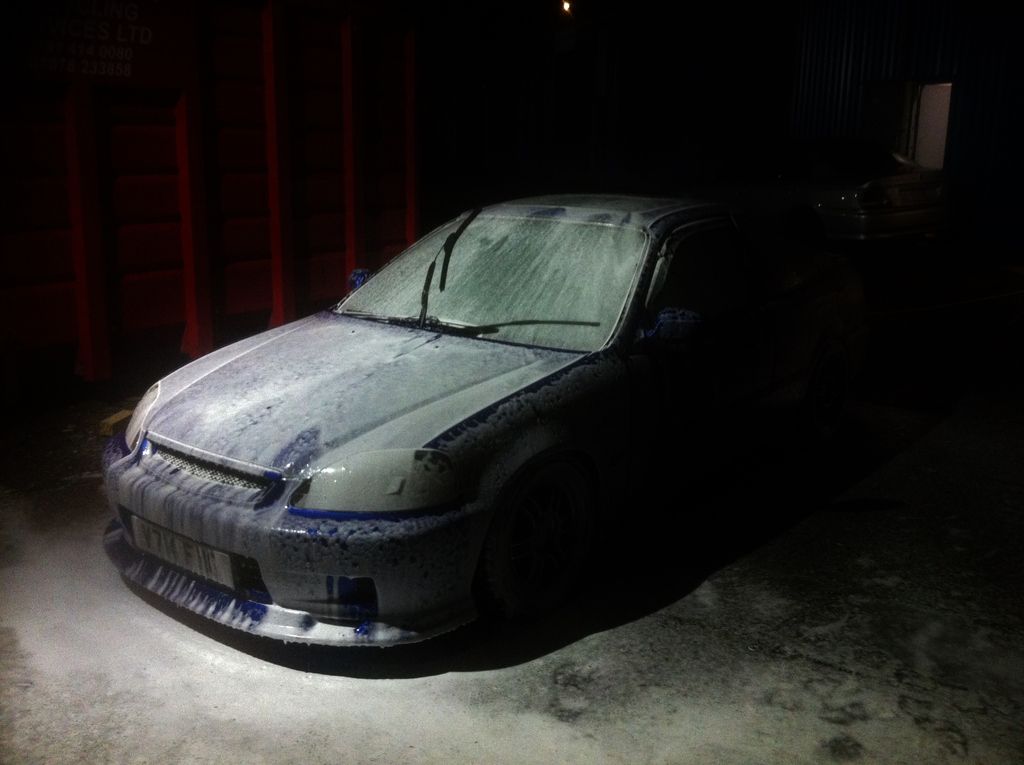
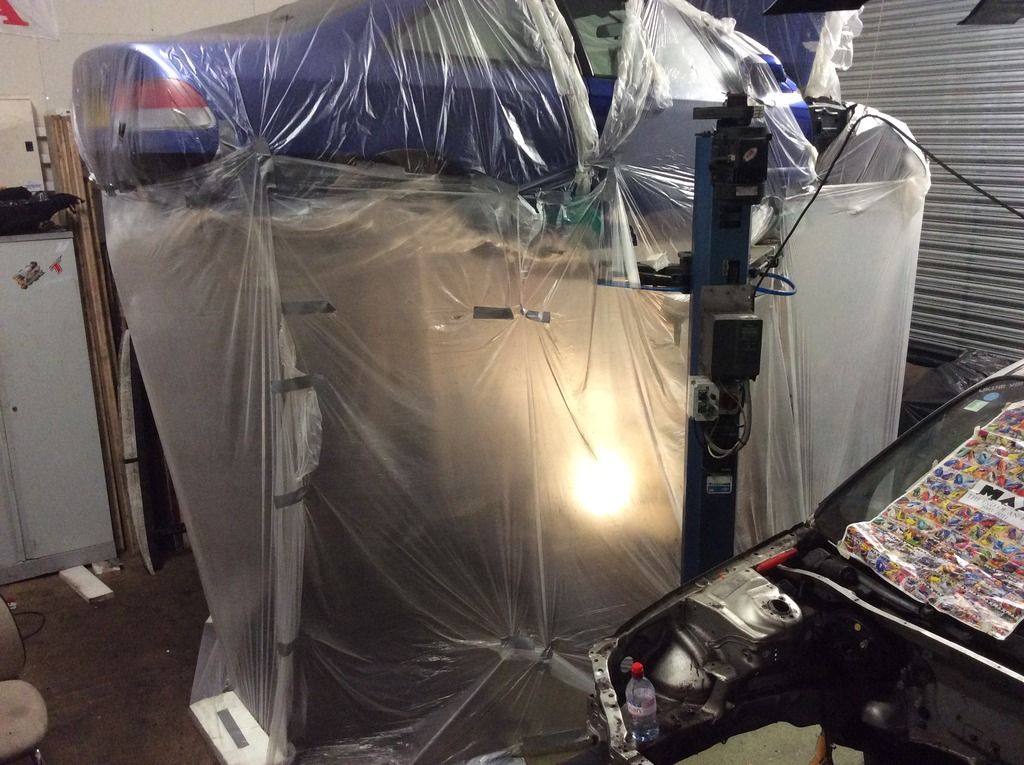
Summer came to an end last year and that's when I decided it was time to get serious on the chassis - with the exterior looking so clean I felt it was only right for the rest of the car to be the same.
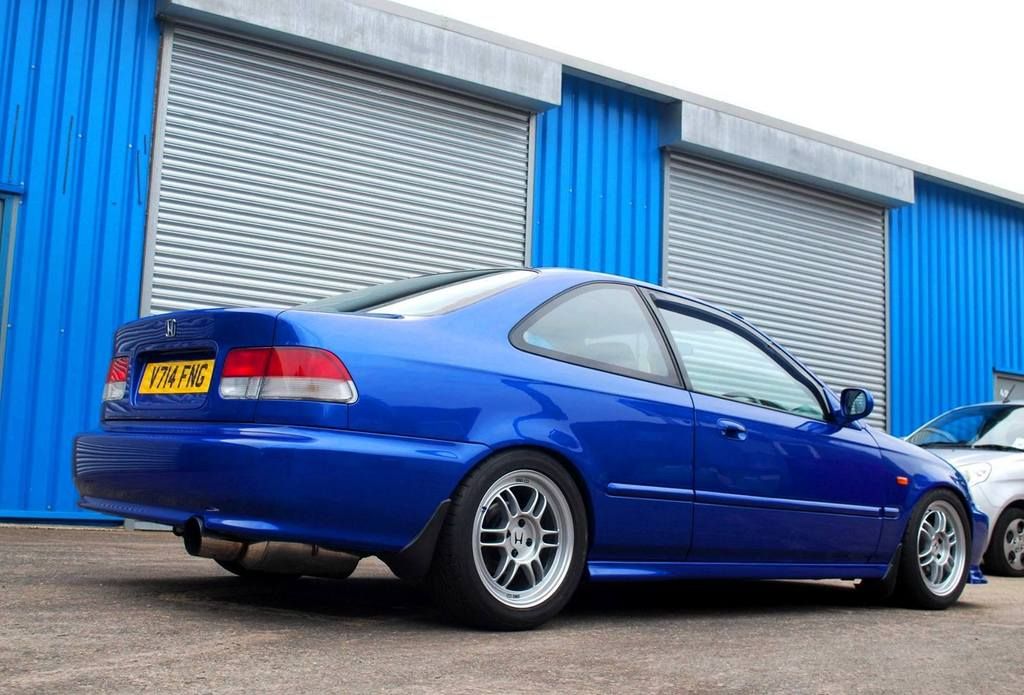
Last wash before the strip down began again - so many people have laughed at how I had the car roadworthy for ~2 months
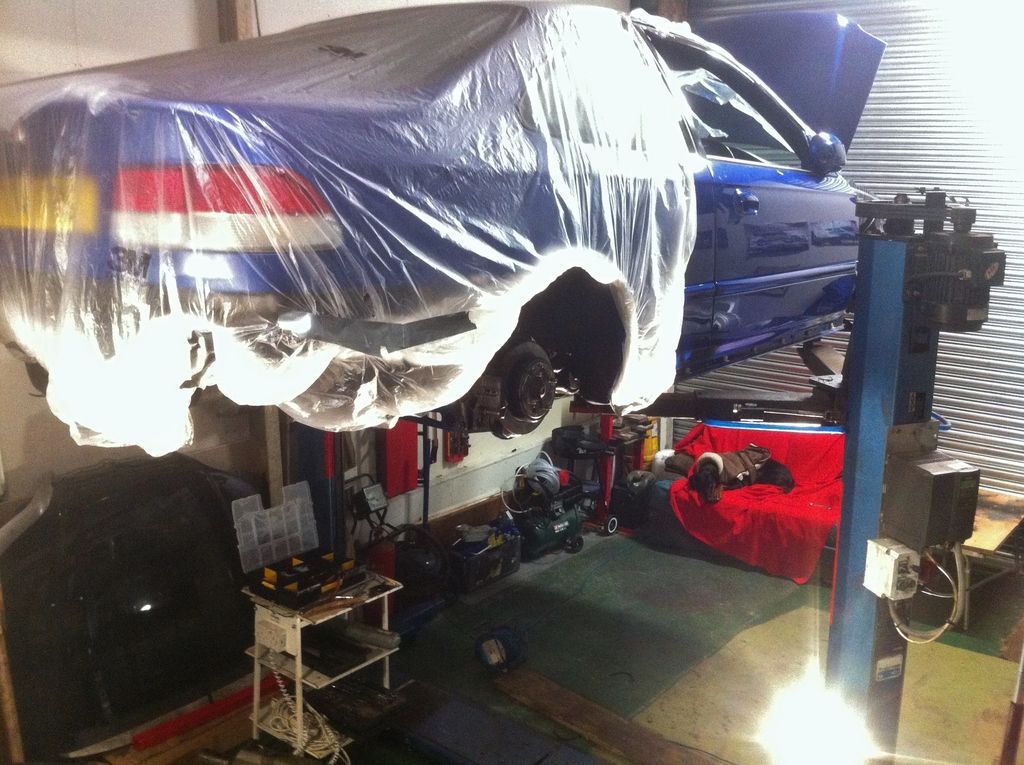
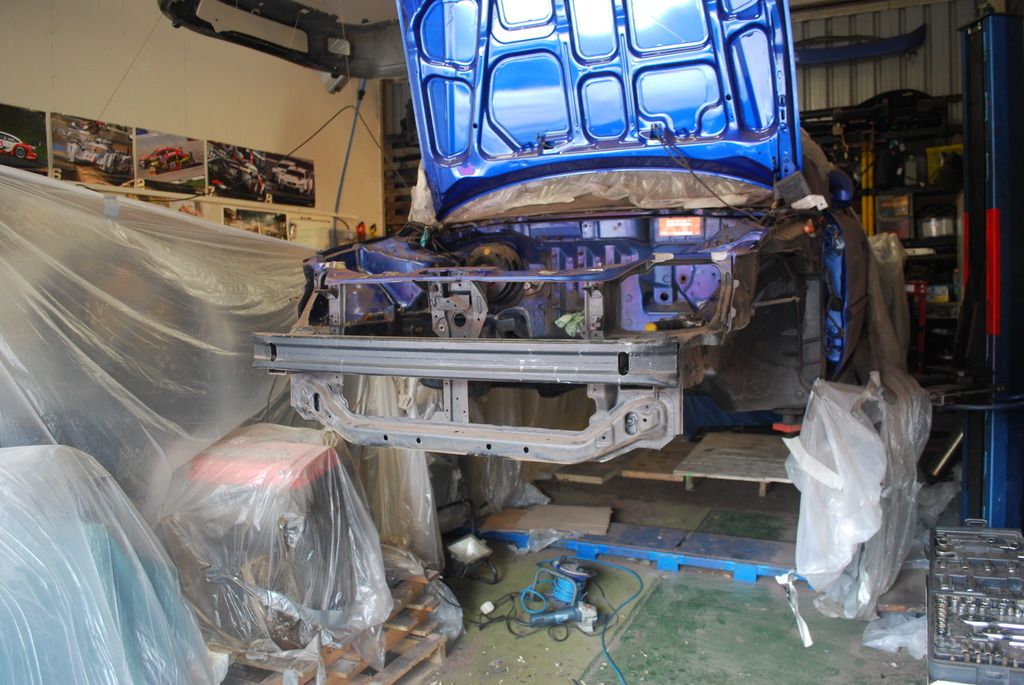
All the body panels removed were wrapped up and taken to my house for safe storage
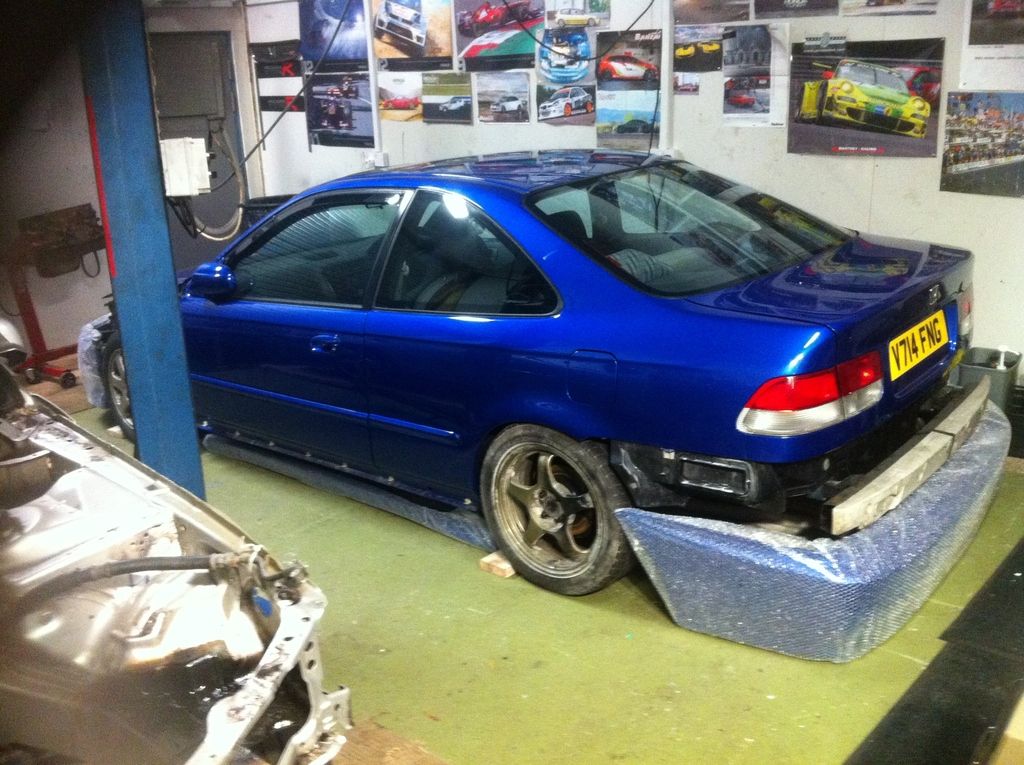
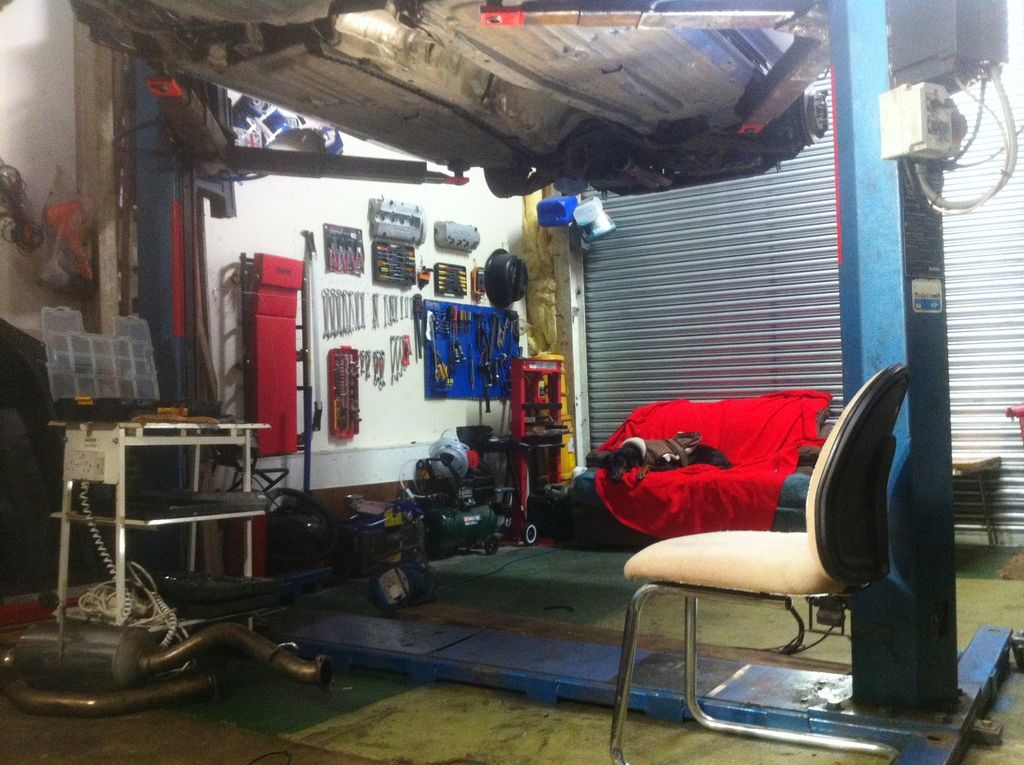
Then the car was back on the ramps where it would live for the foreseeable future
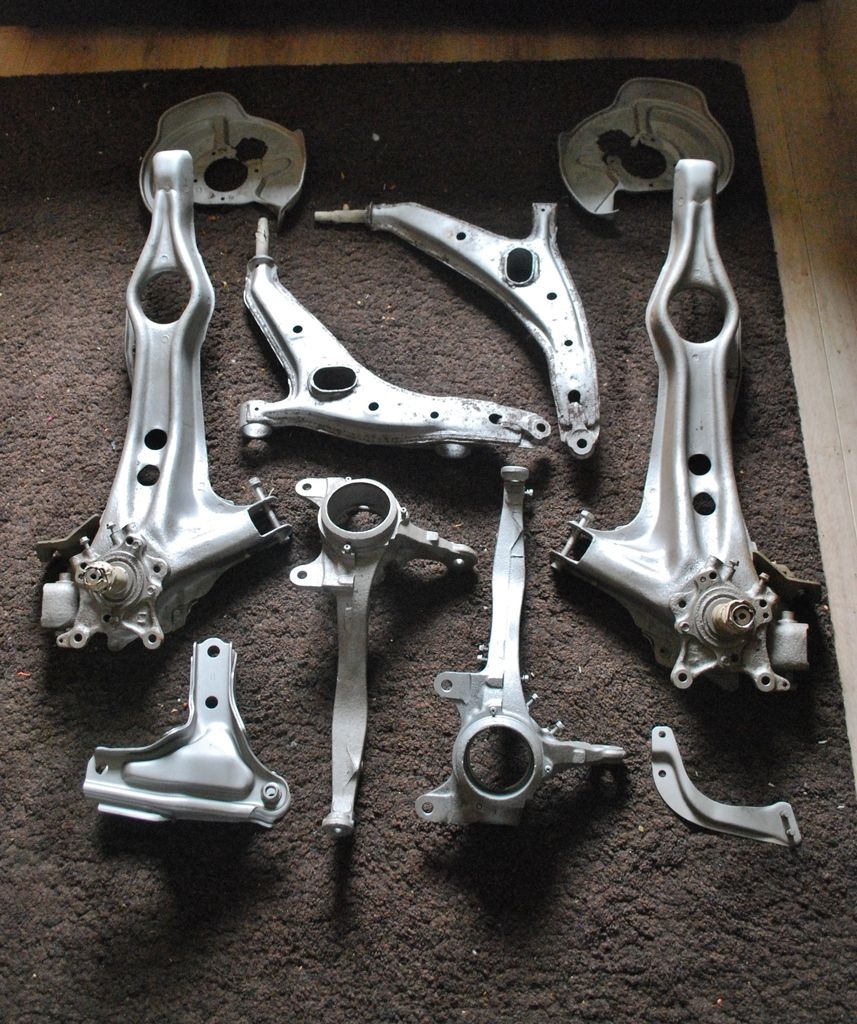
Strip down happened over the Christmas period - much labeling of parts and many photographs should mean it goes back together ok!
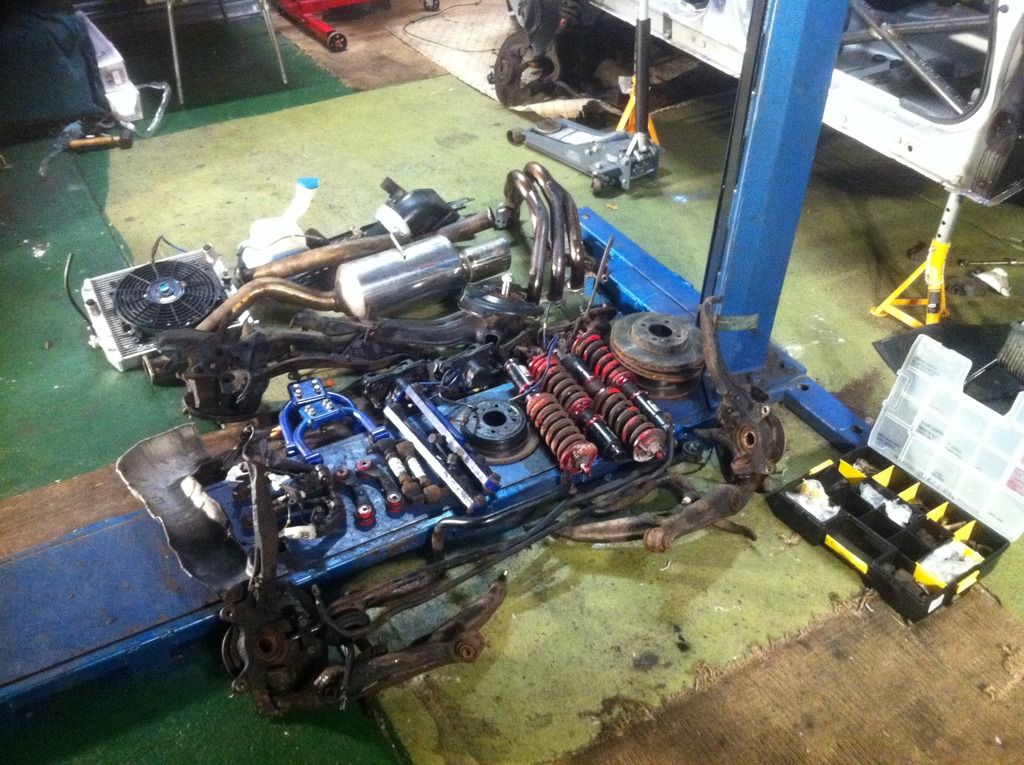
Pleased to have a press for these.. and all the other bushes - still the front LCA bushes had my life!
Last wash before the strip down began again - so many people have laughed at how I had the car roadworthy for ~2 months
All the body panels removed were wrapped up and taken to my house for safe storage
Then the car was back on the ramps where it would live for the foreseeable future
Strip down happened over the Christmas period - much labeling of parts and many photographs should mean it goes back together ok!
Pleased to have a press for these.. and all the other bushes - still the front LCA bushes had my life!
SteveOEM1
Active Member
- Joined
- Mar 24, 2013
- Messages
- 153
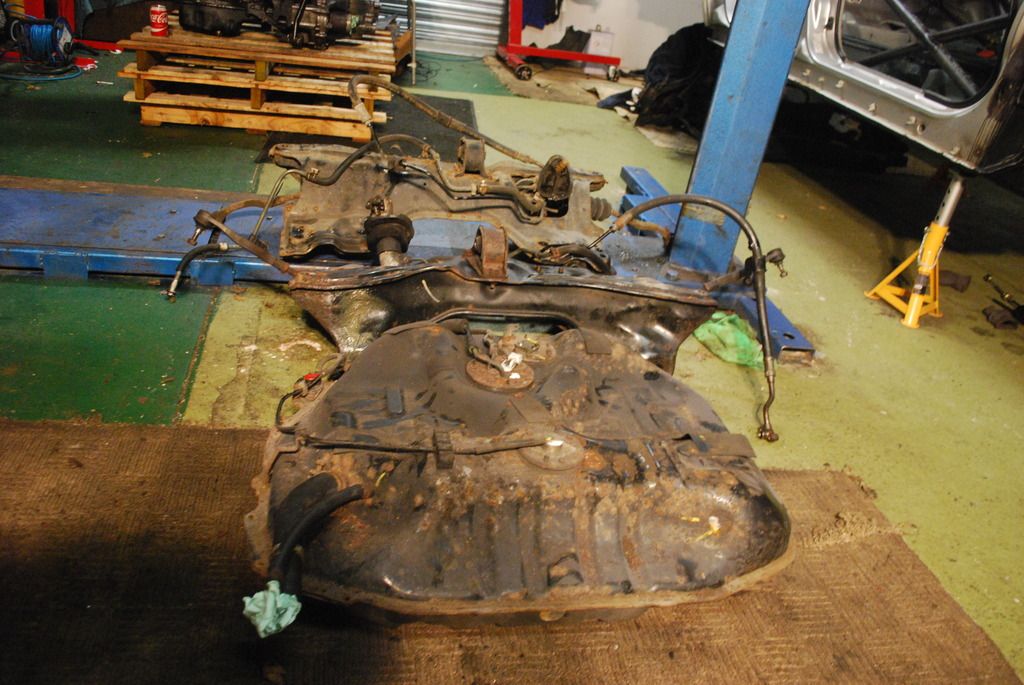
Next up was the taking the engine out - such an easy job with the lift! Just dropped it down onto pallets
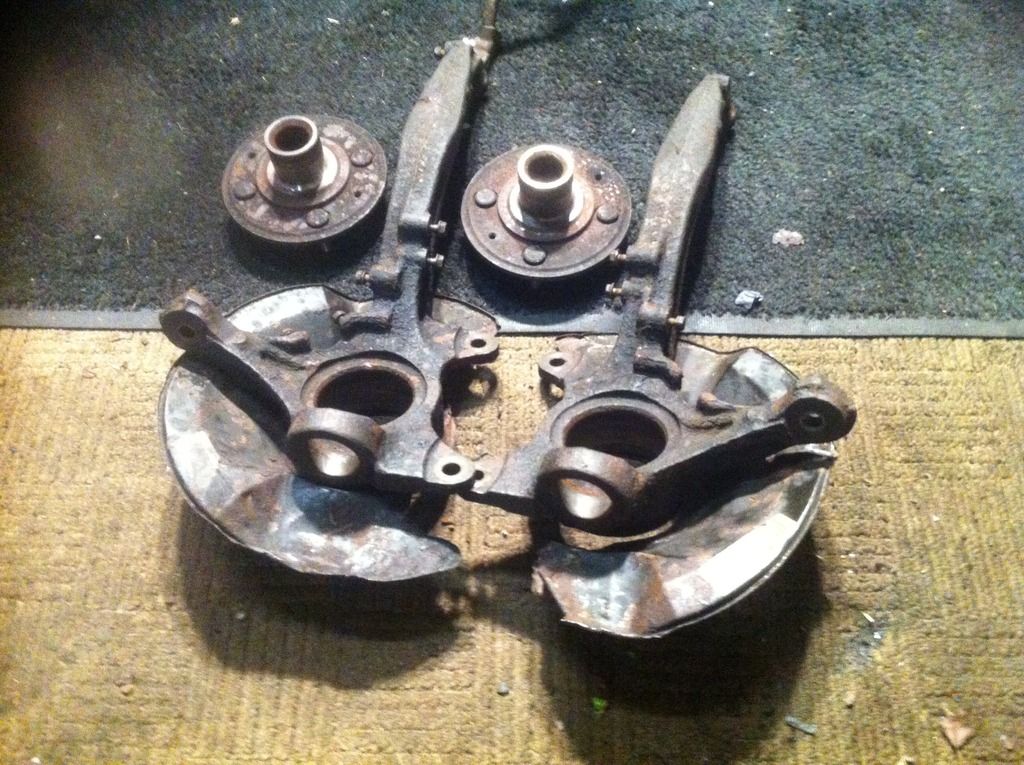
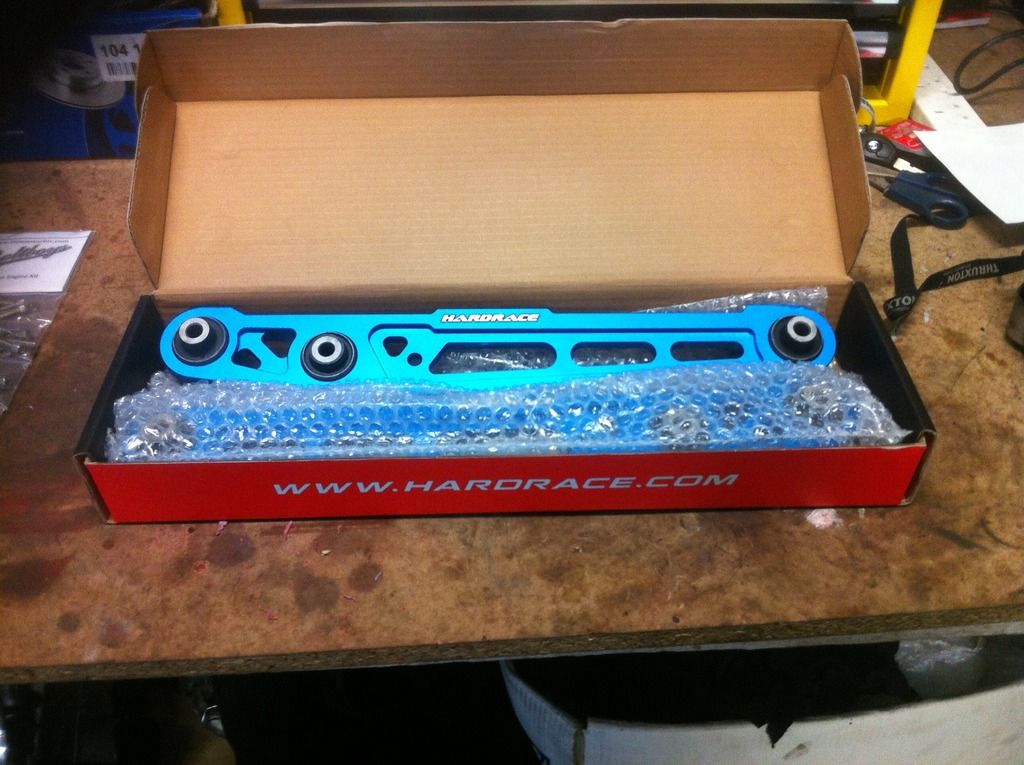
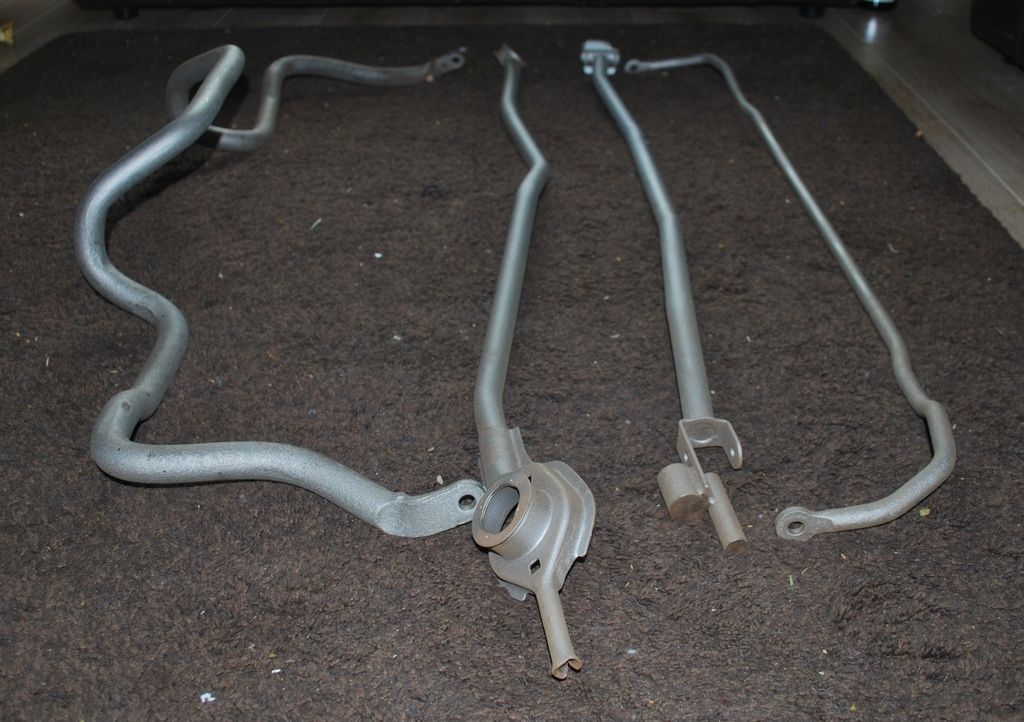
I decided for the suspension side of things I wanted to go HardRace everything and keep consistency
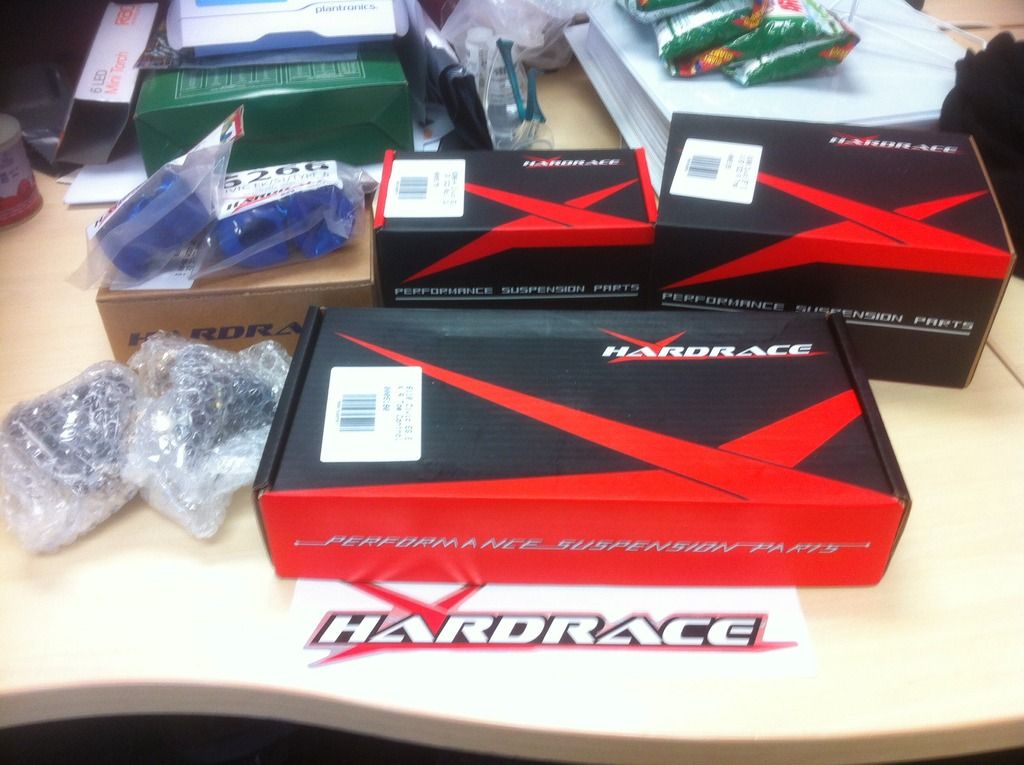
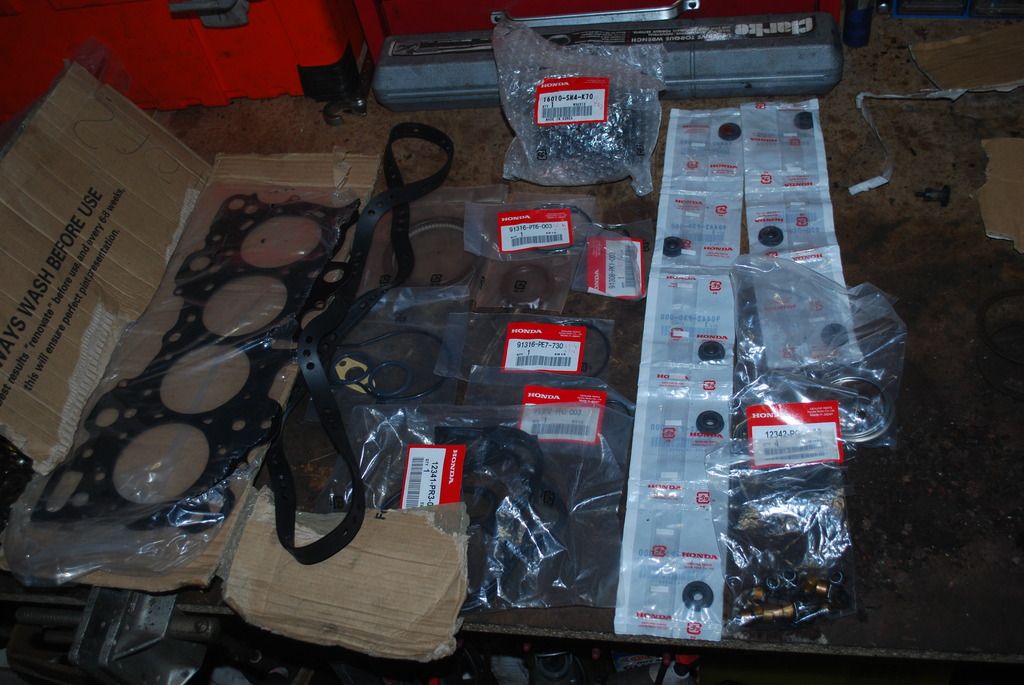
Also decided as the engine was getting rebuilt that everything had to be OEM - a breaker guy I know, who buys up unfinished projects, happened to have practically everything I needed for the rebuild
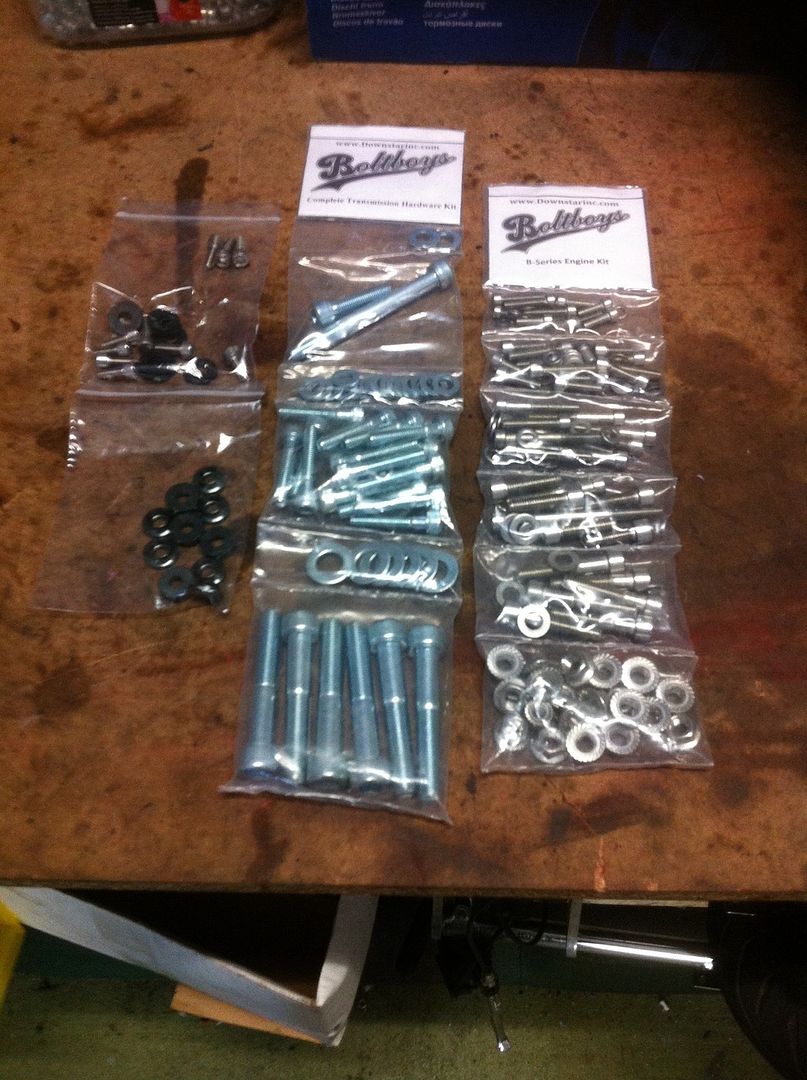
As the engine and all ancillaries will be getting cleaned up before the rebuild I thought I'd splash out on some Downstar hardware
I decided for the suspension side of things I wanted to go HardRace everything and keep consistency
Also decided as the engine was getting rebuilt that everything had to be OEM - a breaker guy I know, who buys up unfinished projects, happened to have practically everything I needed for the rebuild
As the engine and all ancillaries will be getting cleaned up before the rebuild I thought I'd splash out on some Downstar hardware
SteveOEM1
Active Member
- Joined
- Mar 24, 2013
- Messages
- 153
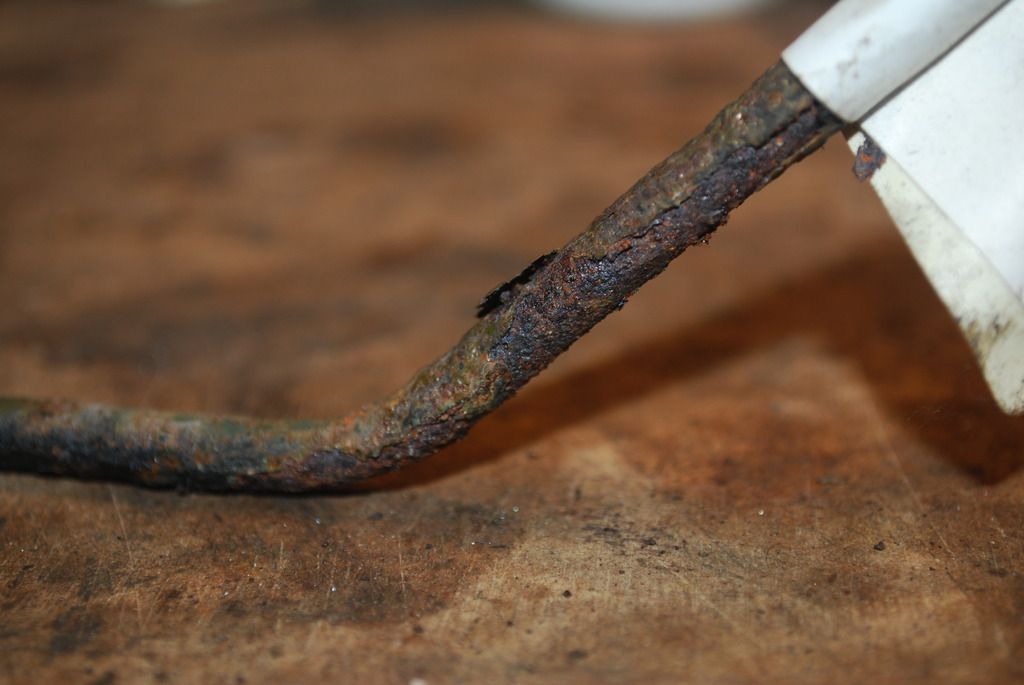
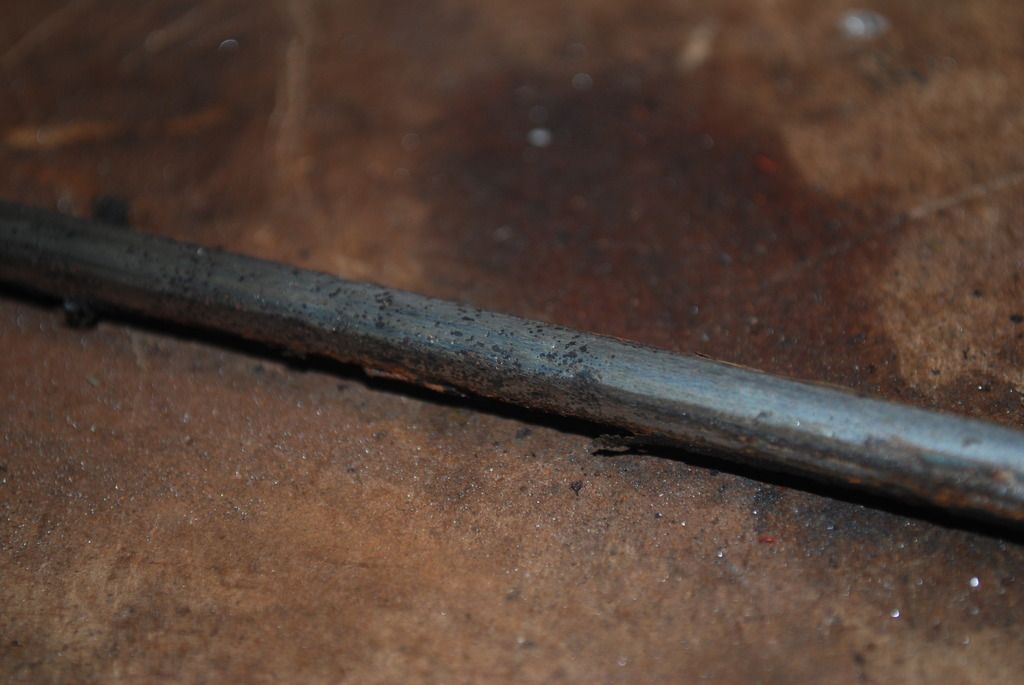
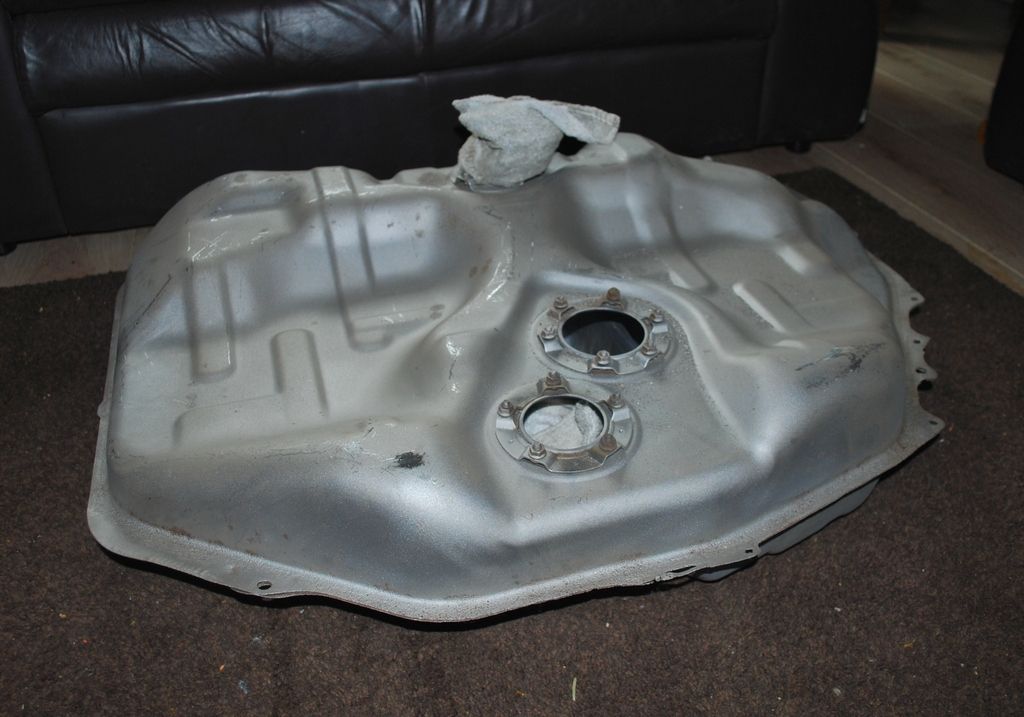
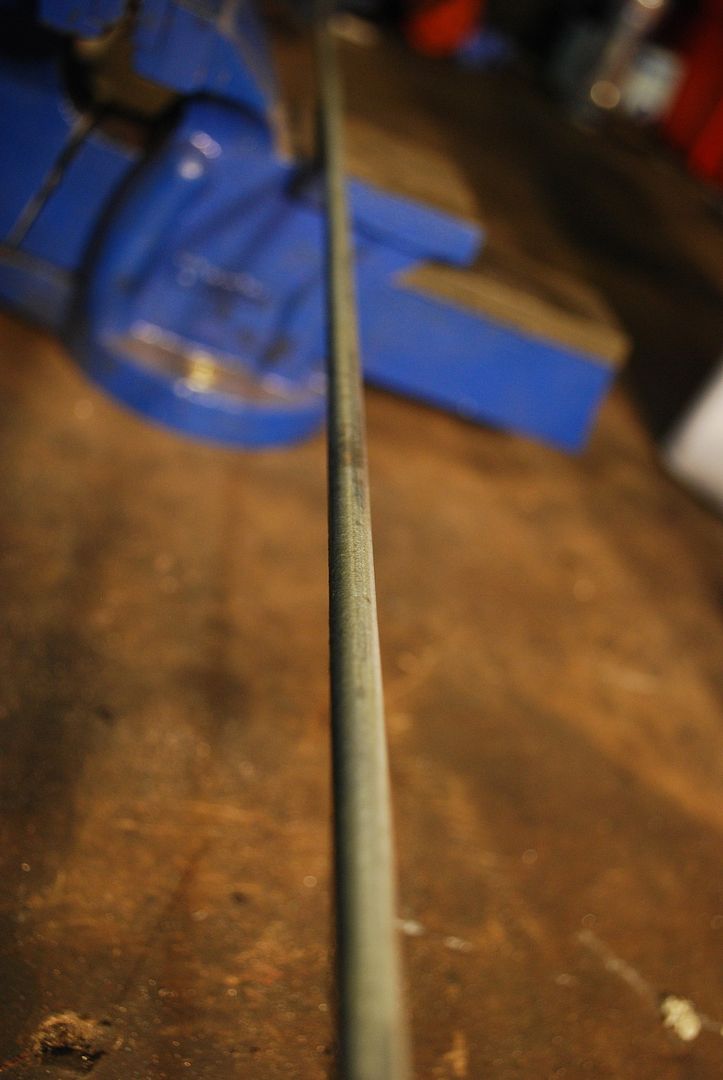
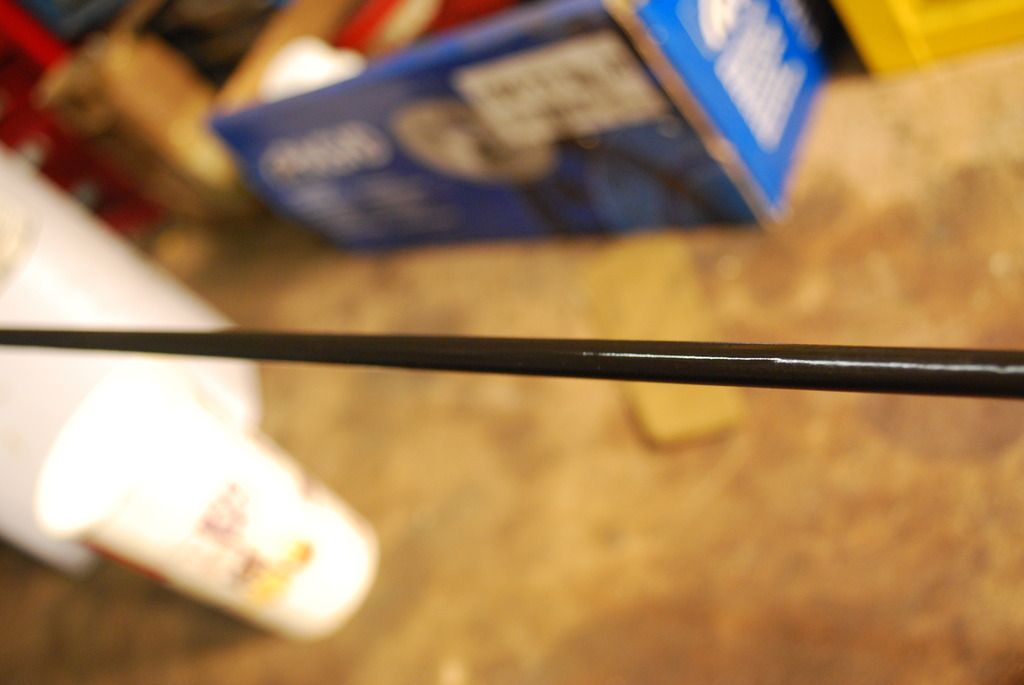
My original fuel lines were looking pretty bad, but once I took the surface rust off it looked they might be salvageable with minimal loss of wall thickness

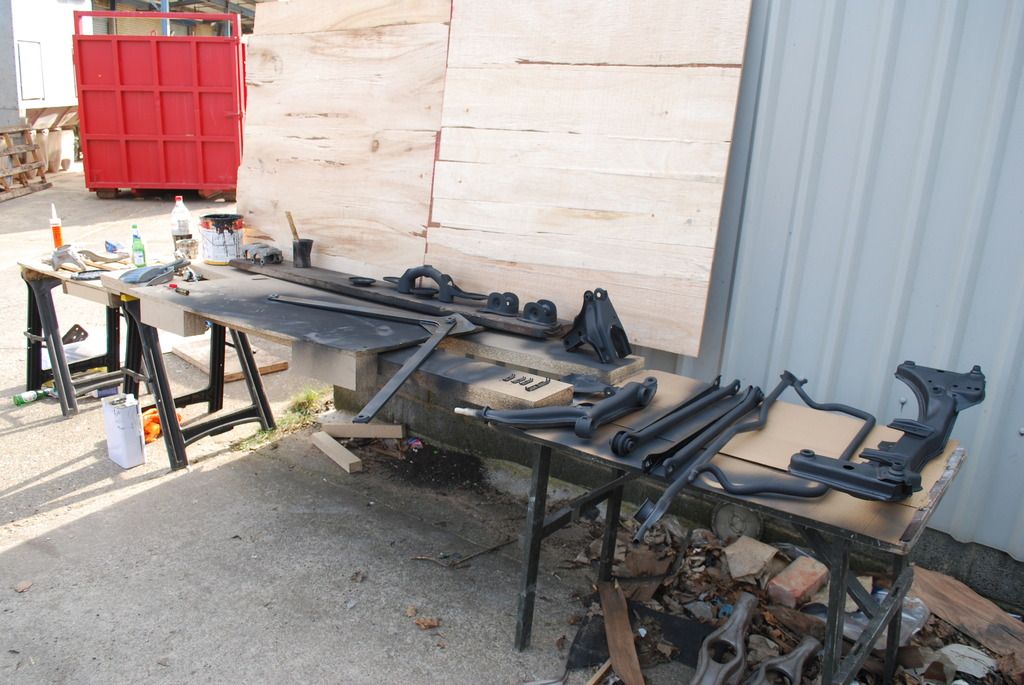
The guy that widened my wings for me fabed up a decent size blast cabinet for all the smaller items, and a zinc plating bath for coating them after..
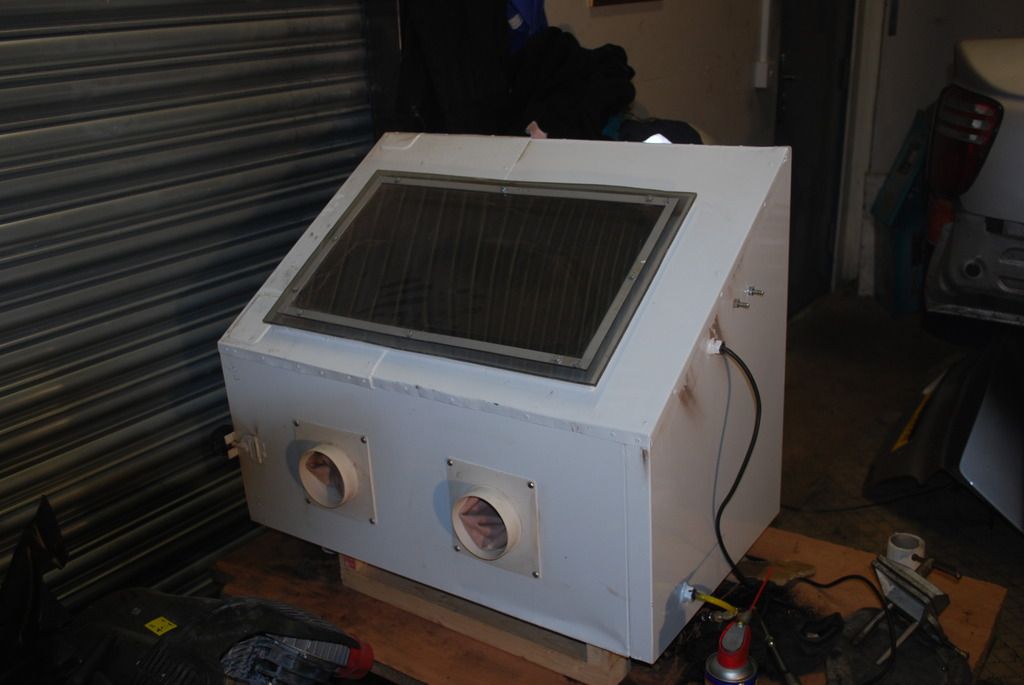
but the bigger stuff went off the commercial shot blasters
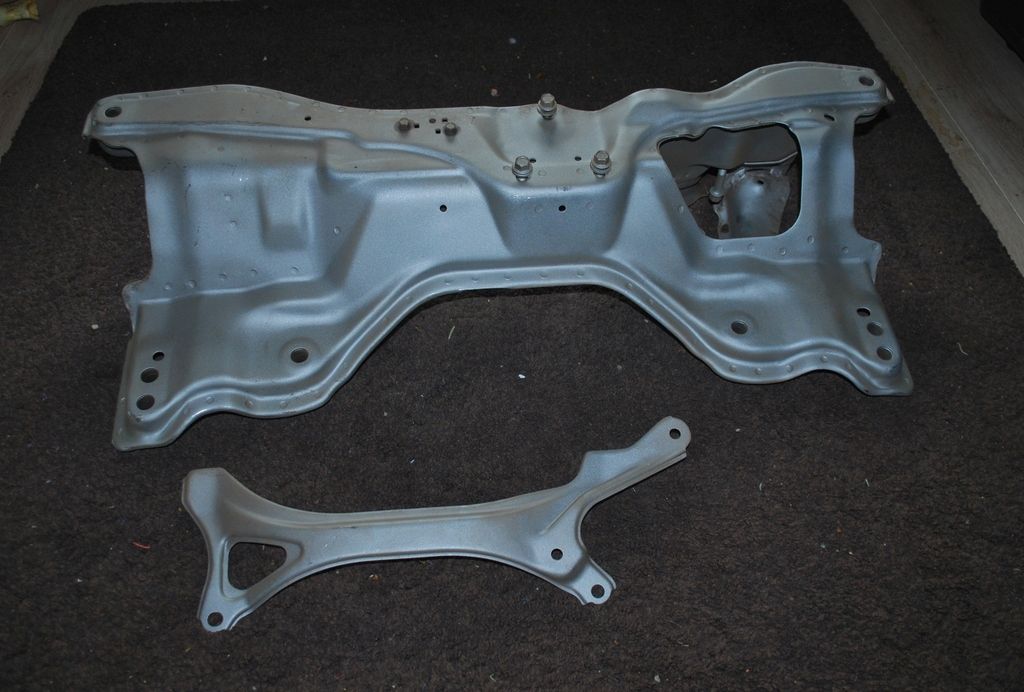
The guy that widened my wings for me fabed up a decent size blast cabinet for all the smaller items, and a zinc plating bath for coating them after..
but the bigger stuff went off the commercial shot blasters
SteveOEM1
Active Member
- Joined
- Mar 24, 2013
- Messages
- 153
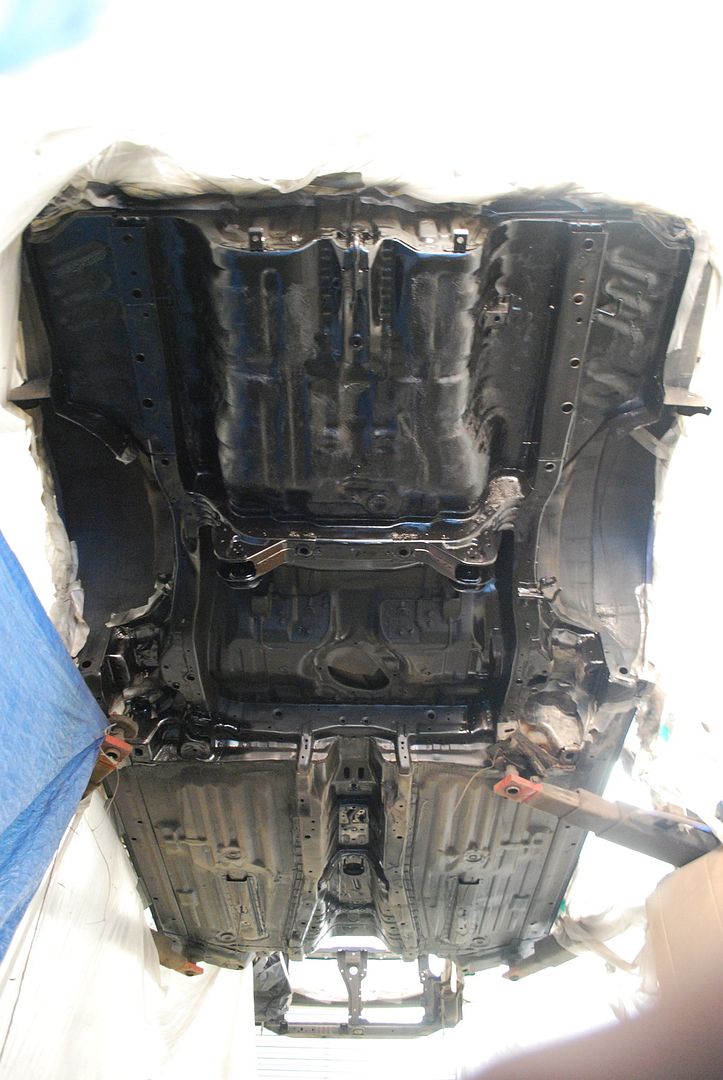
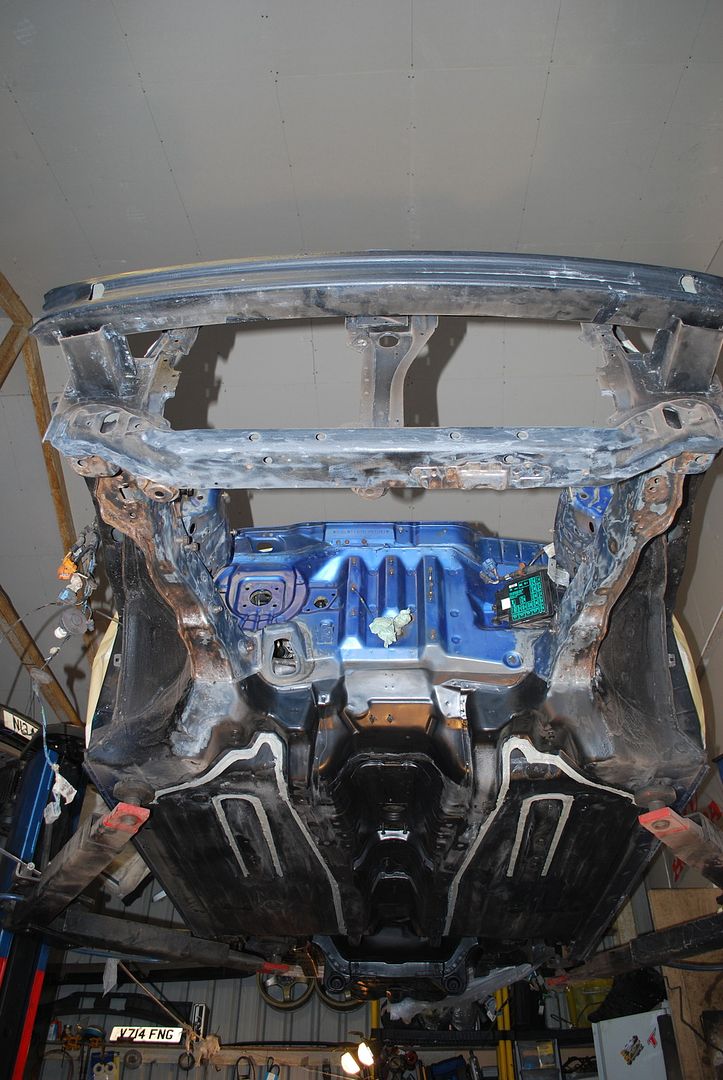
So for the underside I thought as I was doing this properly I wanted to be a little different, so I made the decision that I'll go colour coded with the Aston Martin Cobalt blue - the bay needs to be painted anyway so it can all happen together, but first there's lots to do.. plan of attack is:
- Strip back the underside, shot blasting where needed
- Paint with Jotamastic, this is very similar in rust protection on longevity to the Mastic 121, but more economical to use. Its becomign popular in classic car restoration but its main use in the Marine trade on boats
- Reapply new seam sealer
- Reapply rubber stone guard
- Paint with 2K Blue
- Laquer
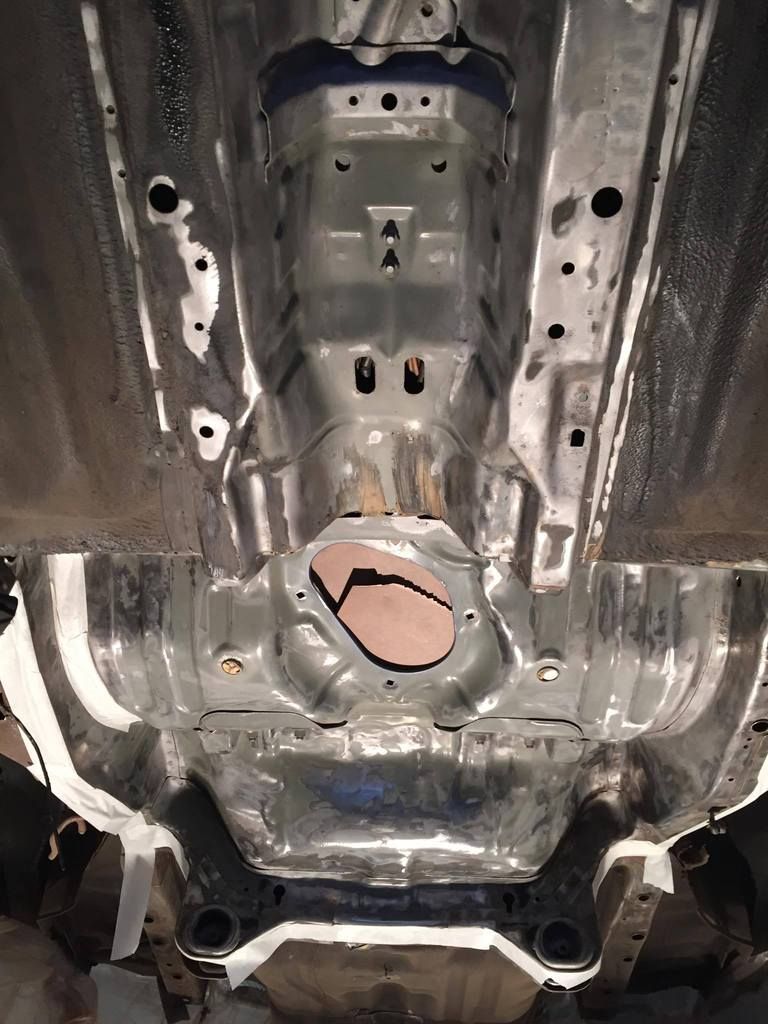
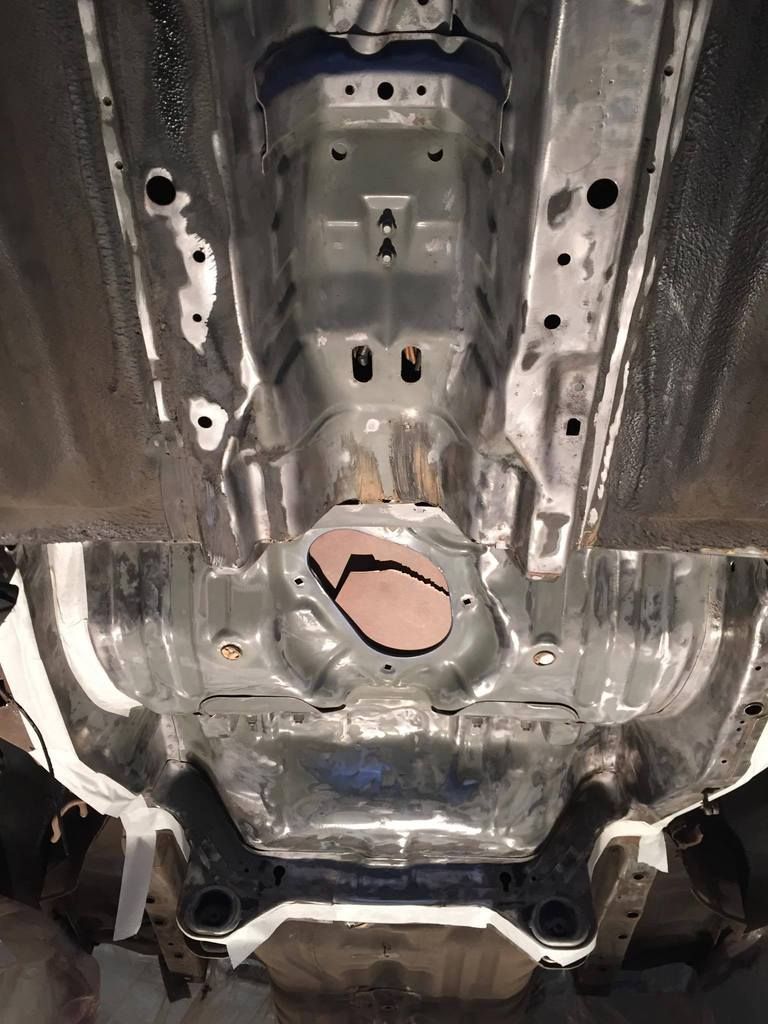
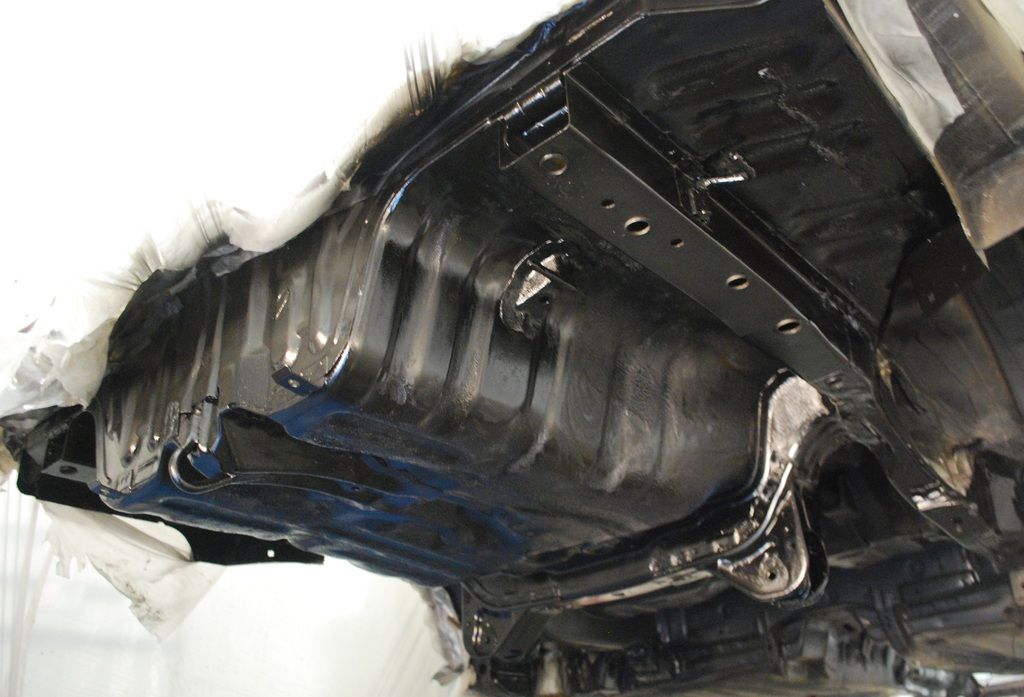
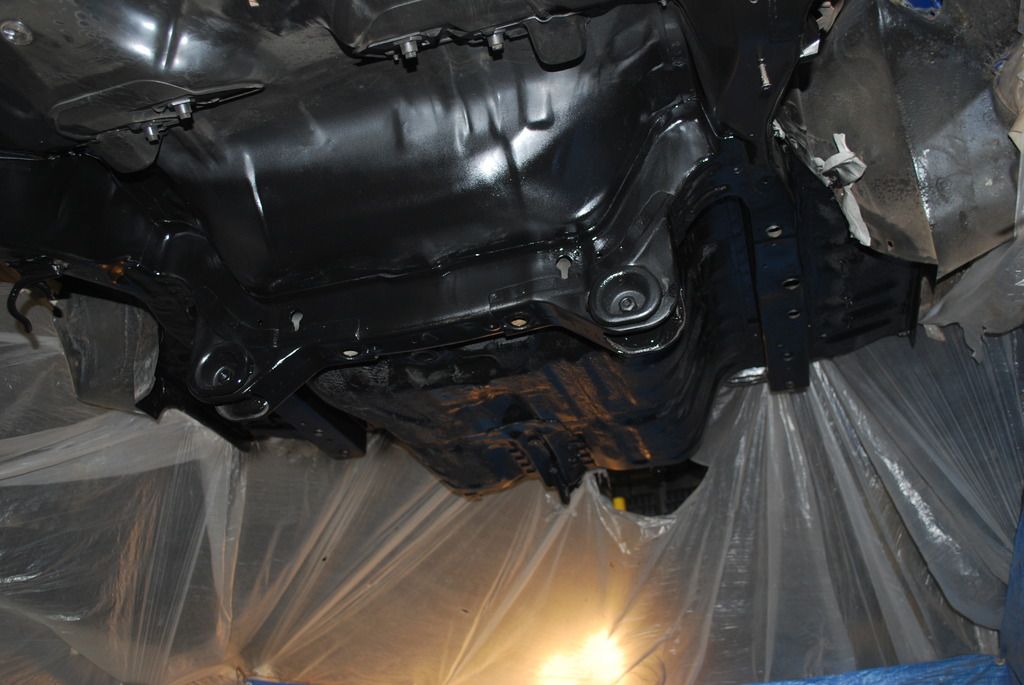
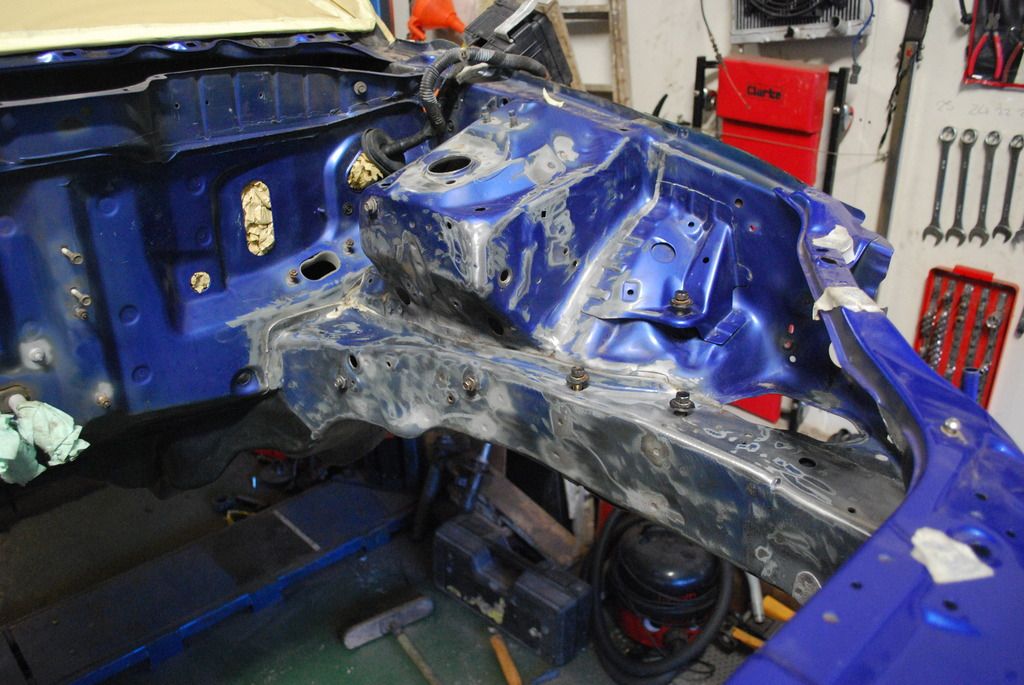
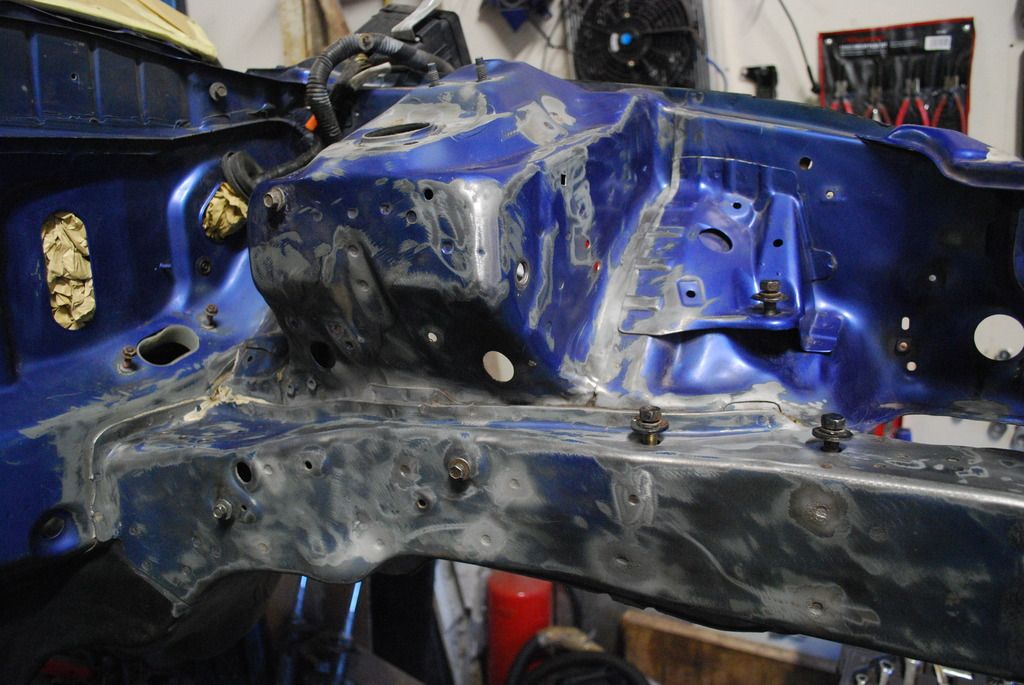
So the first stage began and as I didn't want to cover the unit in filth, I made a 'booth' that quickly became known as the Dexter booth
A combination of a grinder with knotted bevel wheels, cupped brushes and strip discs did the bulk of the work
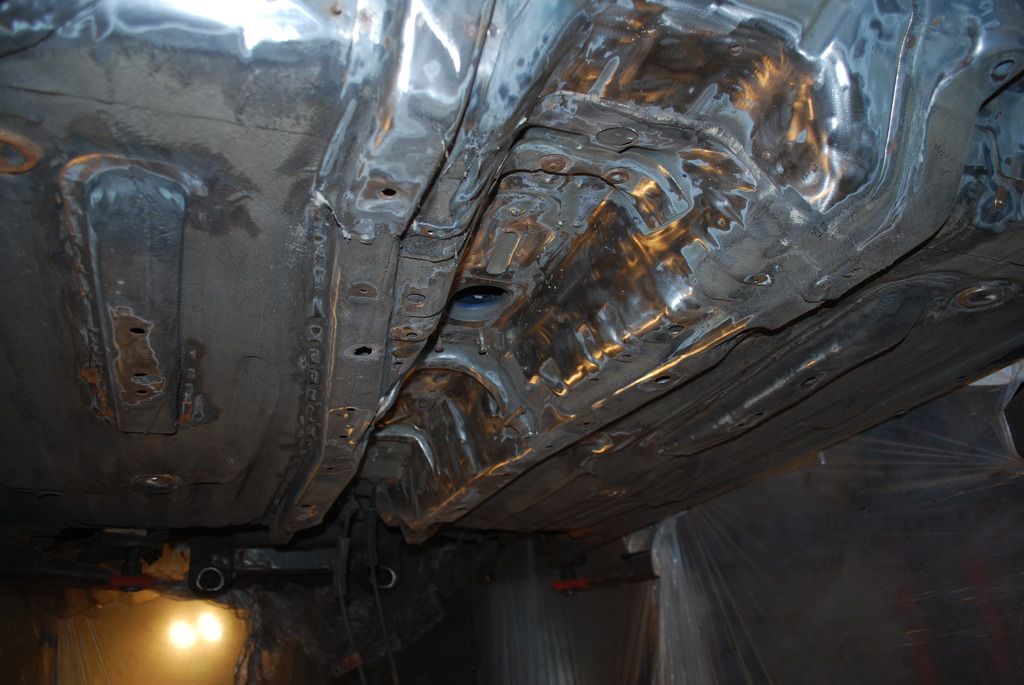
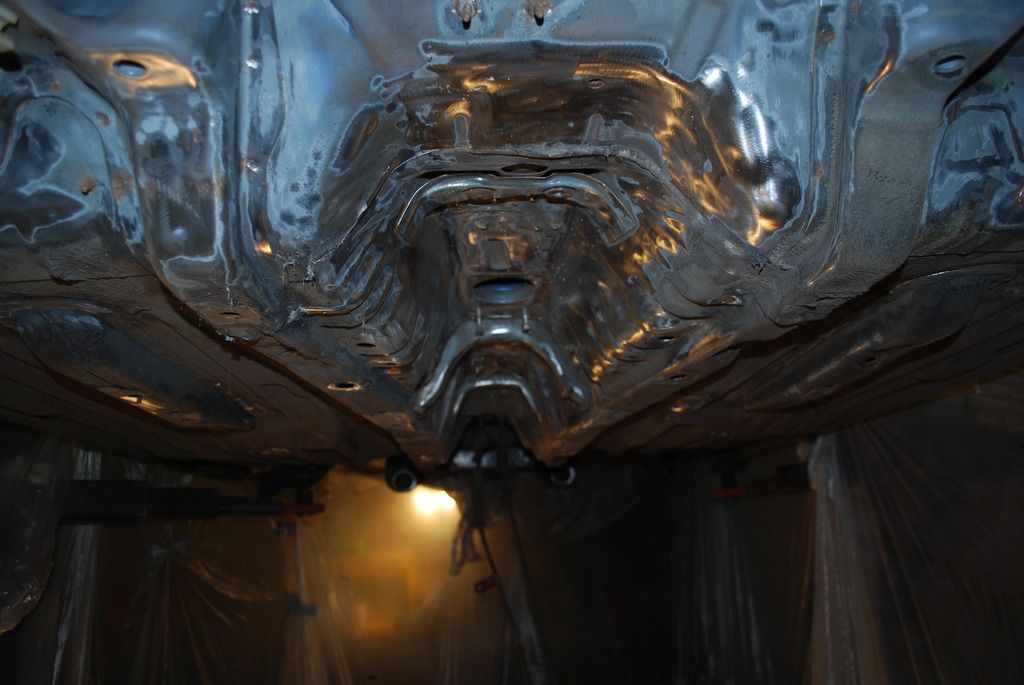
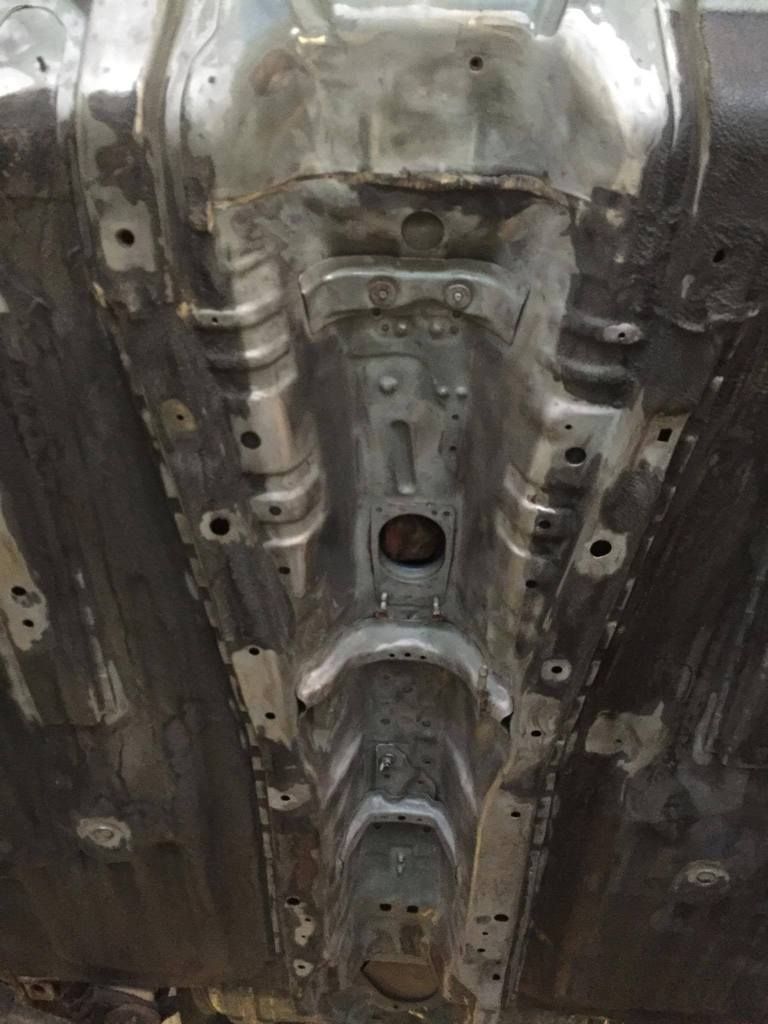
But you can closer that there where areas that needed shot blasting to get in the nooks and crannies - not a pleasant job in this tight space, amazing how the grit gets everywhere even with good PPE
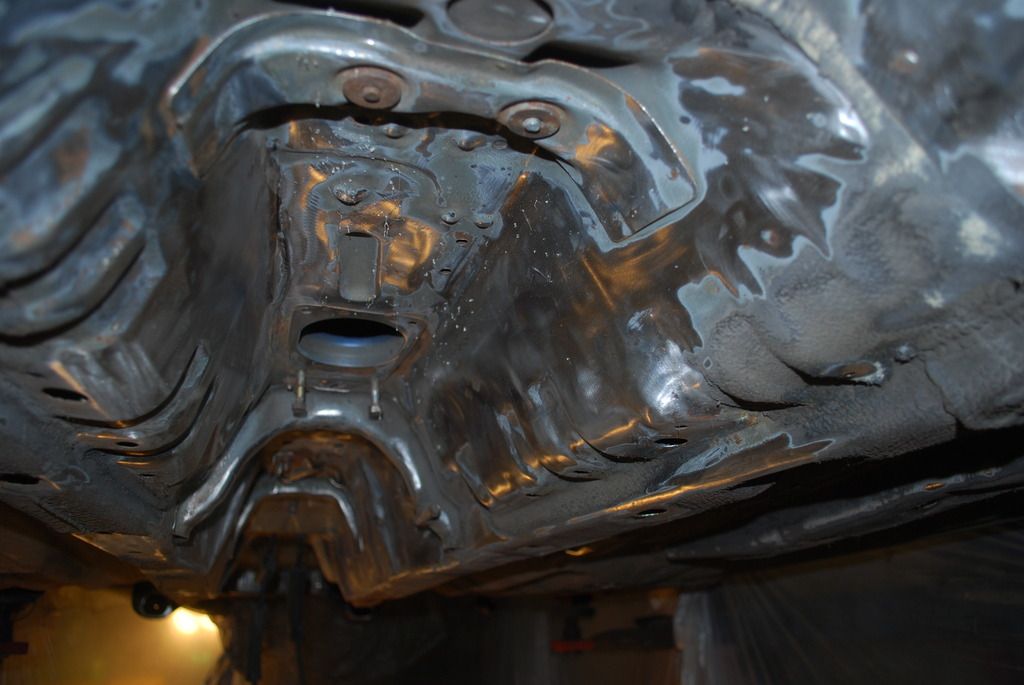
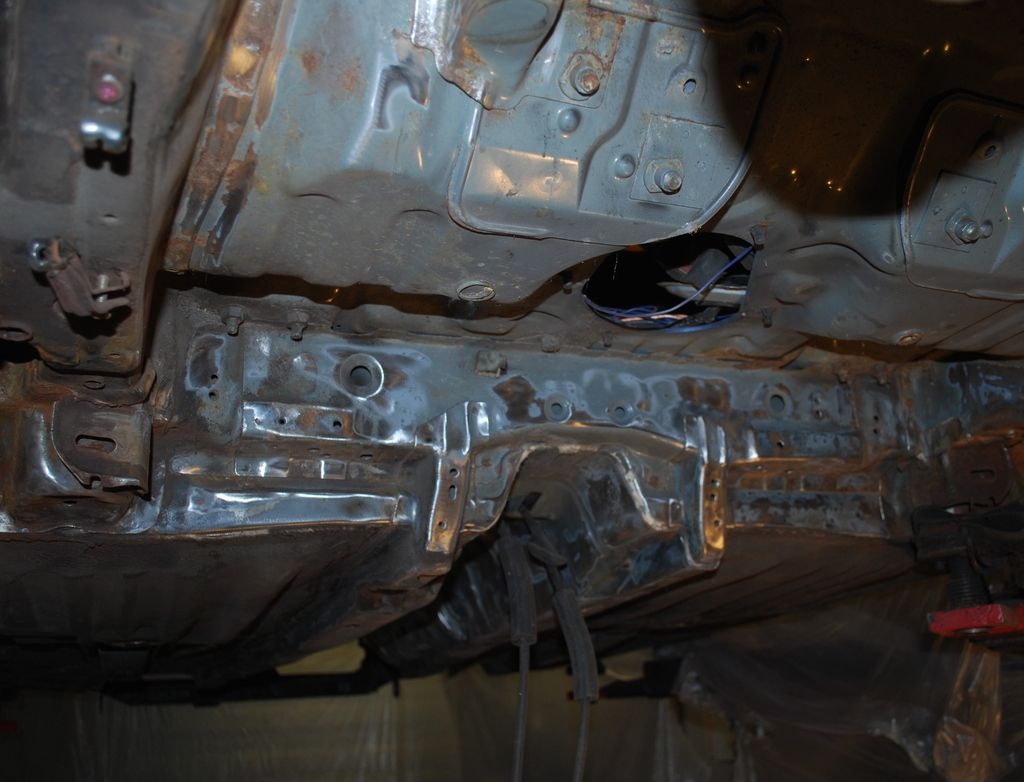
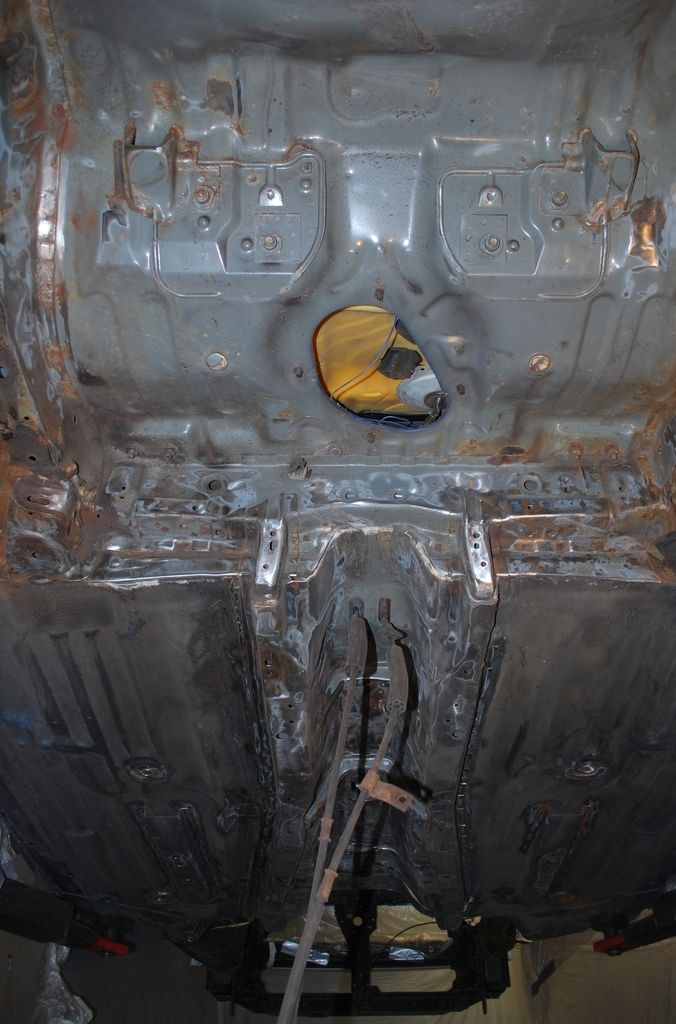
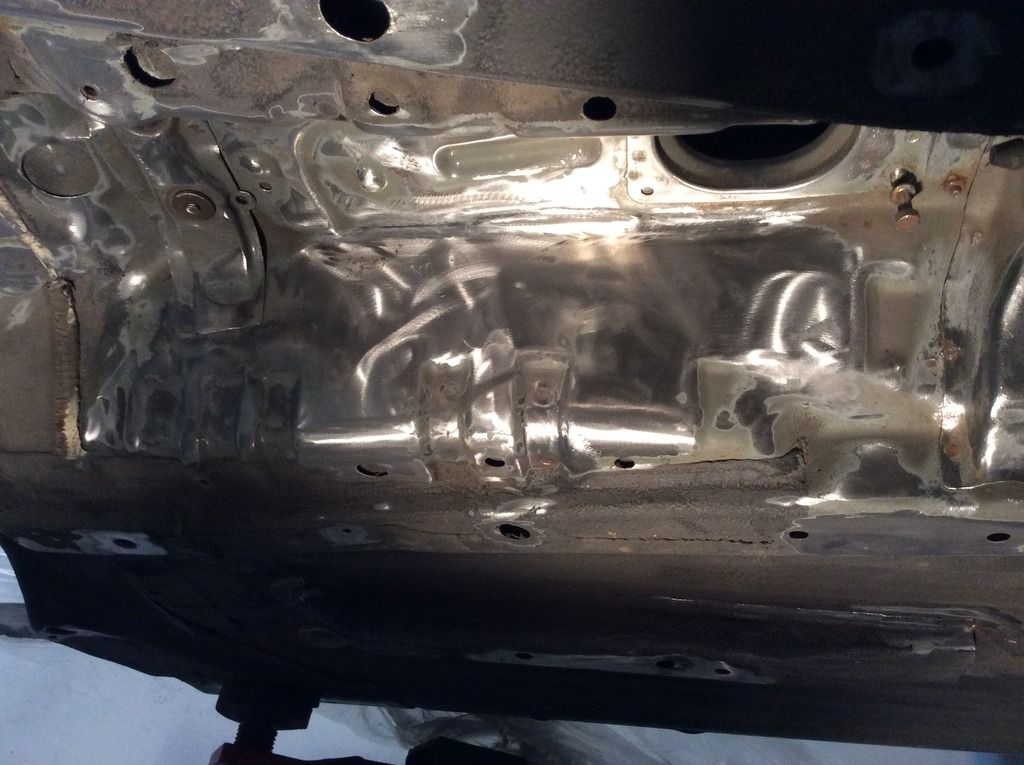
Starting to look better after a little blasting..
- Strip back the underside, shot blasting where needed
- Paint with Jotamastic, this is very similar in rust protection on longevity to the Mastic 121, but more economical to use. Its becomign popular in classic car restoration but its main use in the Marine trade on boats
- Reapply new seam sealer
- Reapply rubber stone guard
- Paint with 2K Blue
- Laquer
So the first stage began and as I didn't want to cover the unit in filth, I made a 'booth' that quickly became known as the Dexter booth
A combination of a grinder with knotted bevel wheels, cupped brushes and strip discs did the bulk of the work
But you can closer that there where areas that needed shot blasting to get in the nooks and crannies - not a pleasant job in this tight space, amazing how the grit gets everywhere even with good PPE
Starting to look better after a little blasting..
SteveOEM1
Active Member
- Joined
- Mar 24, 2013
- Messages
- 153
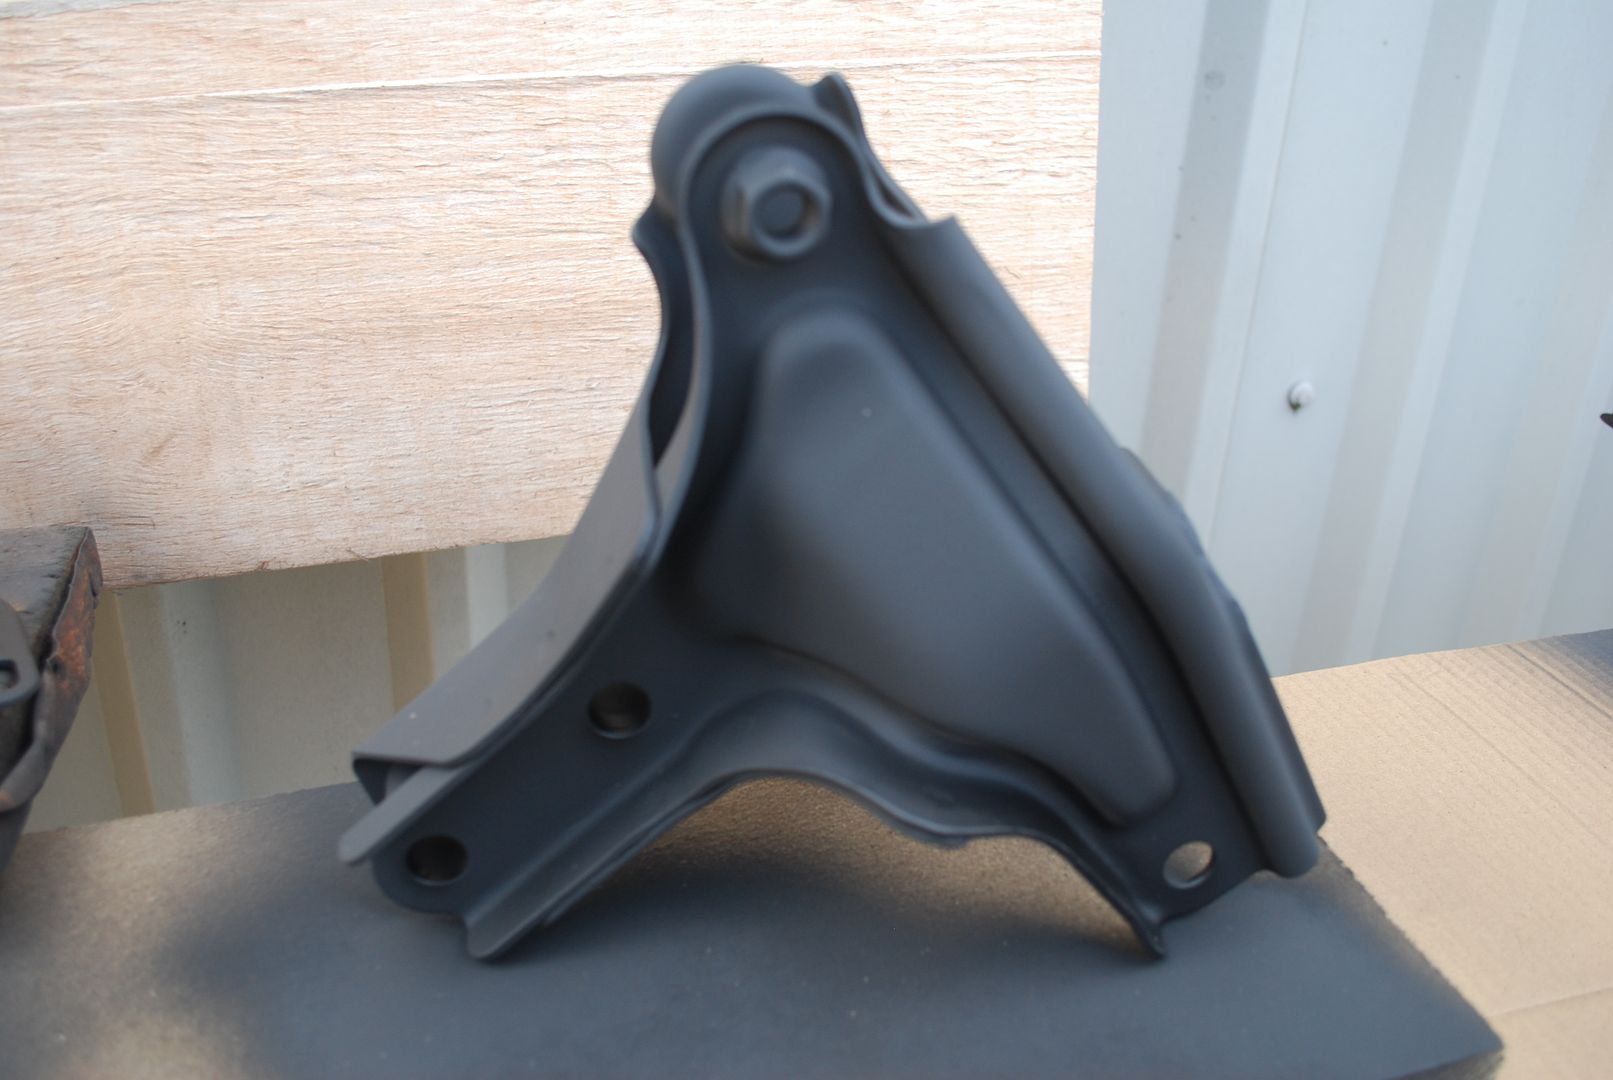
All of the suspension components have been getting painted with the same stuff, as a protective coat before the final 2k paint (which will be different colours for different functions..)
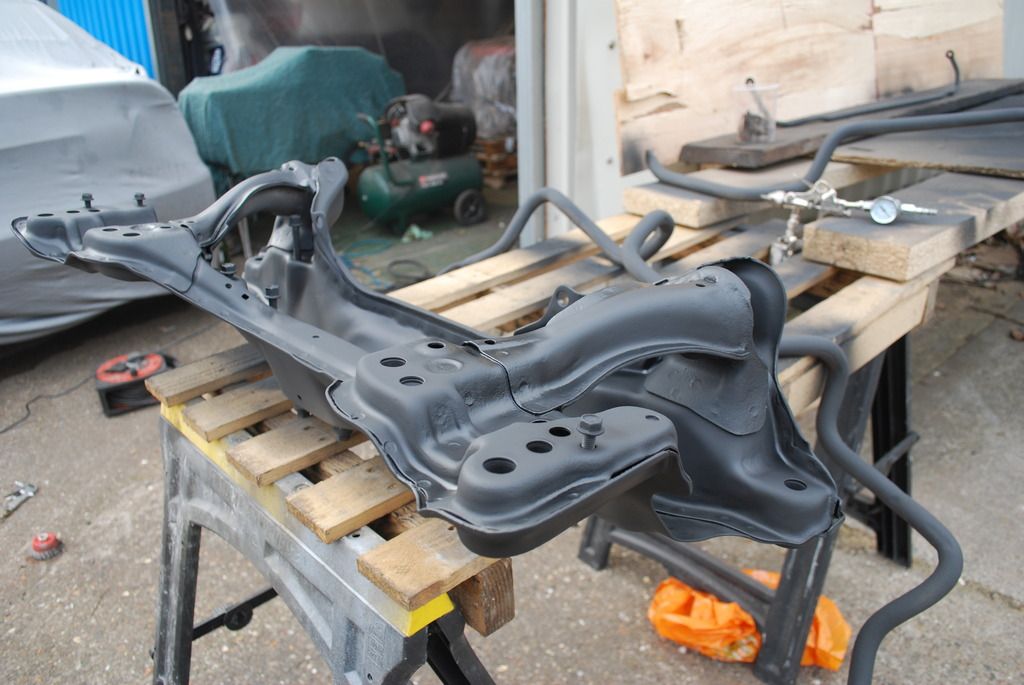
^^^ you might nnotice soem E46 M3 parts - mate of mines doing a similar restoration so we thought we'd share the load a bit
The Jota can give a different finish from gloss to matt depending on the temperature when it cures, which is why it wouldnt really be good as a top coat - its all about the protection though!
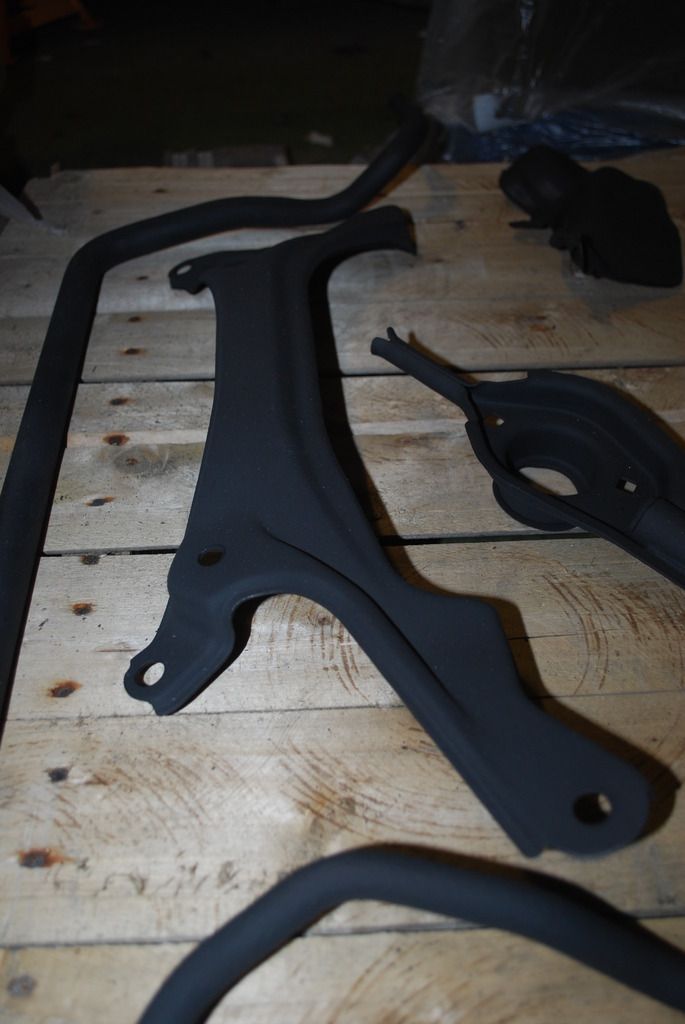
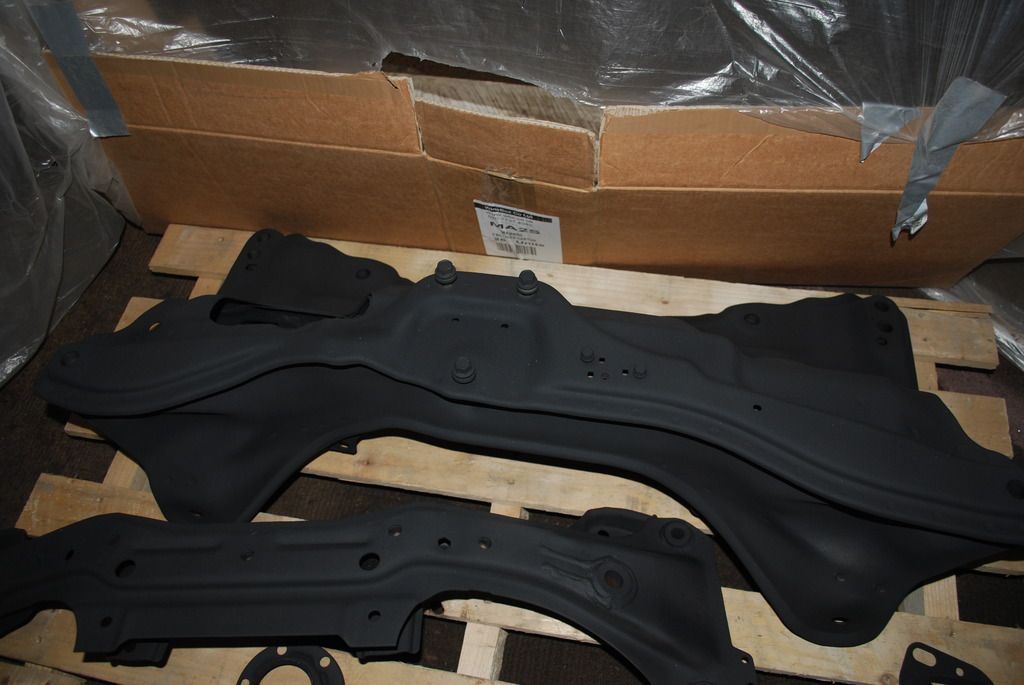
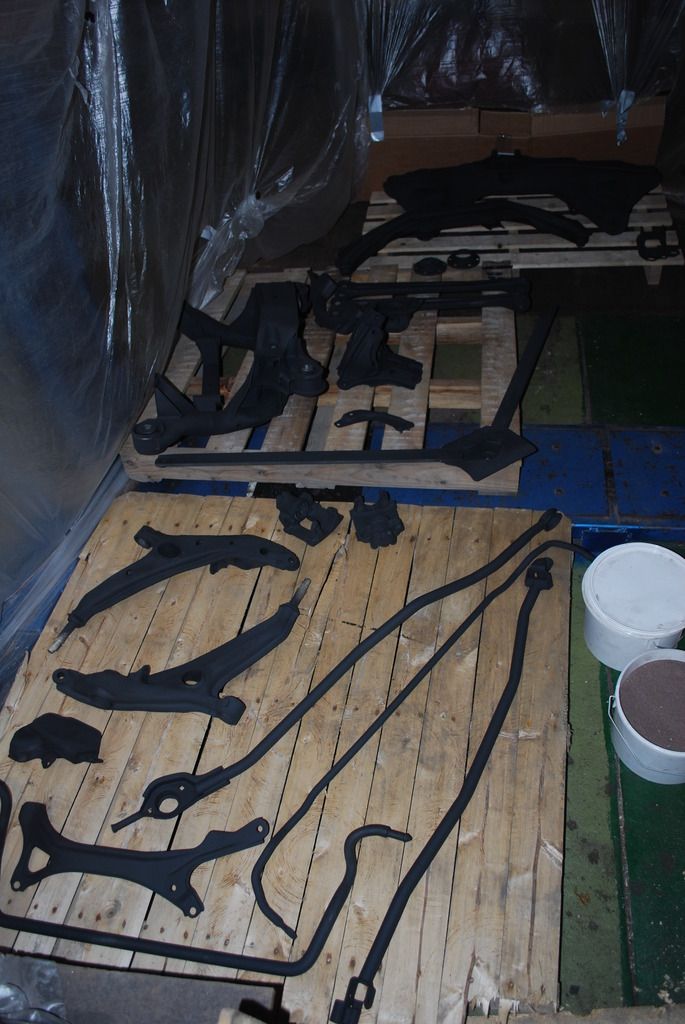
SteveOEM1
Active Member
- Joined
- Mar 24, 2013
- Messages
- 153
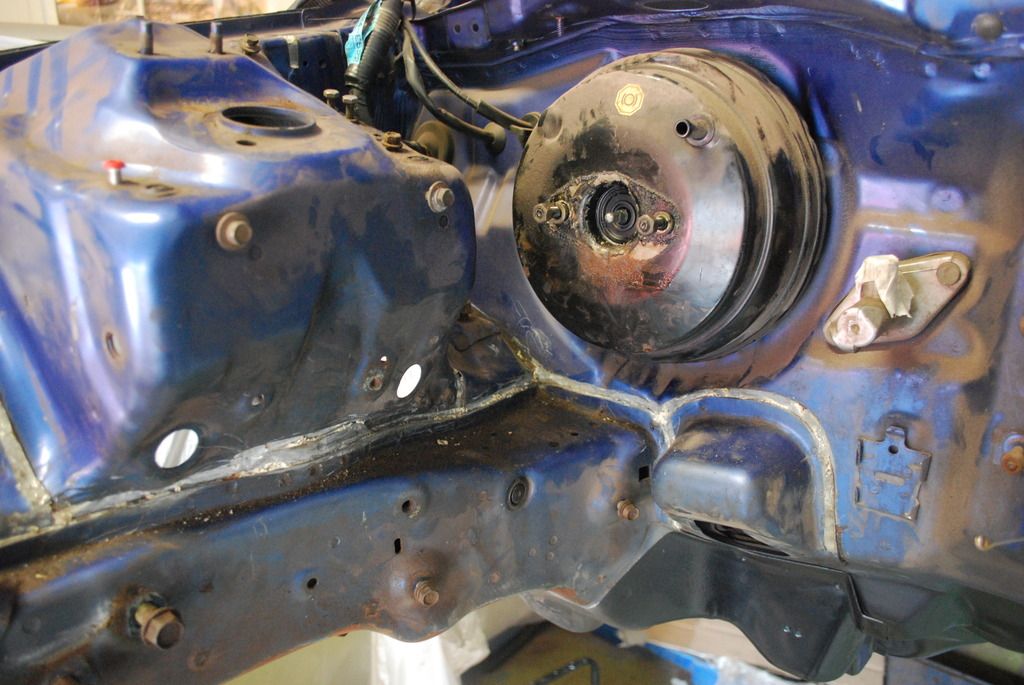
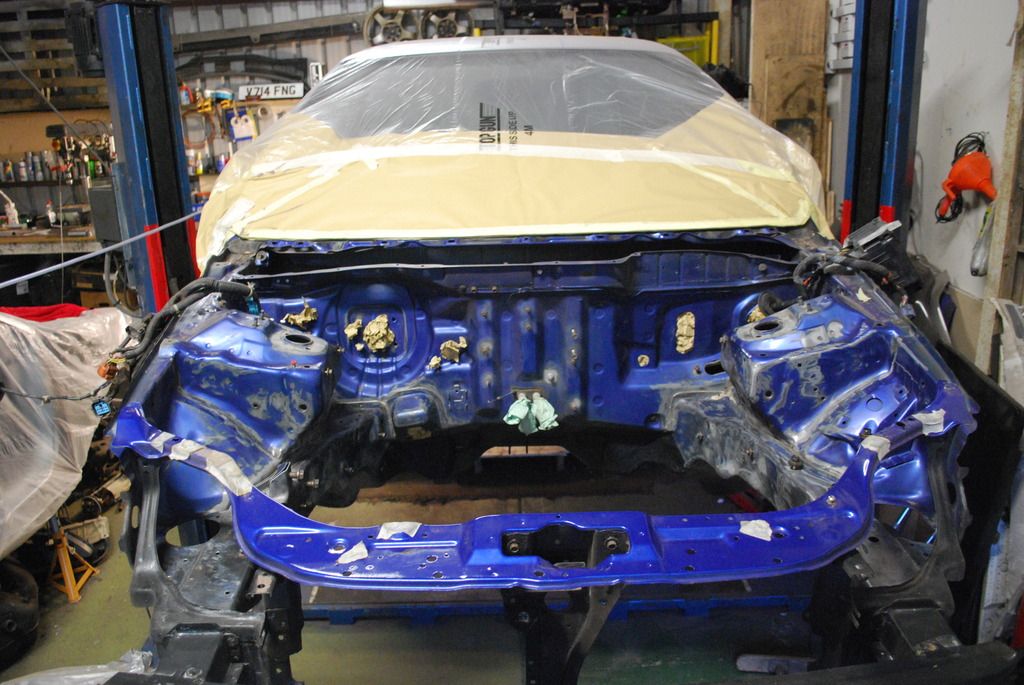
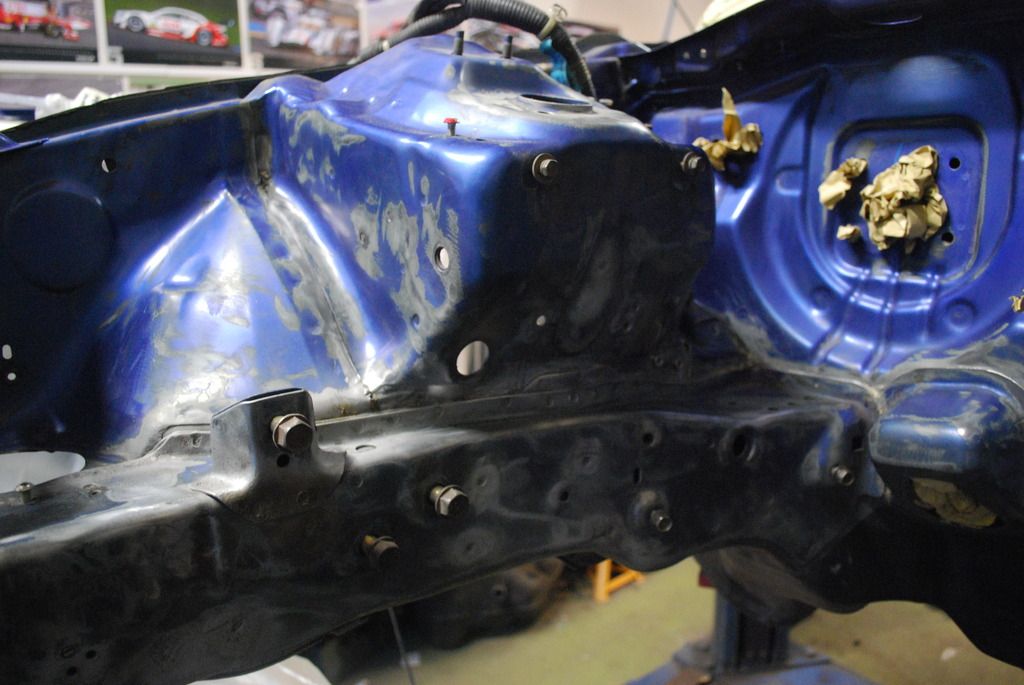
Now it was time to move onto the bay
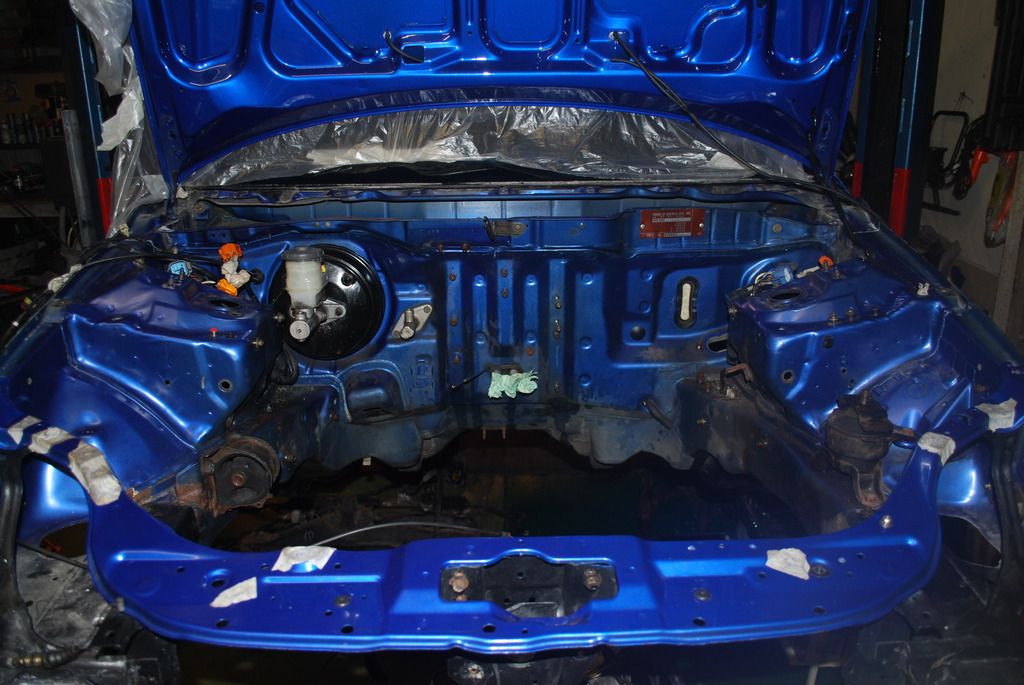
I definitely caught this at the right time - its funny that the worst of the rust is under the OEM seam sealer...

Worried about the amount of dust sat on the shell it was time for a very cautious clean down and recover, but this time with painting in mind
Was nice to see the that colour again!
.. but not for long

Will be a nice moment when this goes back on
I definitely caught this at the right time - its funny that the worst of the rust is under the OEM seam sealer...
Worried about the amount of dust sat on the shell it was time for a very cautious clean down and recover, but this time with painting in mind
Was nice to see the that colour again!
.. but not for long
Will be a nice moment when this goes back on

SteveOEM1
Active Member
- Joined
- Mar 24, 2013
- Messages
- 153
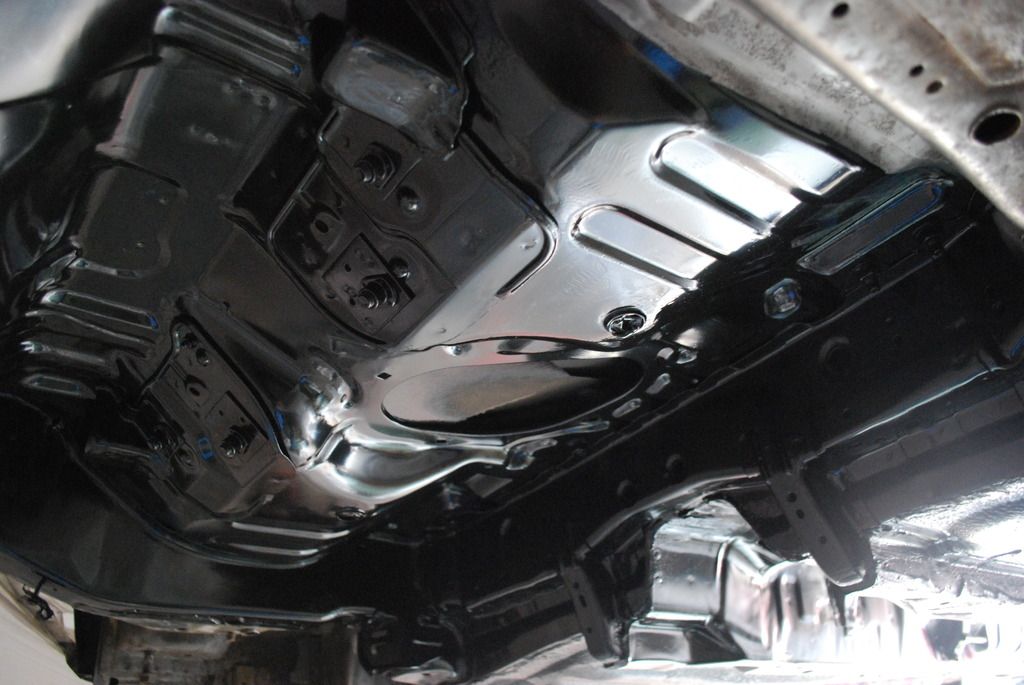
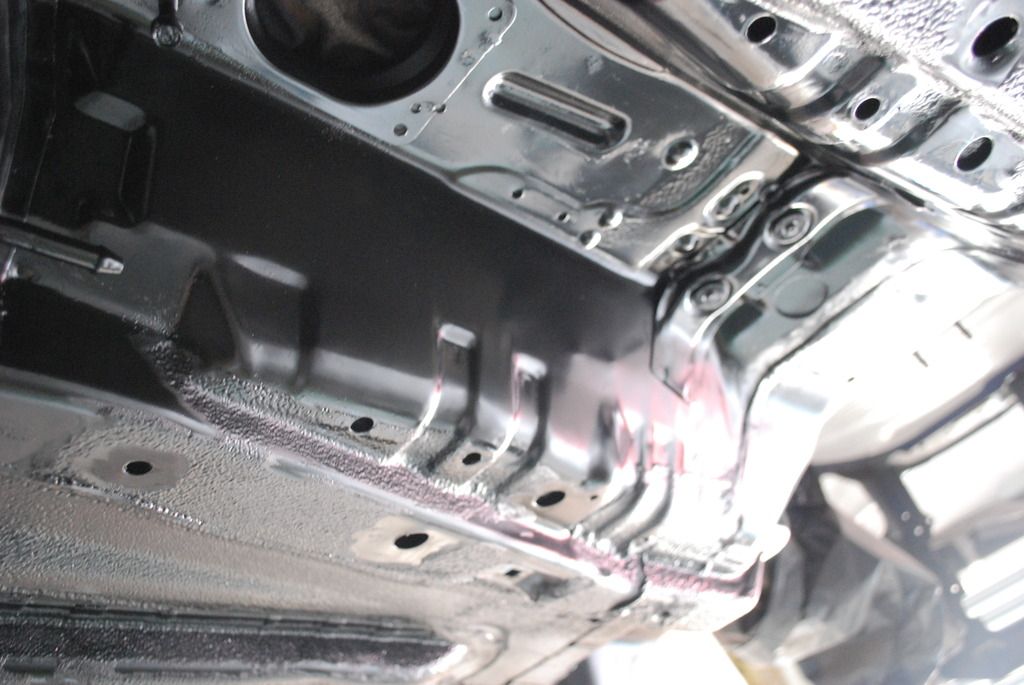
In between working on the bay I also started to apply the seam sealer - this and the stone guard are grey as it'll be easier to get coverage with the blue 2K

... and that pretty much brings the thread up to speed - updates now will be trickling in as they happen, I don't set myself time goals as they've proven stressful in the past, I just enjoy the build!
... and that pretty much brings the thread up to speed - updates now will be trickling in as they happen, I don't set myself time goals as they've proven stressful in the past, I just enjoy the build!
SteveOEM1
Active Member
- Joined
- Mar 24, 2013
- Messages
- 153
Thanks Lee! my original B16 was absolutely perfect, 135k miles and pulled as well as ever and not a drop of smoke. Im actually keeping hold of it until the b18c is in and I'm happy with it.
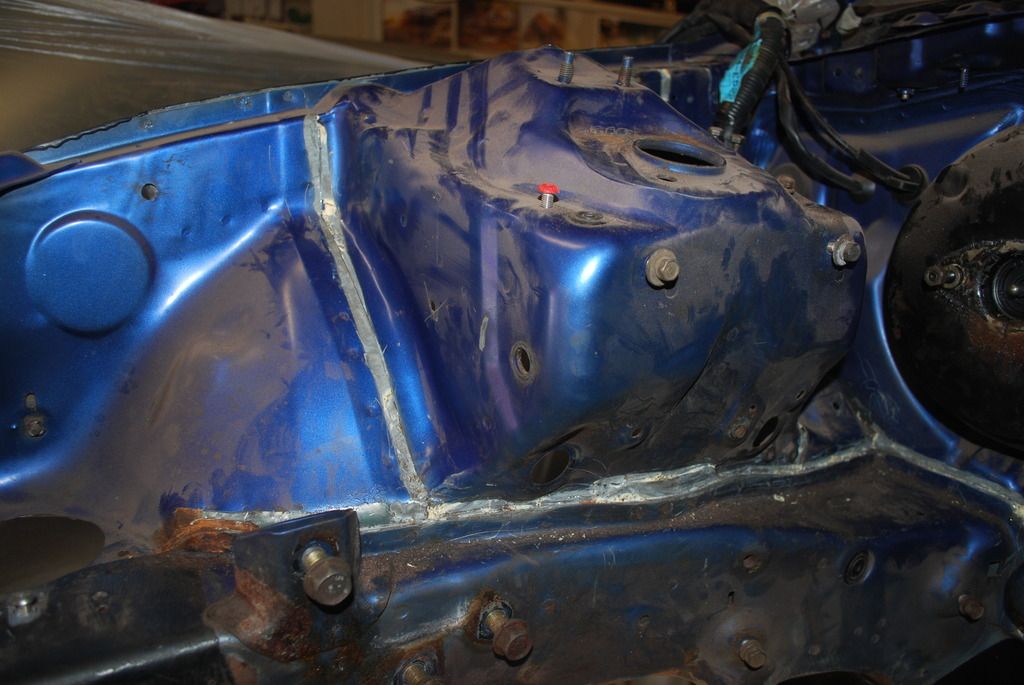
The coupes generally seem to be better for rust (maybe USDM vs EDM), but I definitely caught mine at the right time - I'll be adding in a little welding work as and when it gets done; couple of small repairs at the rear and both the front members on the outer wheel arches. This seems the most common place, where the arch liners keep the water trapped in tight to the metal
The coupes generally seem to be better for rust (maybe USDM vs EDM), but I definitely caught mine at the right time - I'll be adding in a little welding work as and when it gets done; couple of small repairs at the rear and both the front members on the outer wheel arches. This seems the most common place, where the arch liners keep the water trapped in tight to the metal