
You are using an out of date browser. It may not display this or other websites correctly.
You should upgrade or use an alternative browser.
You should upgrade or use an alternative browser.
EM1 Long term build (sideline EG track build)
- Thread starter SteveOEM1
- Start date
SteveOEM1
Active Member
- Joined
- Mar 24, 2013
- Messages
- 153
thanks for the positive comments ") Having just done the track rod ends, I think the new found stiffness up front has put additional stress on the lower ball joints as they've started creaking at me - will be attempting those ones tonight... hoping that I can get away with a freezer and a F*ing Big Hammer and won't be needing a press! will see....
Having just done the track rod ends, I think the new found stiffness up front has put additional stress on the lower ball joints as they've started creaking at me - will be attempting those ones tonight... hoping that I can get away with a freezer and a F*ing Big Hammer and won't be needing a press! will see....
Having just done the track rod ends, I think the new found stiffness up front has put additional stress on the lower ball joints as they've started creaking at me - will be attempting those ones tonight... hoping that I can get away with a freezer and a F*ing Big Hammer and won't be needing a press! will see....SteveOEM1
Active Member
- Joined
- Mar 24, 2013
- Messages
- 153
Wow I haven't updated on here for 3 years! I'm often lurking on the site looking at other peoples work but I've predominantly been keeping my build going on Em1Crew - the sites currently having issues so thought I better update on here so I don't loose everything.
The builds kind of snowballed in the last 3 years and the titles probably not so appropriate anymore!
I'll try and summarise 3 years, but it might take a few posts - I hope anyone reading it enjoys, and as always my build is for me and I love working on the car but I always appreciate comments, positive or not.
After enjoying the car in its previous state for a while I then started changing things up again.
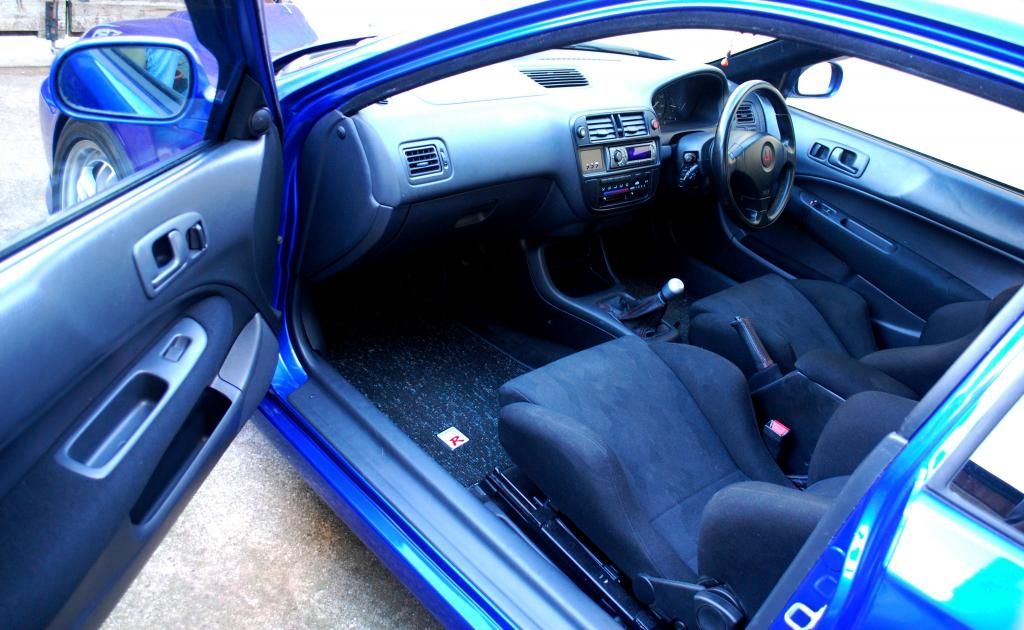
New seats were a must but I wasn't in a position to pay fan boy prices for SRDs at the time, as said previously these came up for a steal. These are actually made my Recaro for Arospeed, and everything even down to the fabric is genuine Recaro.
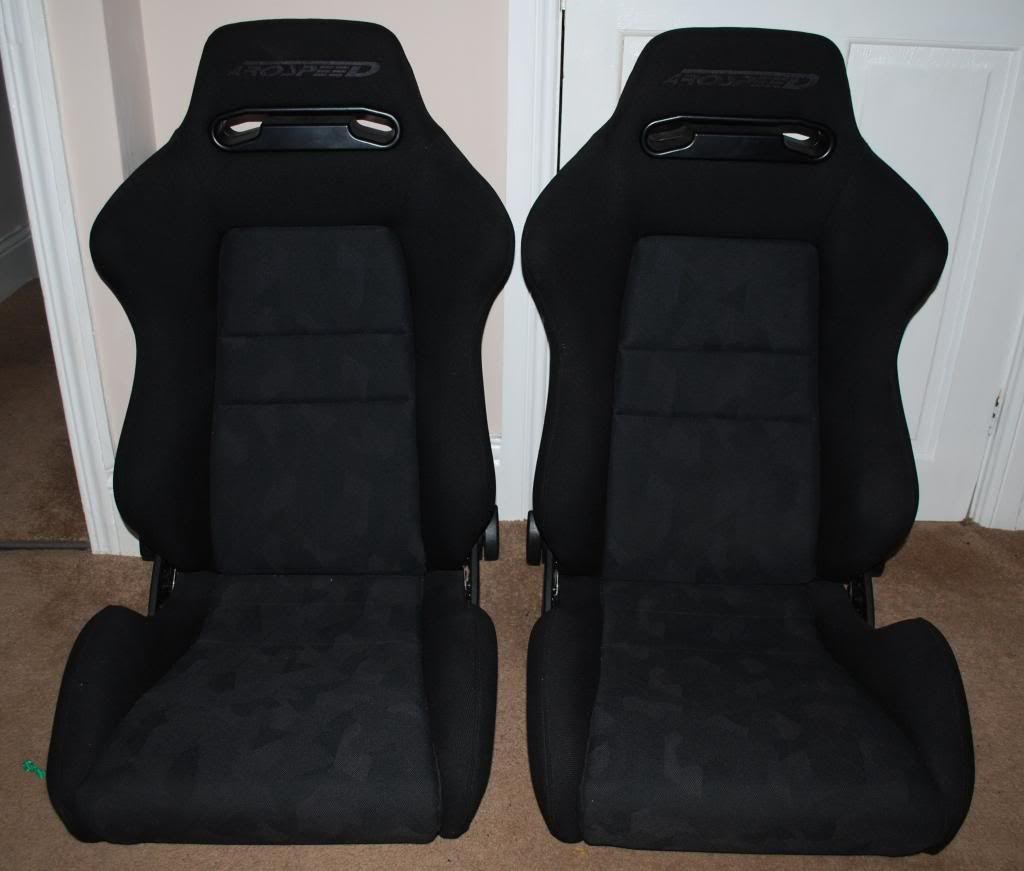
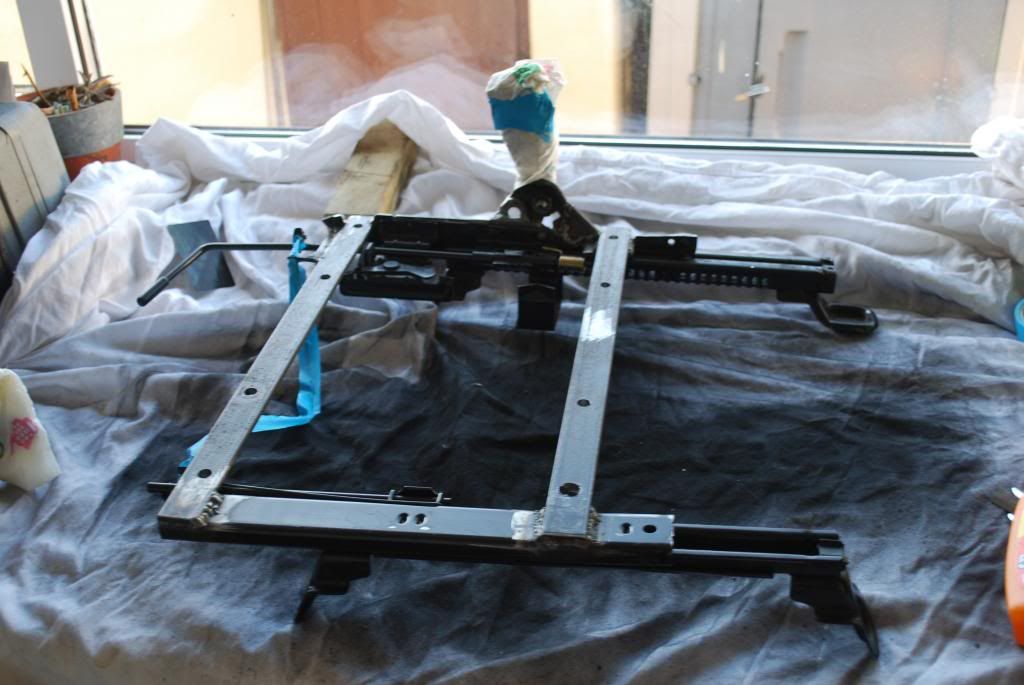
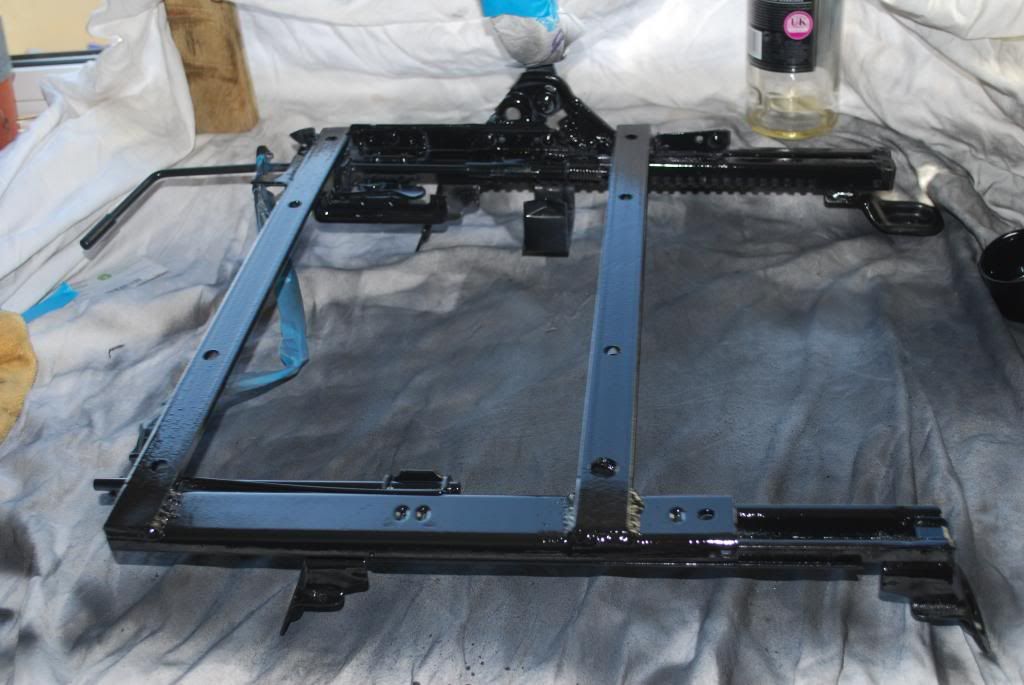
I modified the original seat rails to take the new seats - no messing around with safety and these are solid.
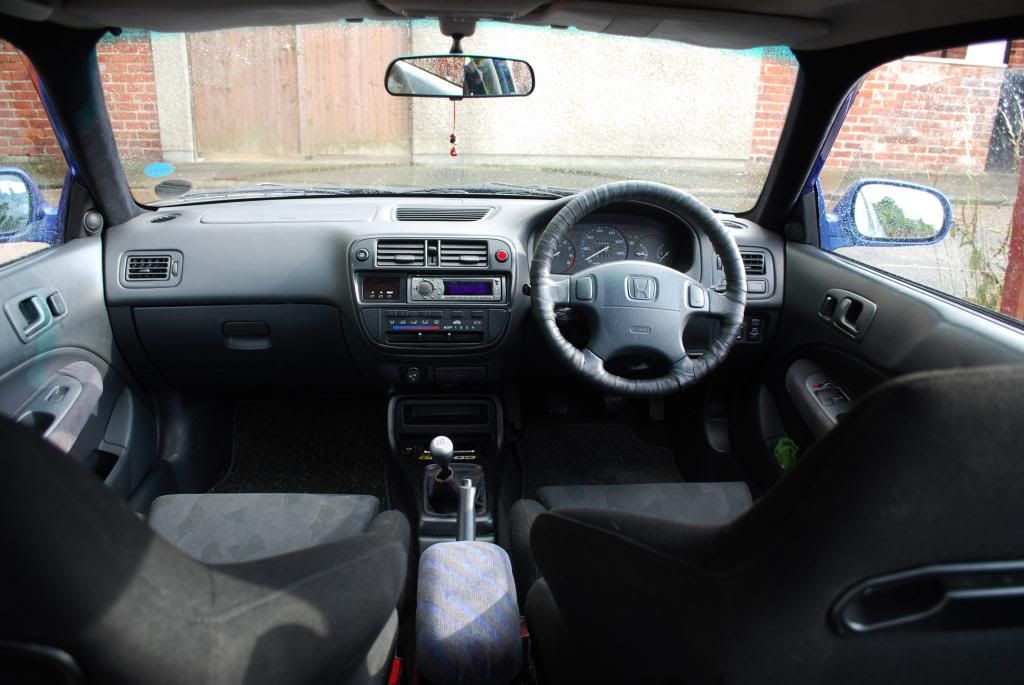
Whilst doing the seats a sorted a few other bits out on the interior:
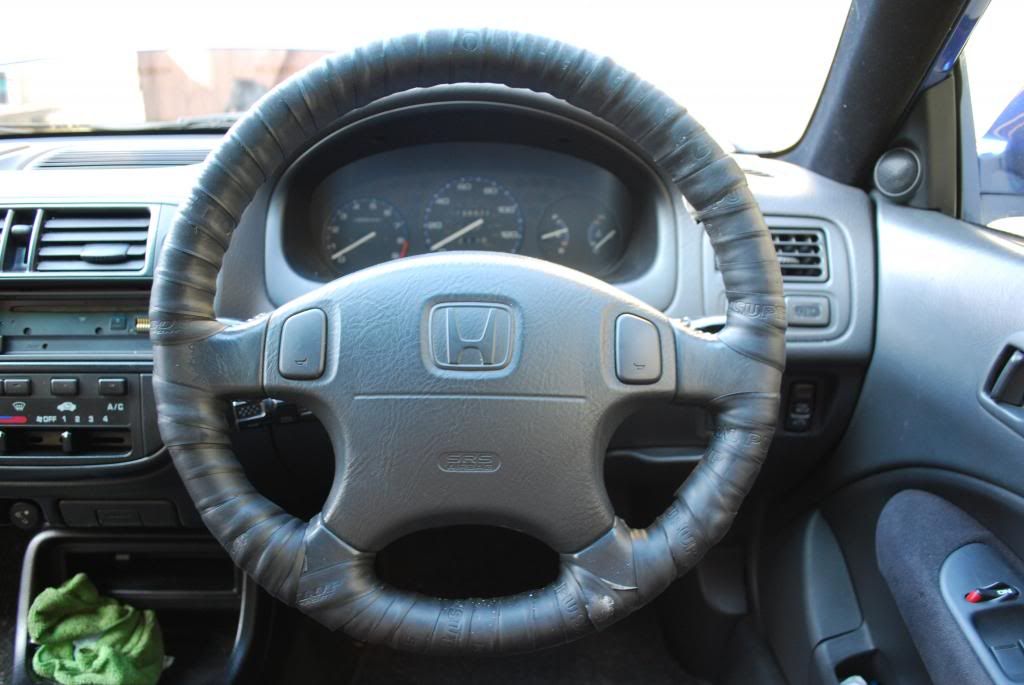
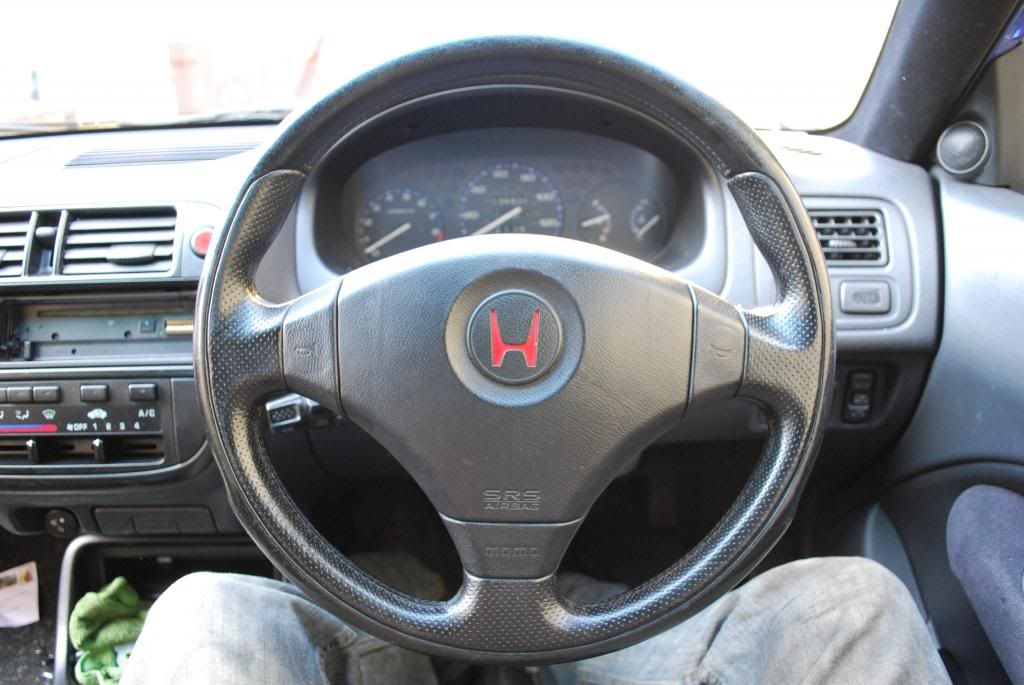
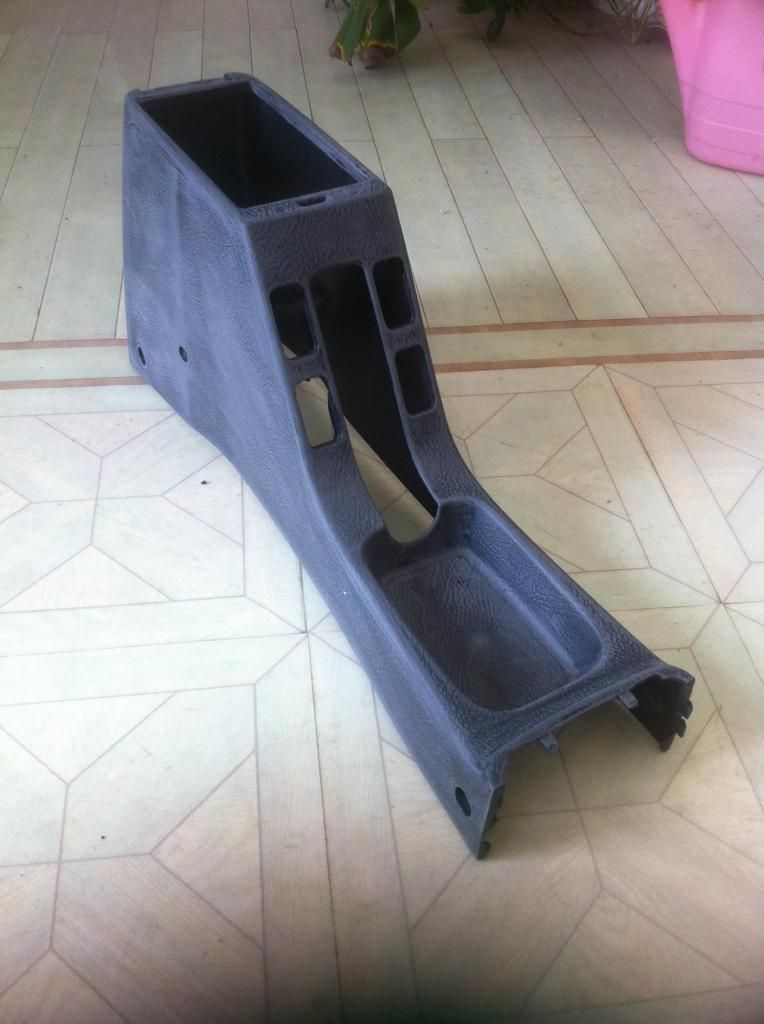
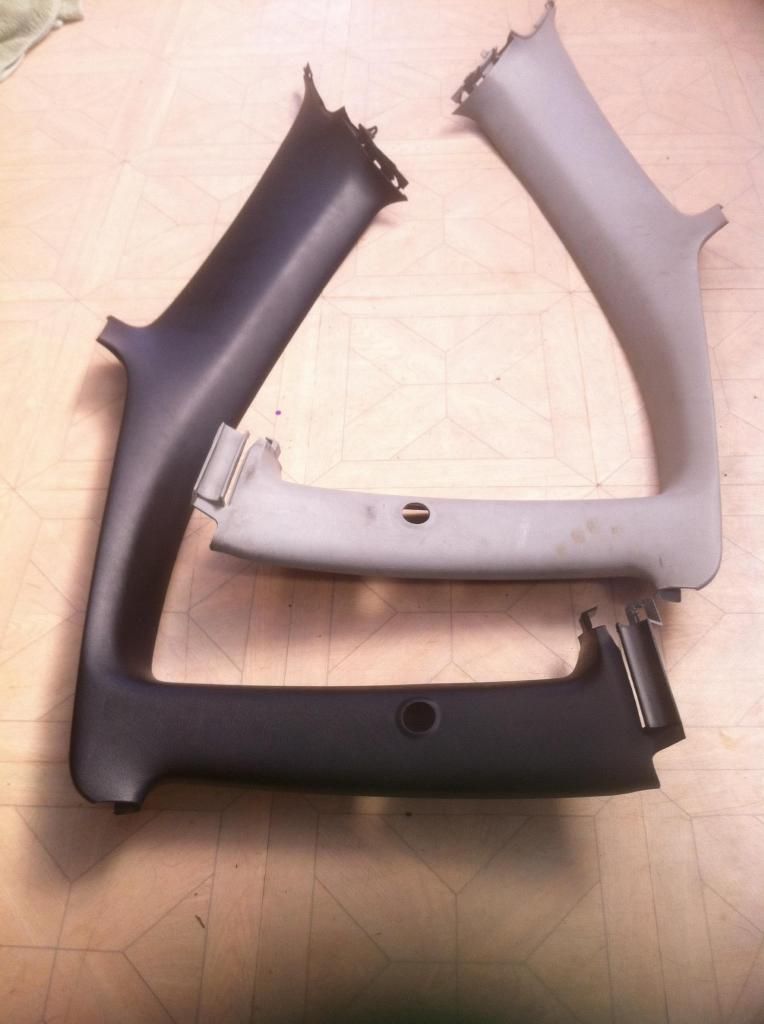
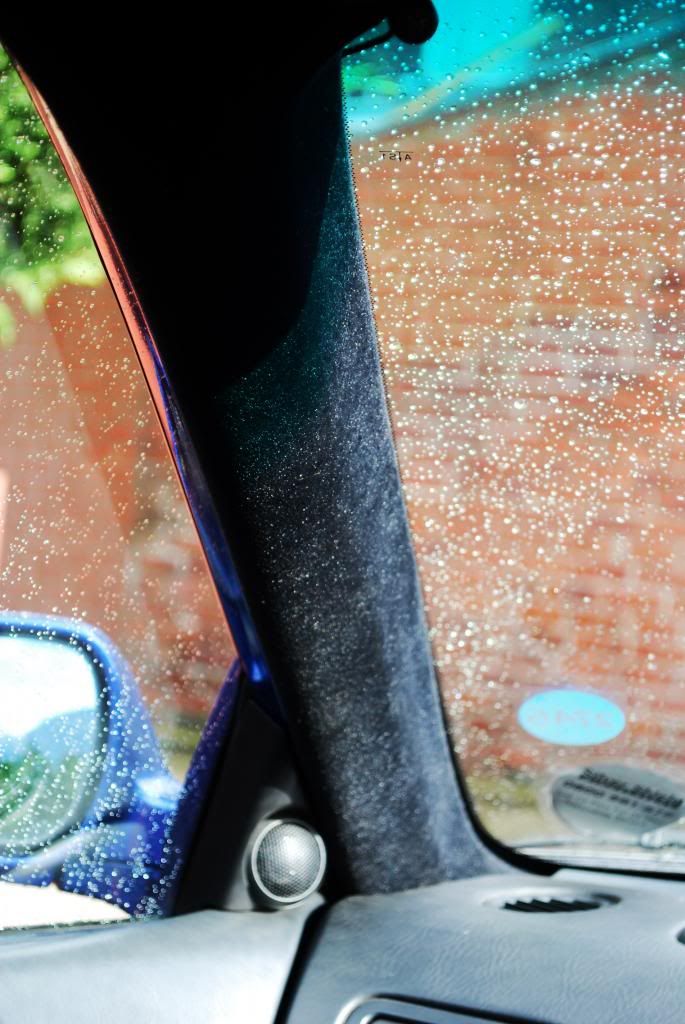
ATR wheel, ATR weighted knob, JDM DC2 98 spec mats, flocked A-pillars, plastic dipped plastic panels to black, black gaitor etc
The new wheel was a great upgrade as I'd been rocking tennis racket tape for a while..
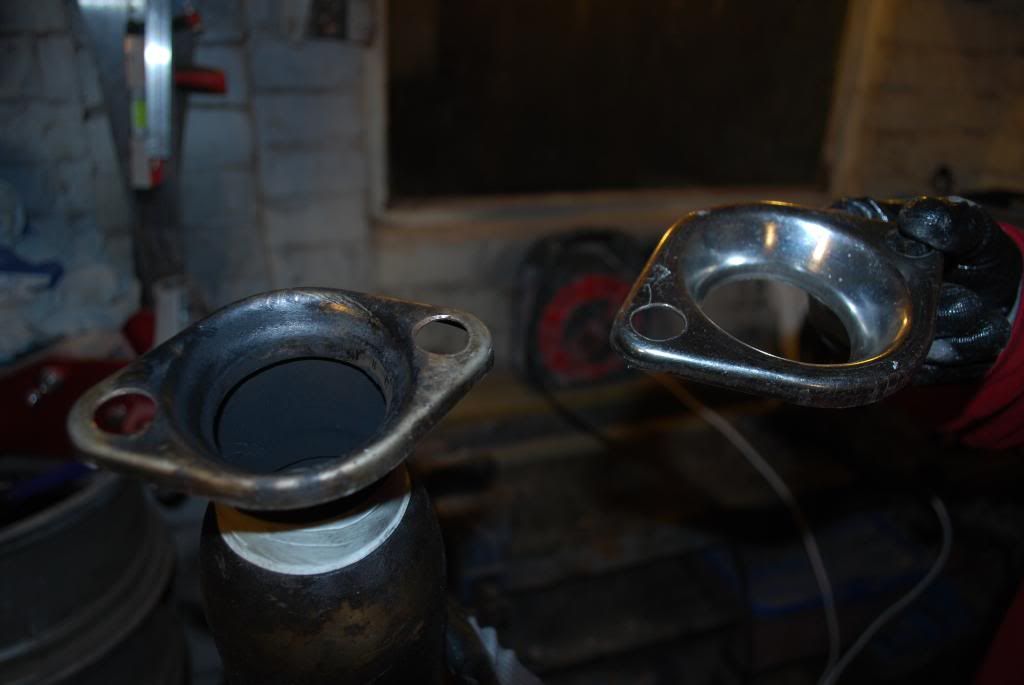
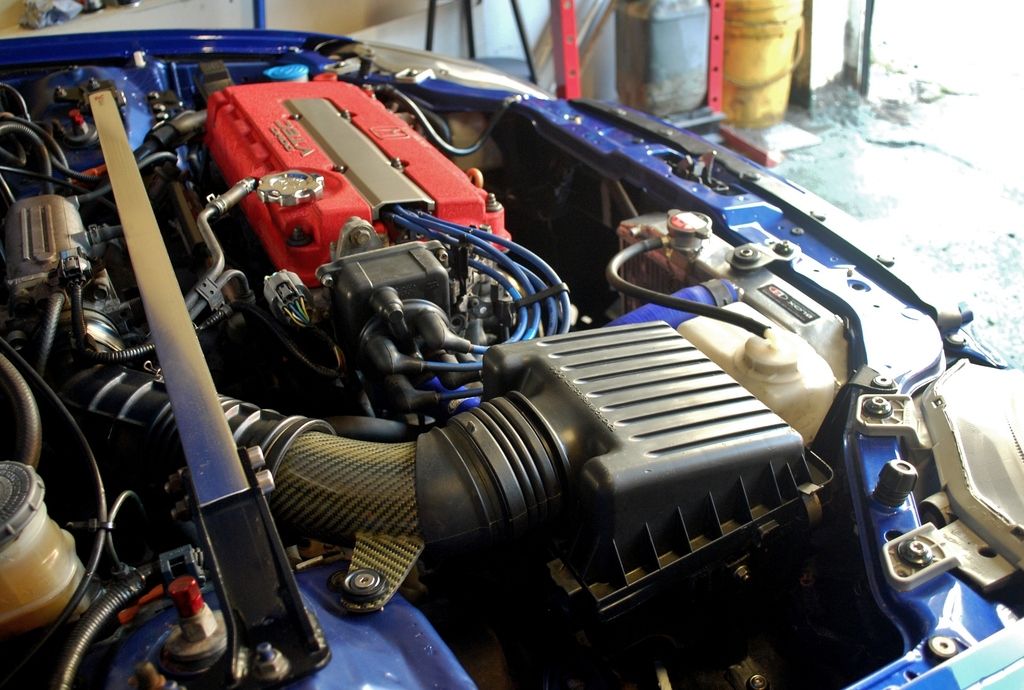
With the interior getting where I wanted it I decided it was time to clean up the bay a little, and I picked up a J's Racing 2.5" manifold from a bud of mine - it meant I would need to modify my decat to take a 2.5" collector
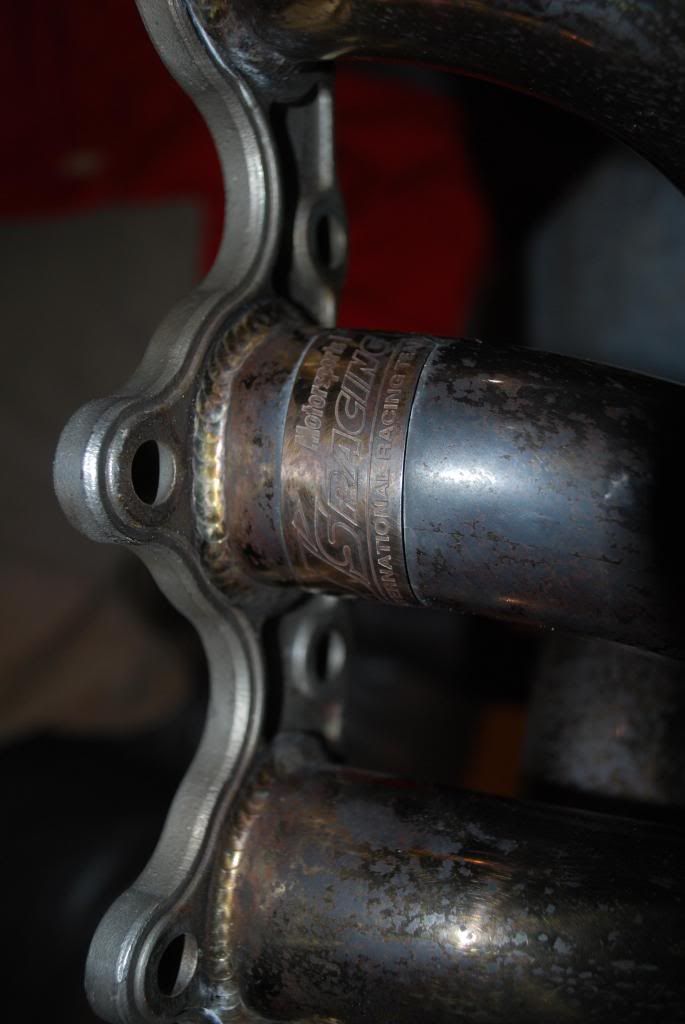
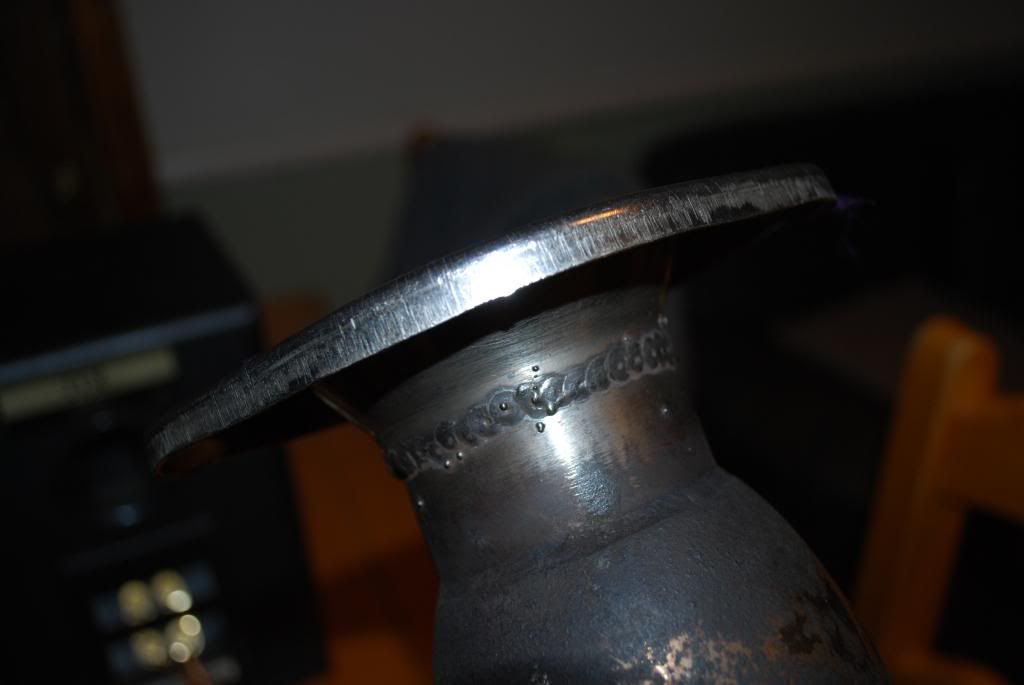
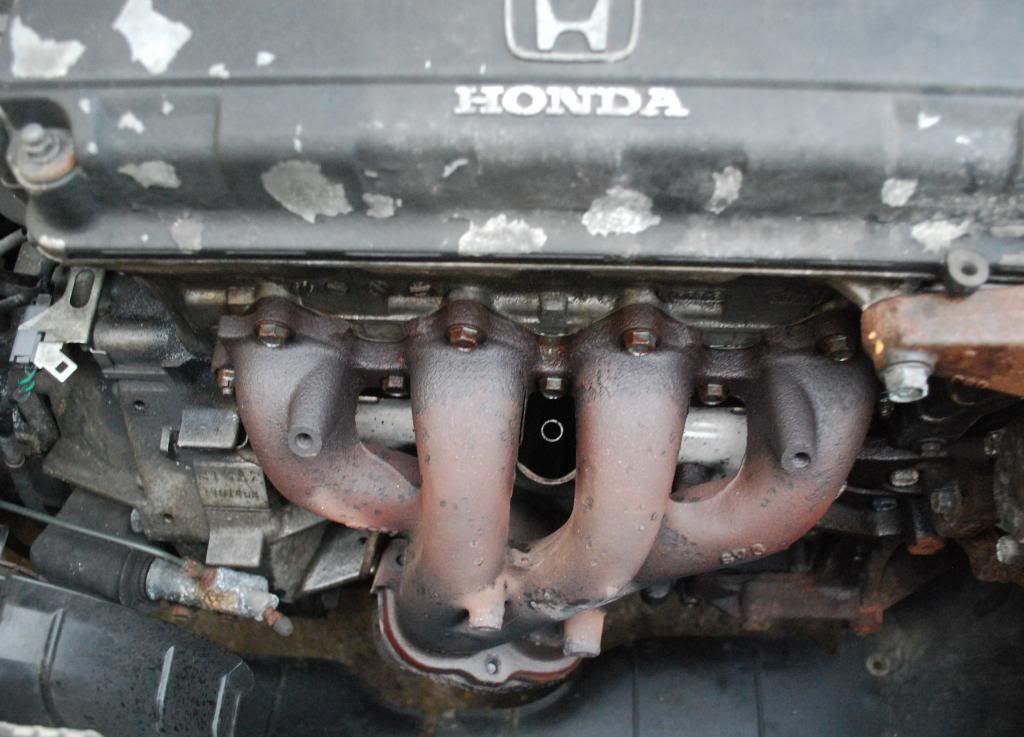
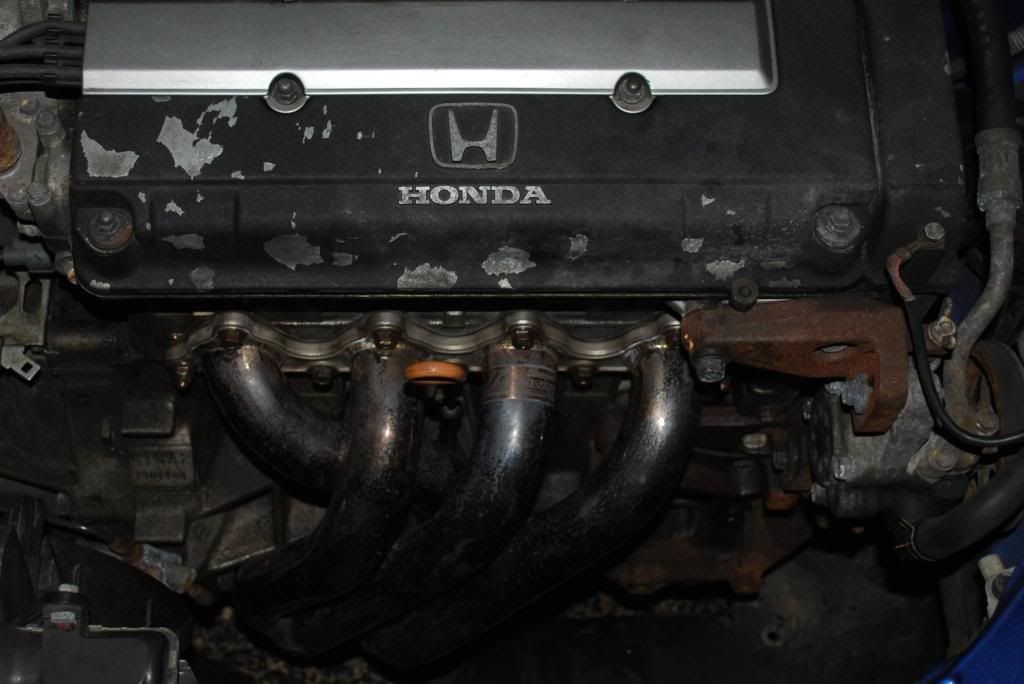
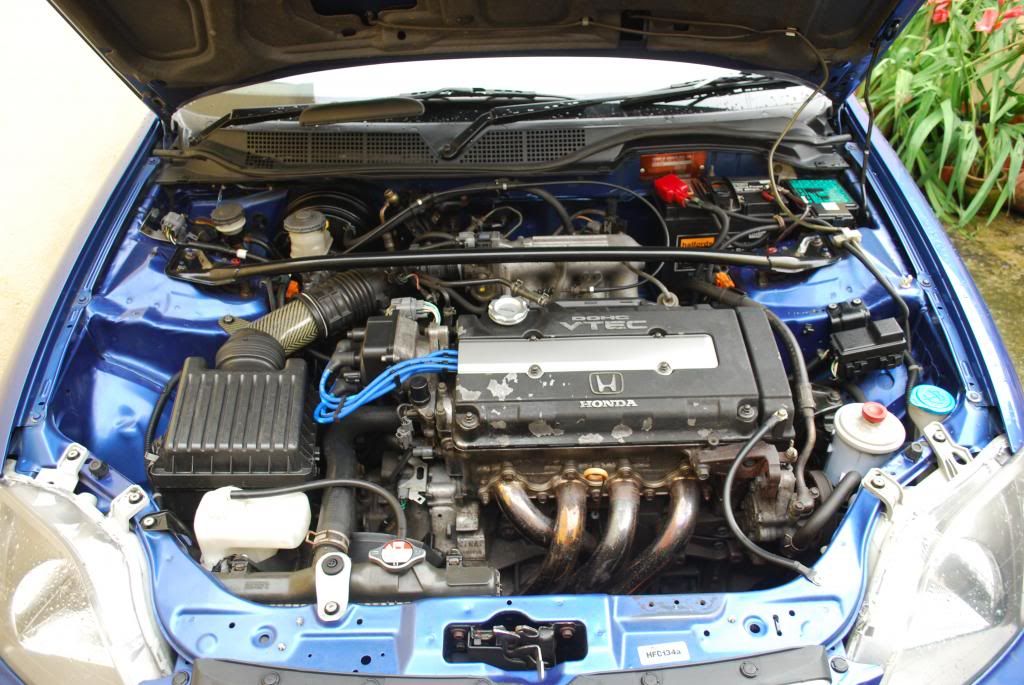
loved the difference in power delivery the new manifold bought!
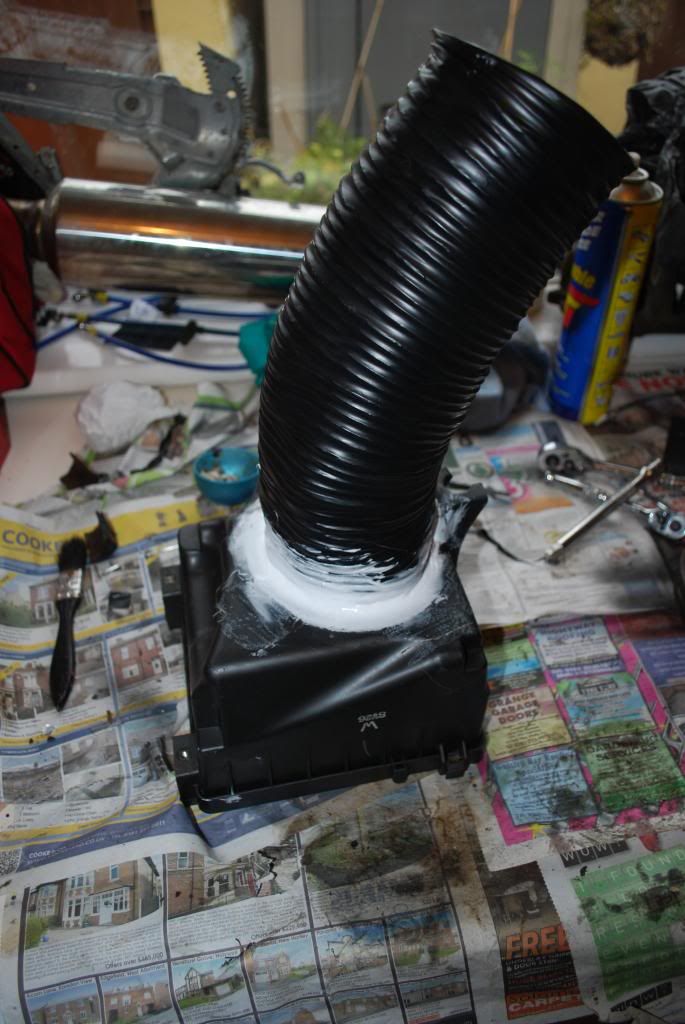
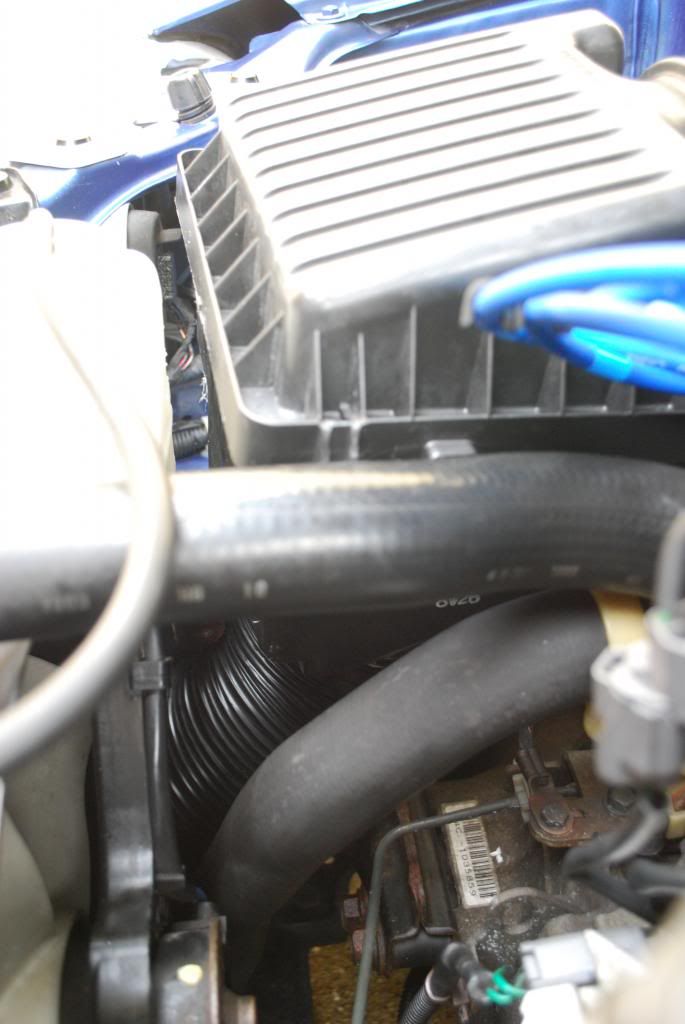
I also re-did my custom intake to the OEM air box
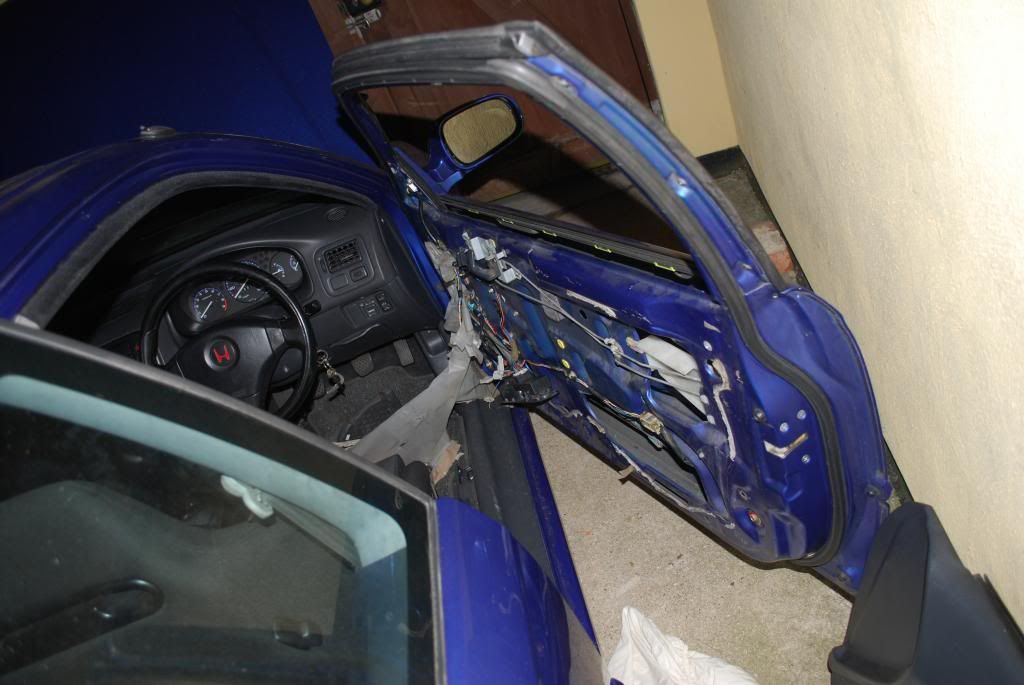
another little fix.. Typical window reg problems getting sorted
and my favourite mod to date CL7 accord horn

so much better than the stock 50cc Cub horn
The builds kind of snowballed in the last 3 years and the titles probably not so appropriate anymore!
I'll try and summarise 3 years, but it might take a few posts - I hope anyone reading it enjoys, and as always my build is for me and I love working on the car but I always appreciate comments, positive or not.
After enjoying the car in its previous state for a while I then started changing things up again.
New seats were a must but I wasn't in a position to pay fan boy prices for SRDs at the time, as said previously these came up for a steal. These are actually made my Recaro for Arospeed, and everything even down to the fabric is genuine Recaro.
I modified the original seat rails to take the new seats - no messing around with safety and these are solid.
Whilst doing the seats a sorted a few other bits out on the interior:
ATR wheel, ATR weighted knob, JDM DC2 98 spec mats, flocked A-pillars, plastic dipped plastic panels to black, black gaitor etc
The new wheel was a great upgrade as I'd been rocking tennis racket tape for a while..
With the interior getting where I wanted it I decided it was time to clean up the bay a little, and I picked up a J's Racing 2.5" manifold from a bud of mine - it meant I would need to modify my decat to take a 2.5" collector
loved the difference in power delivery the new manifold bought!
I also re-did my custom intake to the OEM air box
another little fix.. Typical window reg problems getting sorted
and my favourite mod to date
CL7 accord horn
so much better than the stock 50cc Cub horn
SteveOEM1
Active Member
- Joined
- Mar 24, 2013
- Messages
- 153
At this stage I'd been planning on swapping in a B18c and s80, but whilst doing some work on the car I noticed a fair bit if rust starting in some prime areas, including a few bubbles coming through the skin of the bonnet. So the decision was made to leave the engine swap and concentrate on getting the bodywork sorted - this is where the snowball was formed

After this the strip down began properly
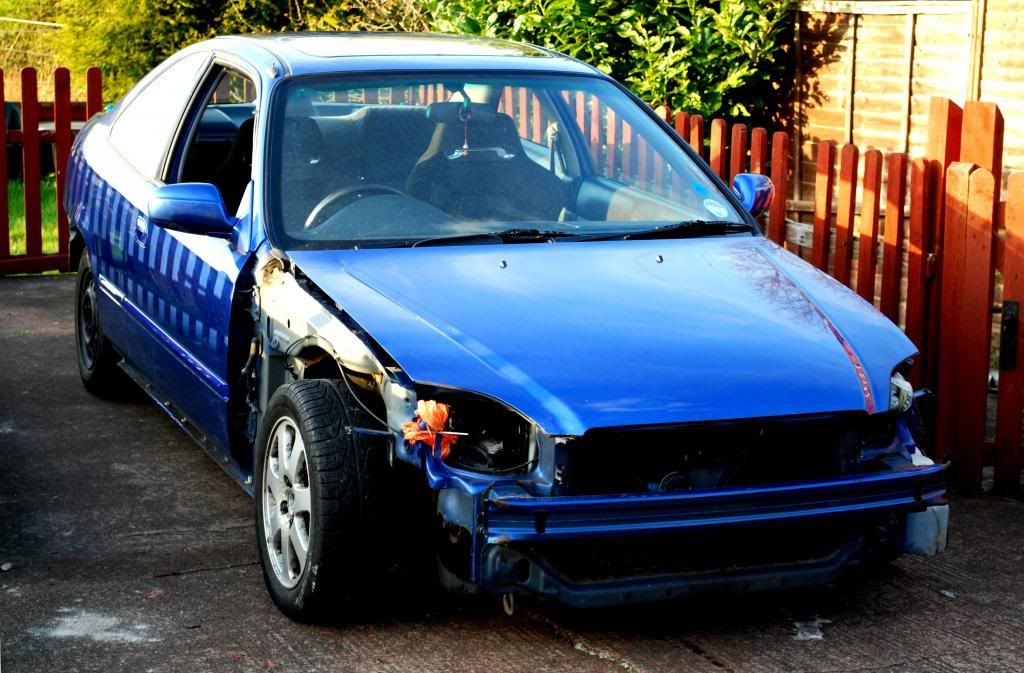
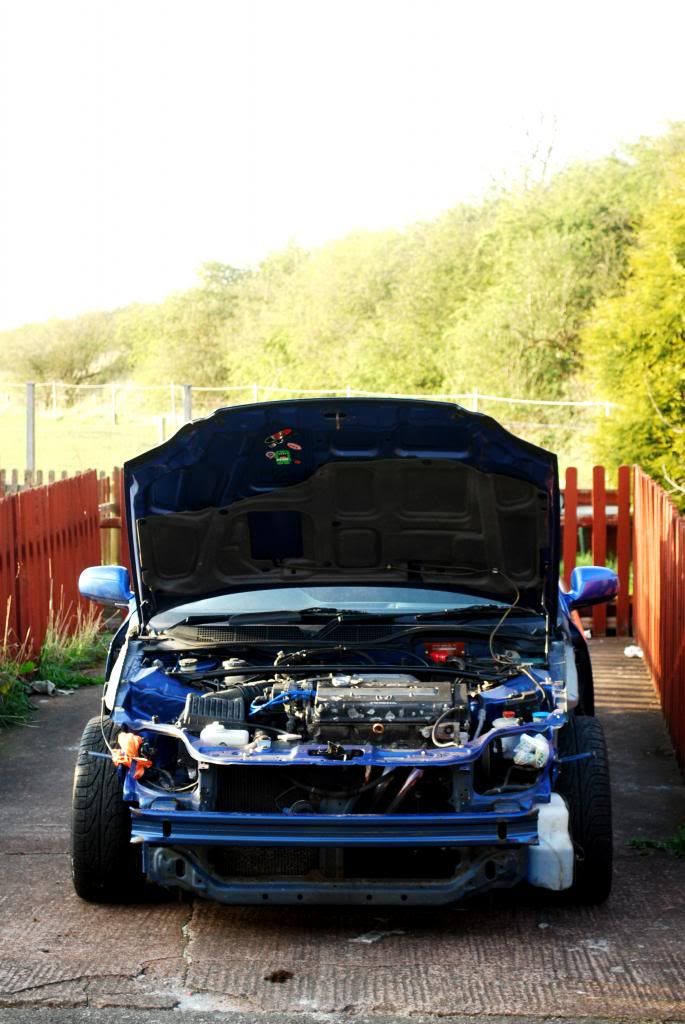
After this the strip down began properly
SteveOEM1
Active Member
- Joined
- Mar 24, 2013
- Messages
- 153
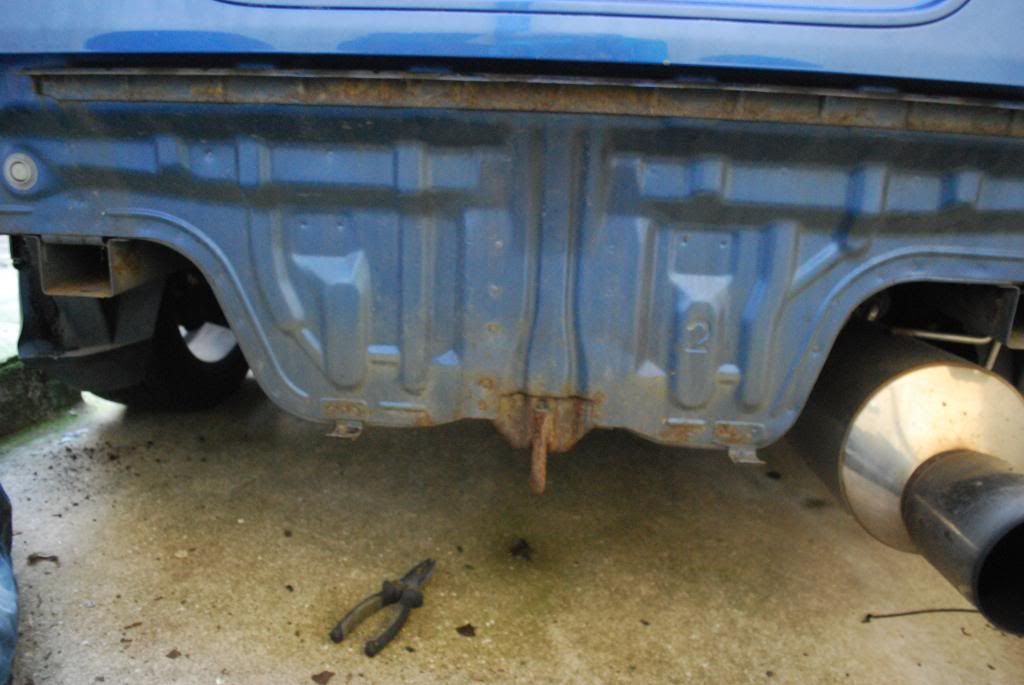
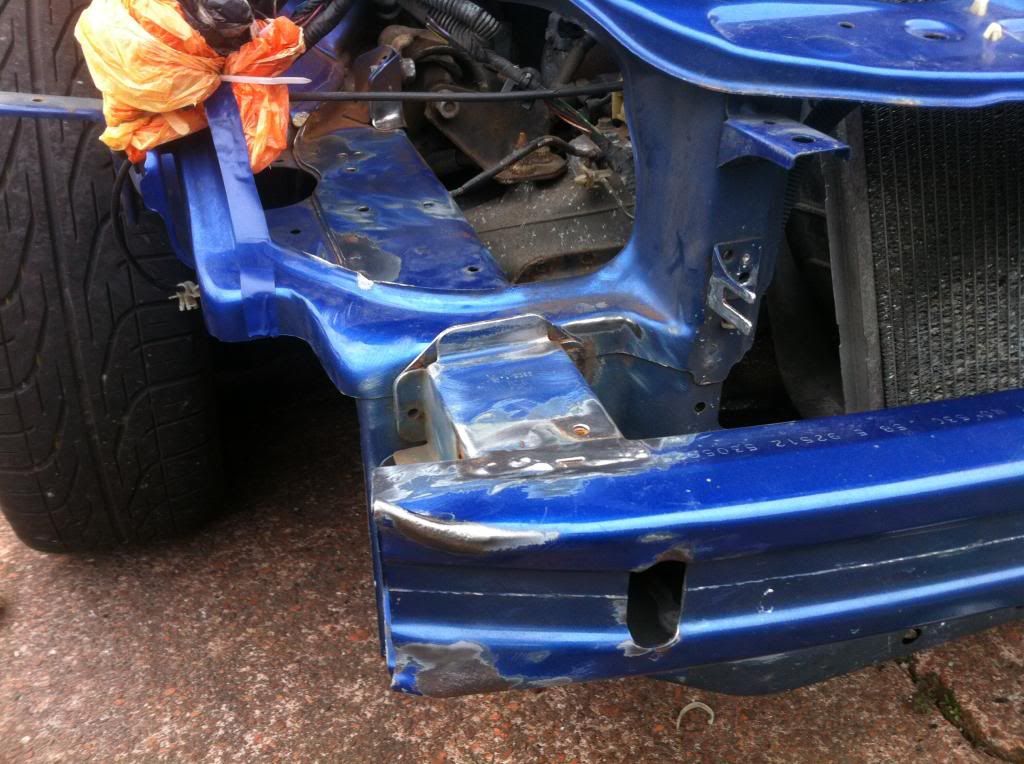
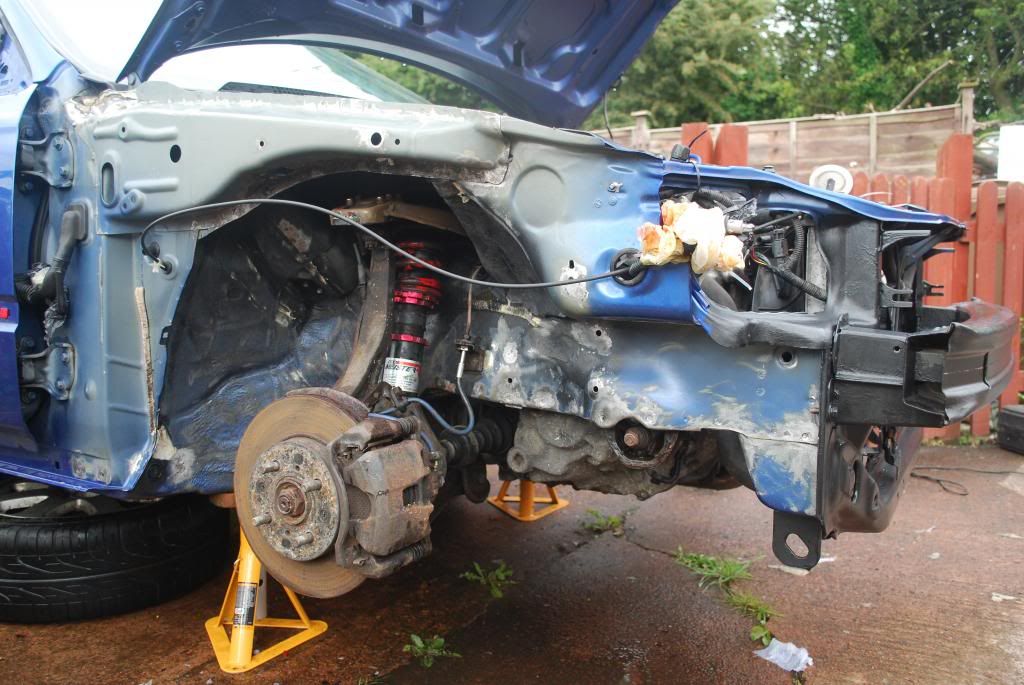
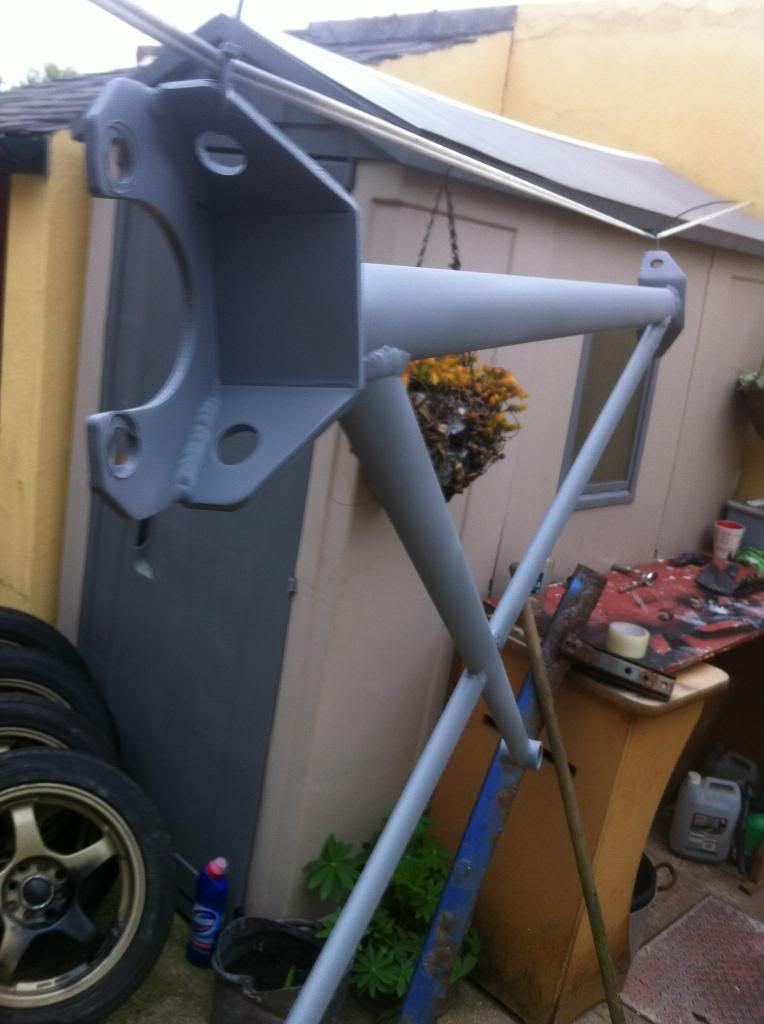
So the car got booked in with a well renowned painter to get a full respray (a decision I would later regret as his reputation did not match up with his work or his attitude) - in the weeks leading up to the bodyshop I decided to strip the chassis as much as I could in my yard and treat with mastic 121
SteveOEM1
Active Member
- Joined
- Mar 24, 2013
- Messages
- 153
I decided for the front end I was going to go down a slightly different route.
I picked up an OEM EK9 grill (off a member on here)

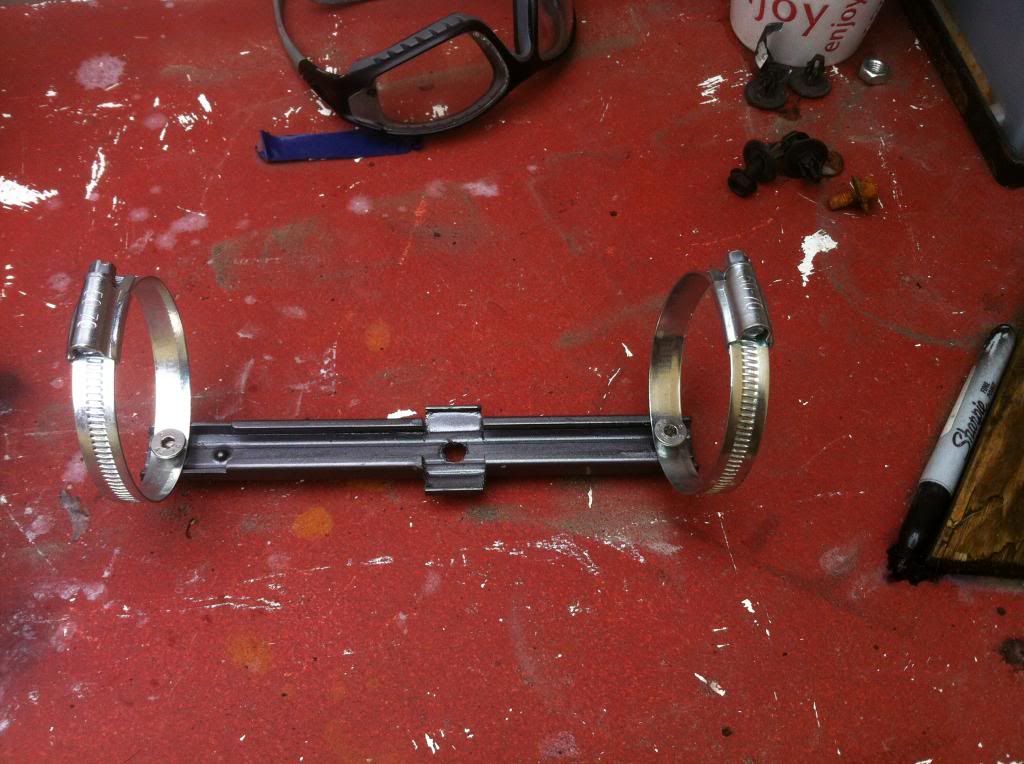
and chose an intake duct for the feed, which needed a fair bit of work before I was happy with the fit
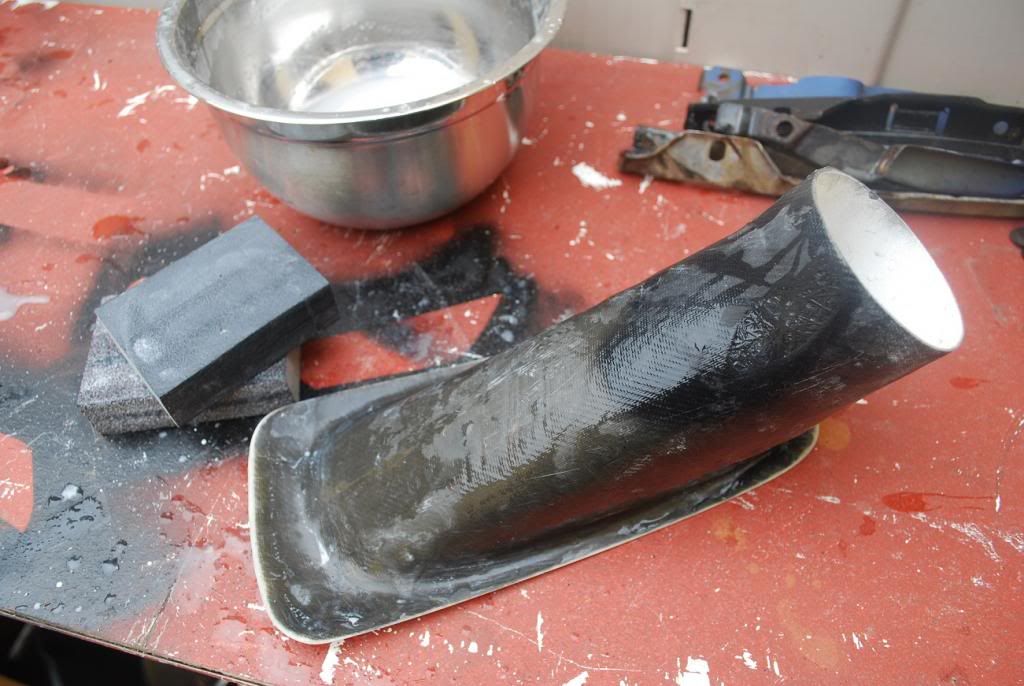
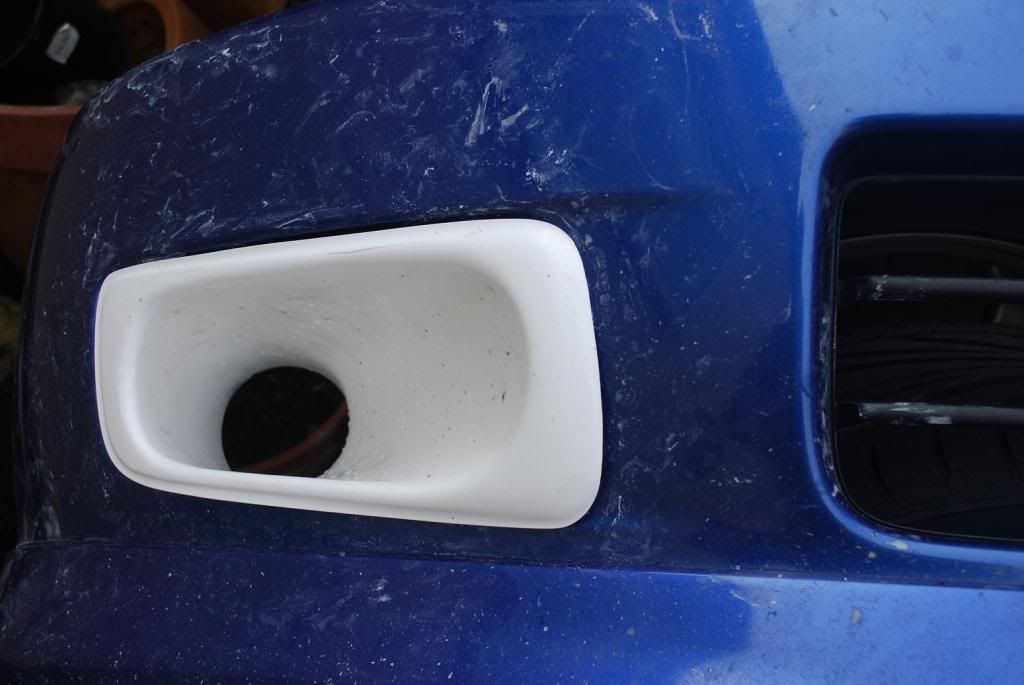
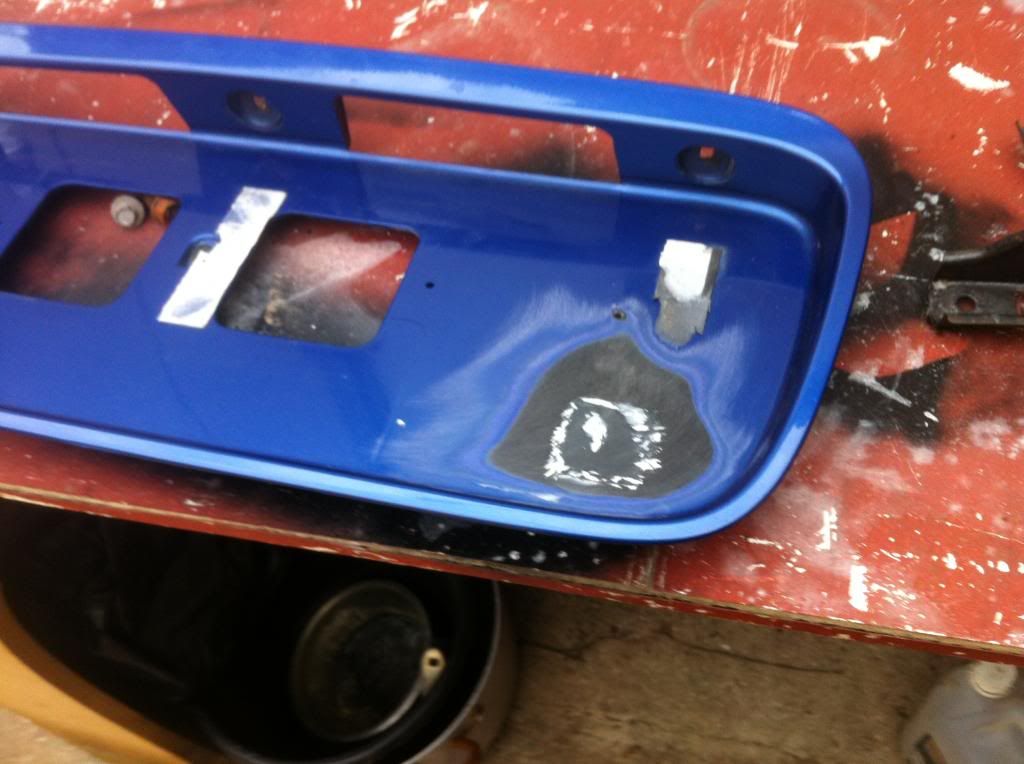
As I was shaving and filling the number plate holes in the front bumper, I utilised the original bracket so that it could be easily mounted or removed from the front grill - to old to be dealing with the hassles of not running a plate, but wanted something tidy that could quickly be removed
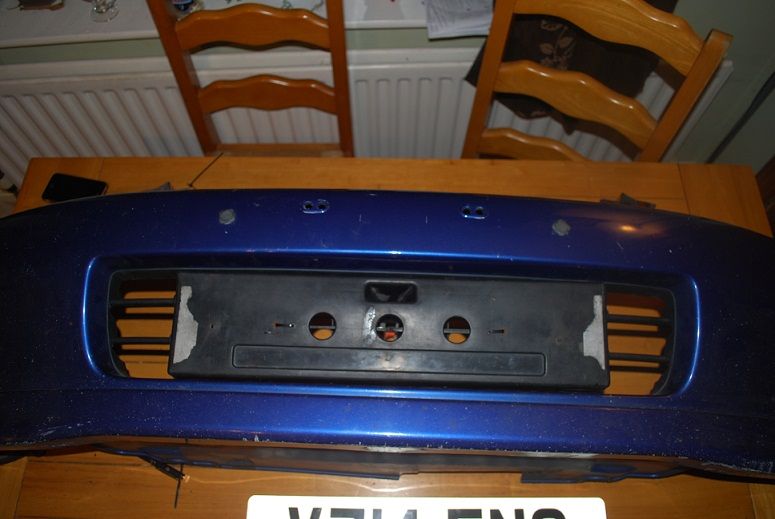
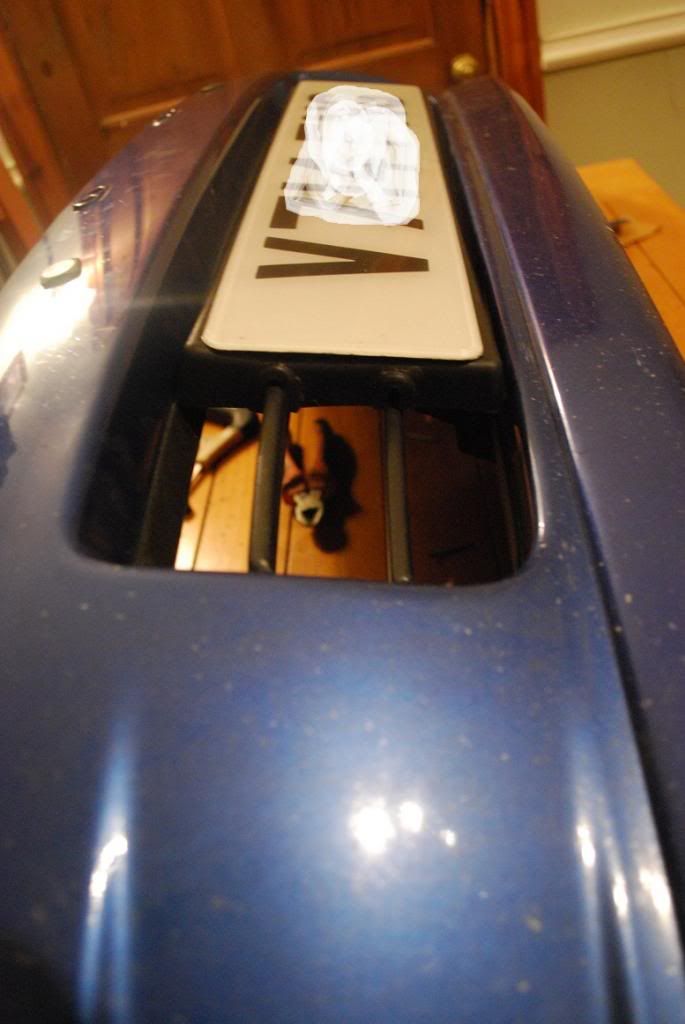
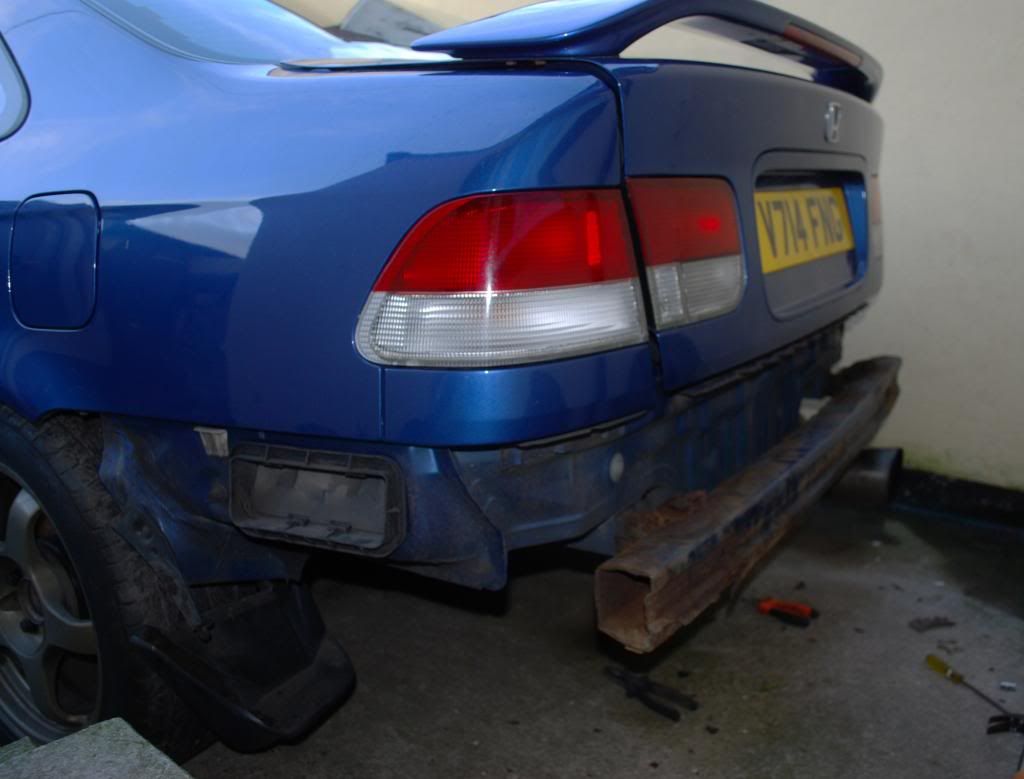
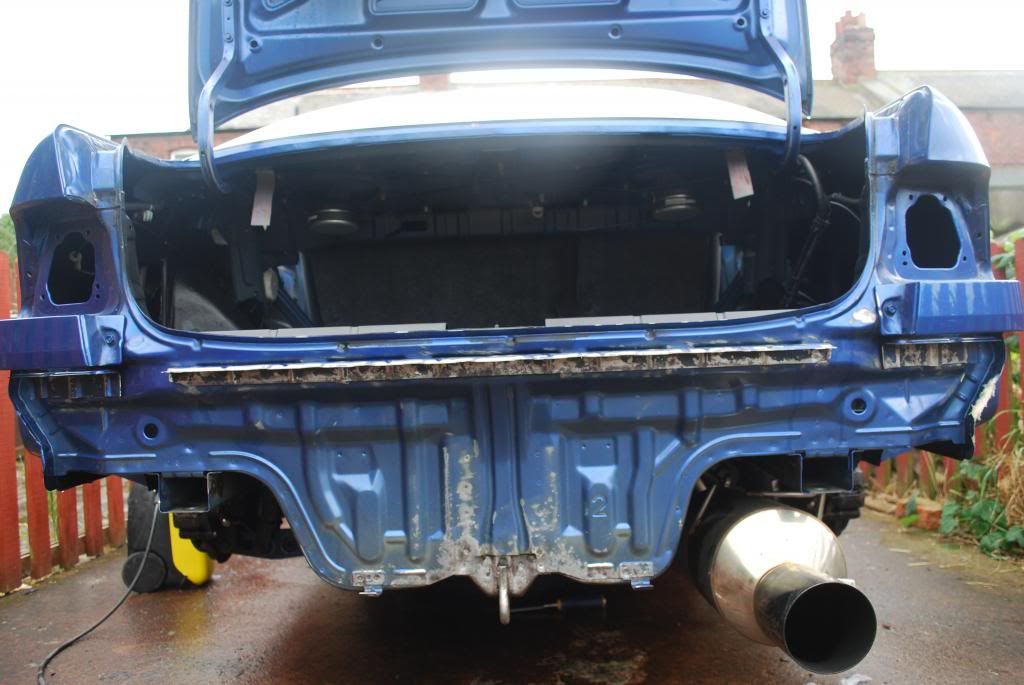
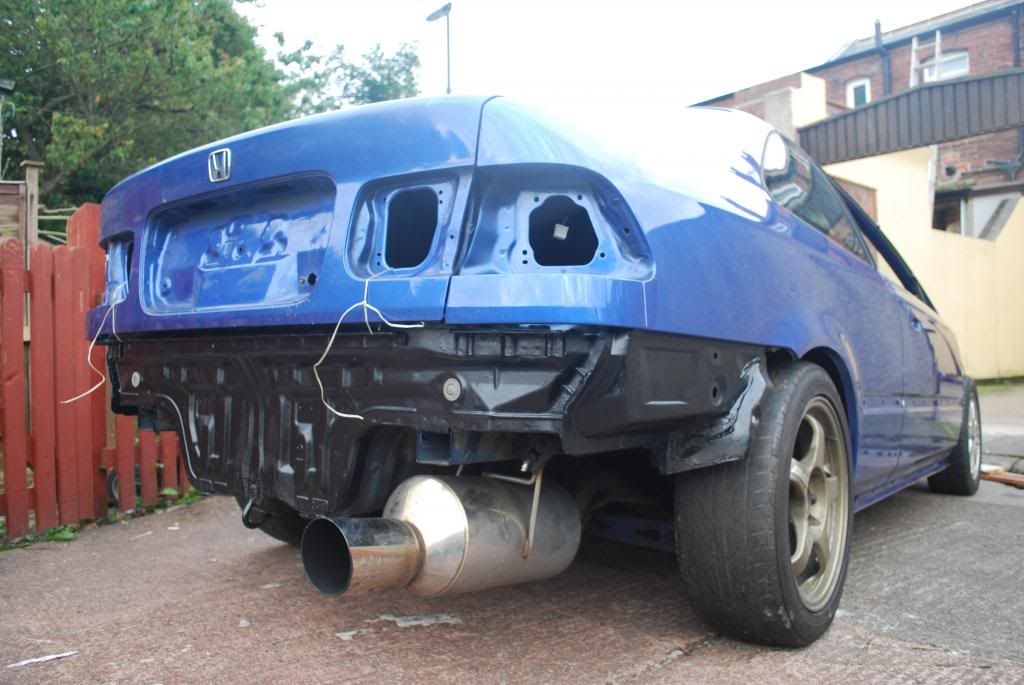
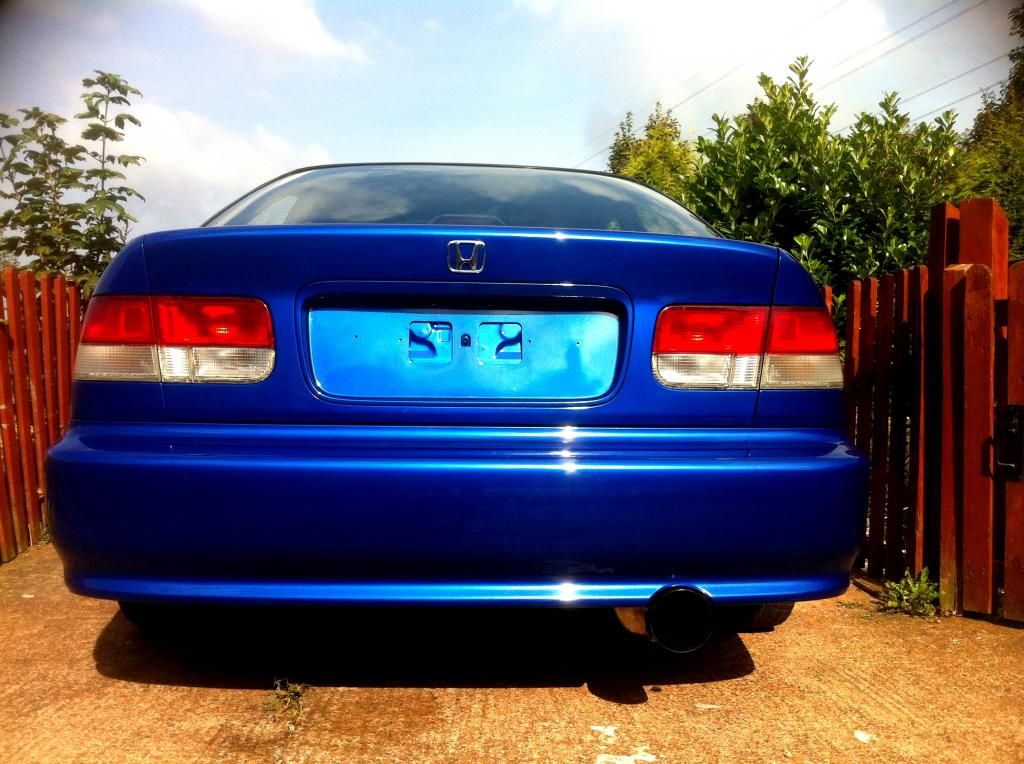
I'd also decided to loose the rear lock so that I could run my number plate on the rear more centrally
I picked up an OEM EK9 grill (off a member on here)
and chose an intake duct for the feed, which needed a fair bit of work before I was happy with the fit
As I was shaving and filling the number plate holes in the front bumper, I utilised the original bracket so that it could be easily mounted or removed from the front grill - to old to be dealing with the hassles of not running a plate, but wanted something tidy that could quickly be removed
I'd also decided to loose the rear lock so that I could run my number plate on the rear more centrally
SteveOEM1
Active Member
- Joined
- Mar 24, 2013
- Messages
- 153
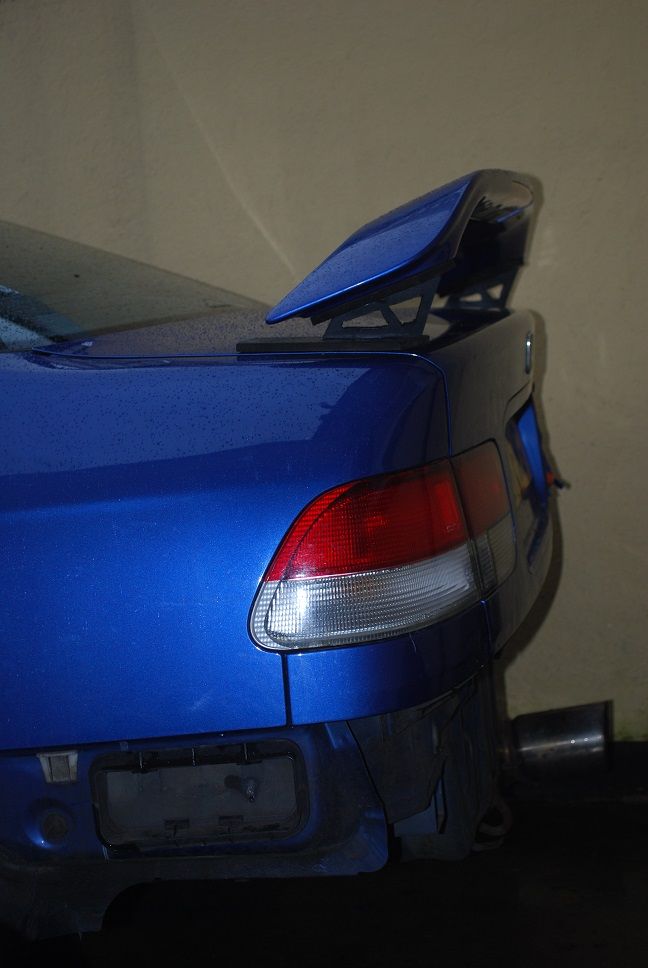
I'd never really like the EDM low level spoiler, but liked the idea of raising it - I played around with some riser ideas, but in the ended decided to go de-spoilered for a cleaner look
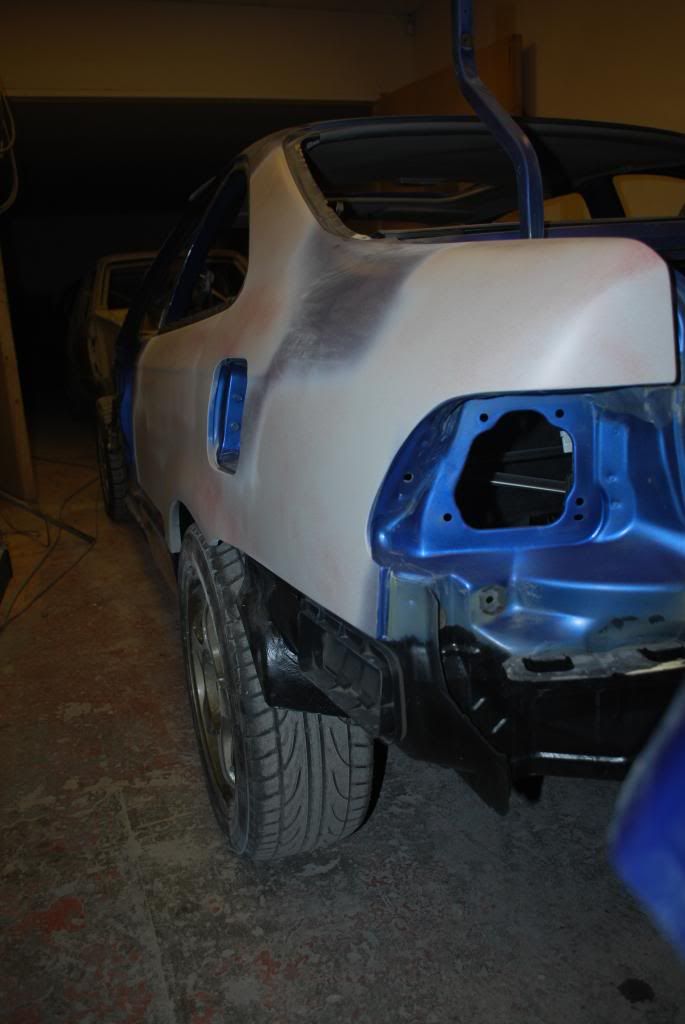
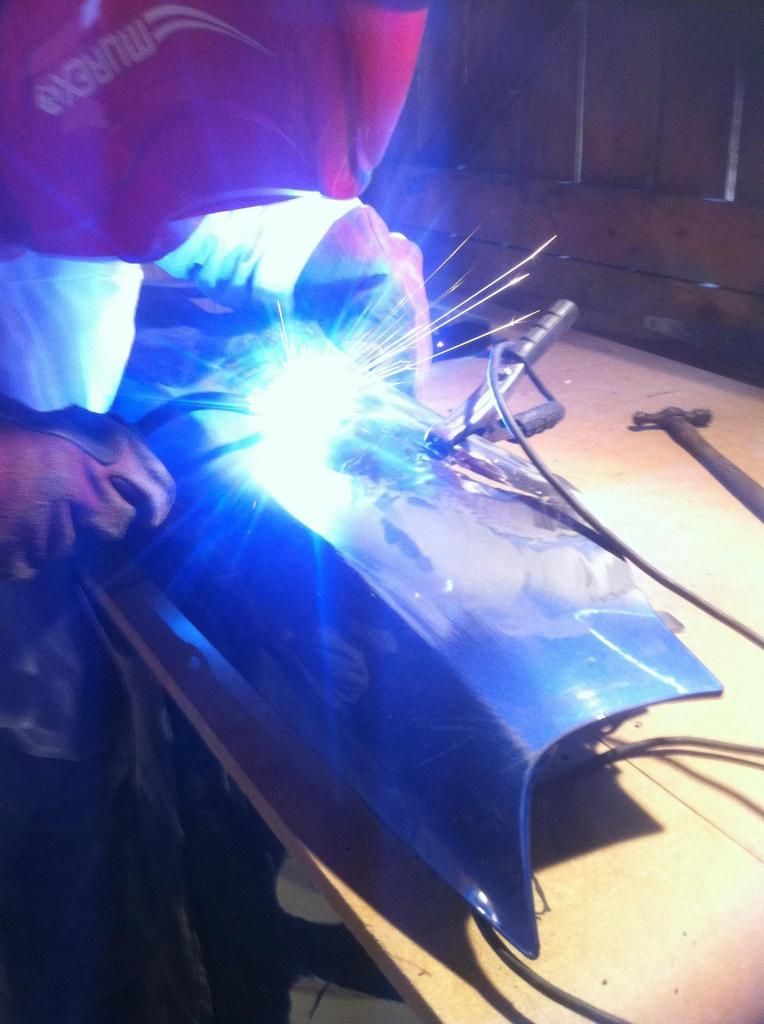
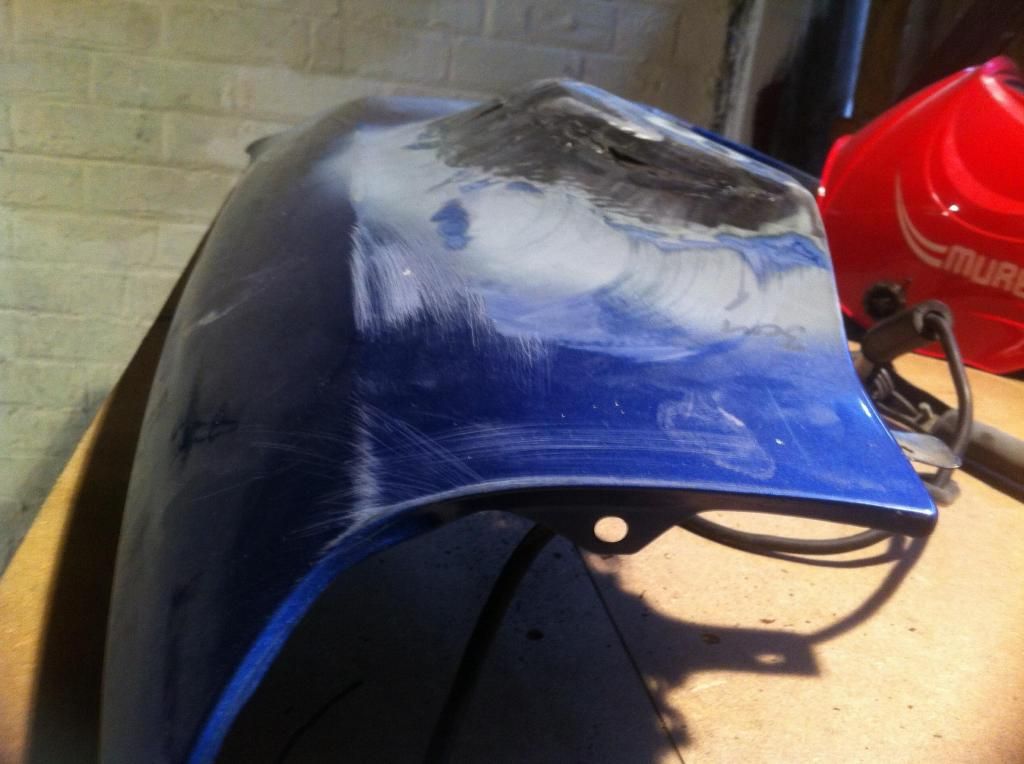
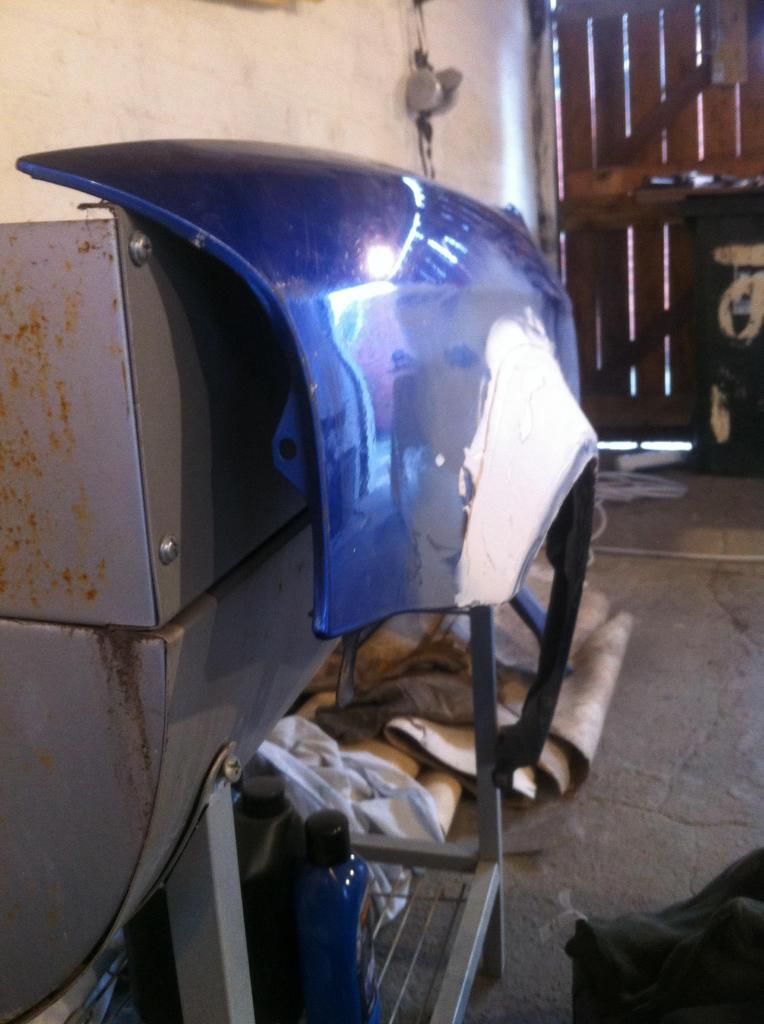
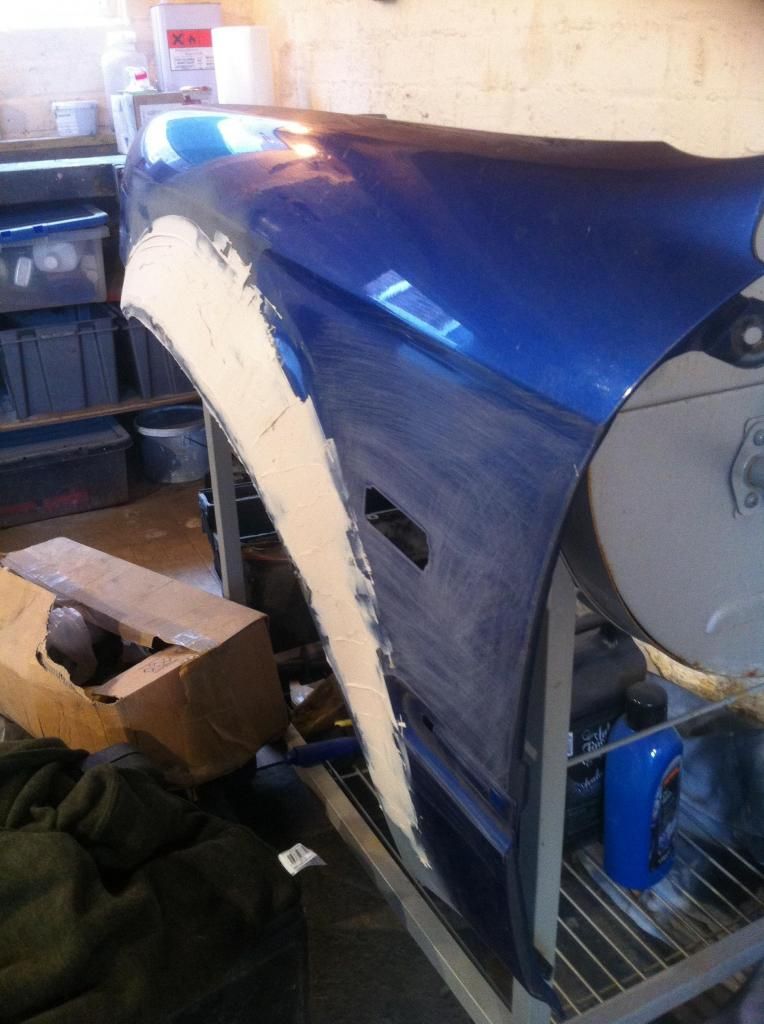
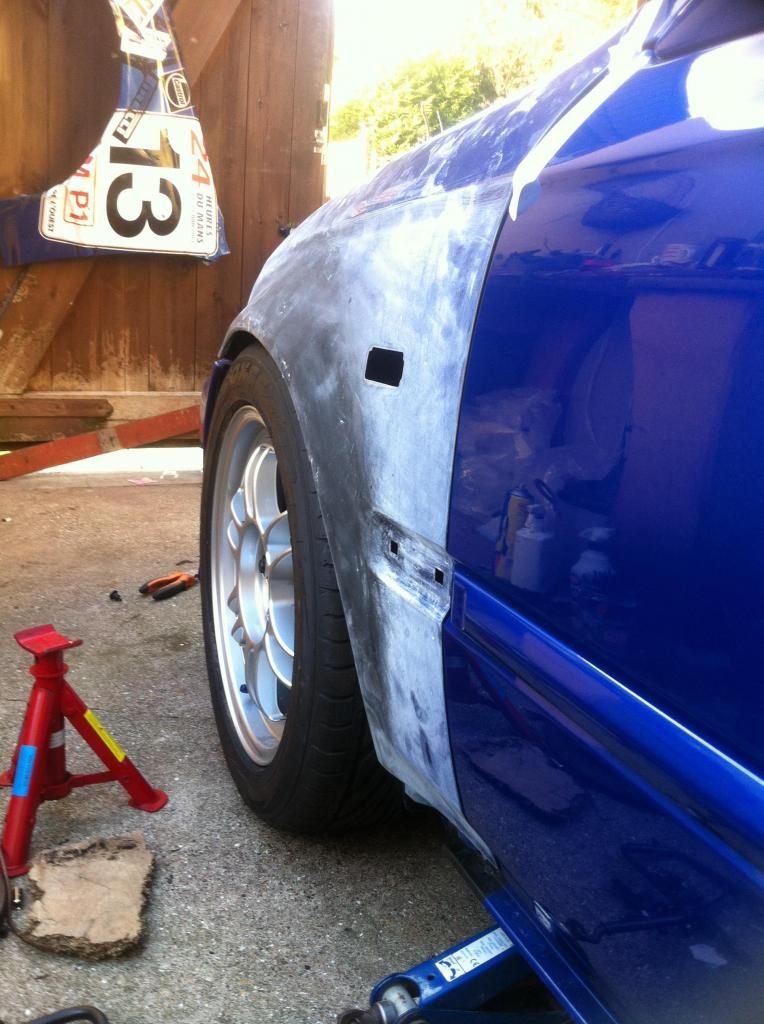
I like to run a decent tire profile and knew I'd like some wider front wings - but rather than going for J's Racing or the like, I wanted them to look OEM - so with the help of a good friend of mine who's pretty fly when it comes to bodywork, the long process of custom widened wings began.
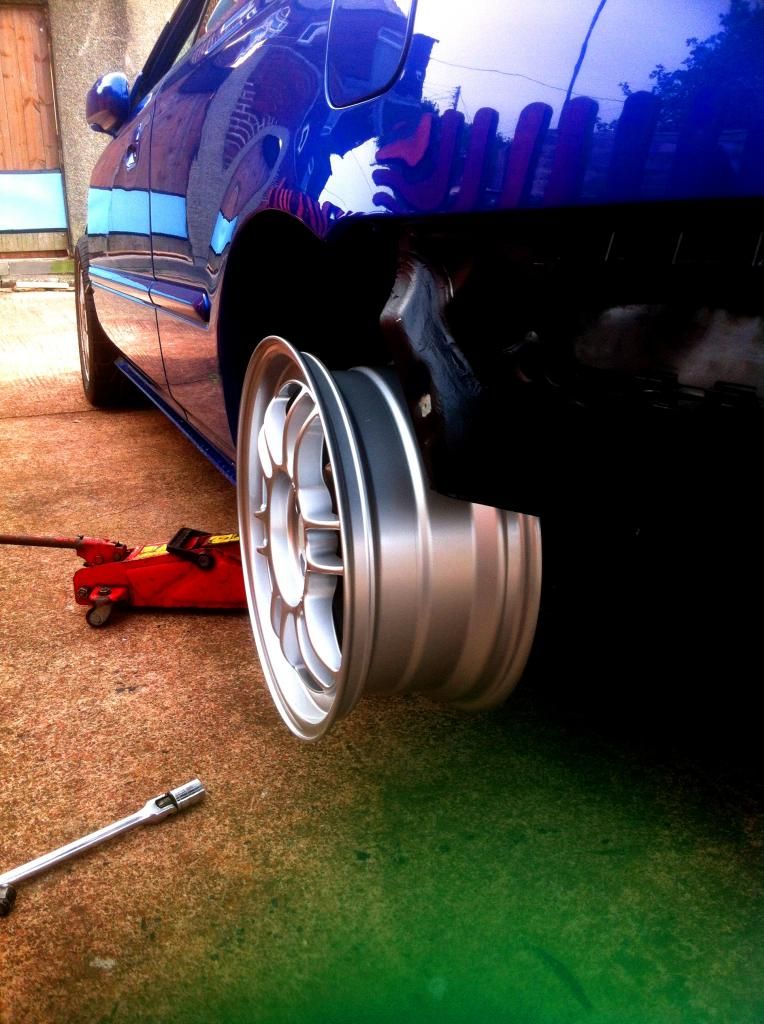
This is how much poke I had on a 16x7 with 205/50 et40 - I already had my eye on some wheels with et35 ,so i spaced the wheel worked out how much widening would be need for the tires to sit flush with no poke.
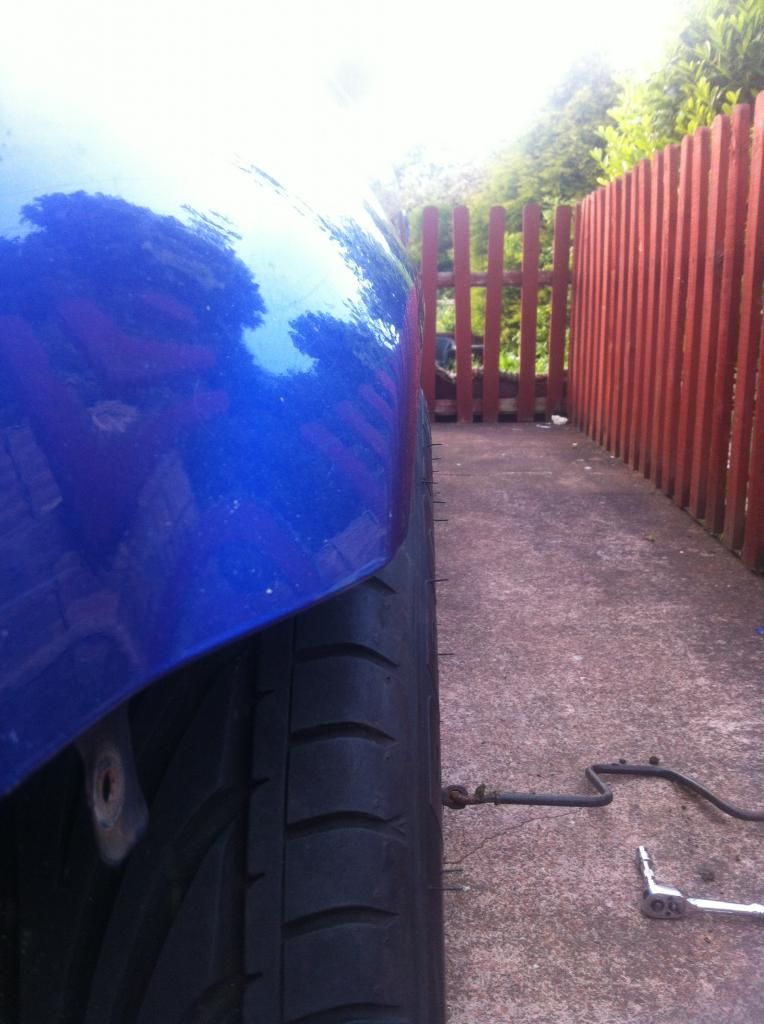
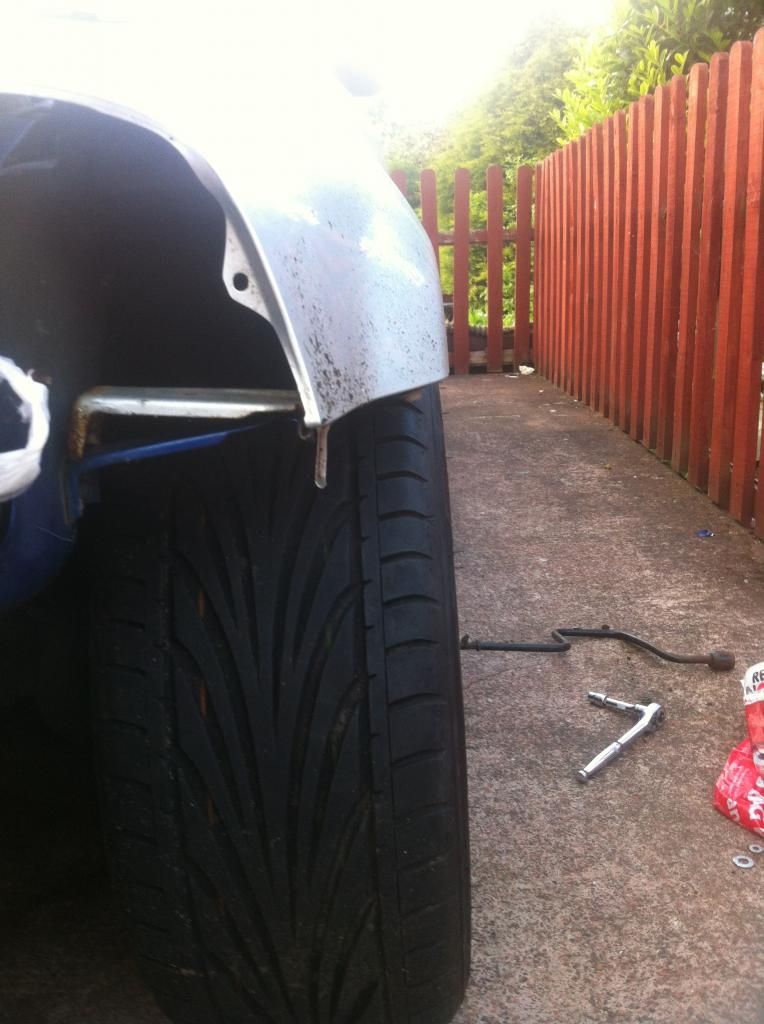
Then the cutting a widening began
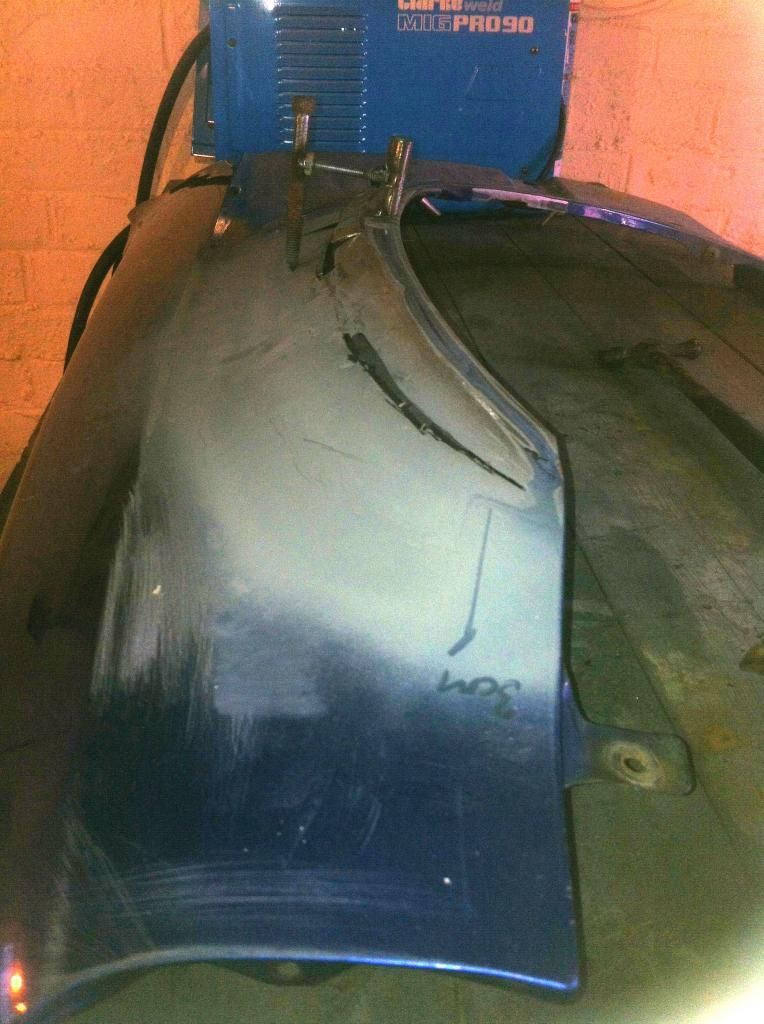
More to come on these later in the build...
I like to run a decent tire profile and knew I'd like some wider front wings - but rather than going for J's Racing or the like, I wanted them to look OEM - so with the help of a good friend of mine who's pretty fly when it comes to bodywork, the long process of custom widened wings began.
This is how much poke I had on a 16x7 with 205/50 et40 - I already had my eye on some wheels with et35 ,so i spaced the wheel worked out how much widening would be need for the tires to sit flush with no poke.
Then the cutting a widening began
More to come on these later in the build...
SteveOEM1
Active Member
- Joined
- Mar 24, 2013
- Messages
- 153
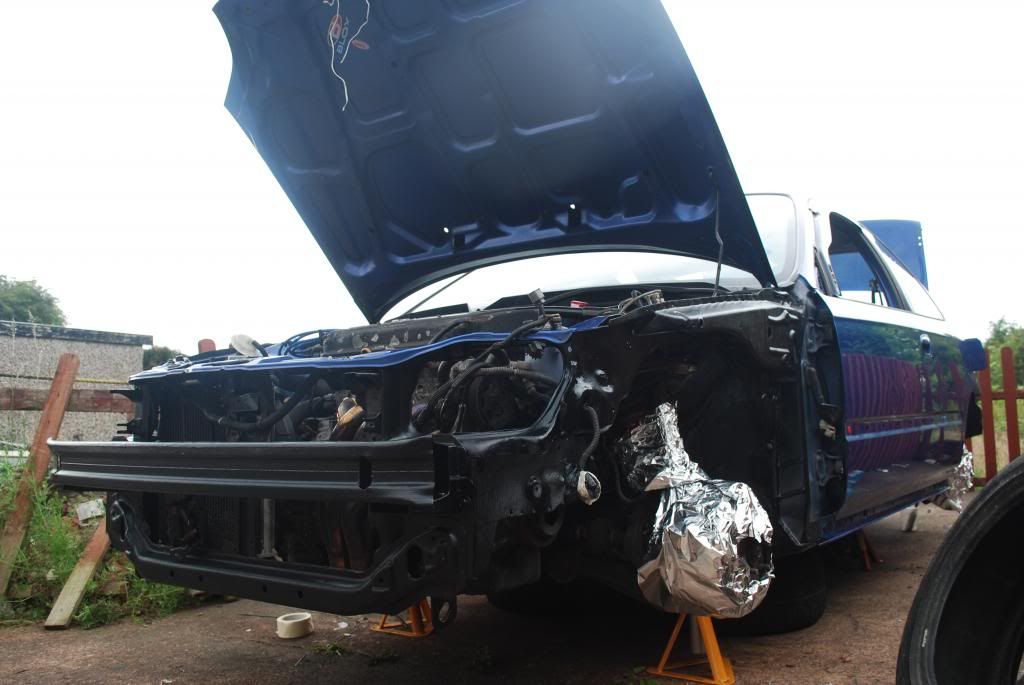
The car heading off to the bodyshop (round 1)
Work begins on straightening too many years of daily abuse..

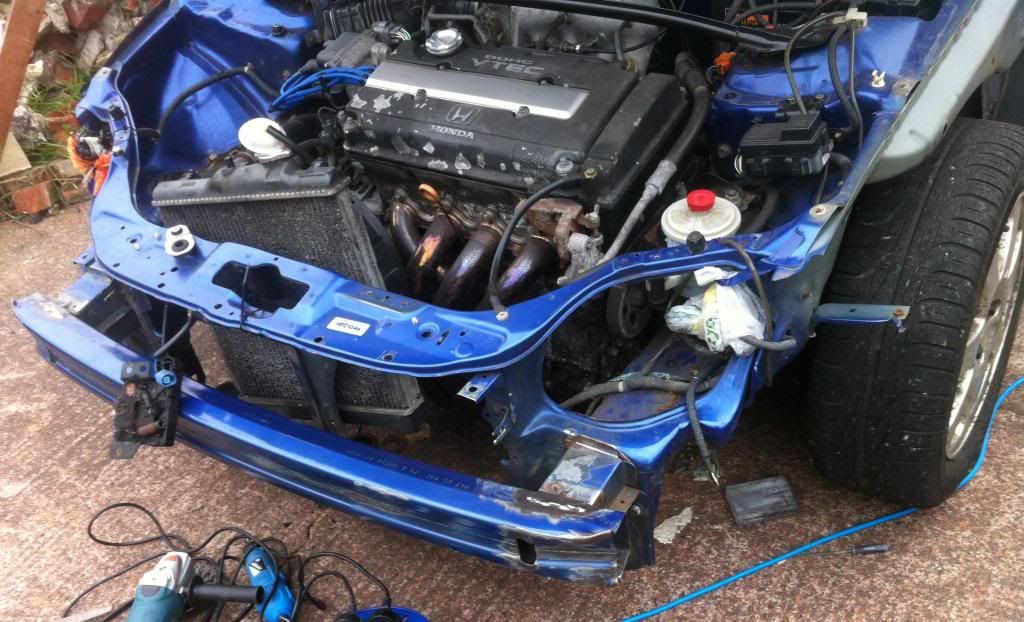
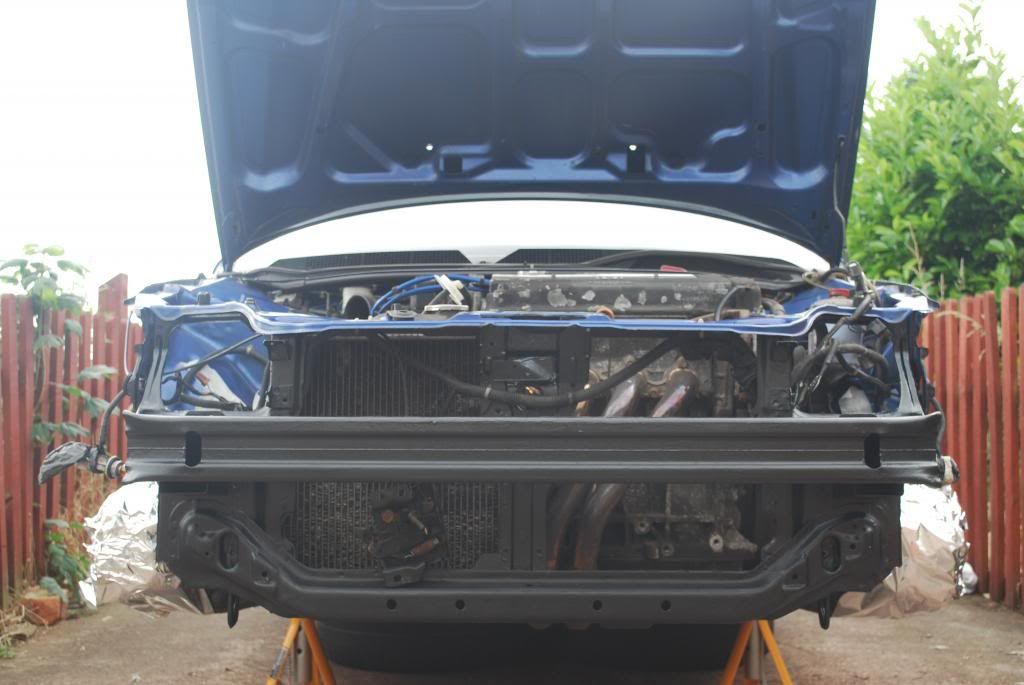
The bay wasn't getting painted as I wasnted to keep it running, but as the engine swap was still in my head I knew it could be done then
Work begins on straightening too many years of daily abuse..
The bay wasn't getting painted as I wasnted to keep it running, but as the engine swap was still in my head I knew it could be done then
SteveOEM1
Active Member
- Joined
- Mar 24, 2013
- Messages
- 153
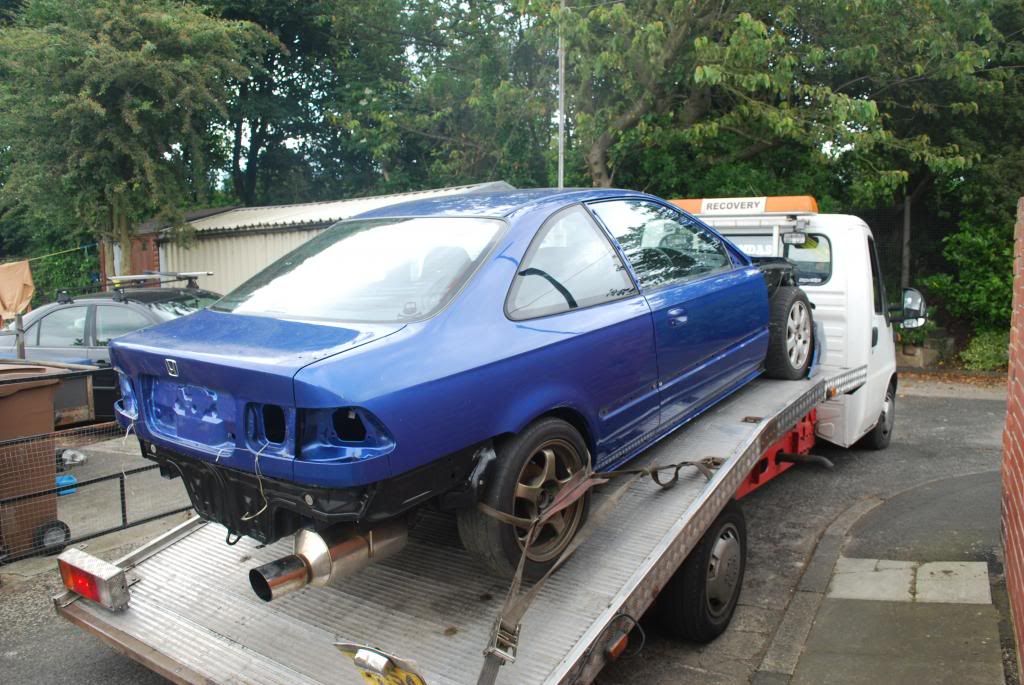
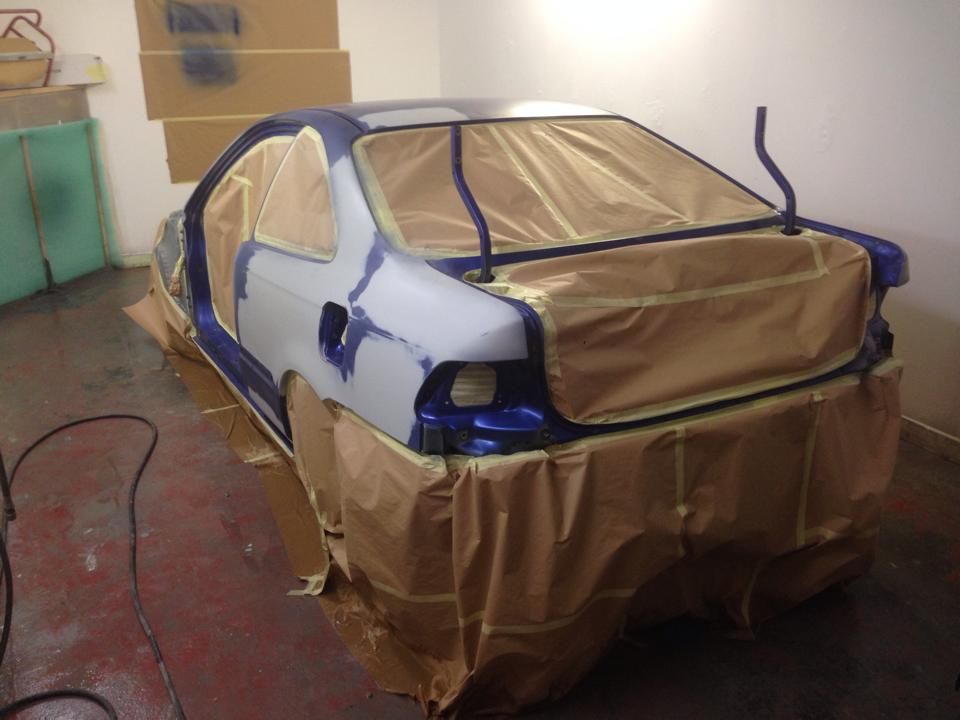
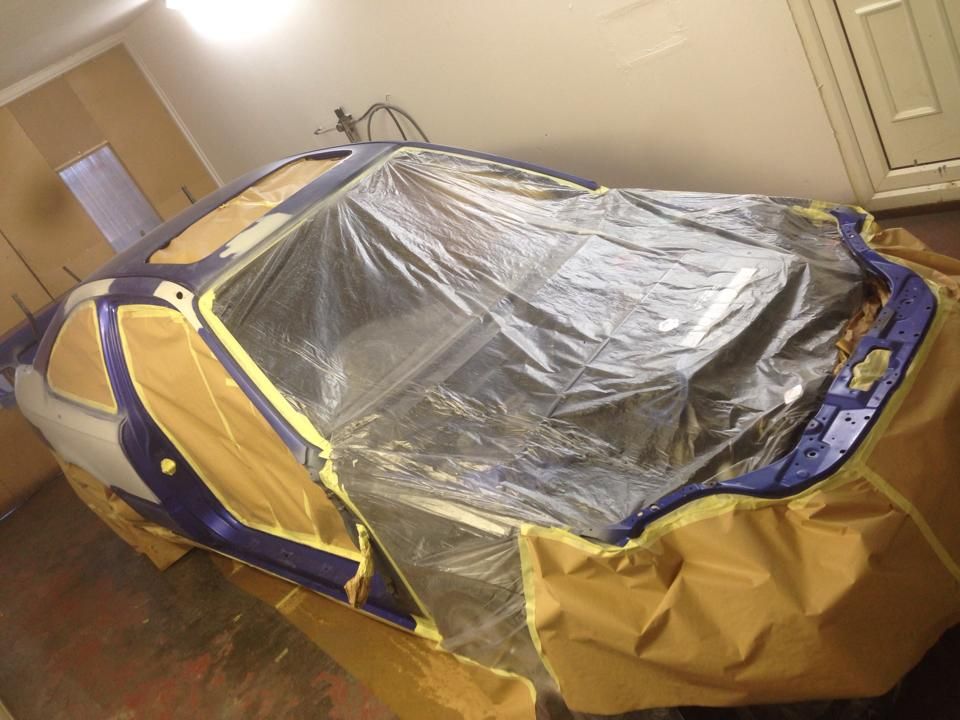
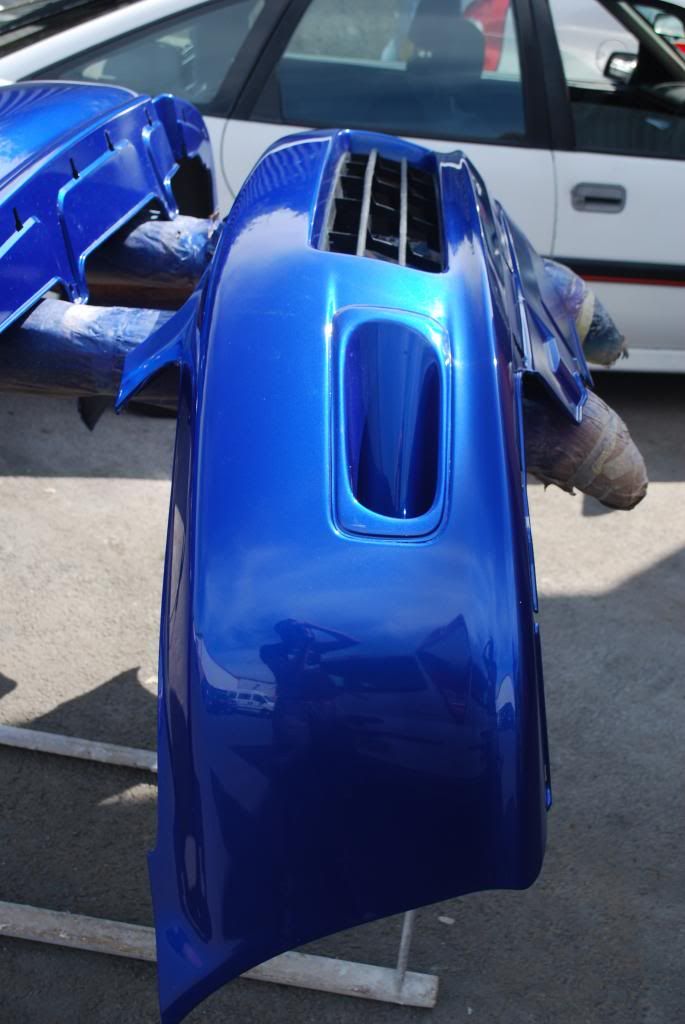
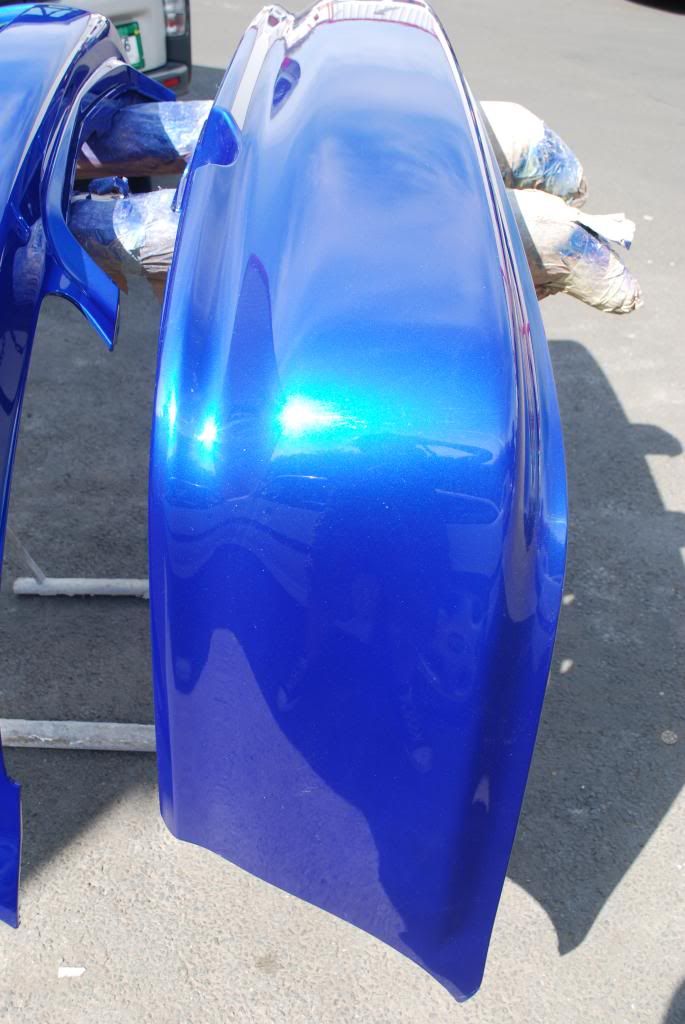
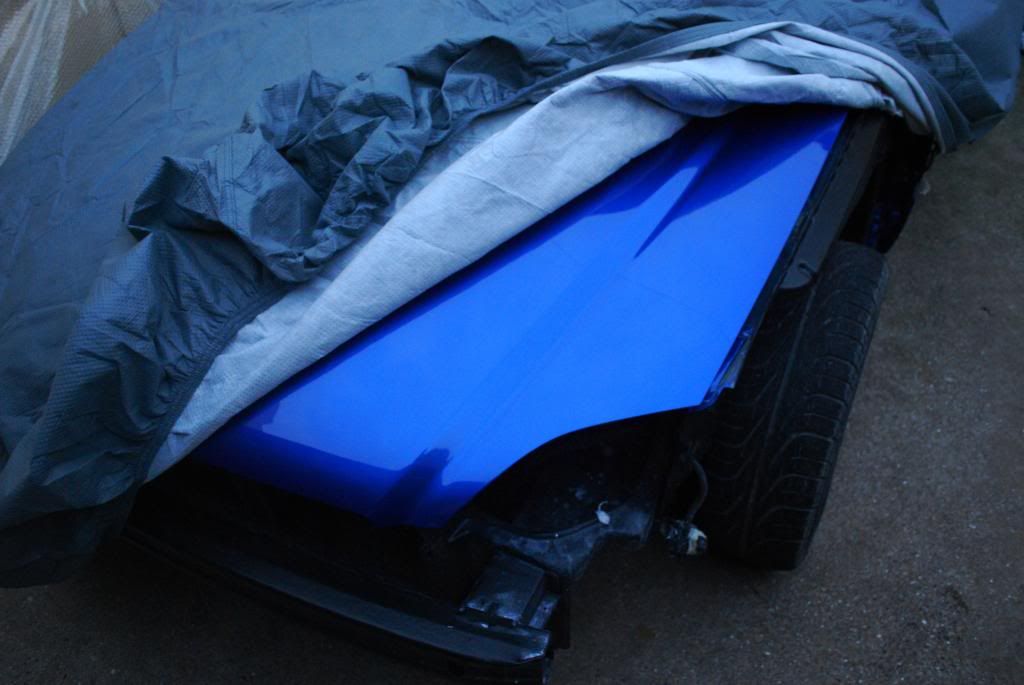
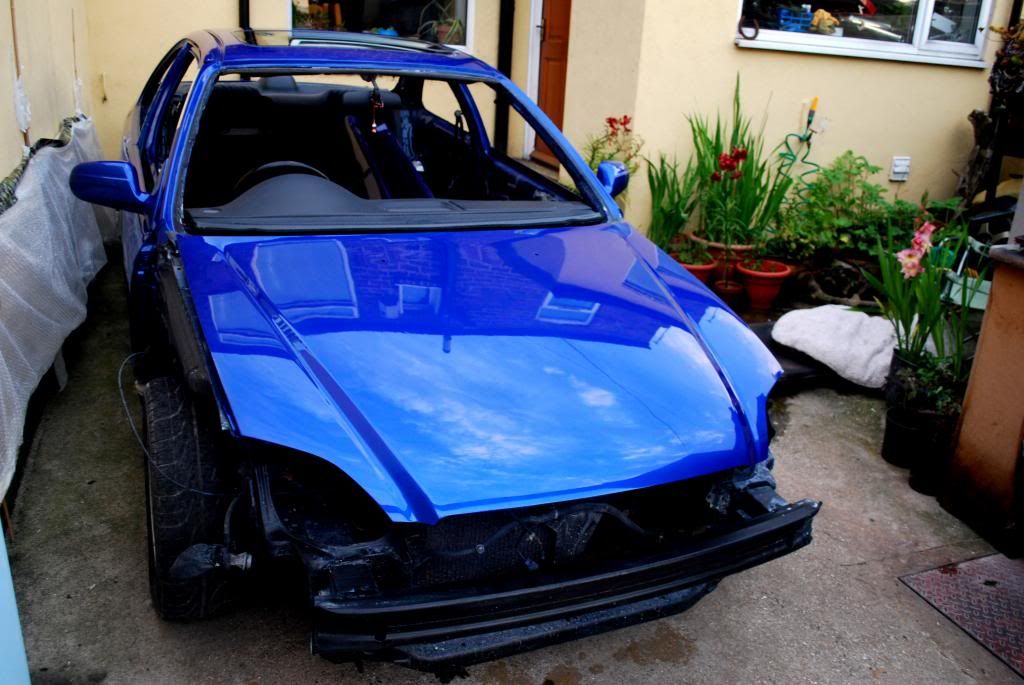
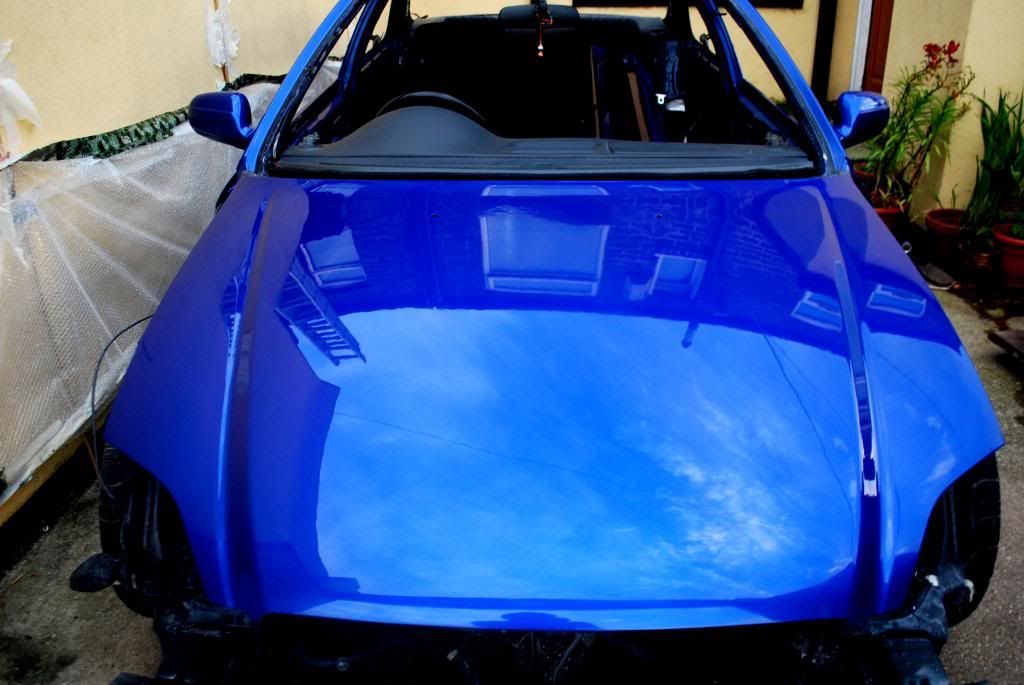
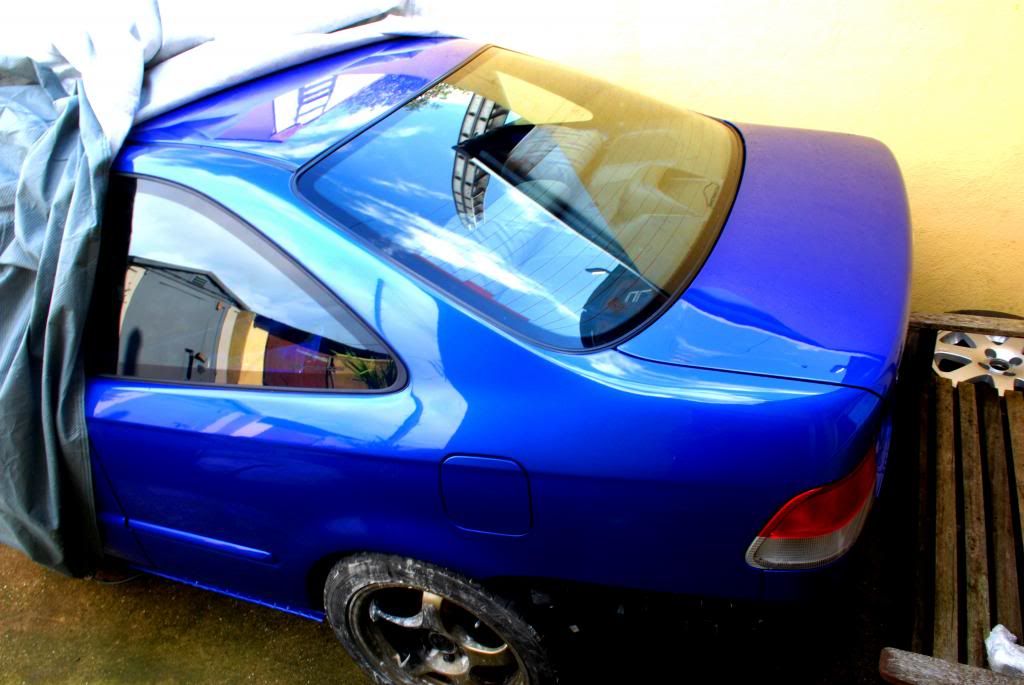
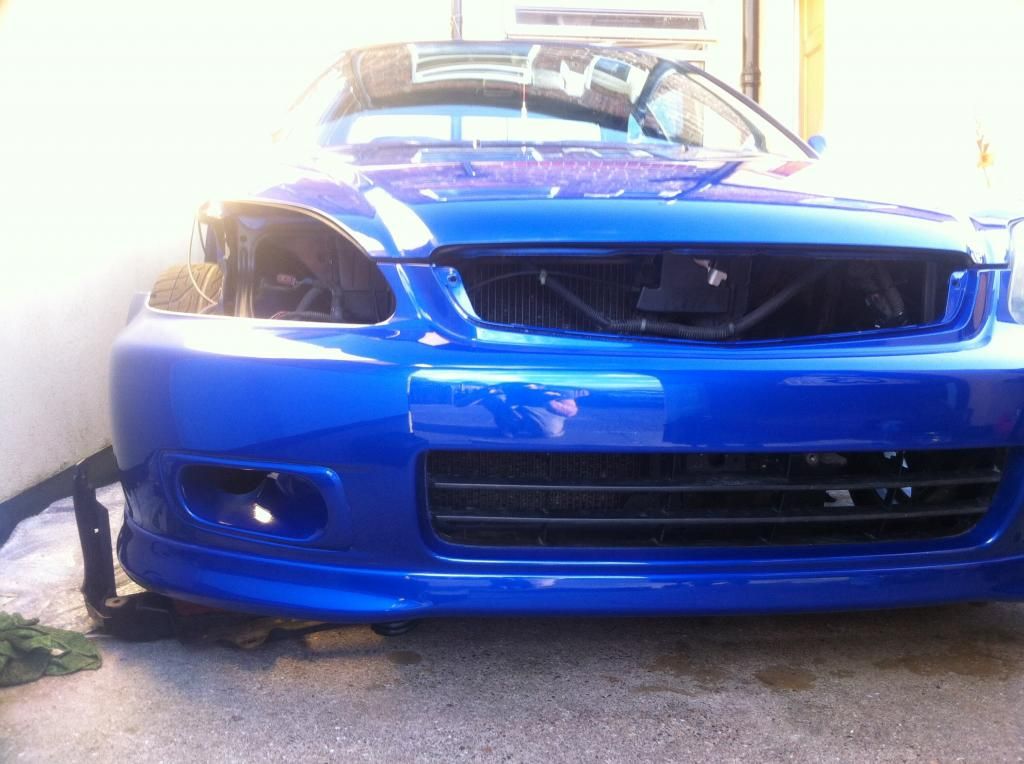
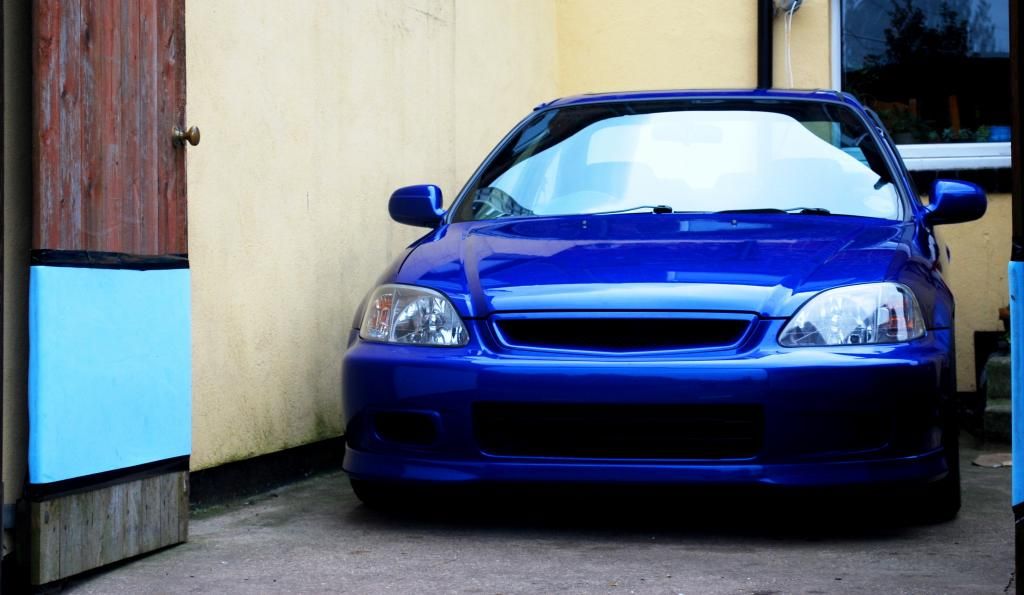
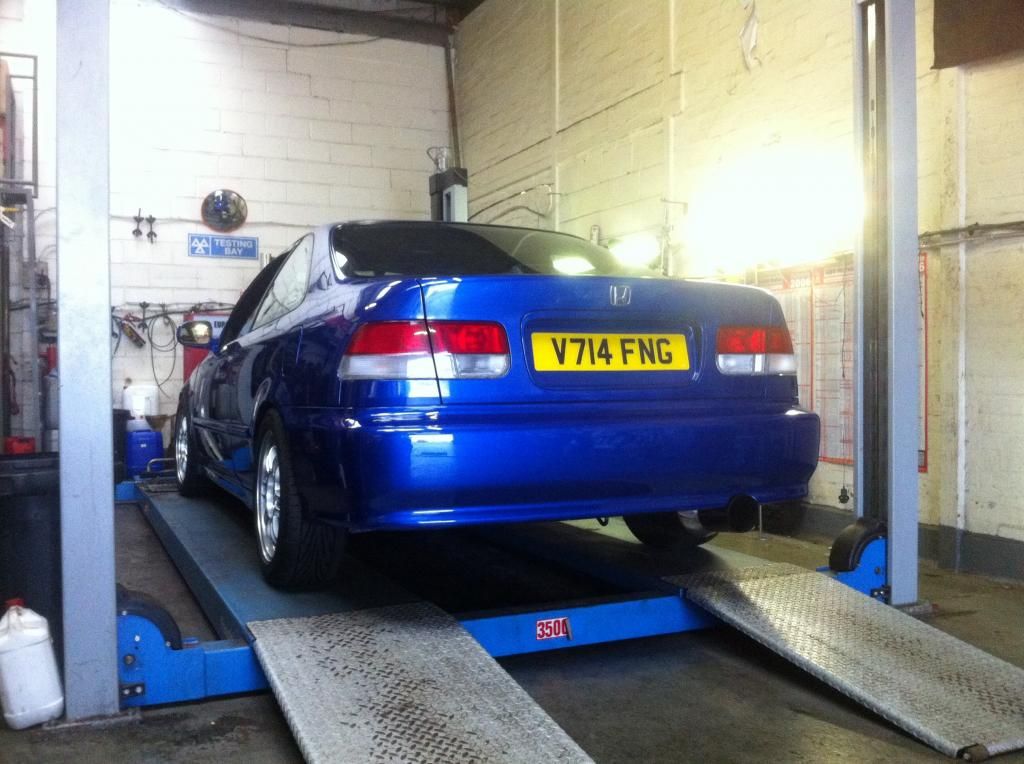
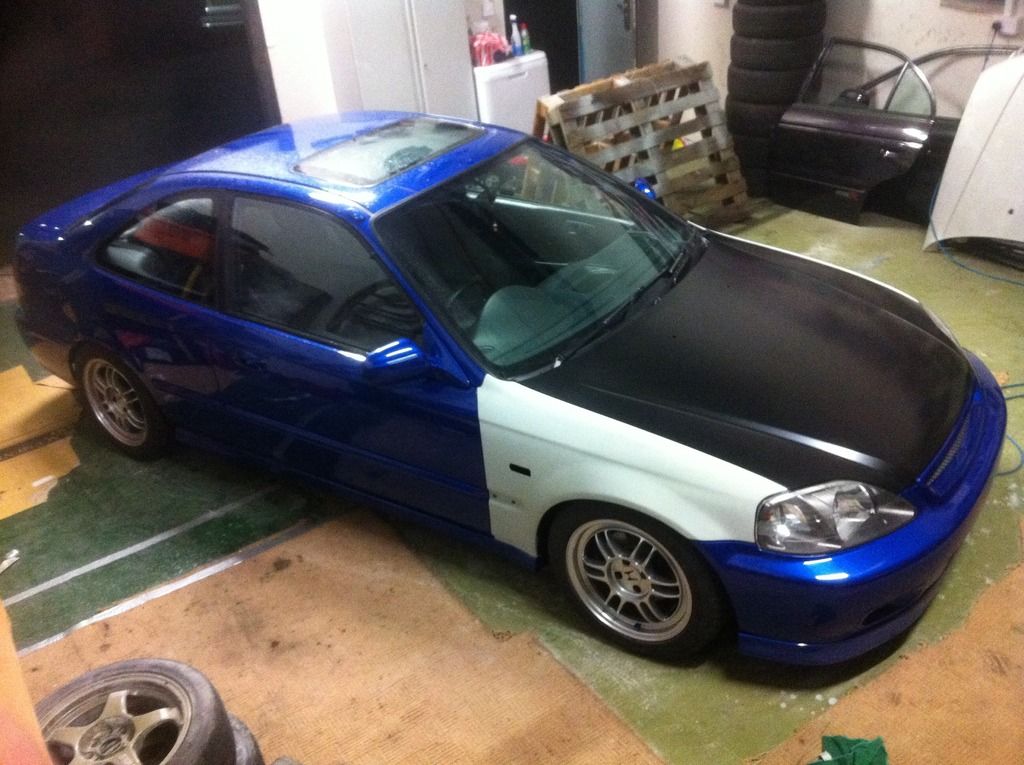
So now its confession time - as much I loved EBP for all those years, I decided if it was getting a respray I wanted it to be a little different. It took me 3 months to decide on the colour, and as much as the purist in me wanted to stay Honda, I loved the choice I made - Aston Martin Cobalt Blue.. Japanese car, built in the US, living in the UK - British marque seemed appropriate
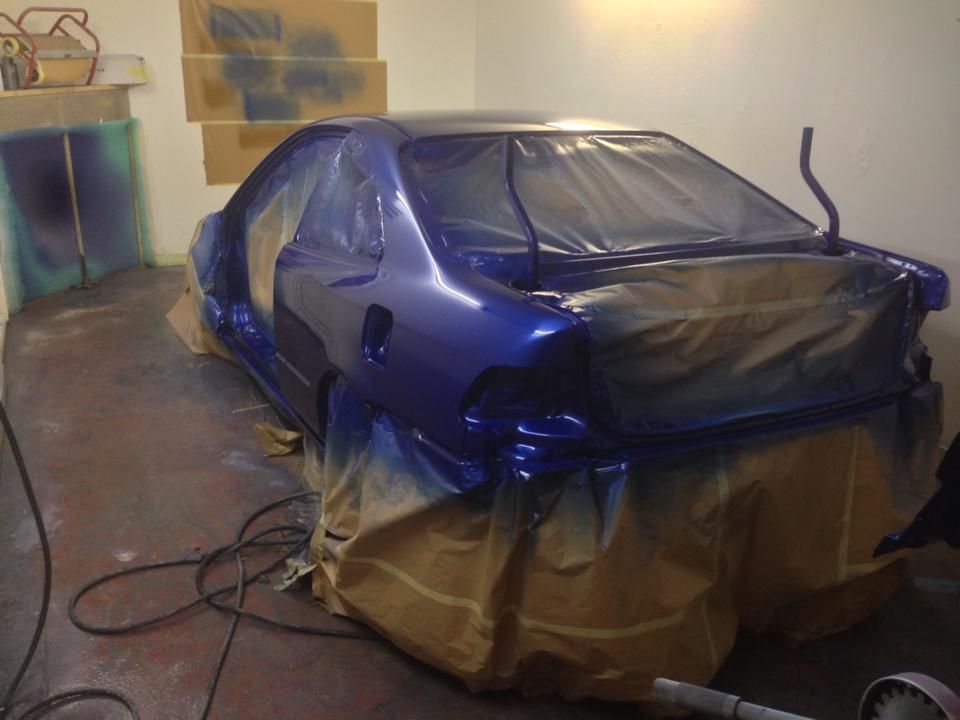

Bringing her home..
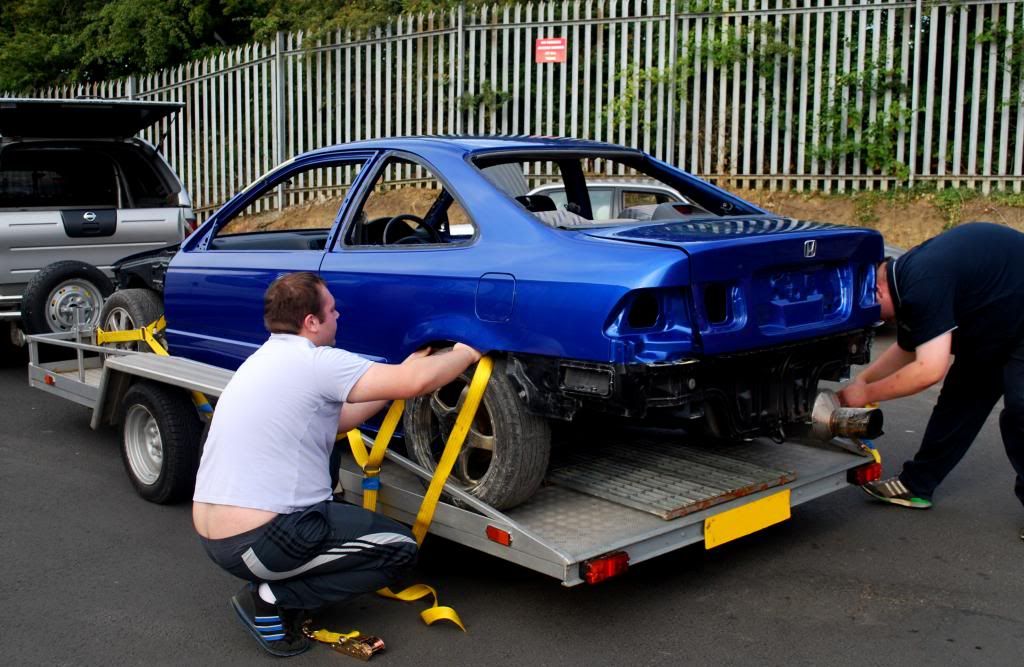
Bringing her home..

SteveOEM1
Active Member
- Joined
- Mar 24, 2013
- Messages
- 153
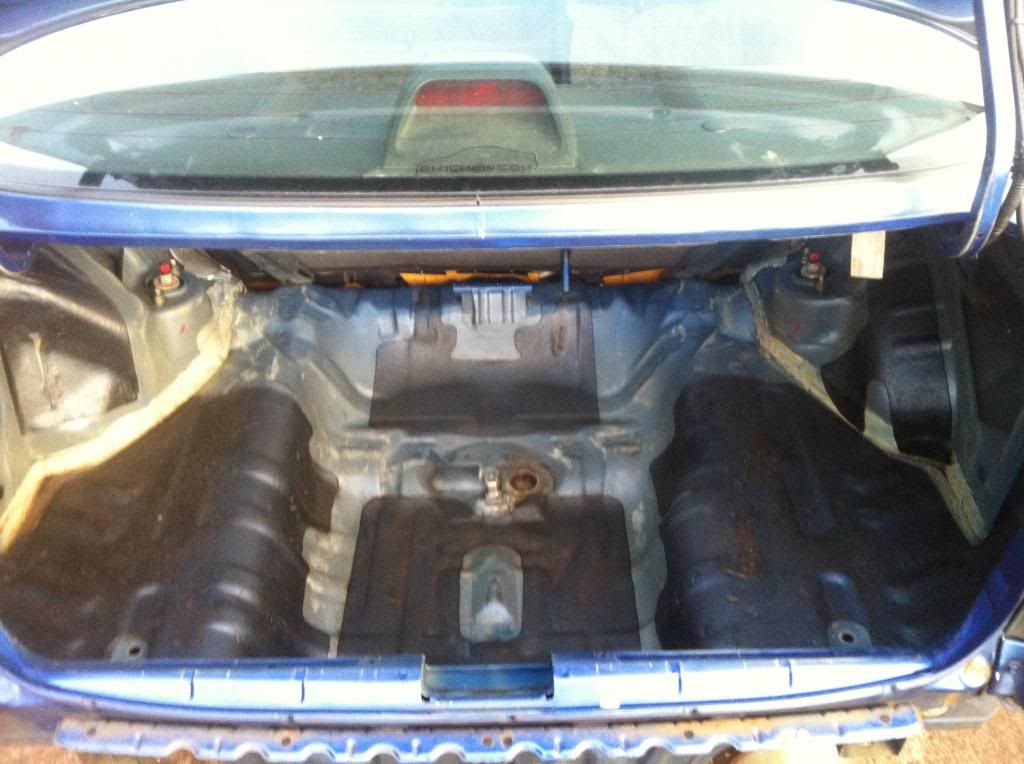
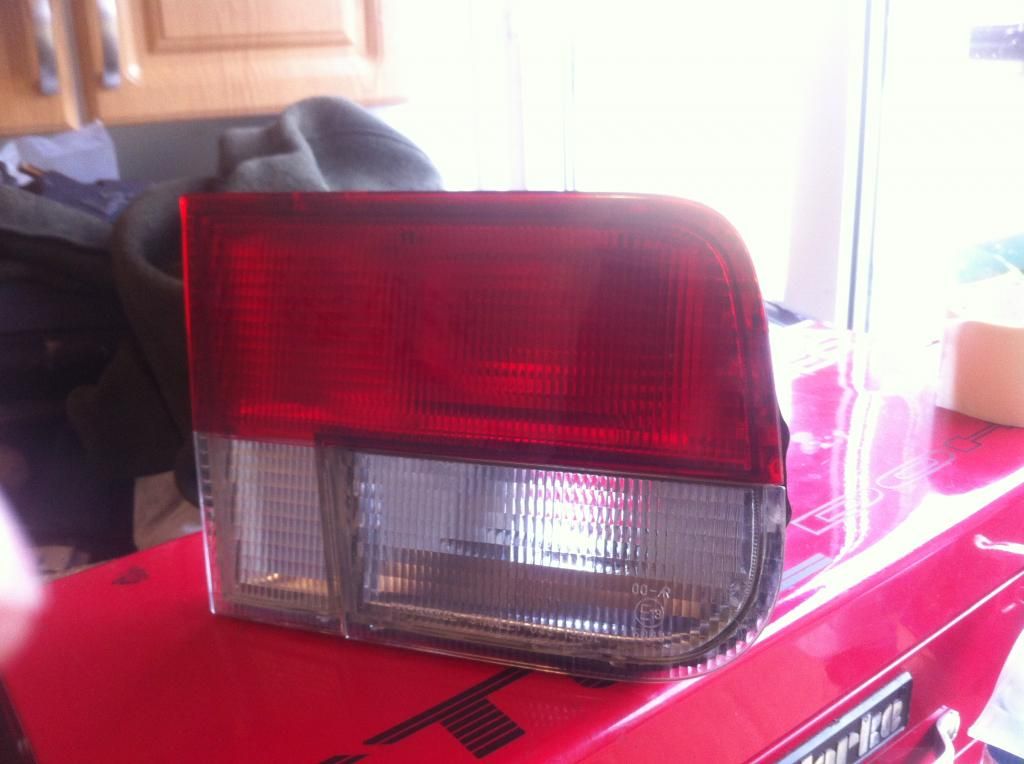
Now the rebuild was underway - one thing that had been bugging me for a while was the foil peel in the rear clusters. A typical problem but I couldnt find any DIYs on how to fix them, so I thought I'd find out
A lot harder than splitting fronts but they turned out well (DIY on Em1Crew if anyones interested)
The issue
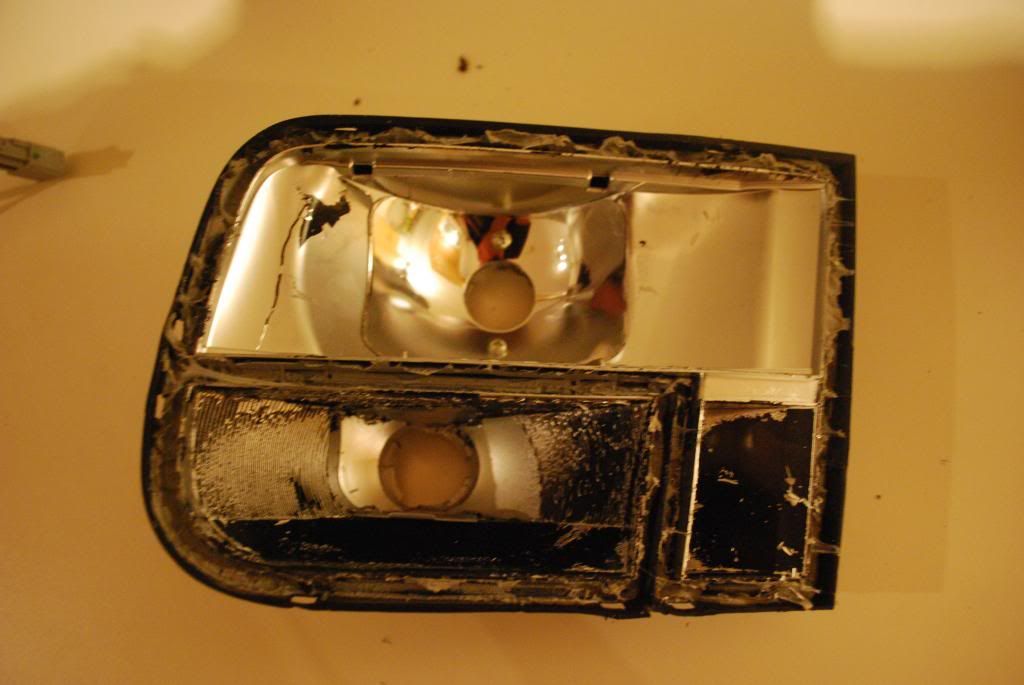
After stripping down, prepping and painting with chrome paint
The result
A lot harder than splitting fronts but they turned out well (DIY on Em1Crew if anyones interested)
The issue
After stripping down, prepping and painting with chrome paint
The result
SteveOEM1
Active Member
- Joined
- Mar 24, 2013
- Messages
- 153
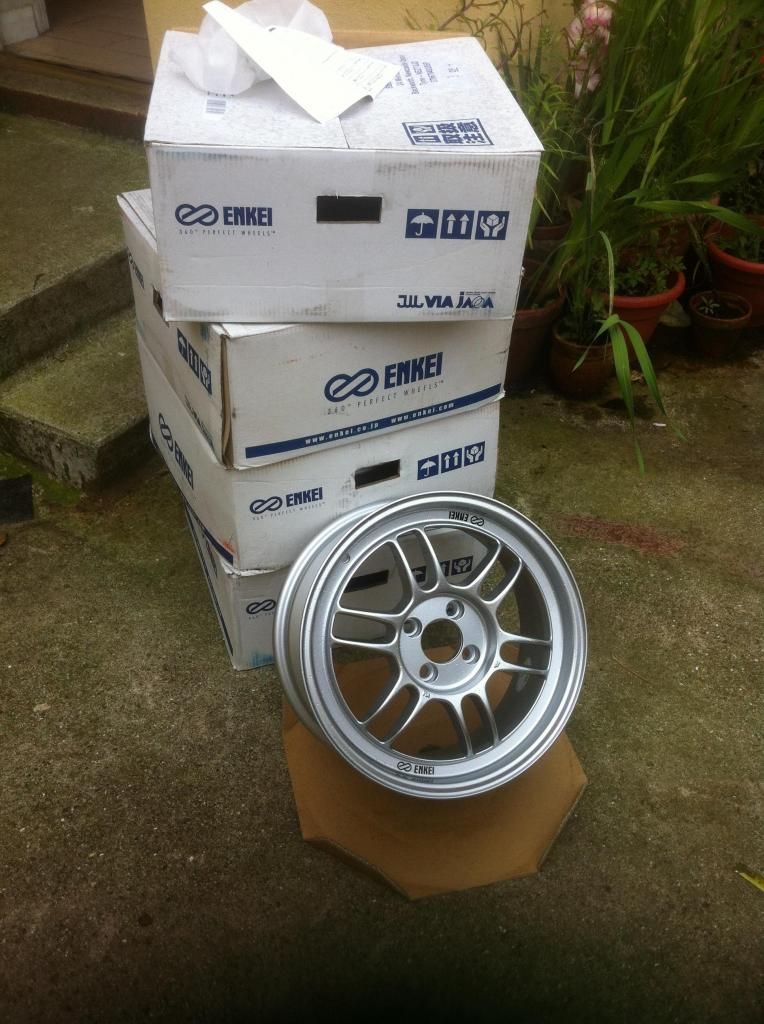
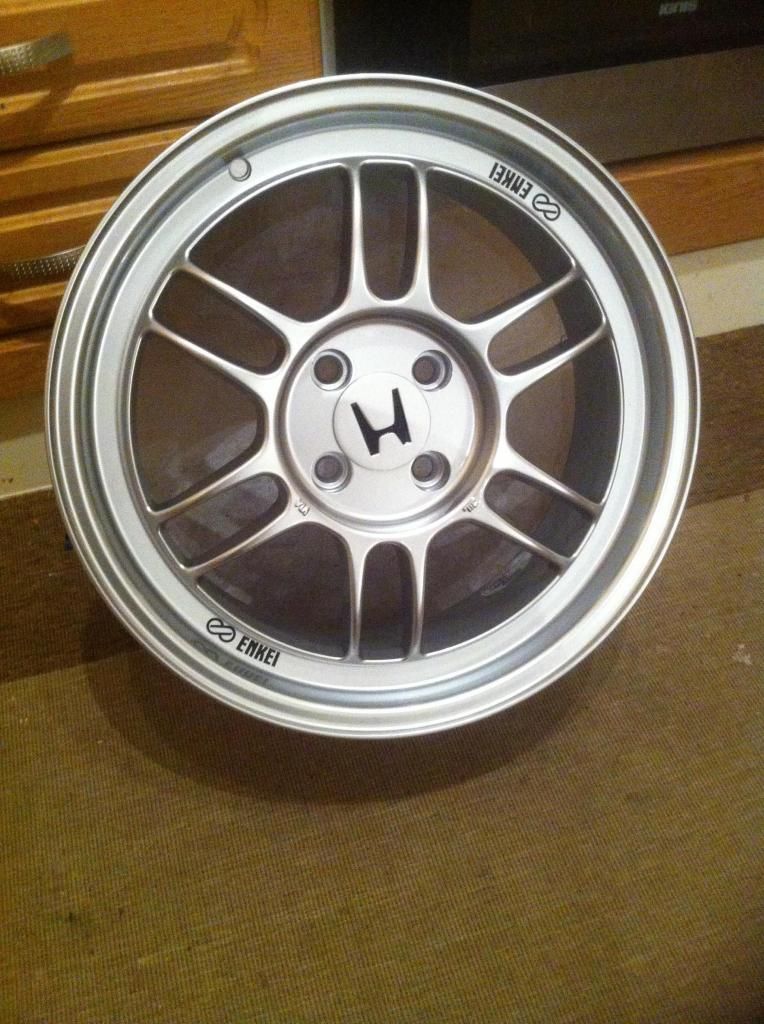
Before the car went in the bodyshop I ordered some Enkei RPF1s - 3 months to get here from Japan but well worth the wait
I wanted Honda center caps, and I also wanted an 'H' that would match the steering wheel
These are with the decals for the black 'H's - they looked crap so I ended up painting them black by hand after the caps were painted silver
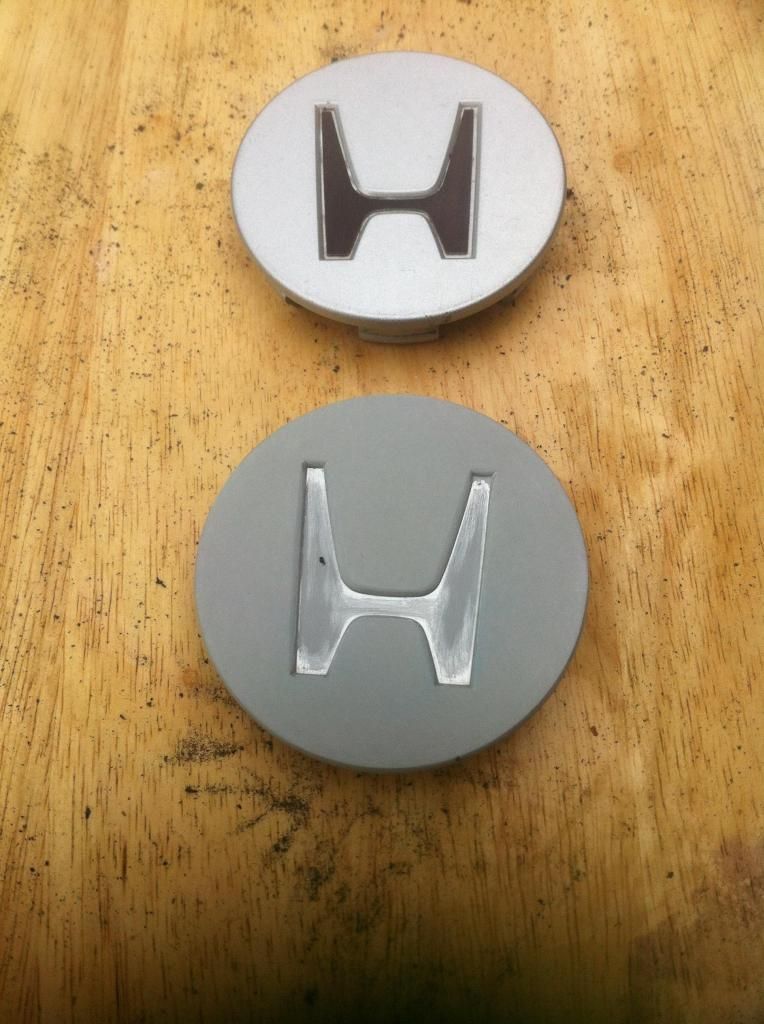
Much better
I wanted Honda center caps, and I also wanted an 'H' that would match the steering wheel
These are with the decals for the black 'H's - they looked crap so I ended up painting them black by hand after the caps were painted silver
Much better
SteveOEM1
Active Member
- Joined
- Mar 24, 2013
- Messages
- 153
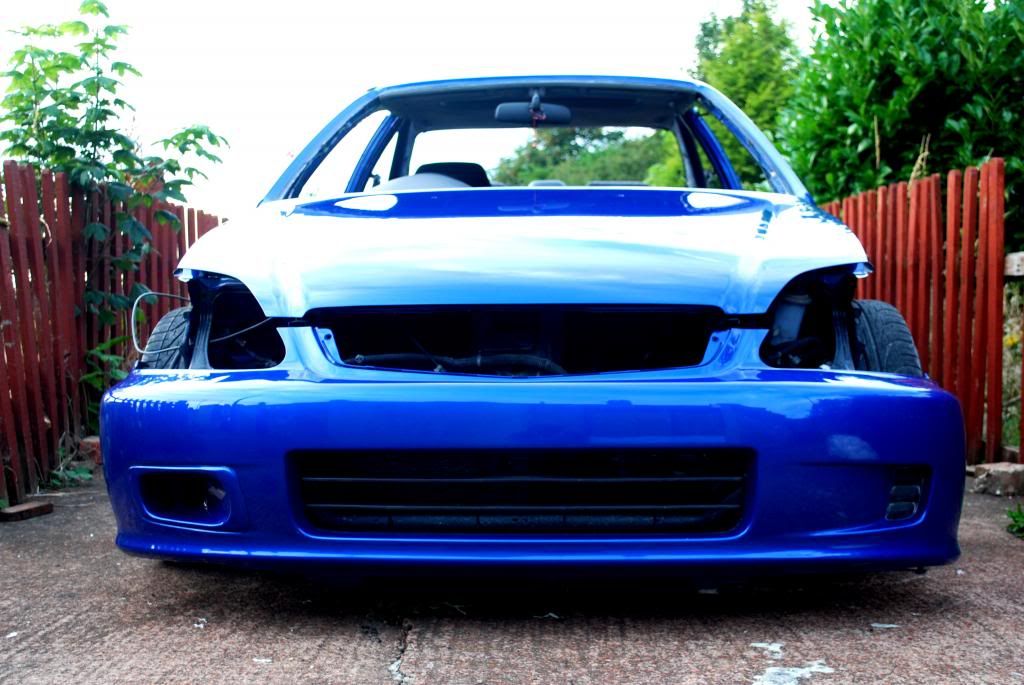
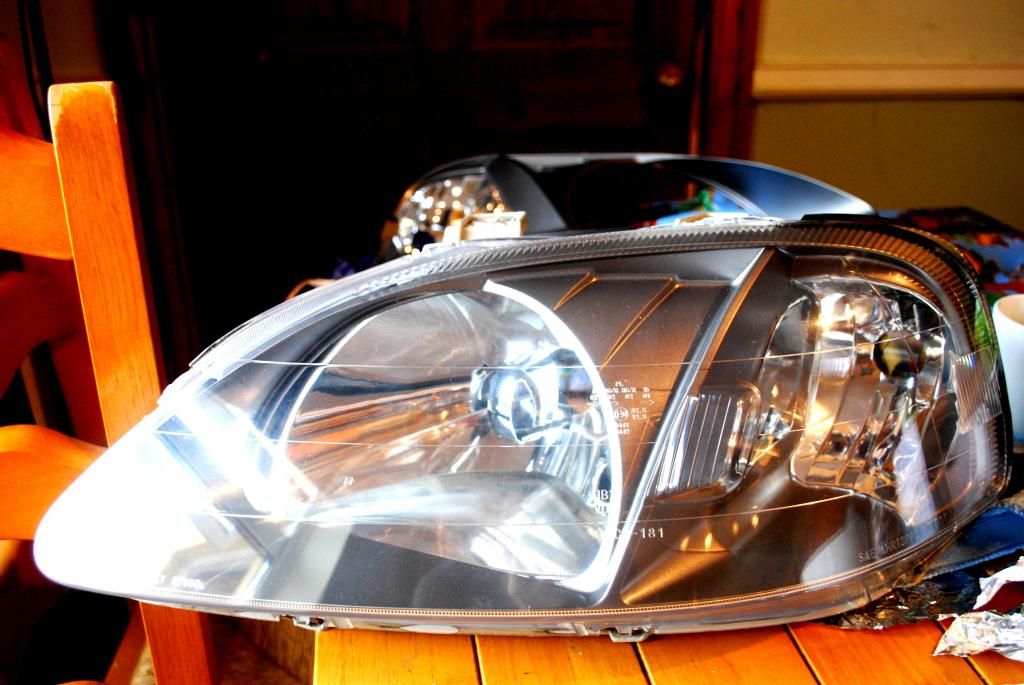
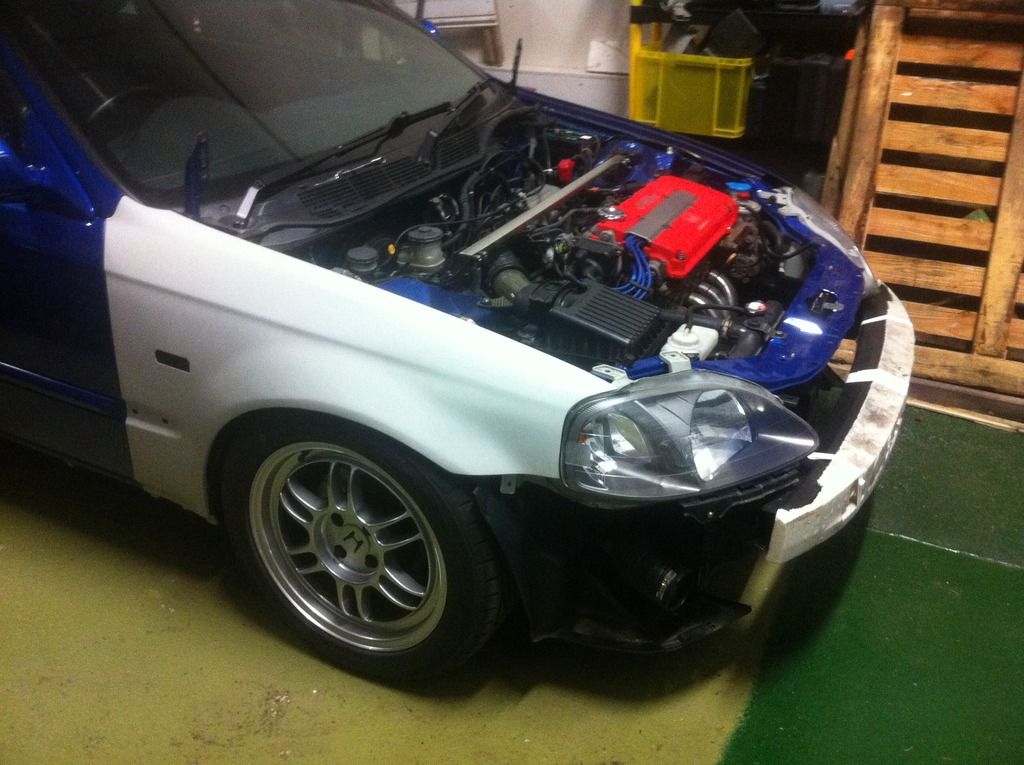
First proper look with the new editions on the front end
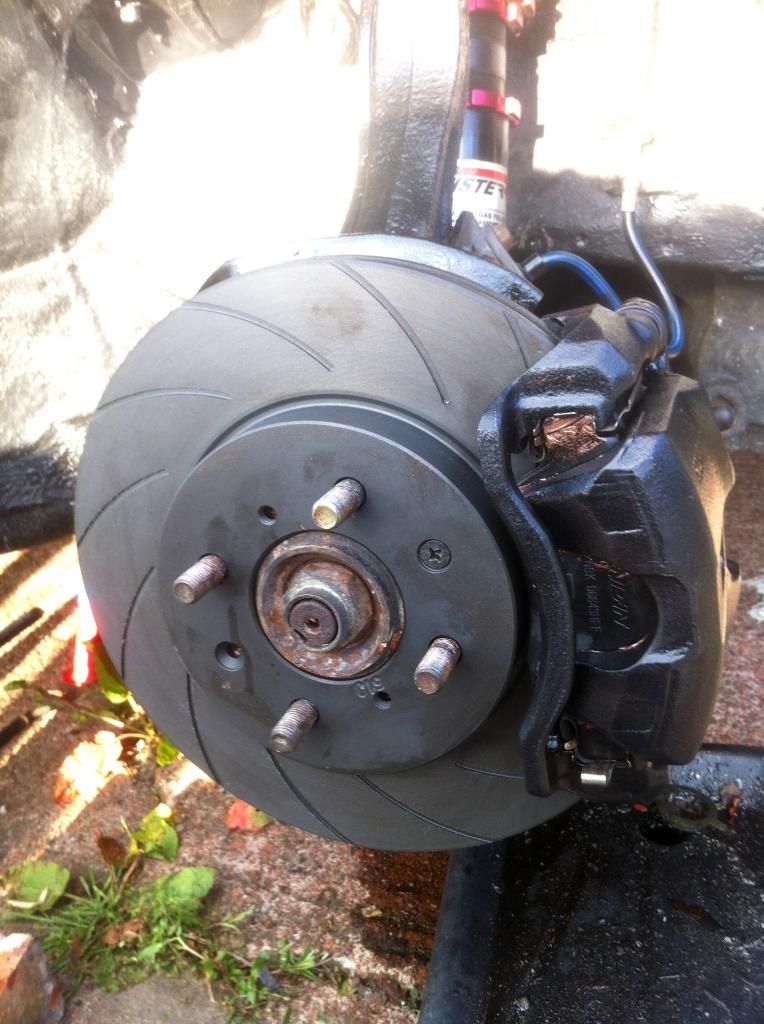
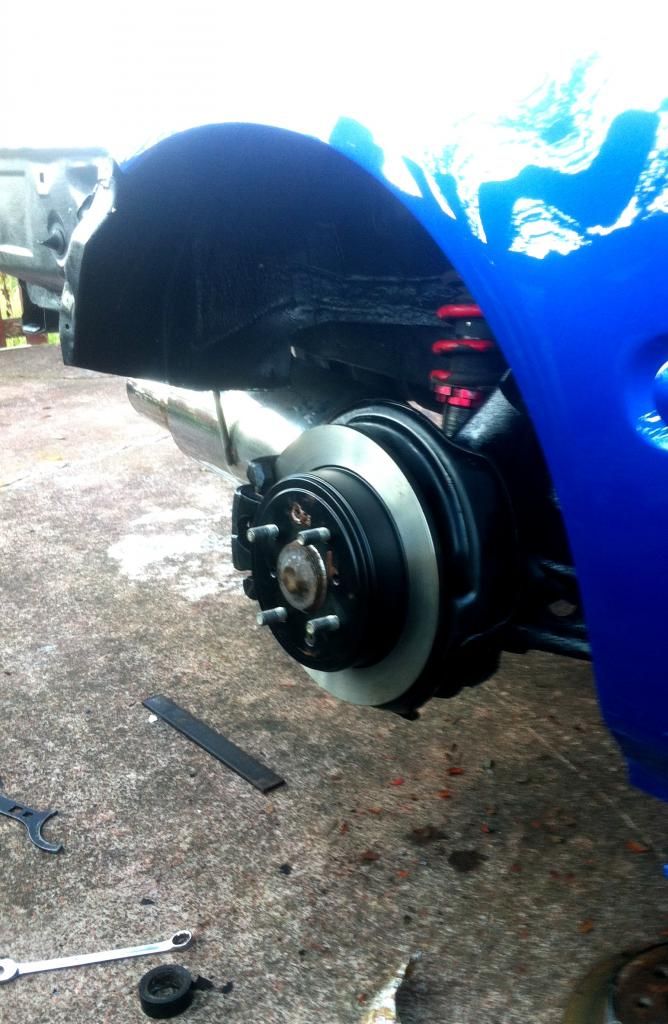
Brakes refreshed and upgraded too - Brembo blanks on the rear, Black Diamond grooved on the front and OEM Nissin pads all round
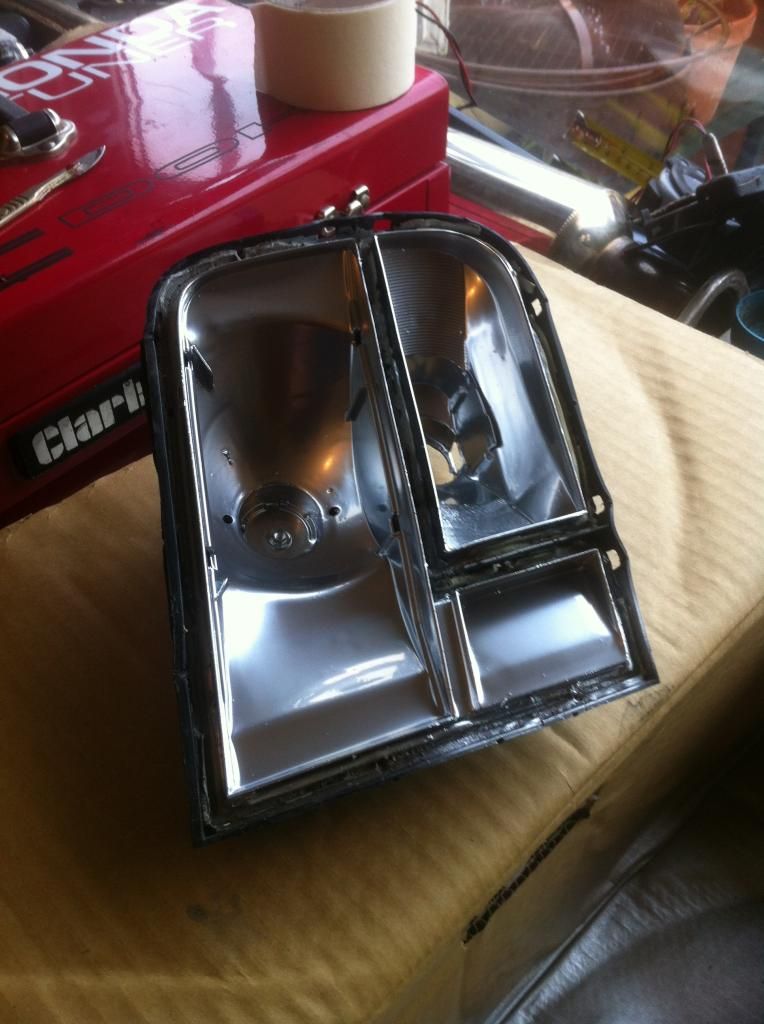
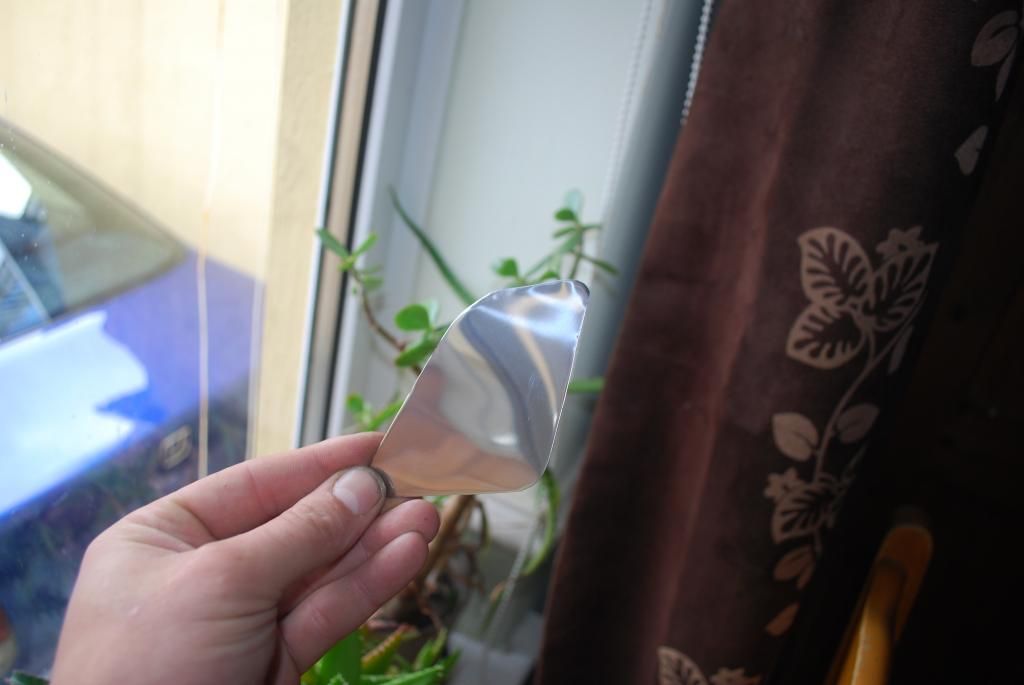
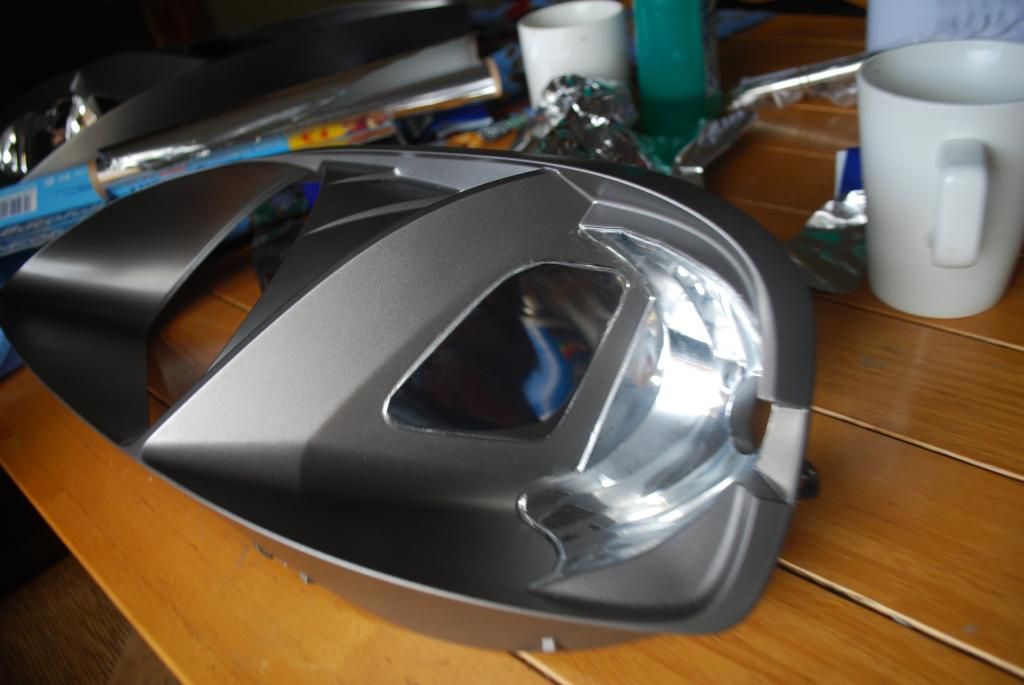
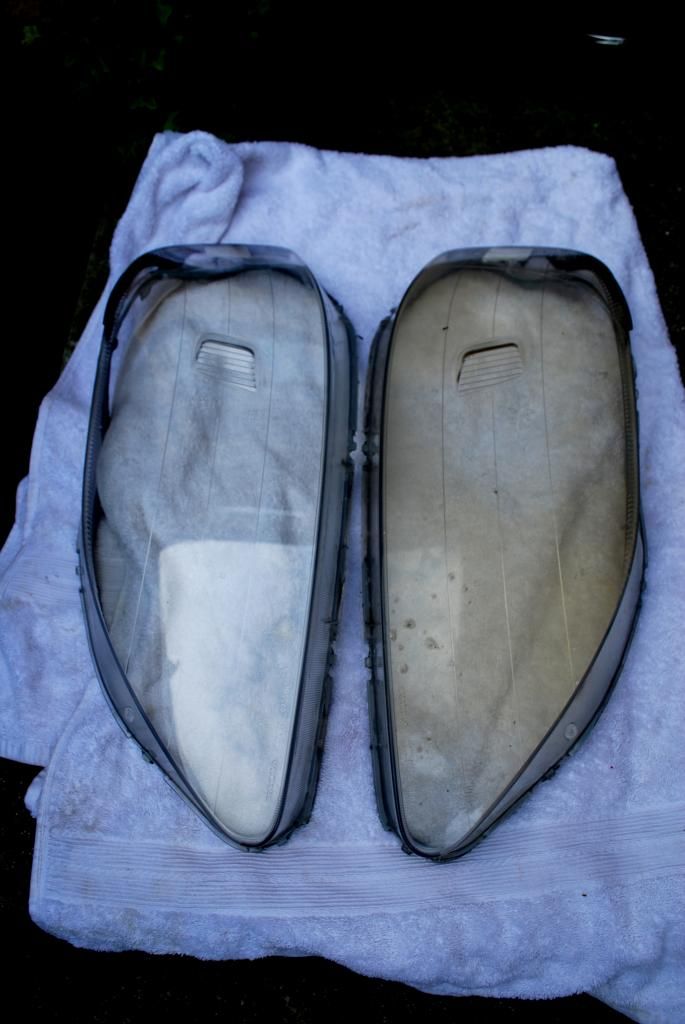
I also decided to give by best set of headlights the EK9 treatment - I hated the fact that the 1st attempt didnt have the reflector next the indicator bulb, it just looks weird from a side shot. So I got some aluminium sheet and cut sections to insert
Brakes refreshed and upgraded too - Brembo blanks on the rear, Black Diamond grooved on the front and OEM Nissin pads all round
I also decided to give by best set of headlights the EK9 treatment - I hated the fact that the 1st attempt didnt have the reflector next the indicator bulb, it just looks weird from a side shot. So I got some aluminium sheet and cut sections to insert
SteveOEM1
Active Member
- Joined
- Mar 24, 2013
- Messages
- 153
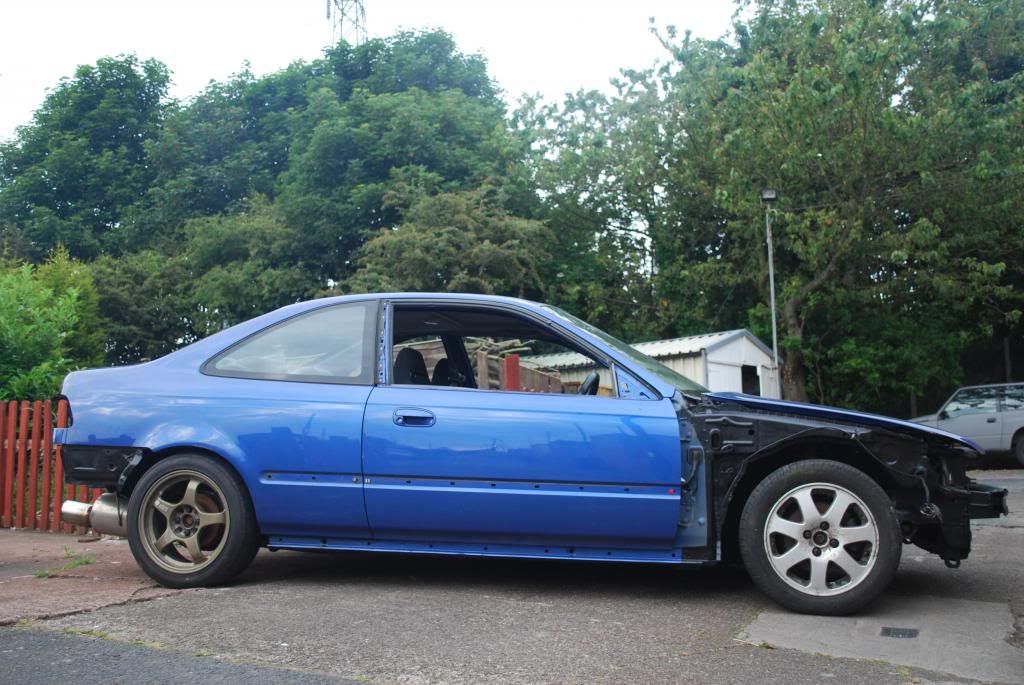
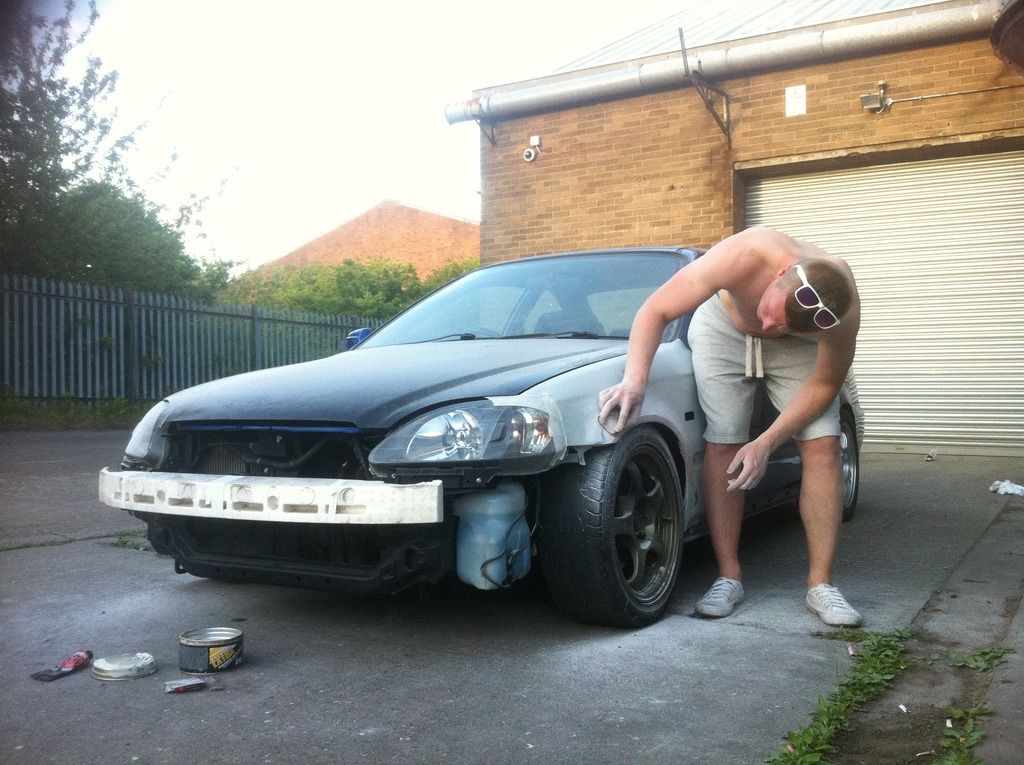
With the wings not painted I decided I'd take the car for its road test, so I could at least get it on the road and start to enjoy it - the temporary wings on the car were some very dodgy shaved wings my breaker friend had sat about - they really weren't nice but they would do to get the testing station
SteveOEM1
Active Member
- Joined
- Mar 24, 2013
- Messages
- 153
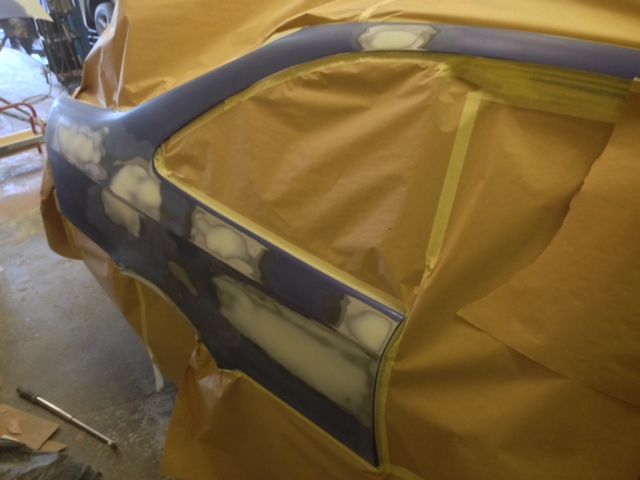
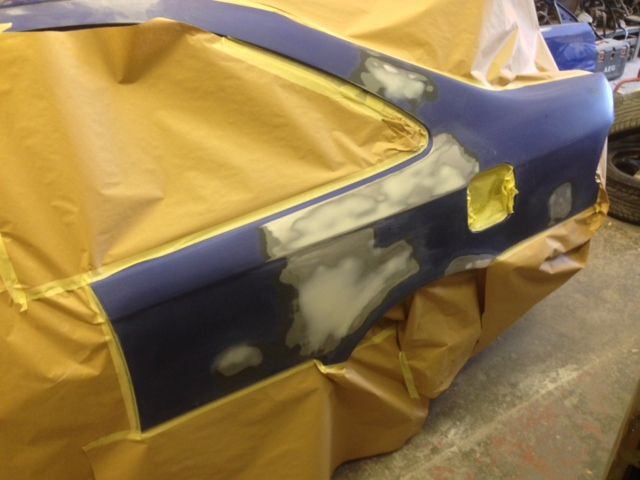
Well is wasn't long after this that the problems started... I was working out on the car when I noticed micro blisters coming through the paint. I wont go into too much detail here, but what resulted was a long drawn out affair with the body shop that ended up with me cutting my losses, before I caused any physical damage to anybody. Luckily I've since found an amazing painter thats become a good friend and totally saved my EM1, but after I discovered these blisters, and the issues with the first bodyshop, I really lost heart and ended up closing the door on the civic metaphorically to take some time out from the build.
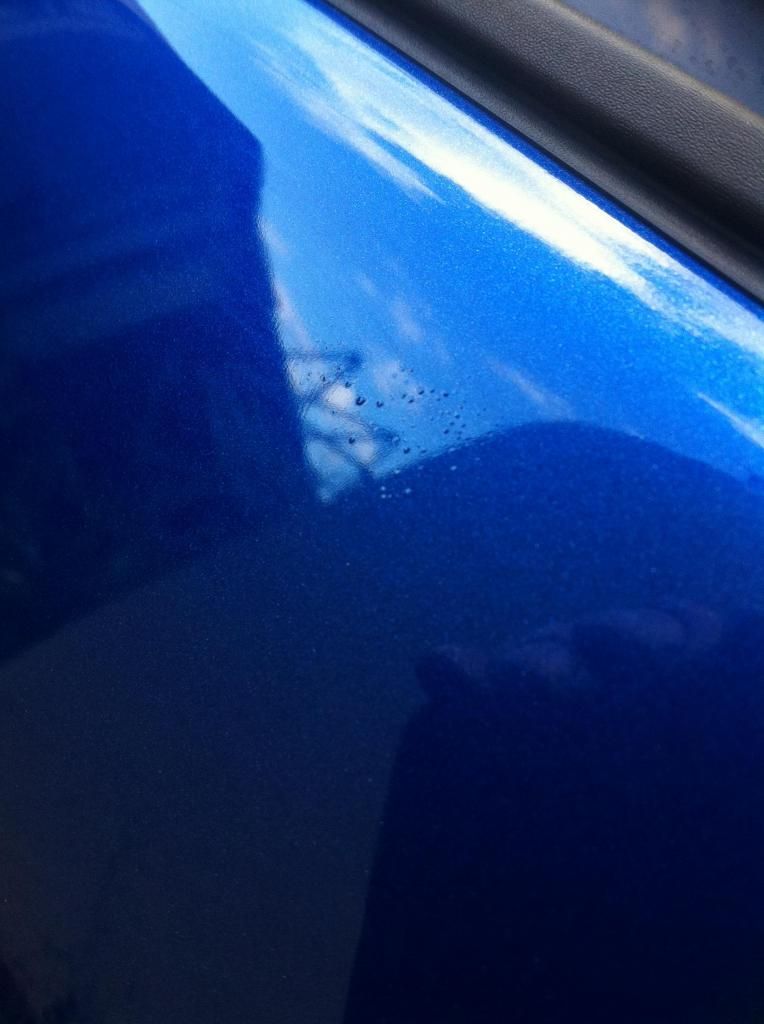
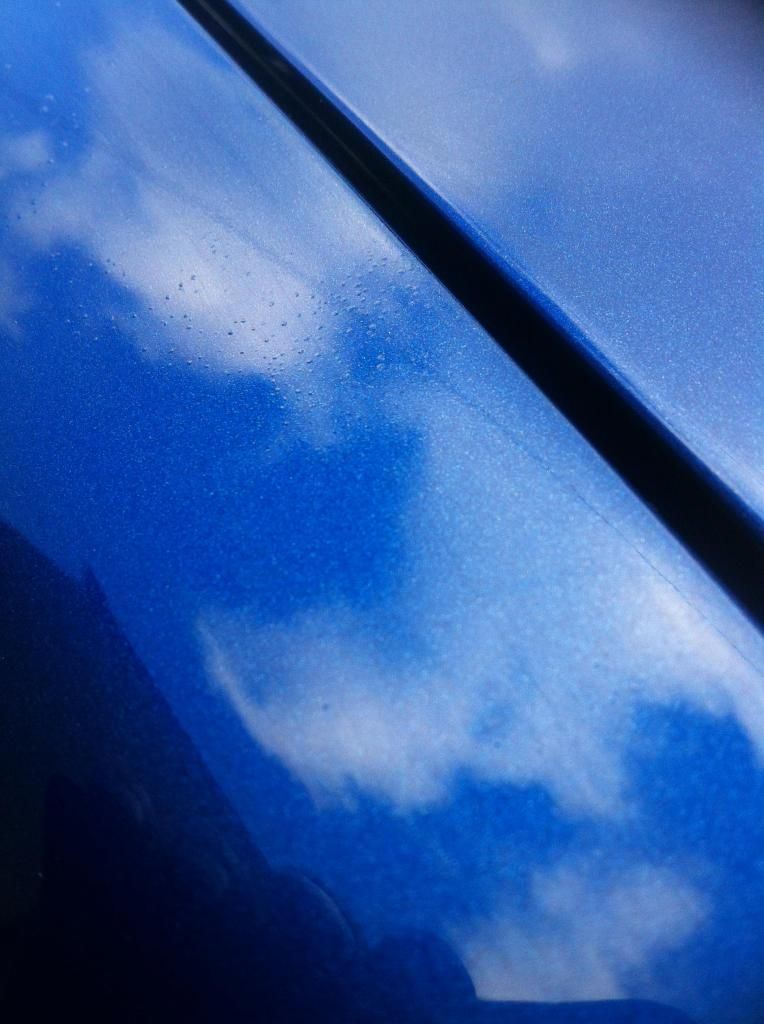
(PS we've since discovered the painter either had water in his lines or water in the base coat, as > 1 year later it was still forming larger blisters full of water)
(PS we've since discovered the painter either had water in his lines or water in the base coat, as > 1 year later it was still forming larger blisters full of water)
SteveOEM1
Active Member
- Joined
- Mar 24, 2013
- Messages
- 153
The next part of the build thread is kind of like my stage 2 - end of the shitty last stage and into me stepping things up a gear.
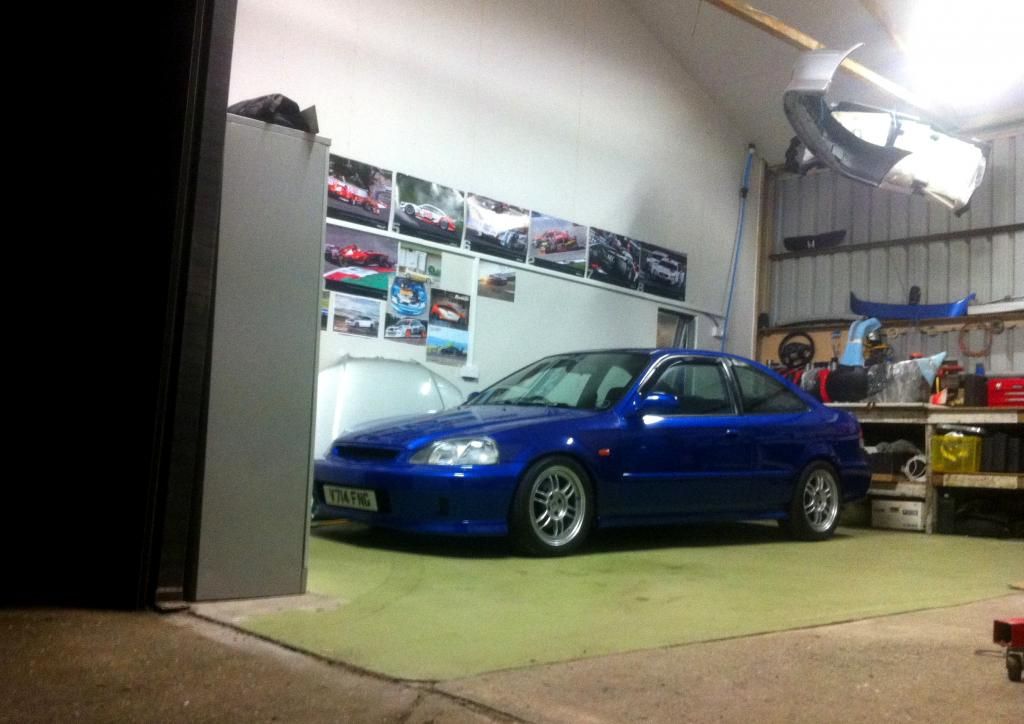
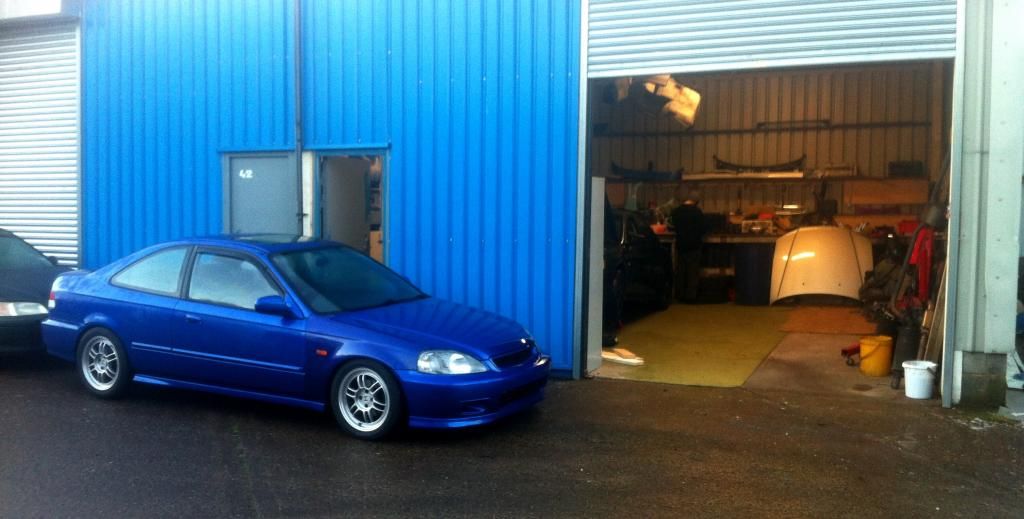
After a few months of taking time out completely from the build I decided I was going to do this properly I needed a proper work space - originally I'd planned to build a 2 car garage outside of my house, but for now I decided to rent a workshop instead.
It was just a bare shell so I got to work making up workbenches (all reclaimed offcut wood from the kitchen unit company across from my unit)
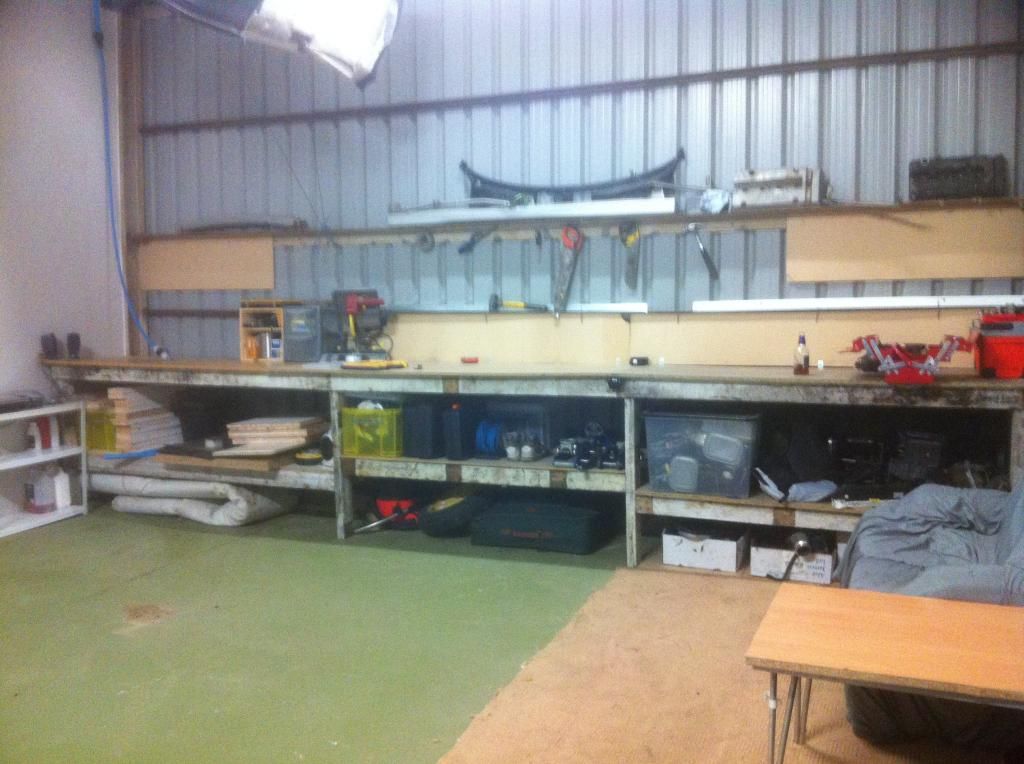
New home..
After a few months of taking time out completely from the build I decided I was going to do this properly I needed a proper work space - originally I'd planned to build a 2 car garage outside of my house, but for now I decided to rent a workshop instead.
It was just a bare shell so I got to work making up workbenches (all reclaimed offcut wood from the kitchen unit company across from my unit)
New home..
SteveOEM1
Active Member
- Joined
- Mar 24, 2013
- Messages
- 153
Now with a proper place to continue the build, and a painter that had made a commitment to get the paint issues sorted and finish the job the previous body hop couldnt, I had a new lease of life and work began again.
First a few small jobs that were badly needed..
Rocker cover refurb
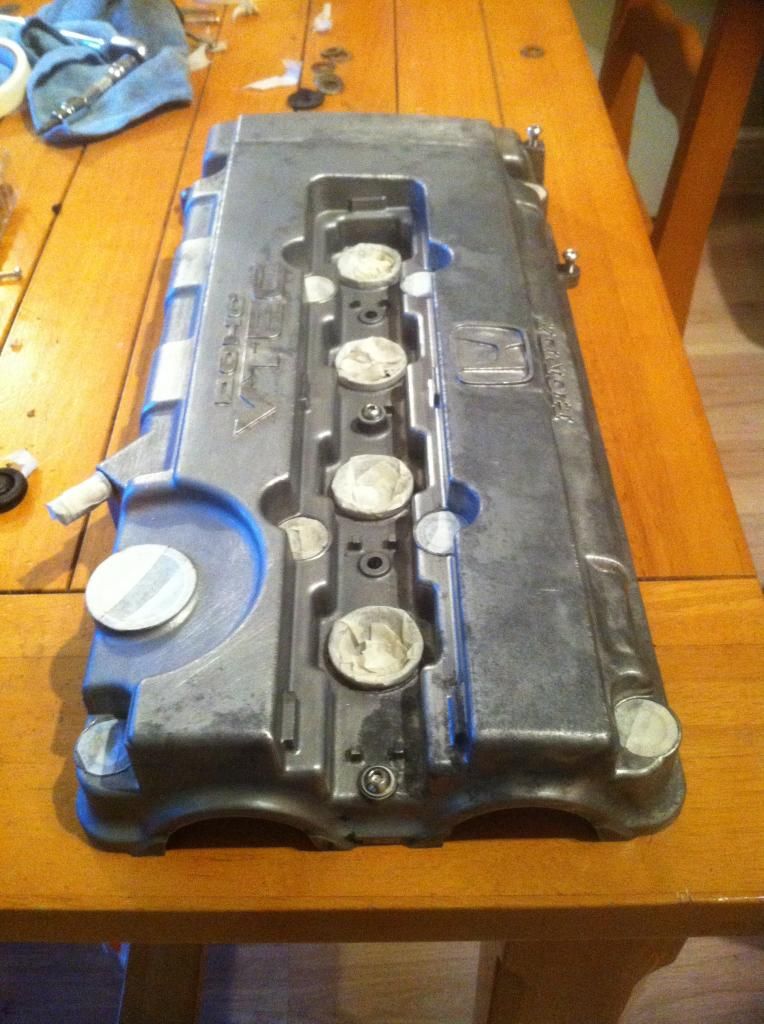
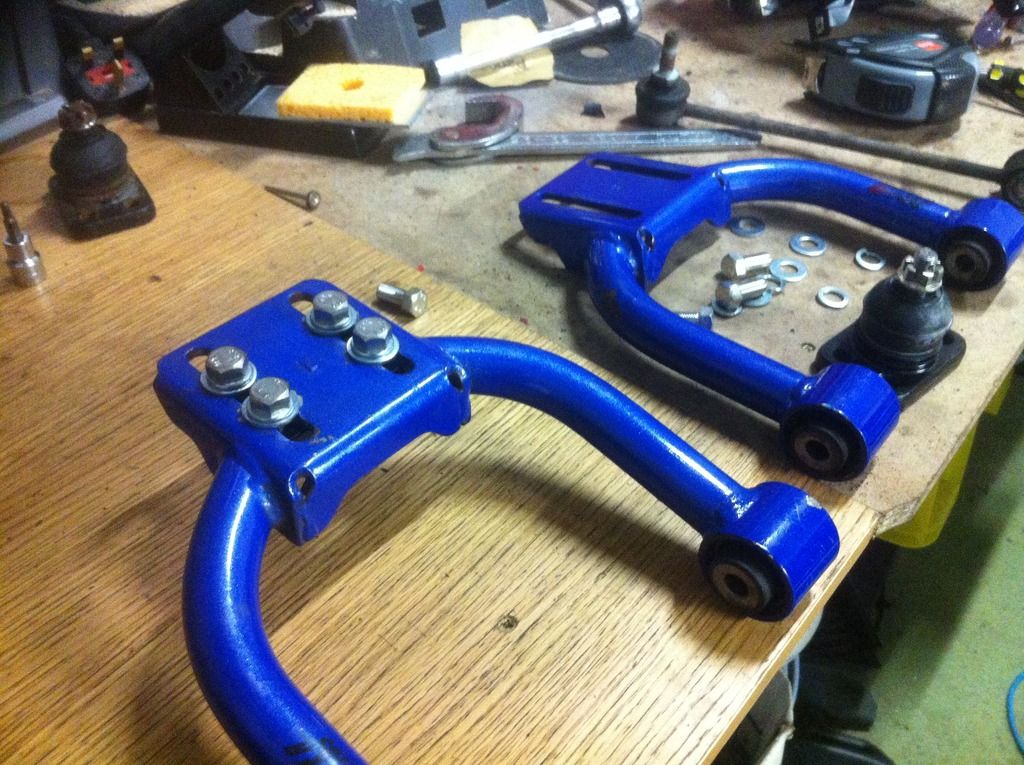
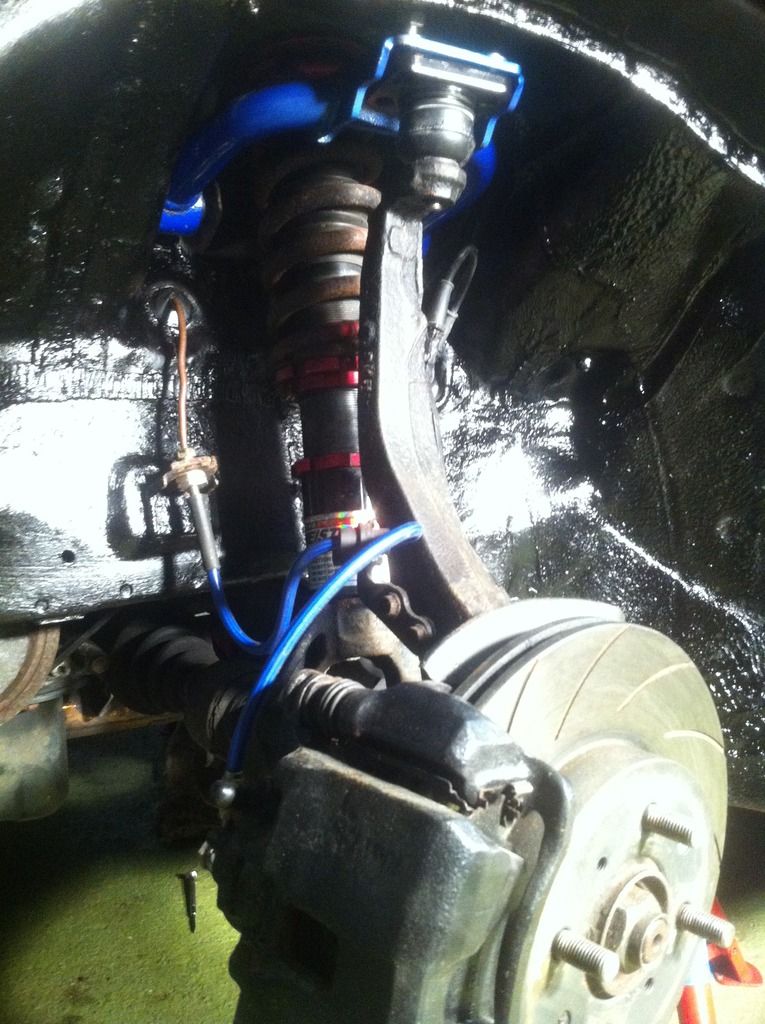
HardRace front upper arms

First a few small jobs that were badly needed..
Rocker cover refurb
HardRace front upper arms
SteveOEM1
Active Member
- Joined
- Mar 24, 2013
- Messages
- 153
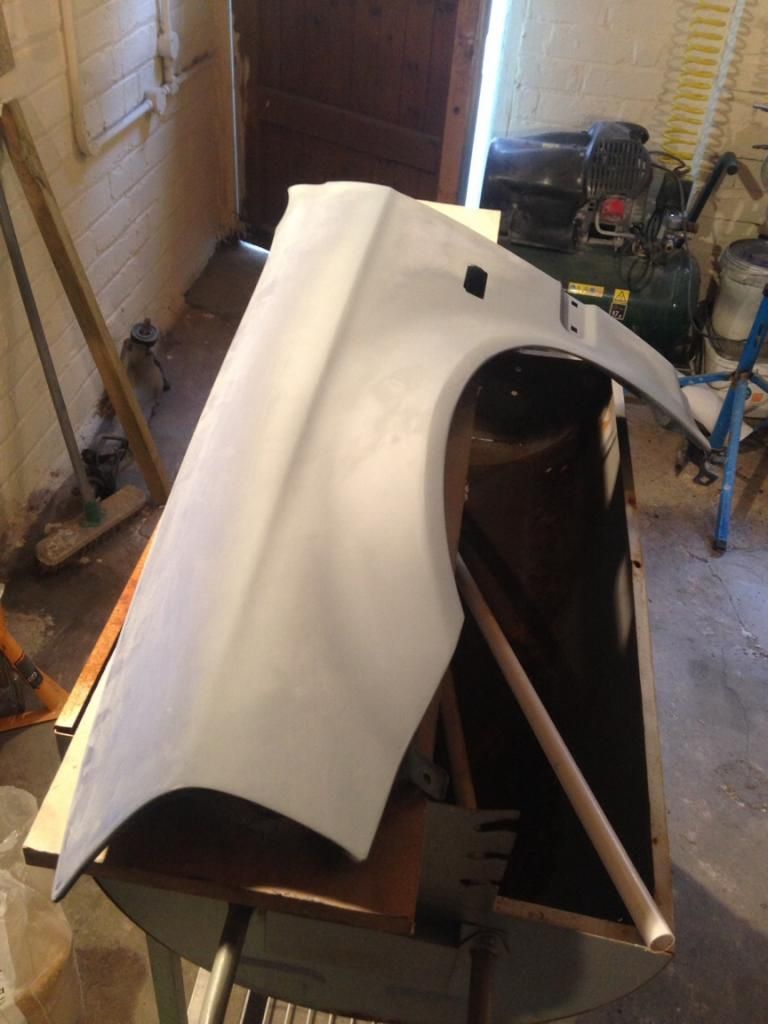
We got back on with the widened wings, and they were really starting to become perfect
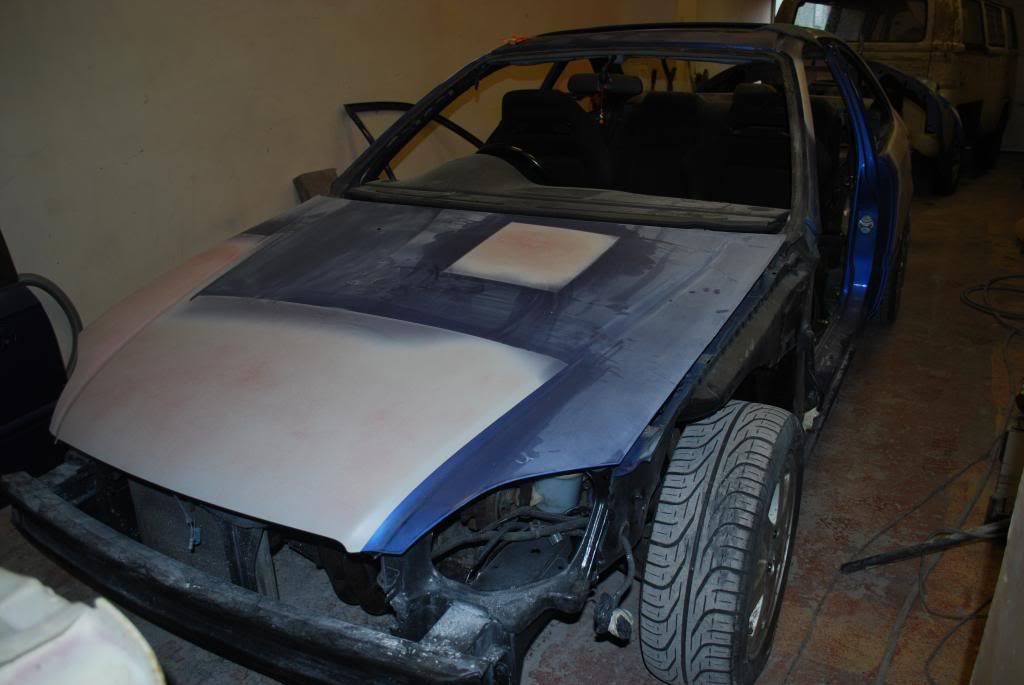
The issues I'd had with rust in the skin of the original bonnet were coming back again, so I decided as this was the most obvious panel people see then a new bonnet was the only way
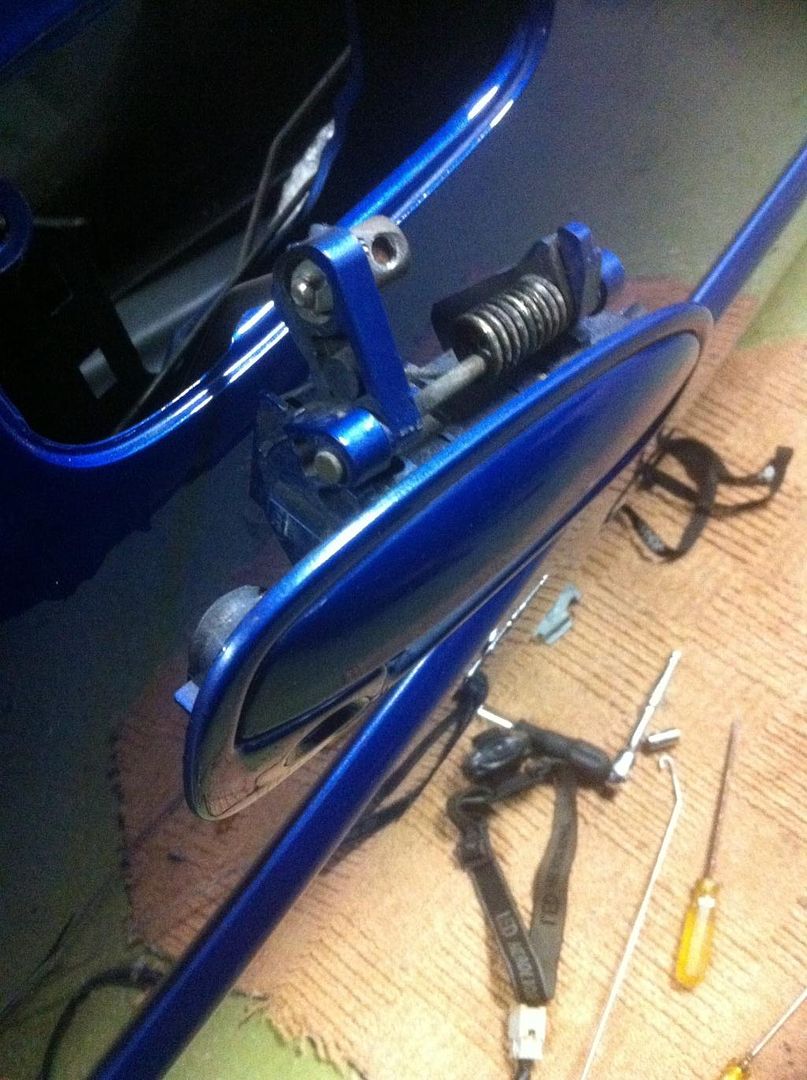
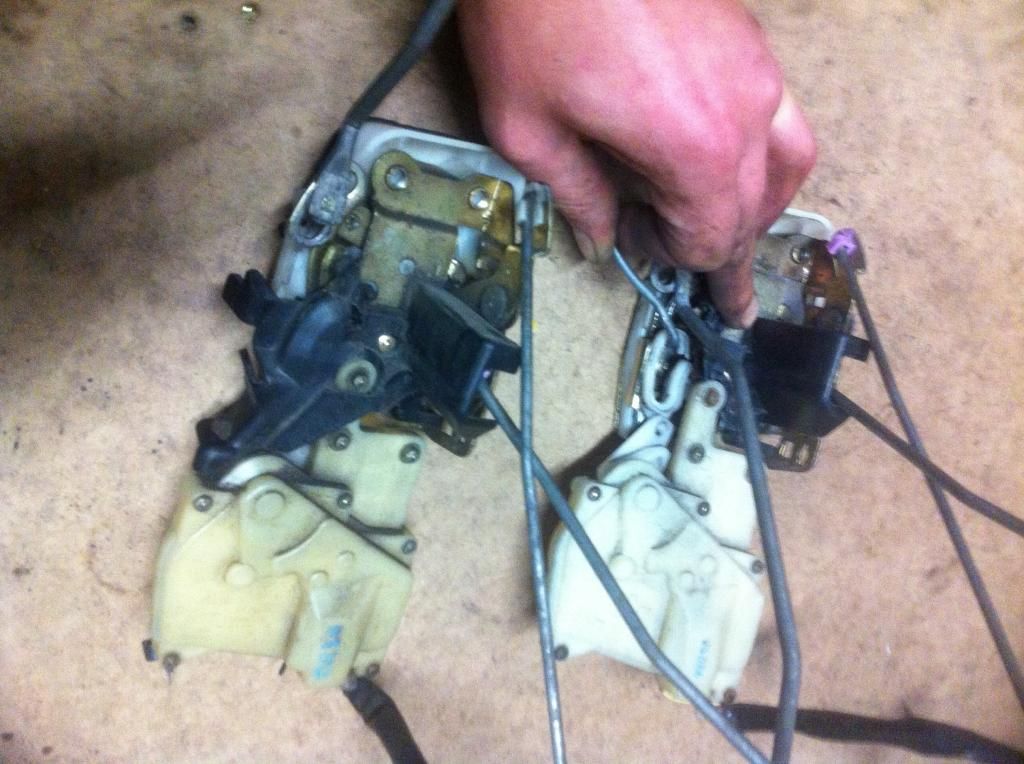
Another little job that needed doing was replacing the broken door lock mechanism (yet another problem that appeared after the car was at the first bodyshop)
The issues I'd had with rust in the skin of the original bonnet were coming back again, so I decided as this was the most obvious panel people see then a new bonnet was the only way
Another little job that needed doing was replacing the broken door lock mechanism (yet another problem that appeared after the car was at the first bodyshop)