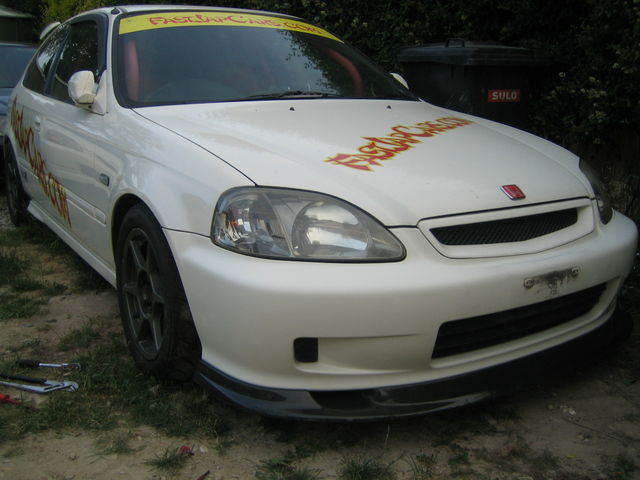
My B20B ek9 build up story


Dyno printouts

Dyno.sized.jpg


Dyno1.sized.jpg
 
Last edited:
Good figures mate, shouldnt really have any traction issues with 220hp, similar to mine, not much change in 1st/2nd to the B16 then 3rd you notice the extra grunt, hope you can keep it, see you on the tarmac at some point.
 
One of the last job's before my 3 track sessions at Japfest on Castle Combe was just fit a harness i already had.

15_G.sized.jpg


Then borrowed some Dunlop semi slicks off BigSkank and had some decals made up, fitted oil press/temp gauges the day before the show and she was ready.

17_G.sized.jpg
 
You have the setup that I want for my ek9, congrats! :D
 
OK my 3 track sessions at Castle Combe went really well. There was two issues though.

1st was the braking, although upgraded Jap slotted discs and N1 Race pads they didn't fill me full of confidance when standing on them at 120mph after 10 mins. This will soon be addressed.

2nd was the oil temp, after a couple of laps the temp was hitting about 142 deg C !!!!! While looking round the engine after the first session i noticed it did not even have the standard "oil to water" cooler. So this will also be looked into.

Here are a couple of pics taken on the day and a in-car vid.

Thanks Duncan

16_G.sized.jpg


18_G.sized.jpg


19_G.sized.jpg


untitled.sized.jpg


untitled1.sized.jpg
 
Dunk, you get them new bells today? I'll give you a call tomorrow about what we've done
 
OK
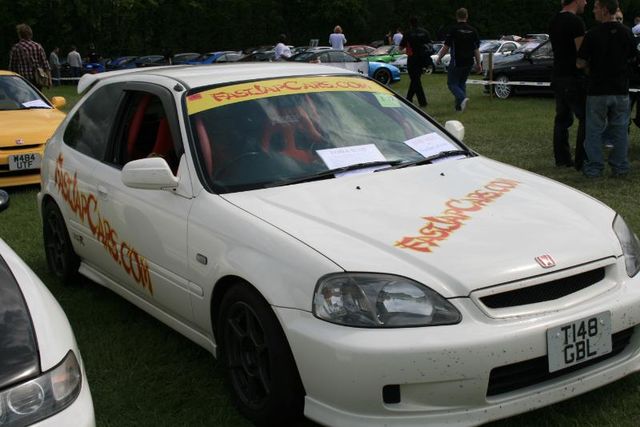
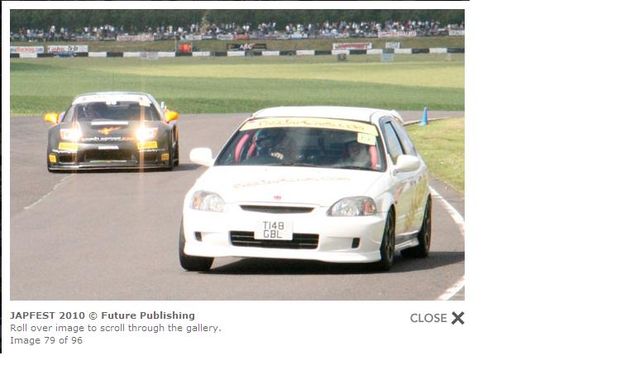
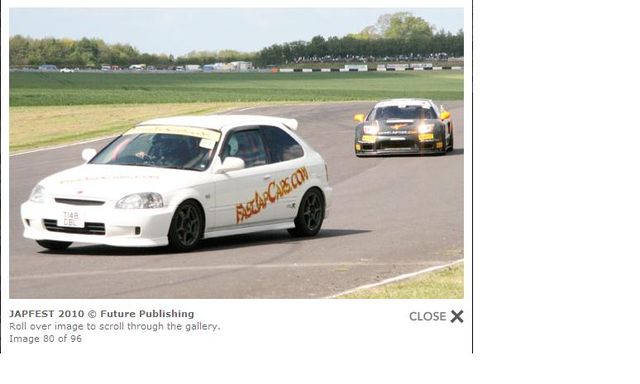
So after Jap Fest car drove really well, the only three probs were the brake's, seat belt and oil temp.
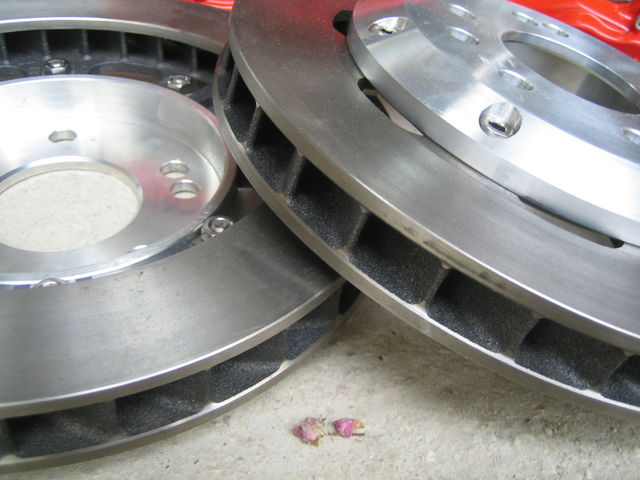
The brake pedal, even though Jap slotted discs and N1 Race pads dropped some what and started getting a lot of vibration.

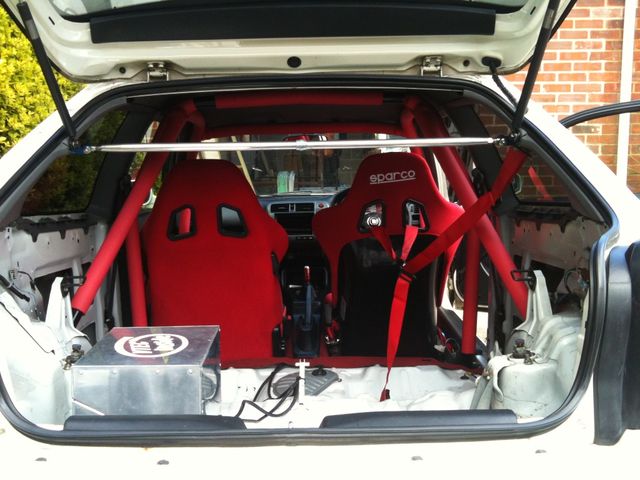
My harness kept freeing its self off.

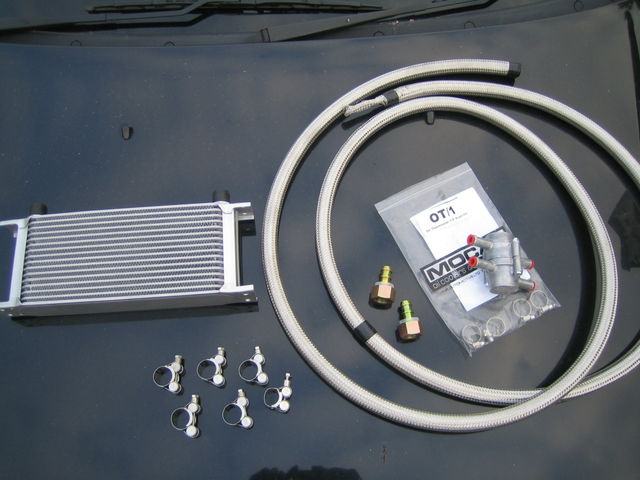
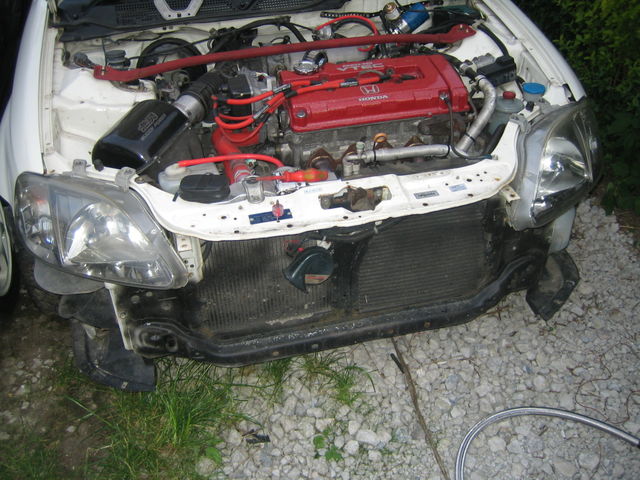
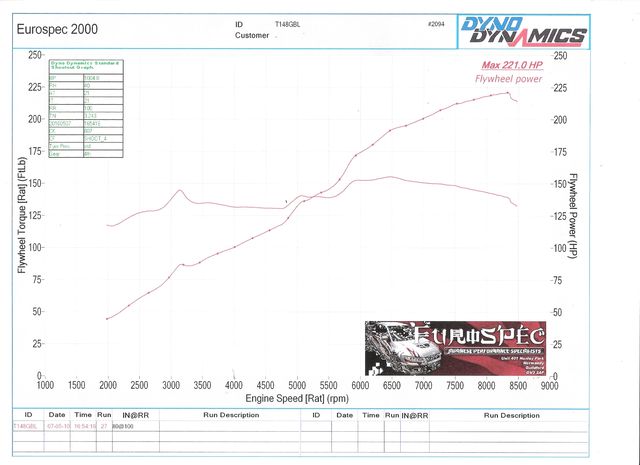
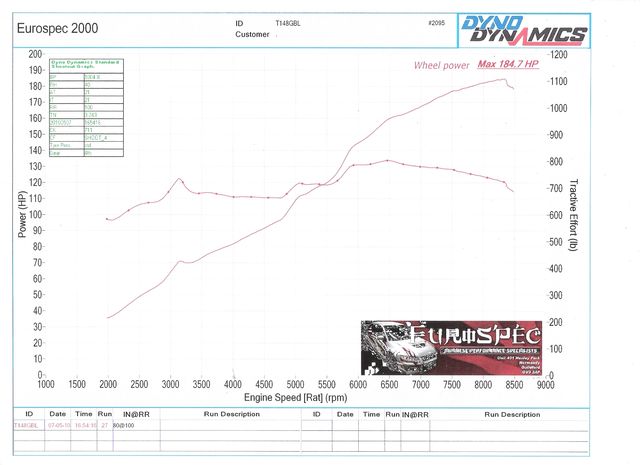
The oil temp hit 145 deg !! on closer inspection even the oem oil/water cooler was missing.

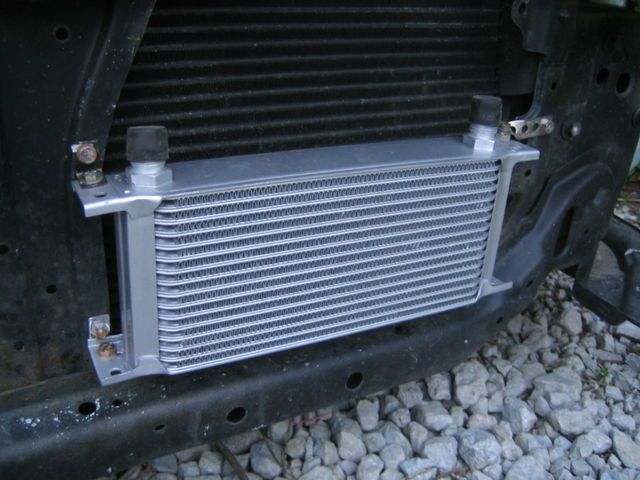
So the first bits that were were ordered and fitted was the 16 row oil cooler, oil thermostat and braided pipe lines. This should be quite an easy job as the car already has an oil filter re-location kit.

20_G.sized.jpg


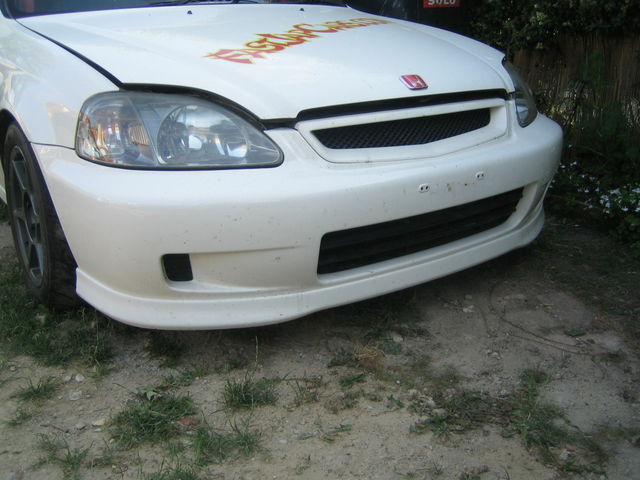
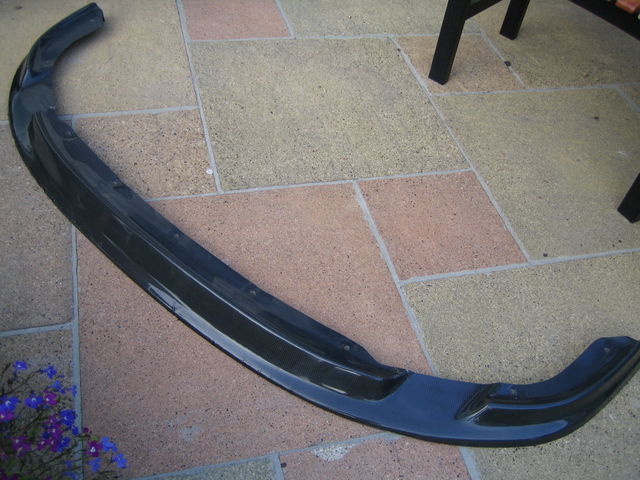
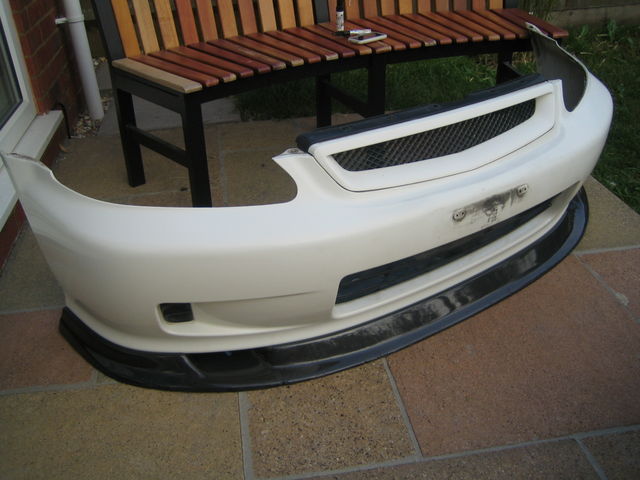
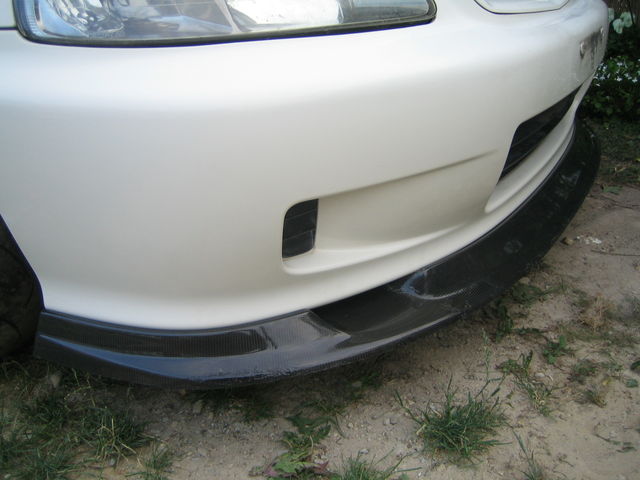
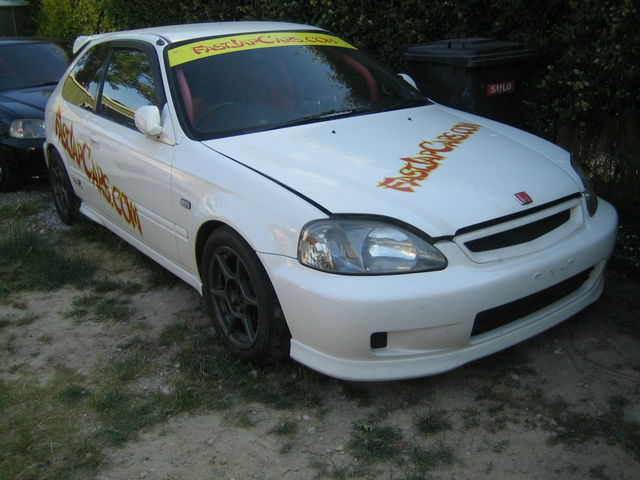
First off was get the bumper off.

21_G.sized.jpg


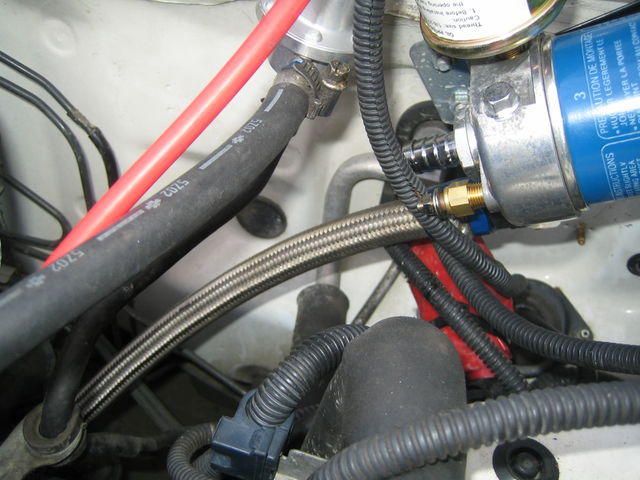
Remove the feed pipe.
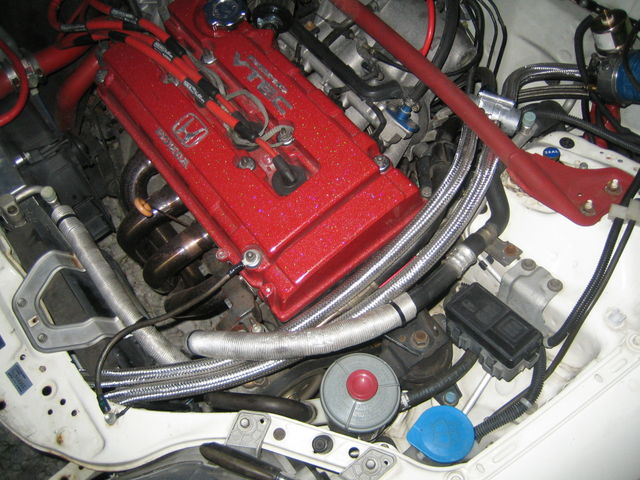
Note the additional cylinder head oil feed pipe you need to install when doing the B20.

22_G.sized.jpg


23_G.sized.jpg


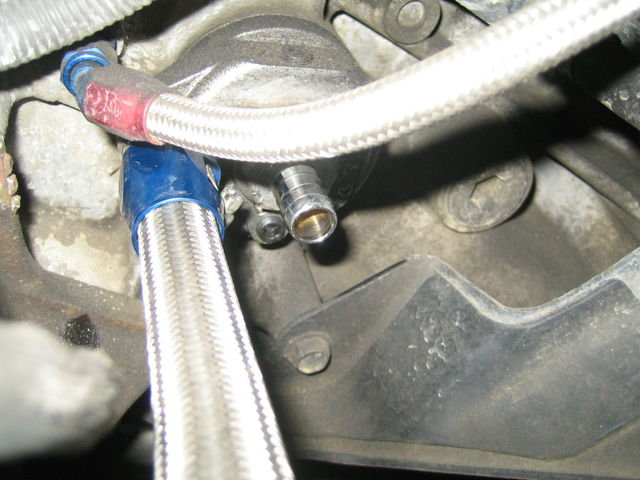
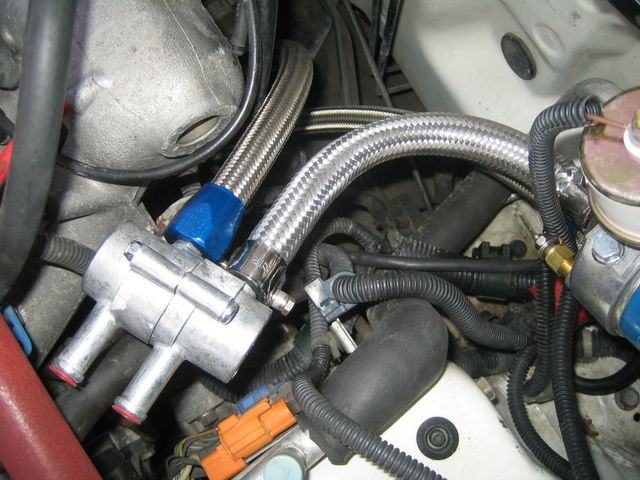
Fit the oil thermostat and pipe's to filter and block. I put it up as close to the filter as i could so on start up the oil can get to the block quicker.

24_G.sized.jpg


Just used some home made angle steel brackets to hold the cooler. Several of the holes were already there.

25_G.sized.jpg


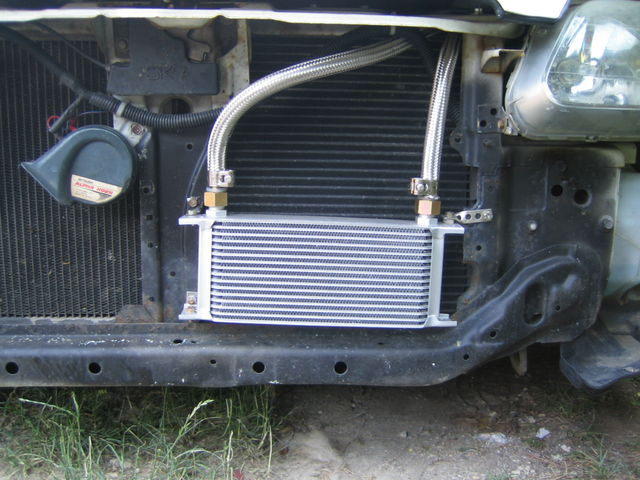
Now fit the cooler pipes.

26_G.sized.jpg


Put the unions on the cooler, connect pipes, add 1l oil - JOB DONE

27_G.sized.jpg
 
fantastic stuff. I want to read about the brakes you've put on so can you do a write up on those next?

I want B20 power!!
 
fantastic stuff. I want to read about the brakes you've put on so can you do a write up on those next?

I want B20 power!!

You jumped the gun there Bacon:).

The next thing to turn up about a week after the cooler were these :) :) :) :nice: :shocked:
:drive:


OH MY GOD a lot more exciting than Xmas

28_G.sized.jpg


Wow these are soooo light and really well made.
29_G.sized.jpg


I cant portray in the pics how massive and thick these are. They are bolted to the FREAKY PARTS bell's.

35_G.sized.jpg


Then got the calipers stripped down and powder coated bright red.

36_G.sized.jpg


Finally got the HEL front and rear braided brake lines and the kit was just about complete.

37_G.sized.jpg


I will explain about the brake fitting and Oulton Park next post.
 
My next deadline was a track day trip to Oulton Park on 21 July, finally got the brakes on and sorted about 2 days before. To clear the calipers I had to get a set of 15" Team Dynamic Pro Race 1 wheels for my dry semi slicks. I already had a set of mint 16" ENKEI Race wheels with decent road tyres so these were to be my wet tyres. To get these on i had to use 10mm spacers which in turn meant longer wheel studs.

Finally here are the brakes complete with the 16" Enkei's

38_G.sized.jpg


I also got this interesting Carbon face-lift front lip in the back of one of my cars. As my OEM lip was broken this was i very welcome free gift.

30_G.sized.jpg


31_G.sized.jpg


Removed bumper and fitted lip, it fitted like a glove!

32_G.sized.jpg


Bumper back on. Why cant all jobs be this easy. About 30 mins from start to finish :)

33_G.sized.jpg


34_G.sized.jpg
 
Last edited:
Back
Top