- Joined
- Apr 10, 2007
- Messages
- 2,876
DAMN! you really out did yourself this time, sticky!!!
Took me 2.5hrs getting the pics and write up together...

Thanks Blinx!!


DAMN! you really out did yourself this time, sticky!!!
come on jugbugs explain how teh new intake feels on the car,
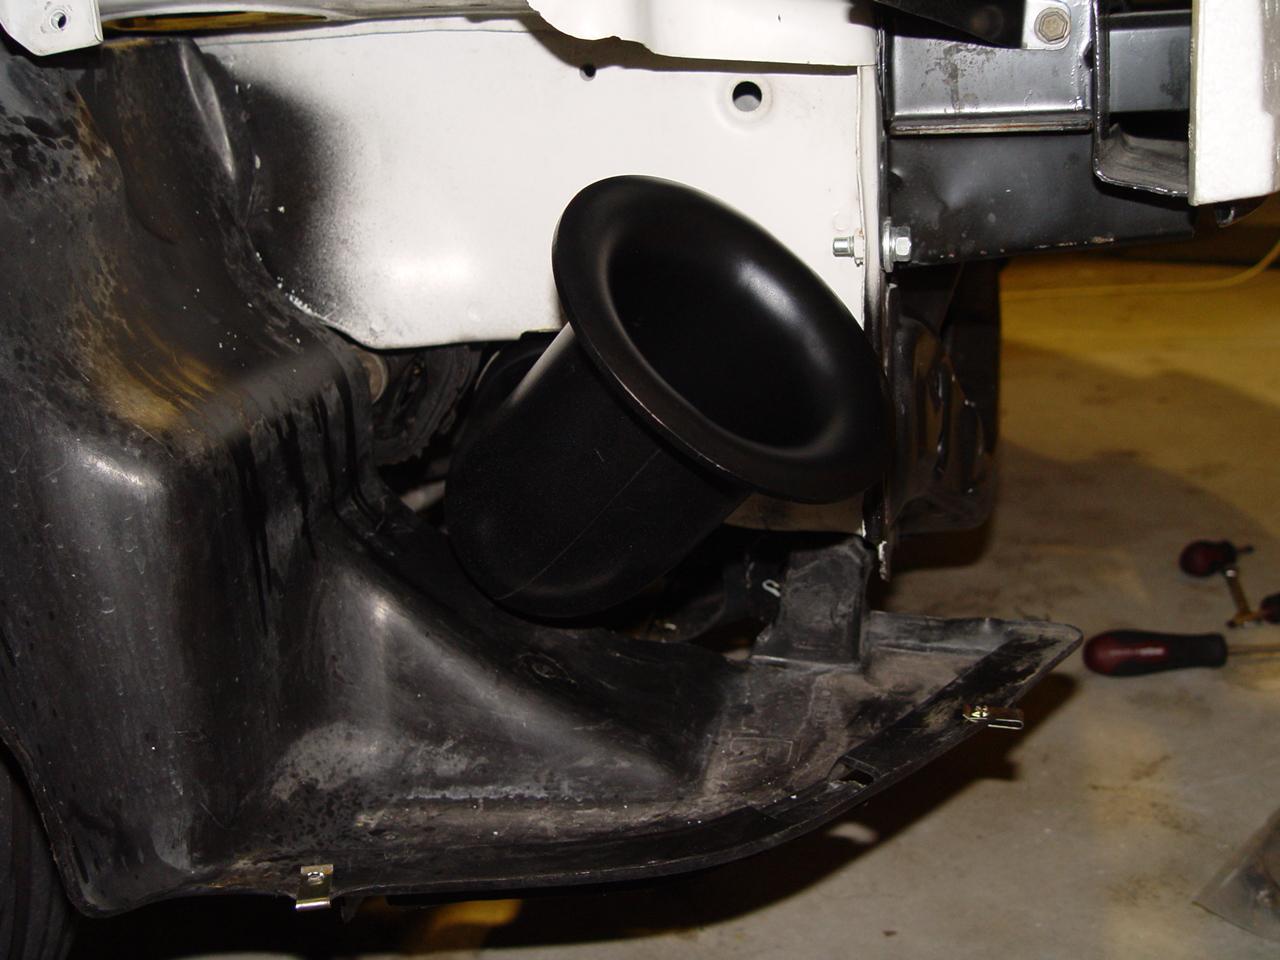
i have a 3" bpi flow stack and filter and looking at making something similar to this and the mugen myself out of GRP,
 What I can say is... the Comptech 3.5" SRI alone is better than the 3" BPI stack.
Im sure i've seen these forsale on JHPUSA, very recently too.
And whats those wires comming out of the plug cover?! earths?! :s
")
good write up eric! cant believe the condition of that engine bay though!! absoultely amazing...u sure you actually use it? lol
Awesome write-up!
Great work again. And 3x type-Rs in your garage!!
Thanks again for another top-notch write-up!

Yeh lol!
Its not that great compared to the other 2 Rs...
I use the usual degreaser and hose + Air gun for cleaning once a while... I'm sure you can get yours looking as good
, I almost forgot about this step since I forgot to take pics at the time. So here's the 2nd last step. Any chance of a write up of that process sometime Eric?
You seem to have been declared the unofficial king of write ups and I'm sure a few people out there would love to know how you got that bay so CLEAN!!!
but might be a while though... hehe Appreciate it man, really looking forward to that one!!!!!!!!!!. I have one myself. One thing you could have done was smooth out the inner lip of the tube where the two lower tubes connect. You might notice that there is a significant bump that otherwise disrupts air-flow. I used a dremel and sandpaper to smooth it out.Nice choice on the icebox Jugbugz
I think the best differance between this and your Jay's install is that the Icebox is completely isolated from hot engine bay air. On a dyno with the hood open, there might not be much of a difference. But in a street or track situation, a big differance is felt.