
You are using an out of date browser. It may not display this or other websites correctly.
You should upgrade or use an alternative browser.
You should upgrade or use an alternative browser.
::Project 9 - The Build of Frankenstein::
- Thread starter importchoice
- Start date
- Joined
- May 19, 2009
- Messages
- 284
Thanks for the kind words guys. Desperate to update the thread but lacking updates at the moment. Been so busy with work and the house lately that I have not had any time to spend on the car.
Now that the weather is better, the evenings are lighter and British summertime is drawing in I will pull my finger out, roll the 9 out of my garage and start making some real progress.
Started stripping and refurbing the Enkei RC-S and polishing the Buddy Club Spec 3 a few months ago but didn't make much progress due to other commitments! Next update will be a big one. Watch this space!

Captain Quor
New Member
- Joined
- Feb 22, 2011
- Messages
- 70
Love this build, updates?
- Joined
- May 19, 2009
- Messages
- 284
Thanks for all the kind words. Things are moving really slow at the moment project wise. Work and family commitments have taken all my time up so the project hasn't really progressed much. I have taken some photos of small things I have had time to do and will try to organize / upload on the weekend.).gif ":)) :))")
As they say, the best things come to those who wait!
As they say, the best things come to those who wait!
- Joined
- May 19, 2009
- Messages
- 284
As promised I have sorted out the next batch of update photos for my project. Progress has been slow so please don't expect major updates. Most of the photos are of in progress works that have been started. Promise to myself is to really try to start pushing things on faster.
Right, back to business, I took one of the Enkei RC-S wheels and had the curb rash repaired. Part of the lip was ground back, re-welded and then ground down to match the profile of the rim. The plan is to then work through different grades of wet and dry (from 400 - 2500 grit) until the lips are fully polished and restored.

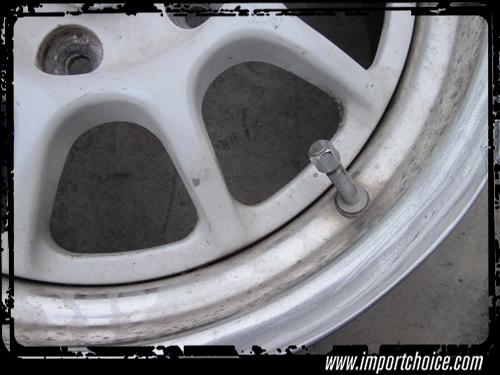
Before the polishing stage, the factory white finish will require removal. I dont know if any have you have seen a set of RC-S wheels up close but the white finish has a pearl effect to it (difficult to capture in a photo). I have decided that once stripped and re-polished I will repaint the wheel centres in Championship White.
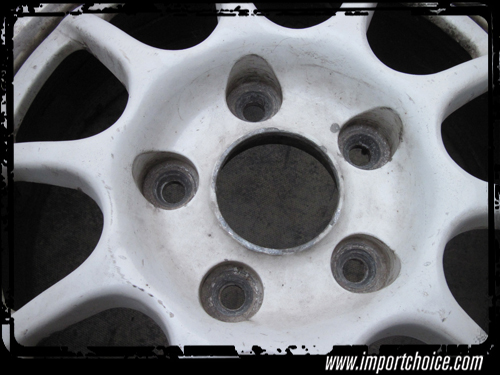
The factory white finish is really tough and I used almost a full container of Nitromors on this first wheel. Enkei metal valves were removed prior to application.
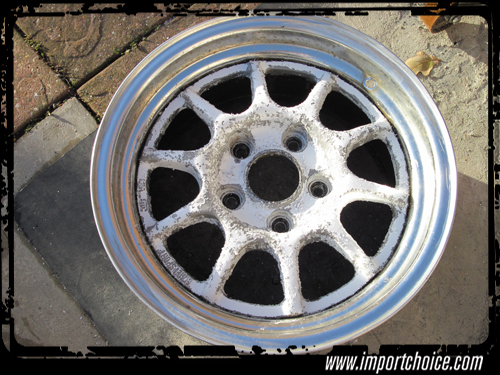
Current status is that the first wheel is stripped completely and cleaned ready for polishing and then painting. As soon as I start to polish I will document as usual with loads more photos and describe the process.
Right, back to business, I took one of the Enkei RC-S wheels and had the curb rash repaired. Part of the lip was ground back, re-welded and then ground down to match the profile of the rim. The plan is to then work through different grades of wet and dry (from 400 - 2500 grit) until the lips are fully polished and restored.
Before the polishing stage, the factory white finish will require removal. I dont know if any have you have seen a set of RC-S wheels up close but the white finish has a pearl effect to it (difficult to capture in a photo). I have decided that once stripped and re-polished I will repaint the wheel centres in Championship White.
The factory white finish is really tough and I used almost a full container of Nitromors on this first wheel. Enkei metal valves were removed prior to application.
Current status is that the first wheel is stripped completely and cleaned ready for polishing and then painting. As soon as I start to polish I will document as usual with loads more photos and describe the process.
Last edited:
- Joined
- May 19, 2009
- Messages
- 284
I purchased a Buddy Club spec 3 exhaust off of Duncan quite some time ago and the system has been sat in my garage since. Below are some photos of its current state prior to cleaning.
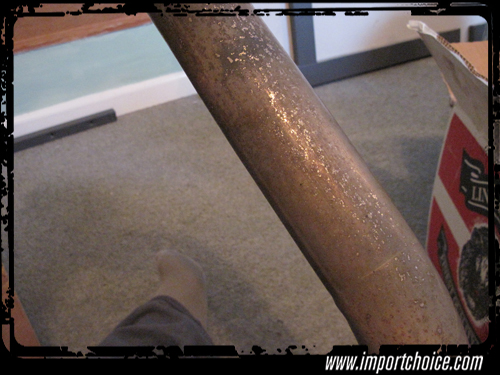
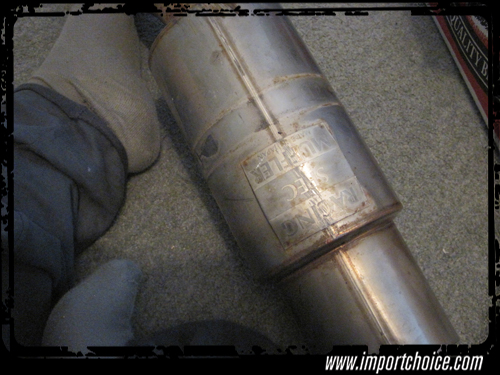
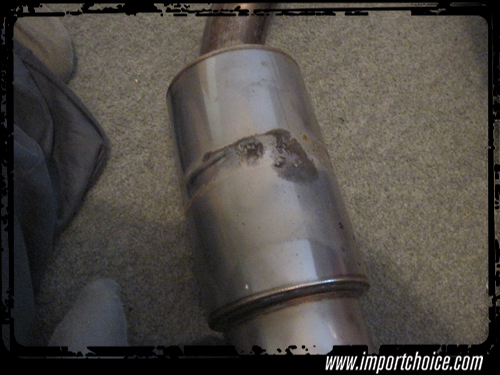
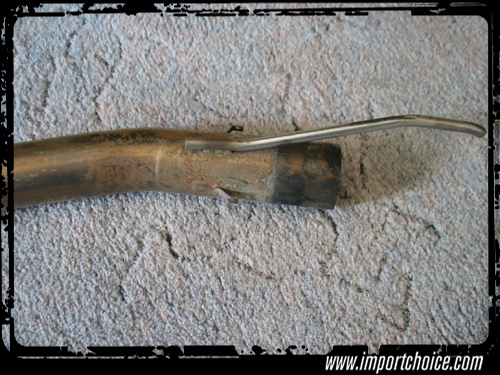
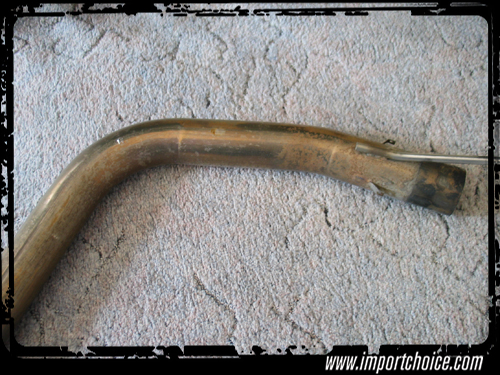
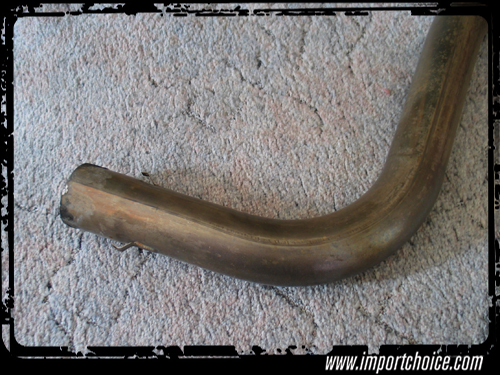
I have started cleaning the system with Autosol metal polish and the results so far are outstanding. As soon as the system is cleaned I will post updated photos.
I have started cleaning the system with Autosol metal polish and the results so far are outstanding. As soon as the system is cleaned I will post updated photos.
- Joined
- May 19, 2009
- Messages
- 284
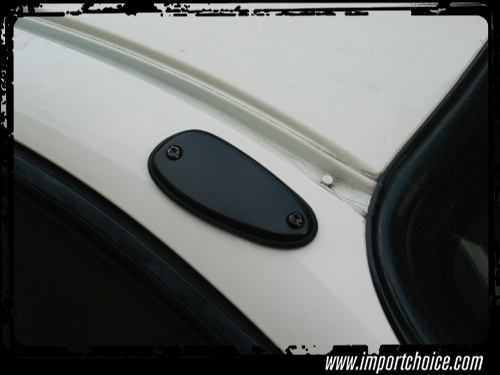
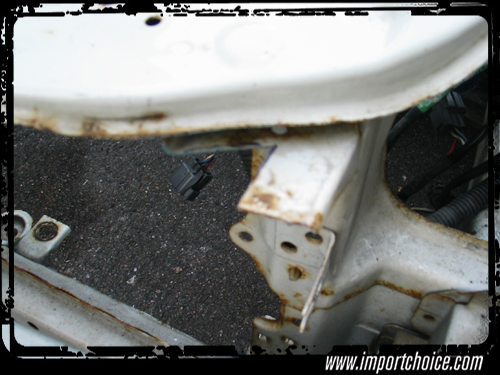
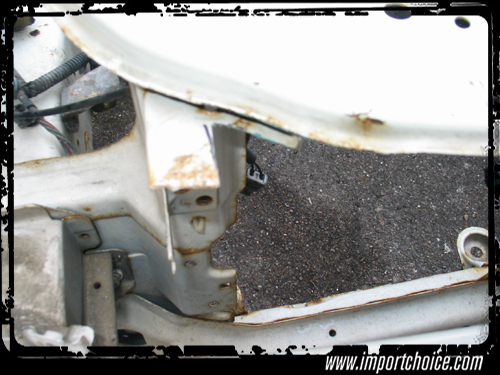
100th Post finally Anyway I had an OEM aerial blanking plate in my tool cabinet that I had purchased from Lings a year or so ago. I decided to fit it to the car.
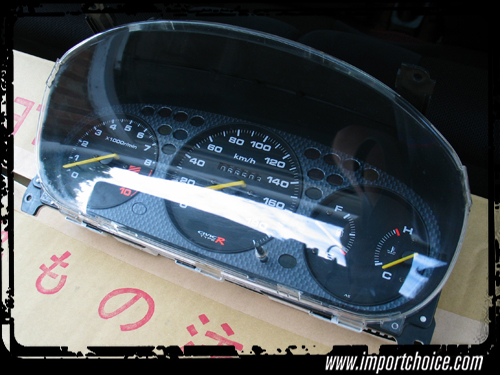
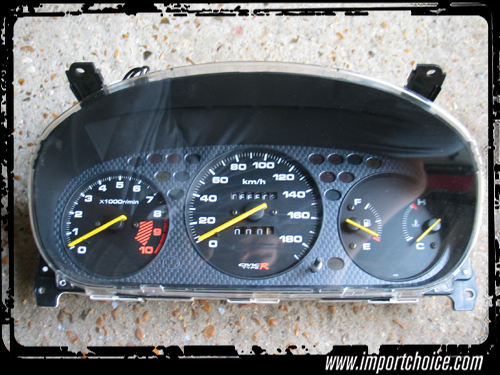
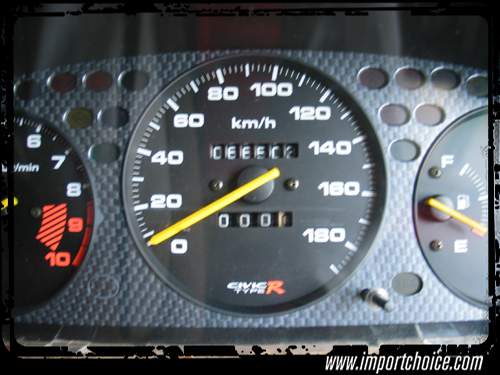
Back in June I purchased a speedo cluster from Eternal Blue 2000. Great condition and at a great price.
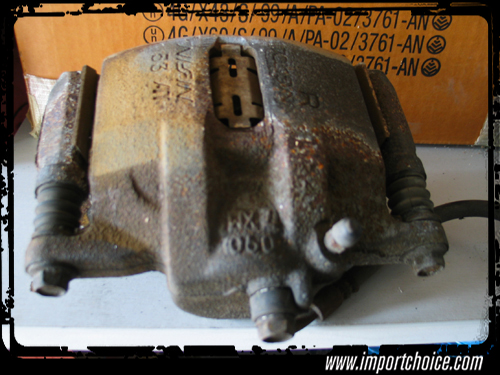
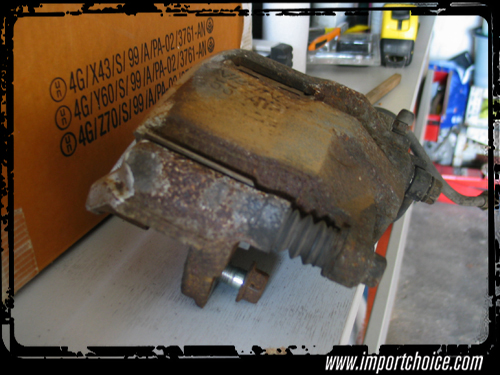
The front calipers were removed ready for cleaning and repainting. Watch this space for updates.
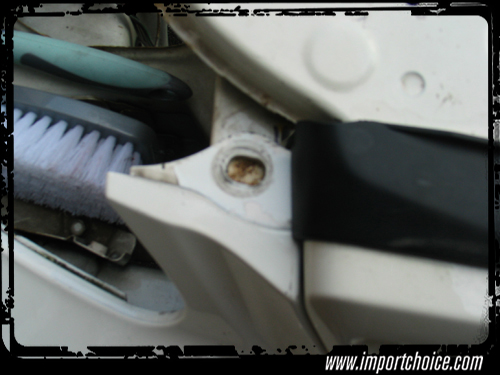
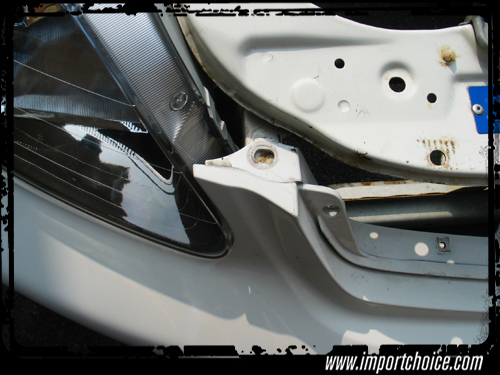
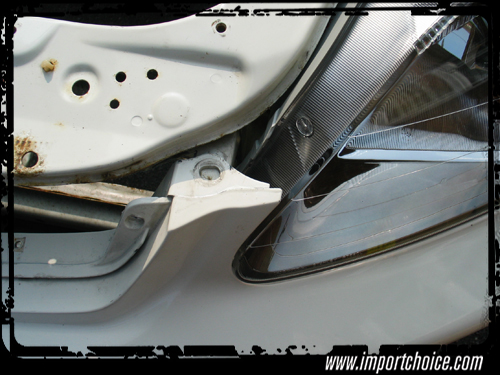
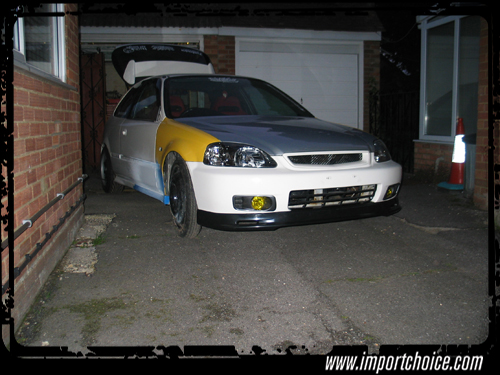
If you cast your mind back to the beginning of the thread I explained that the car is a pre-facelift but I wanted to add the facelift look to it. The plan is to fully assemble the car to achieve the right fit and gapping etc before full disassembly ready for a bare shell repaint. The front bumper support brackets either side of the grill were cut back in order for the facelift bumper to fit correctly.
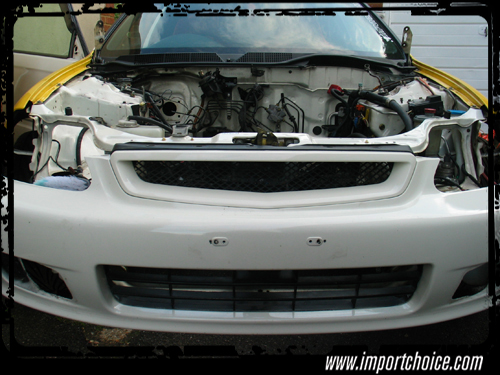

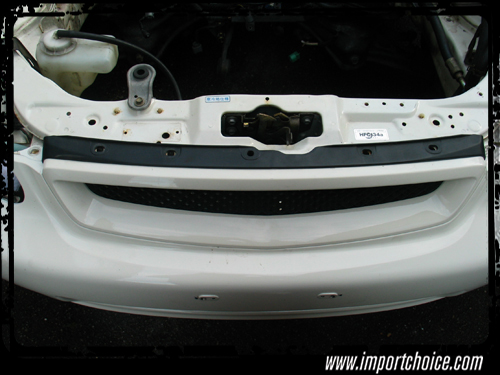
EK9 Facelift grill purchased from GramsN1.
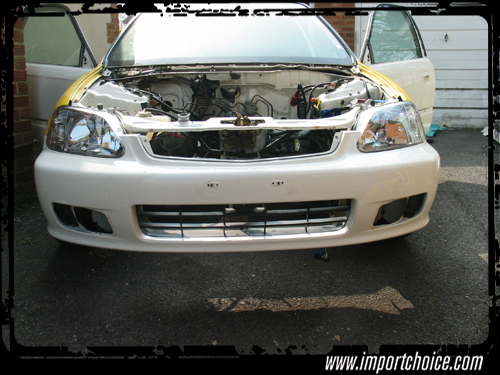
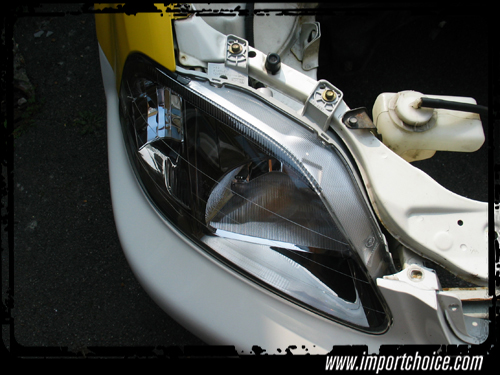
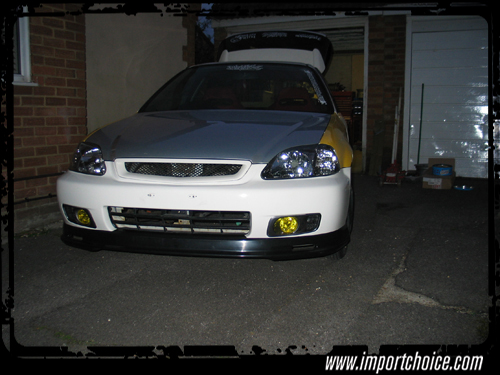
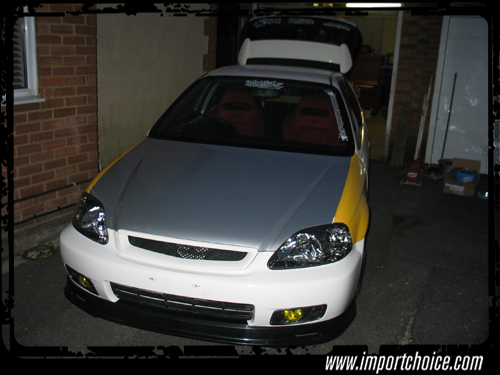
Facelift bumper fitted in place with my brand new, box fresh headlights. Please ignore the missing fog lights!
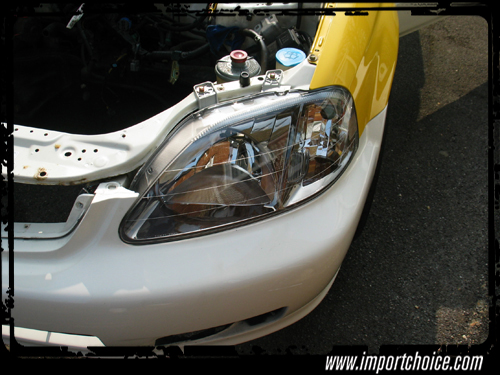
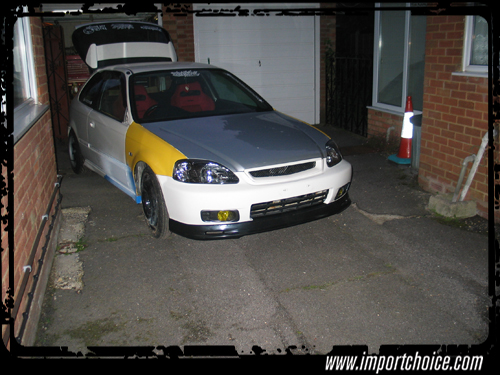
Believe it or not but this was the only required modification needed in order to get the bumper to fit on the car correctly. The headlights, wings (fenders), bonnet (hood) and facelift grill all fit without any further modification. I managed to find another bargain on ebay in the form of a facelift bonnet and decided to finish the font off with a replica Mugen lip from Shaun@BuddyclubUK. All parts are subject to paint!
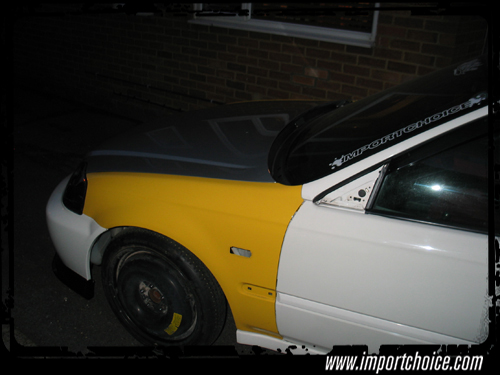
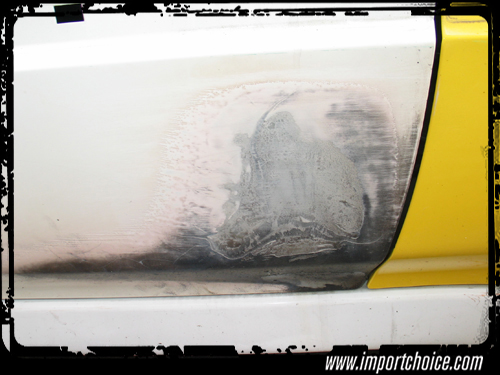
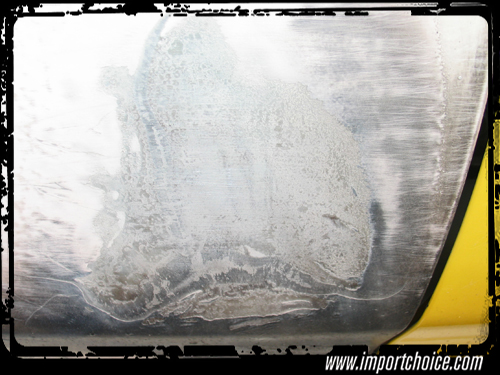
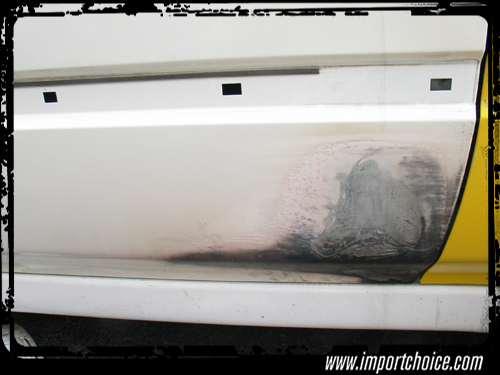
You will notice from the first 2 exterior images above that I had started a patch repair on the drivers door. Its currently in etch primer / primer ready for sanding and paint. Remember its all about assembly at this point, im not after winning any beauty prizes! The following images show the scorch on the drivers door prior to sanding and etch primer.
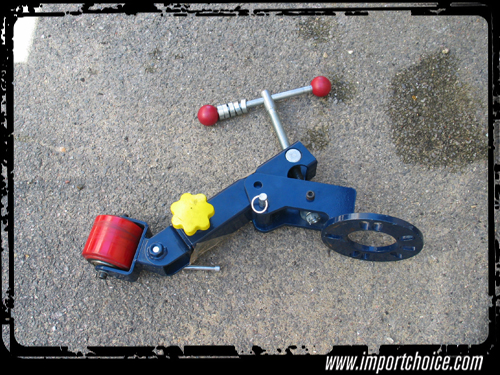
Borrowed an arch roller and spent the afternoon rolling the arches. Made a good job but unfortunately the following were the only photos I managed to salvage off of the camera. Compact flash card went wrong!!!

Anyway I had an OEM aerial blanking plate in my tool cabinet that I had purchased from Lings a year or so ago. I decided to fit it to the car.
Back in June I purchased a speedo cluster from Eternal Blue 2000. Great condition and at a great price.
The front calipers were removed ready for cleaning and repainting. Watch this space for updates.
If you cast your mind back to the beginning of the thread I explained that the car is a pre-facelift but I wanted to add the facelift look to it. The plan is to fully assemble the car to achieve the right fit and gapping etc before full disassembly ready for a bare shell repaint. The front bumper support brackets either side of the grill were cut back in order for the facelift bumper to fit correctly.
EK9 Facelift grill purchased from GramsN1.
Facelift bumper fitted in place with my brand new, box fresh headlights. Please ignore the missing fog lights!
Believe it or not but this was the only required modification needed in order to get the bumper to fit on the car correctly. The headlights, wings (fenders), bonnet (hood) and facelift grill all fit without any further modification. I managed to find another bargain on ebay in the form of a facelift bonnet and decided to finish the font off with a replica Mugen lip from Shaun@BuddyclubUK. All parts are subject to paint!
You will notice from the first 2 exterior images above that I had started a patch repair on the drivers door. Its currently in etch primer / primer ready for sanding and paint. Remember its all about assembly at this point, im not after winning any beauty prizes! The following images show the scorch on the drivers door prior to sanding and etch primer.
Borrowed an arch roller and spent the afternoon rolling the arches. Made a good job but unfortunately the following were the only photos I managed to salvage off of the camera. Compact flash card went wrong!!!
- Joined
- May 19, 2009
- Messages
- 284
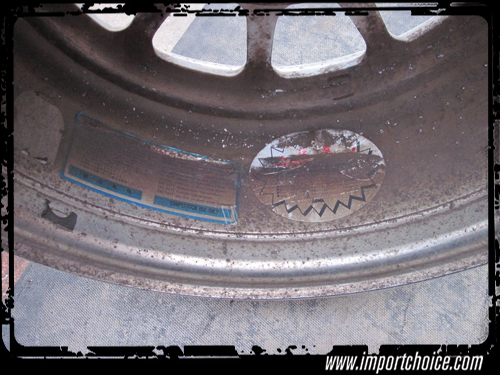
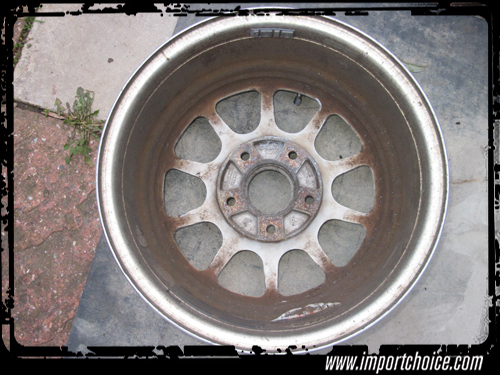
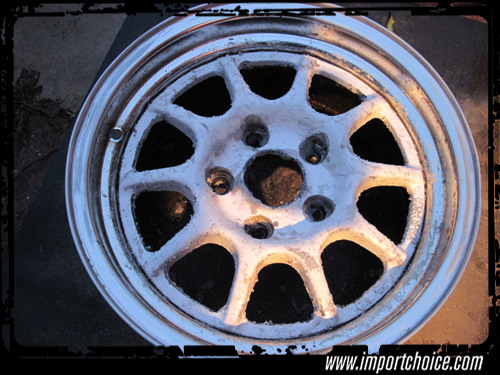
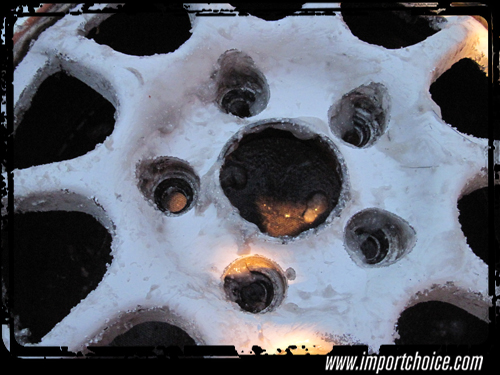
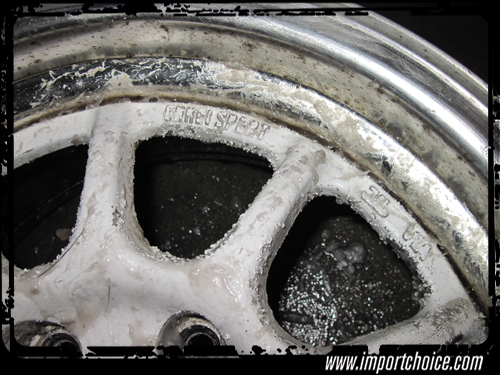
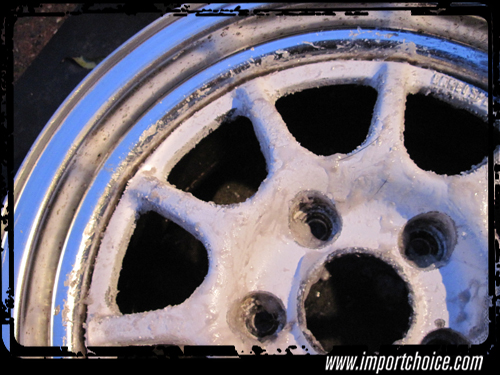
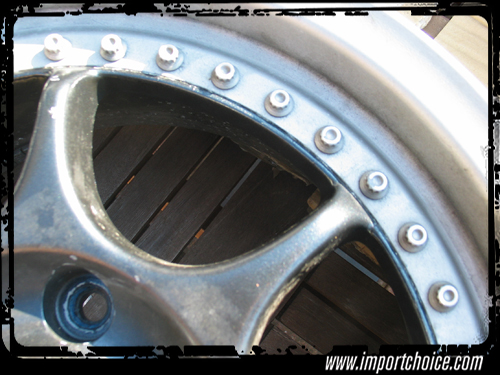
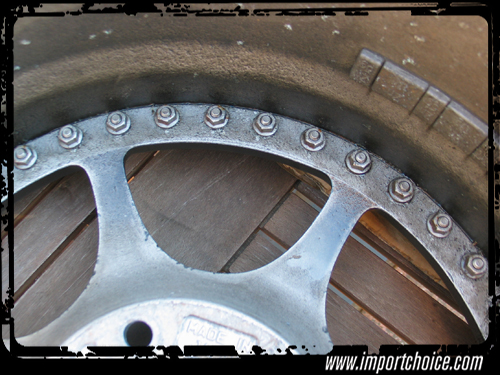
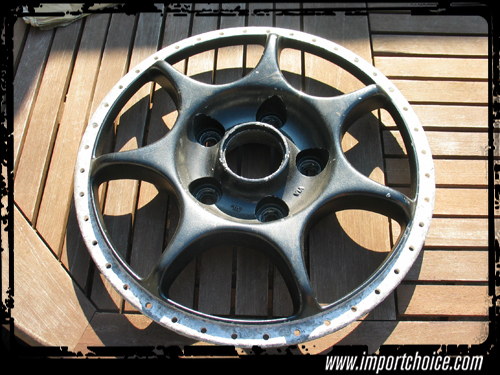
And lastly, as I like a challenge and I have not even finished my other set of wheels, I had the great idea to start stripping my Enkei Racing-S wheels ready for refurb. Each wheel has 40 qty m6x25 12 point bolts with nuts. A real pain in the ass removing them but even more of a nightmare trying to separate the centers from the rims! A rubber mallet and brut force did the trick. I think that the wheels had been painted in the past but without disassembly as the bolts seem to have paint over them. All of the other sets I have seen elsewhere were polished on the rims with painted centres!

Well thats it for now guys, Im really going to try to move things on faster and update progress more frequently. Thanks for looking.
Well thats it for now guys, Im really going to try to move things on faster and update progress more frequently. Thanks for looking.
Last edited:
civic360
Member
- Joined
- Aug 1, 2010
- Messages
- 498
man it's come a long way mark, if you need help with the engine give me a shout I know a lot of capable people who can do it for a good price. we have to meet up some time, it been a while since our last encounter. would really like too see this in the flesh, and as for painting it I know a few people who can help you out too. =]