Okay do more lsd action on this page as I've exceeded my picture limit lol
So, took this little puppy apart just now. (well partially) to check the wear and basically have a little look.
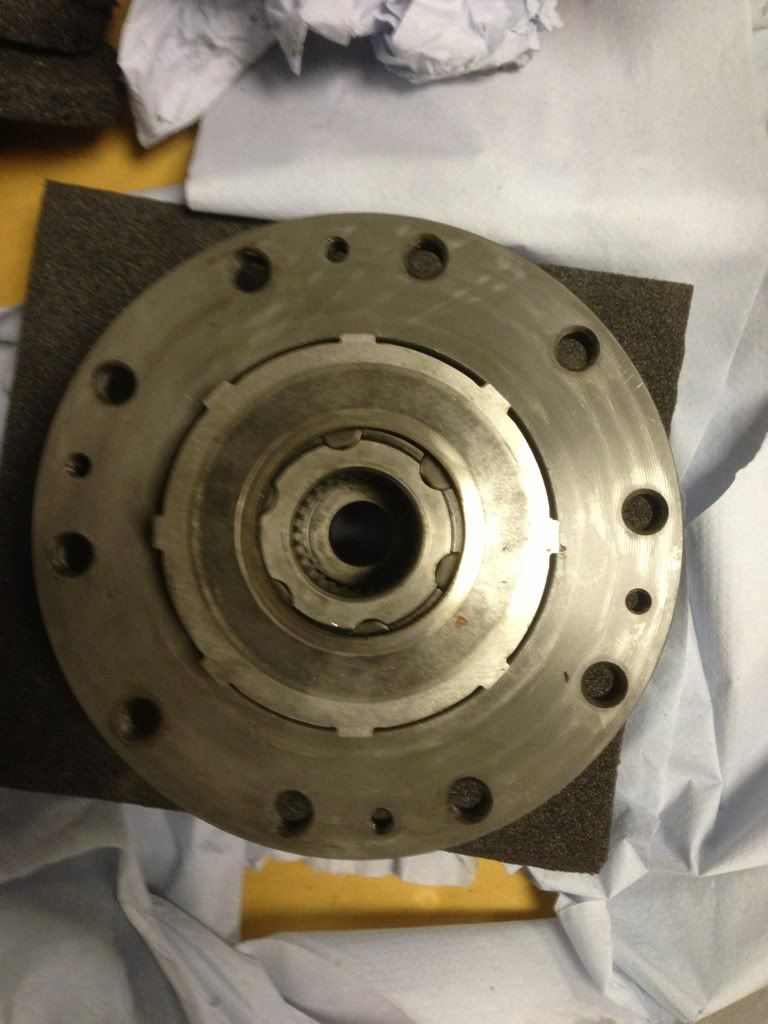
1st pic shows the first plate with the top housing removed.(the Allen head bolts where very loose and this shouldn't have been like this so this makes me think someone has opened this before.
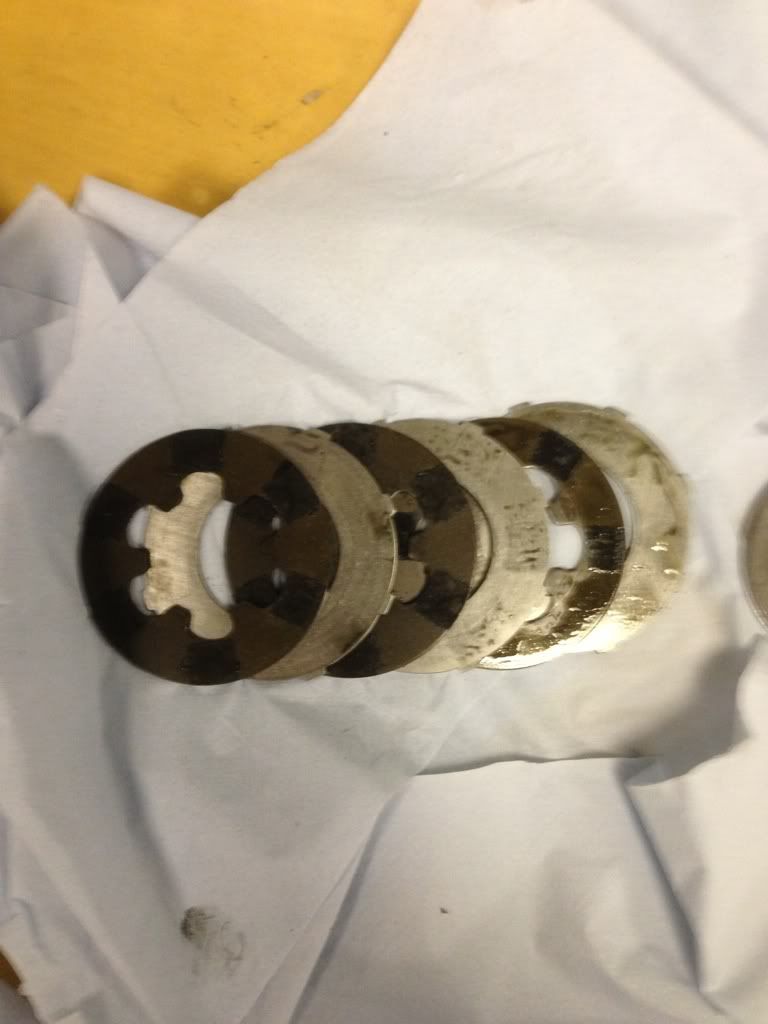
These pics are showing the carbon and metal plates in the order they come out of the LSD, I only took the 1st 6 plates out as 1 the other side is alittle harder to get too and this should give me a decent idea of the wear its had. We( me and dunk) wernt 100% it was a carbon lsd but from the way it drives dunks was sure it was, so dunk you were correct!
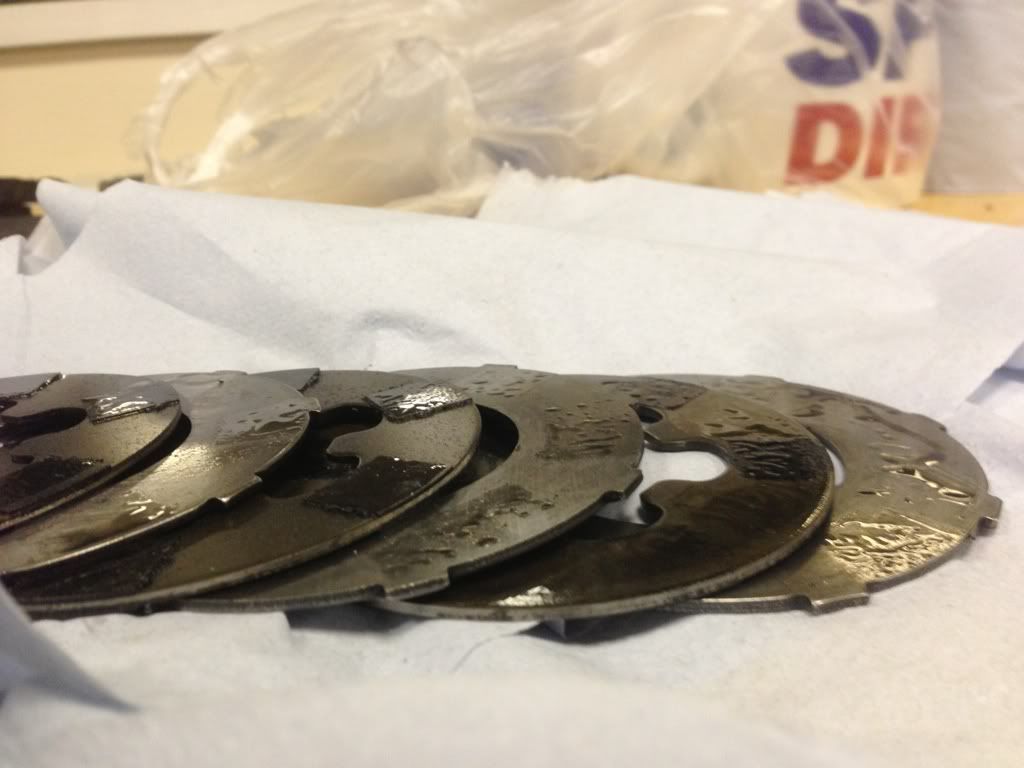
This shows alittle better the wear on the plates, one plate is basically finished but the others have plenty of life in them. So you could say this lsd is over 1/3 worn? I don't know masses about these LSD so anyone who knows ther stuff(kozy) pipe up!
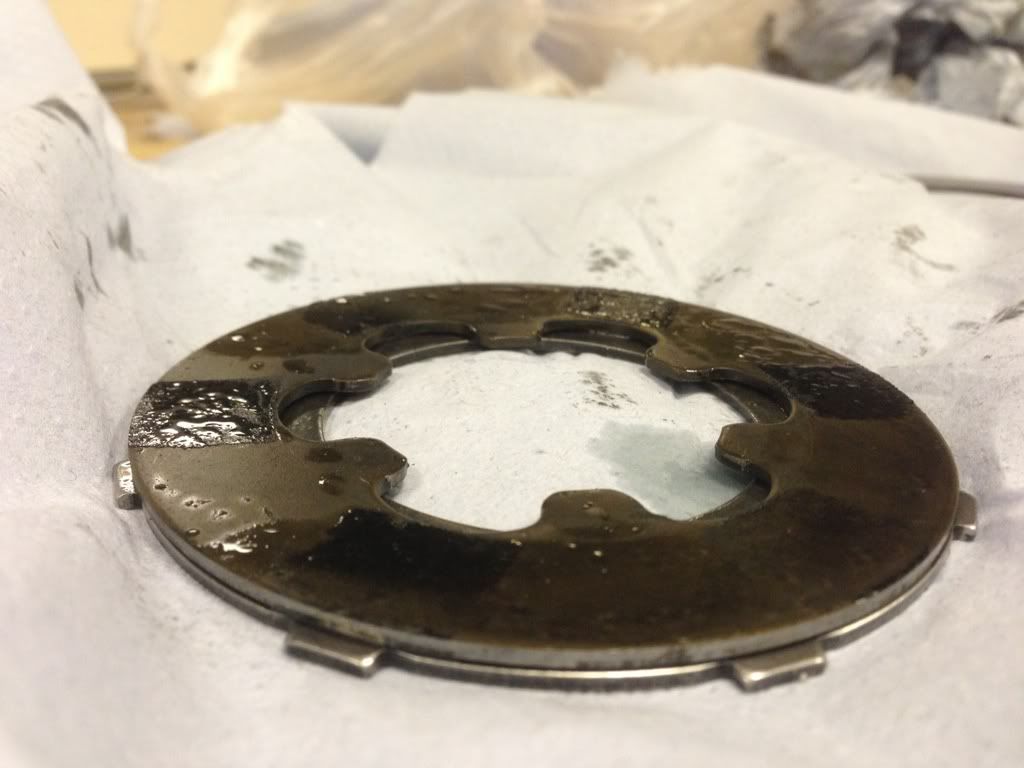
Also the wear is uneven across the plate looking at this picture. Not sure why that would happen either, so any experts chime in if you don't mind.
That's it resting on the cam inside, befor opening it wasn't tight down as I say and it was also not flat one side was further down than the other. Would this explain the funny wear? Or would the bolts for the ring gear hold it all tight down anyway?
Overall I think this lsd could use a rebuild but isn't essential, anyone's thoughts on this also? If you was on a bit of a budget would you use or rebuild?
Okay so I got the lsd in,
Clunks a fair bit but if that's the only downside then in chuffed to bits with it. Can't wait to test it fully at japfest! Also got a new wing will update pictures tomorrow along with a car wash!
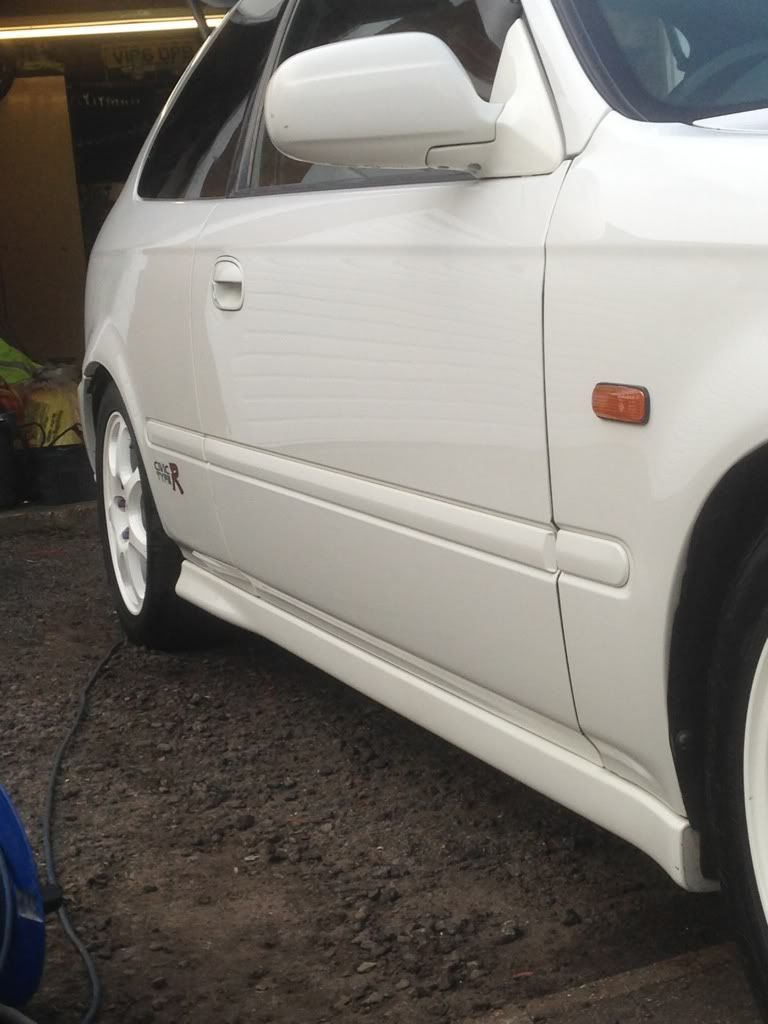
Okay so went heavy on the car wash today.
Started at 12 finished at 5.
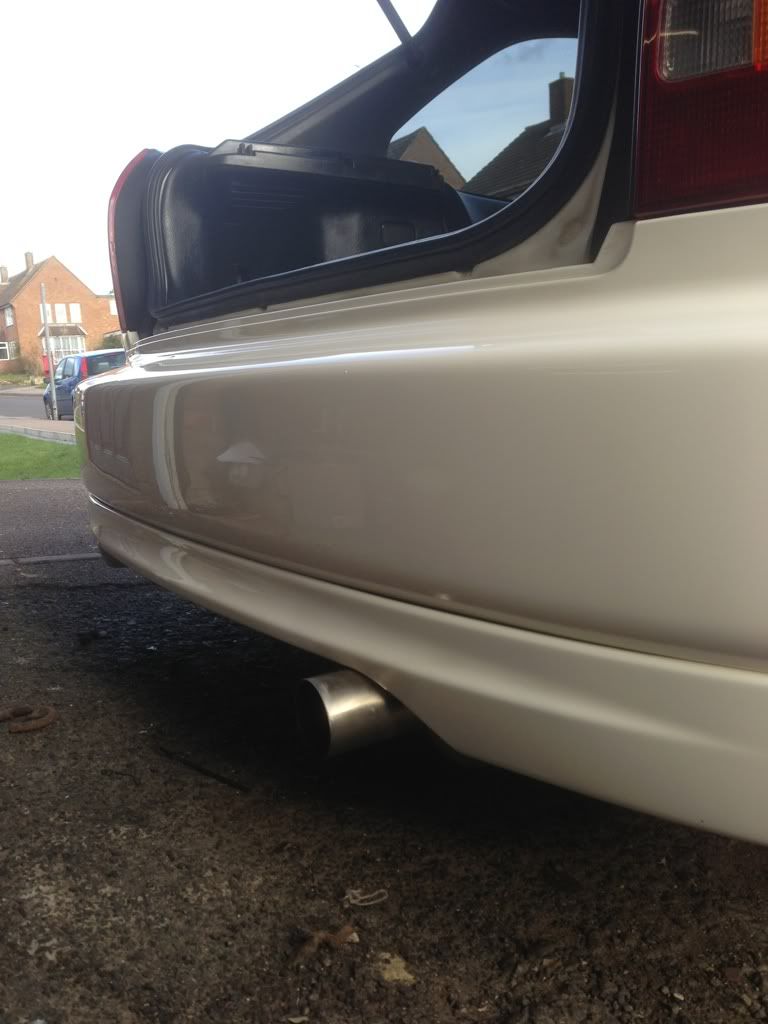
1st part to tackle was the back as that was filthy with all the road grit and what not stuck in the paintwork.
Didn't get any before pics but these are the after.
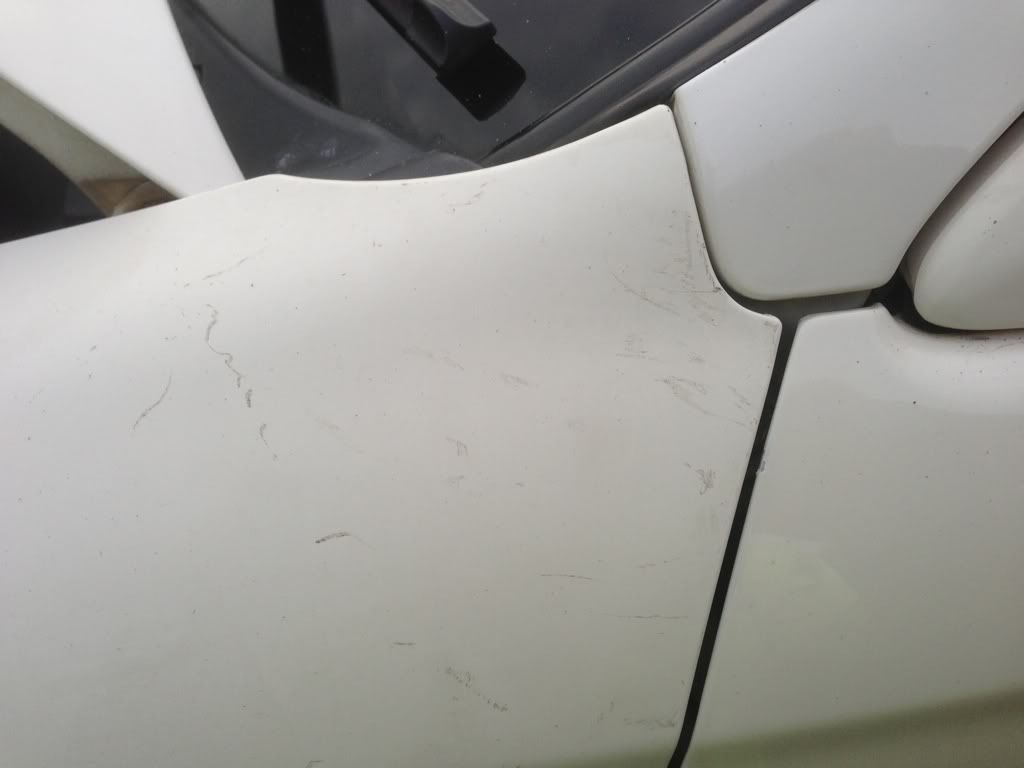
Then I had to try and polish up the new wing I got from jap performance parts because my one was dented pretty bad.
Before
After
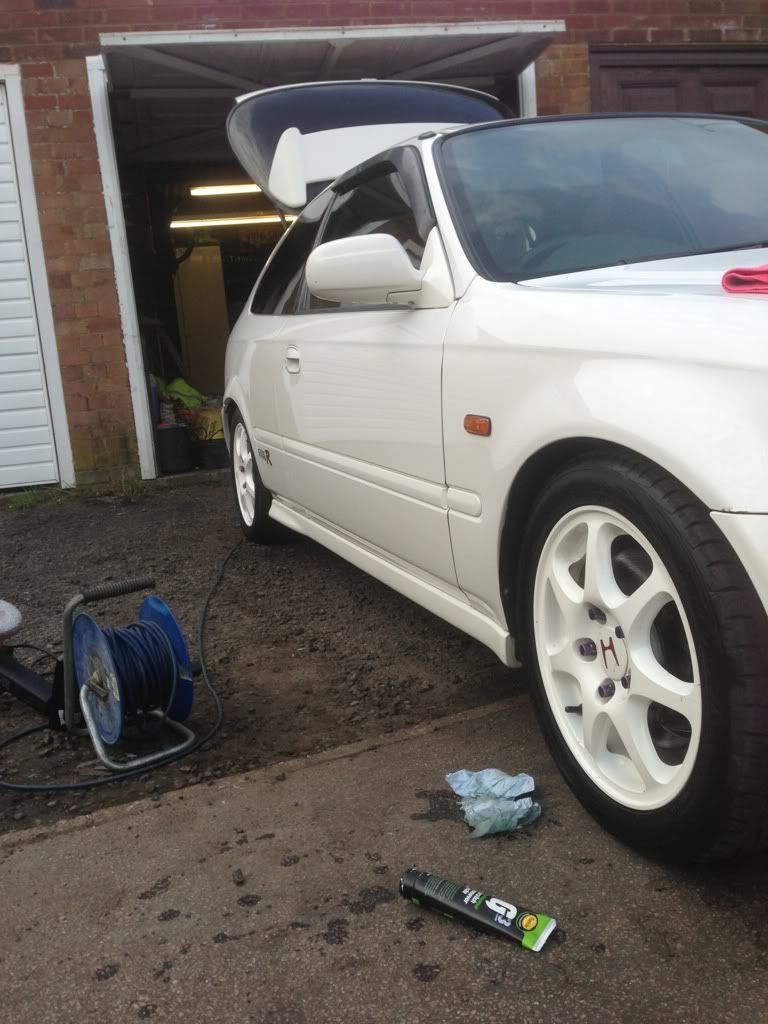
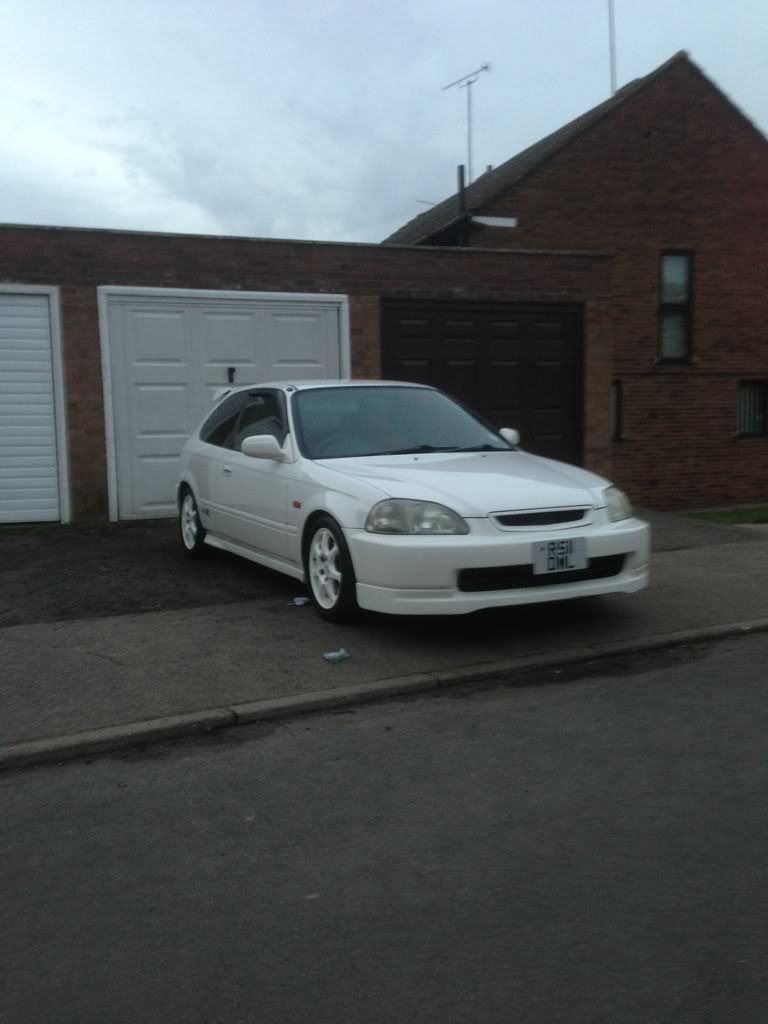
Not a very good final photo because it was getting dark but that's basically how it looks now.
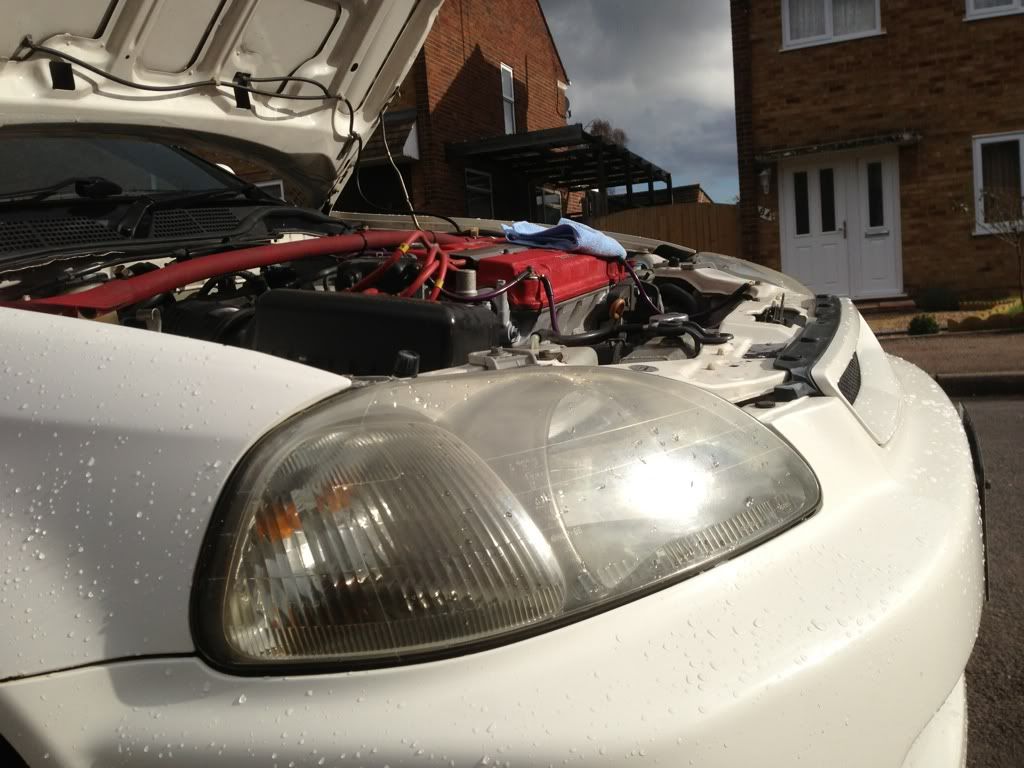
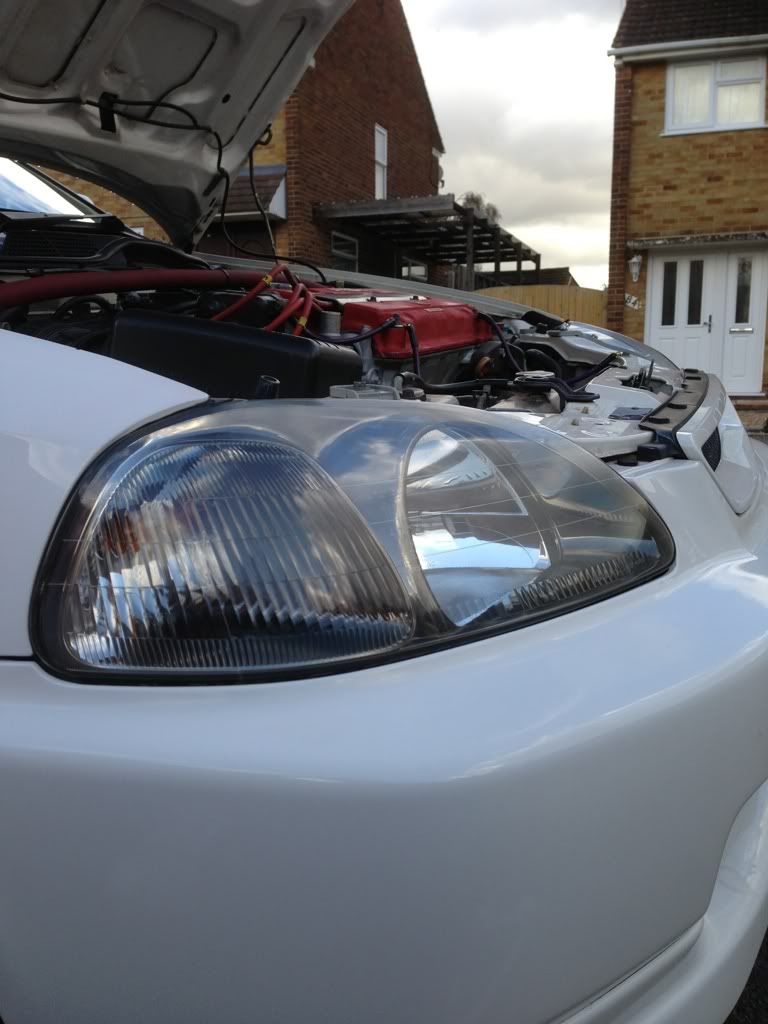
Going to try and restore the headlights tomorrow. They are pretty bad so not expecting miracles.
So today I tackled the headlights.
First I wet sanded with 600 then moved on to 1200
Then I used G3 scratch remover and a DA polisher twice, next I used some meguairs glaze stuff I got for Christmas then a coat of wax.
Here's before and after.
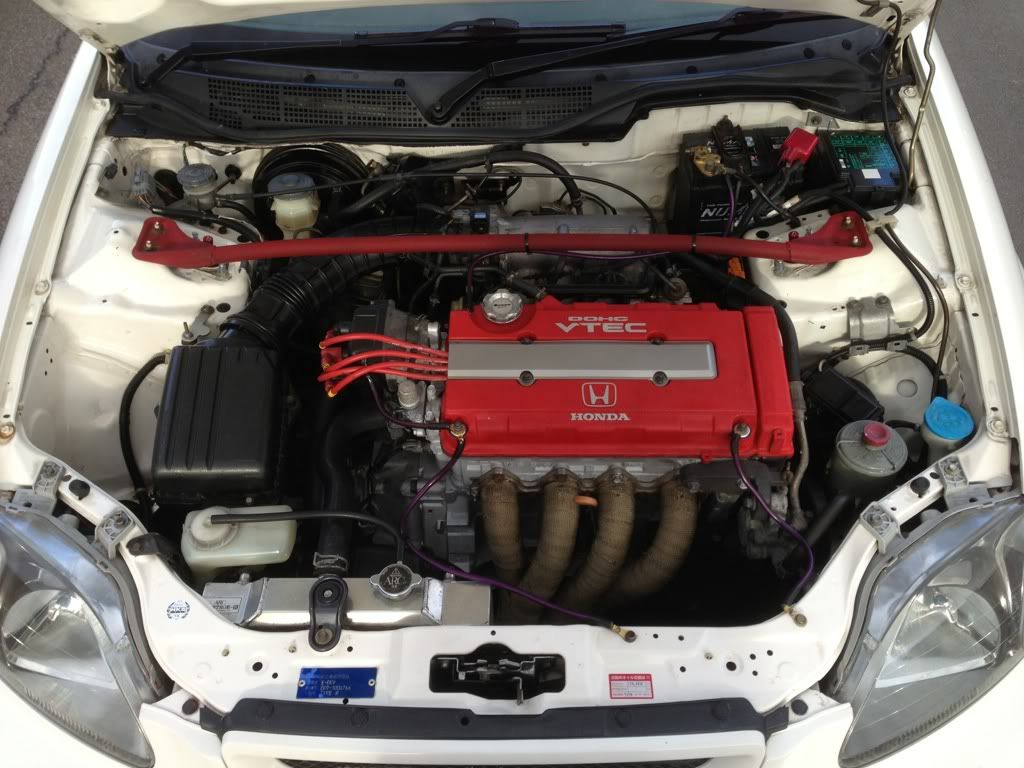
Then I decided to take to the engine bay with some wd40 and a microfibre cloth.
All in all ive done alot of cleaning considering I bought it with intentions as a track weapon lol
Next update.
Airdam has been made! I'm chuffed with how its came out so far I was expecting it to look really bad tbh. Best of all it only cost me £11 for the materials.
One question for you guys.
Would you paint the airdam champ white like the car? Or black like the splitter?
How to will be made up shortly once I've gathered the pictures needed.
Next purchase!
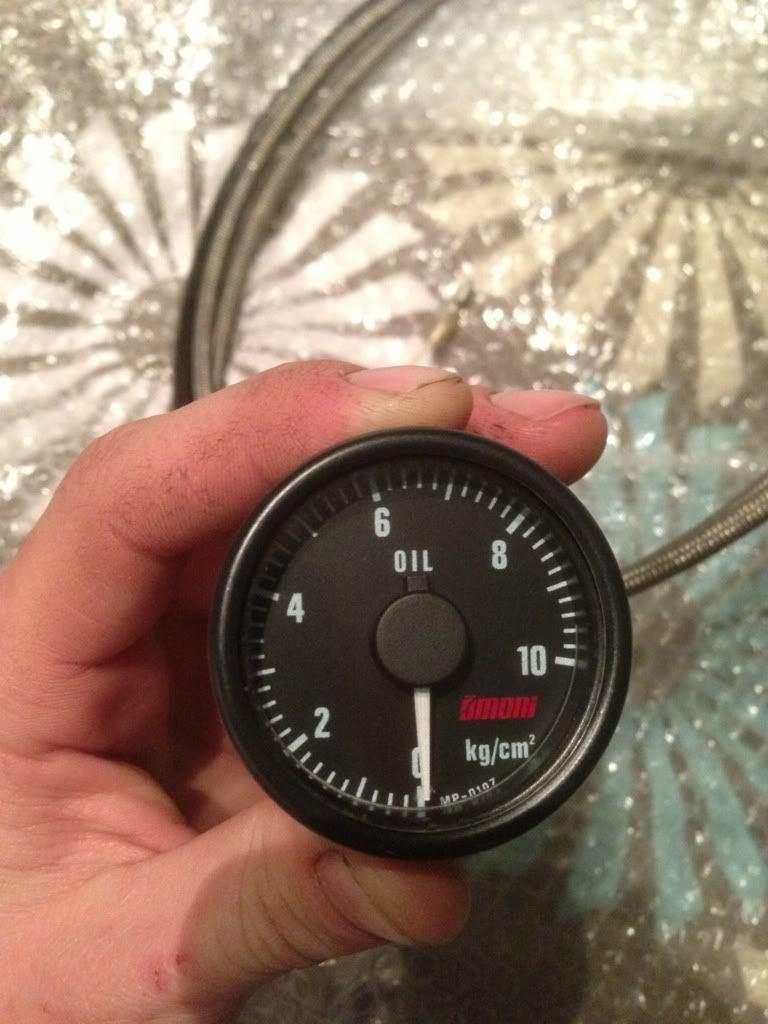
Bought some nice little Amori gauges.
One has issues that I need to fix and isn't in the best condition but will be once I've finished with it!
Other two are pretty good condition and will be a nice old school Japanese touch to my cars interior(note I didn't say JDM!)
Commence the pics!
As you can see pretty decent nick for their age!
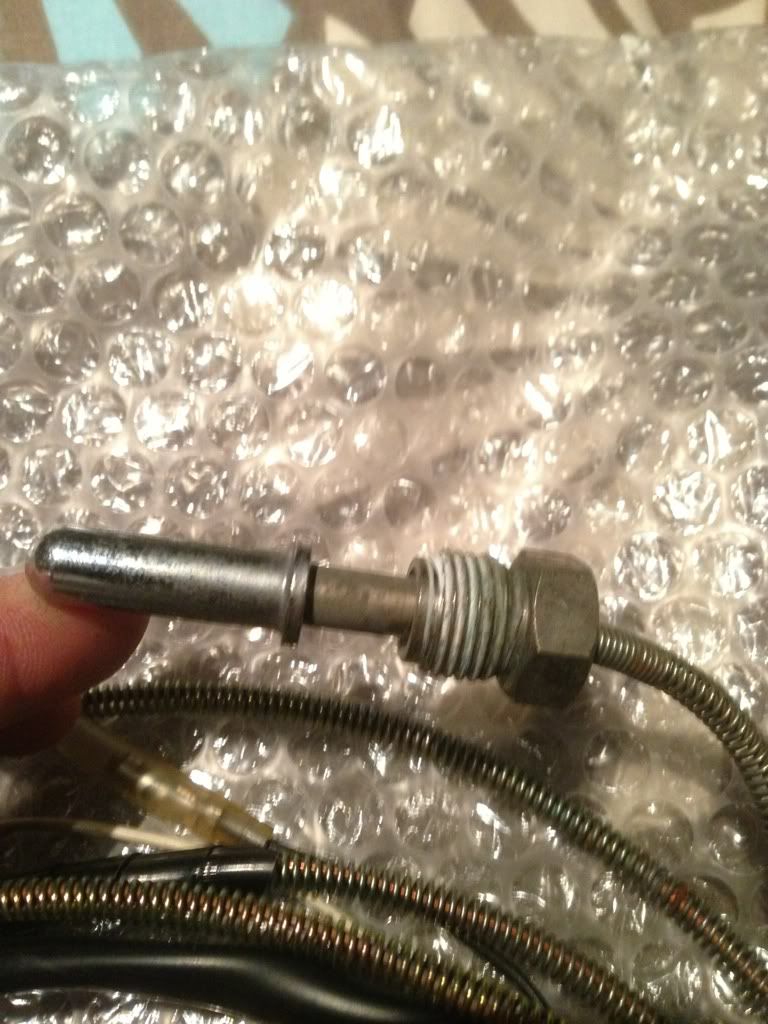
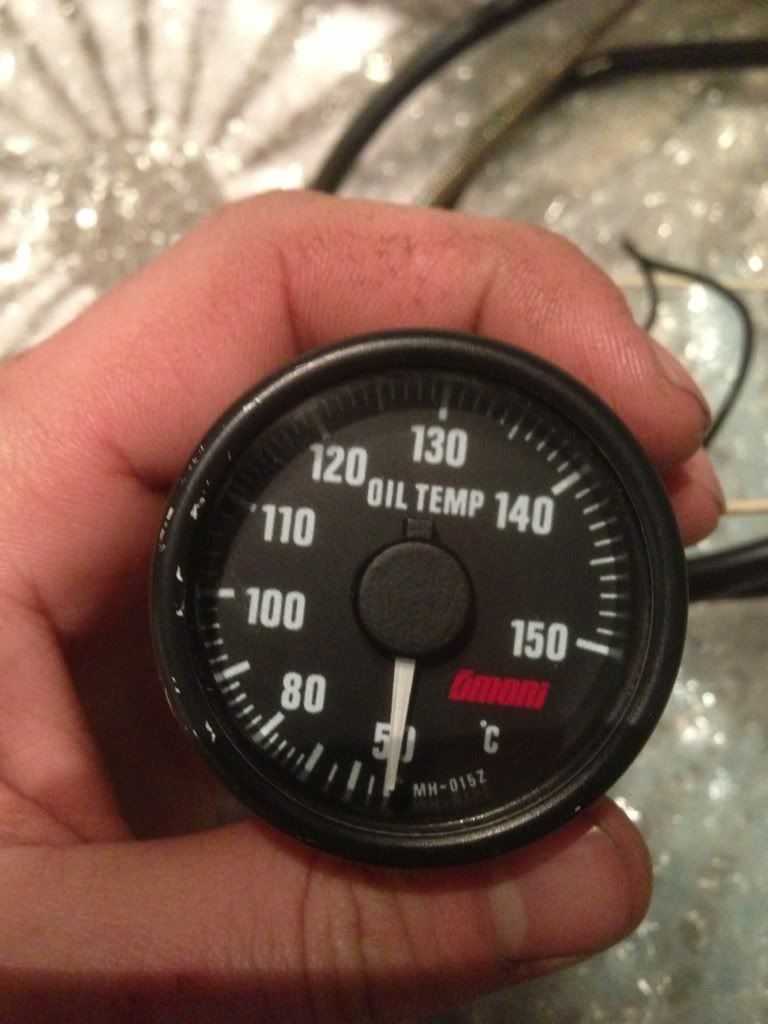
Now the troublesome tatty oil temp gauge
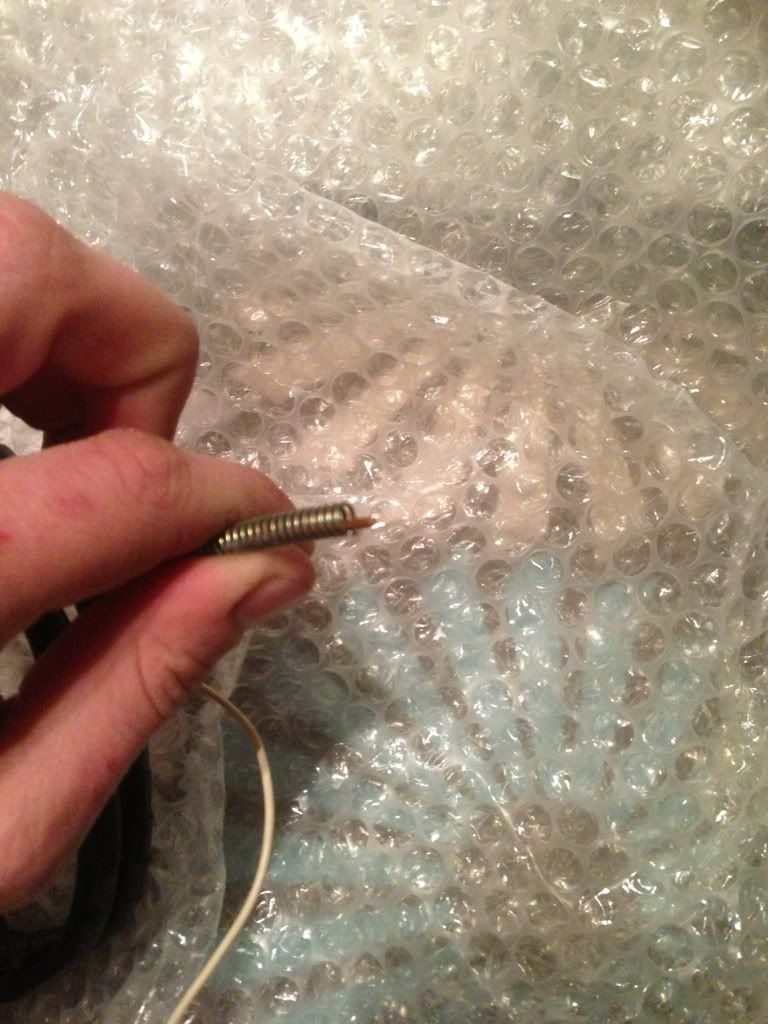
Broken end with no sensor
Hopefully I'll have the time to get Into these in the next few weeks.
Okay so decided against those gauges, too much hassle I can't be arsed with, if your interested in some jap gauges them pm me or search my FD thread.
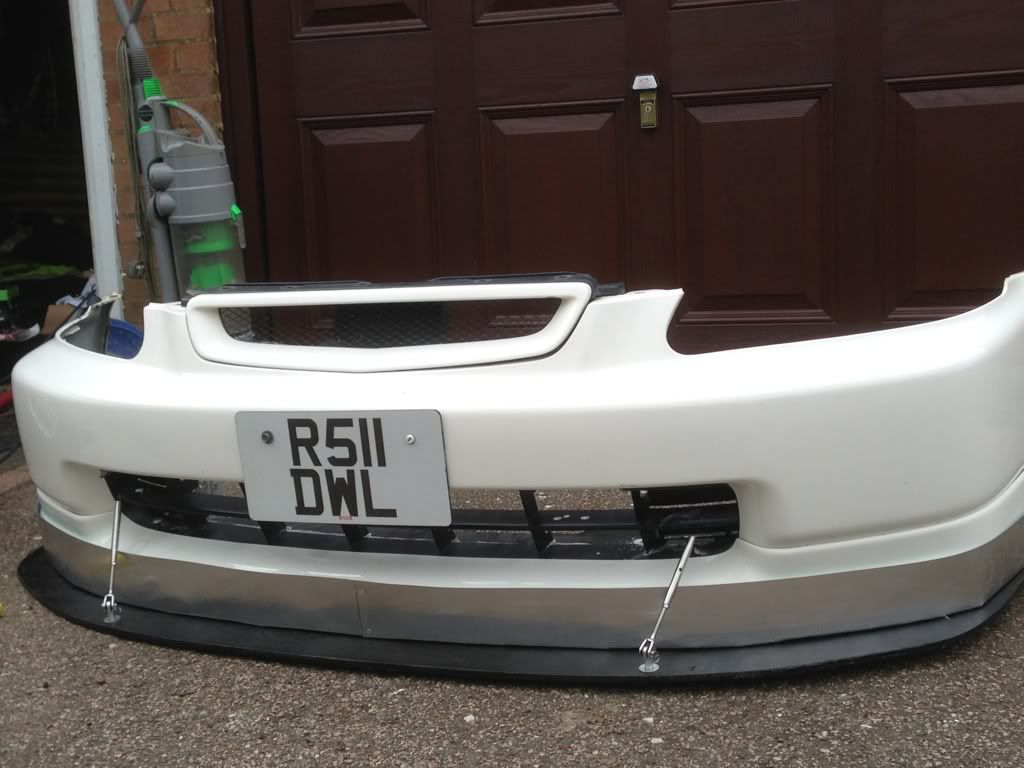
Abit chilly today so used some sealant to seal the bottom of my airdam to the splitter. This means no air can escape under it, rendering it useless.
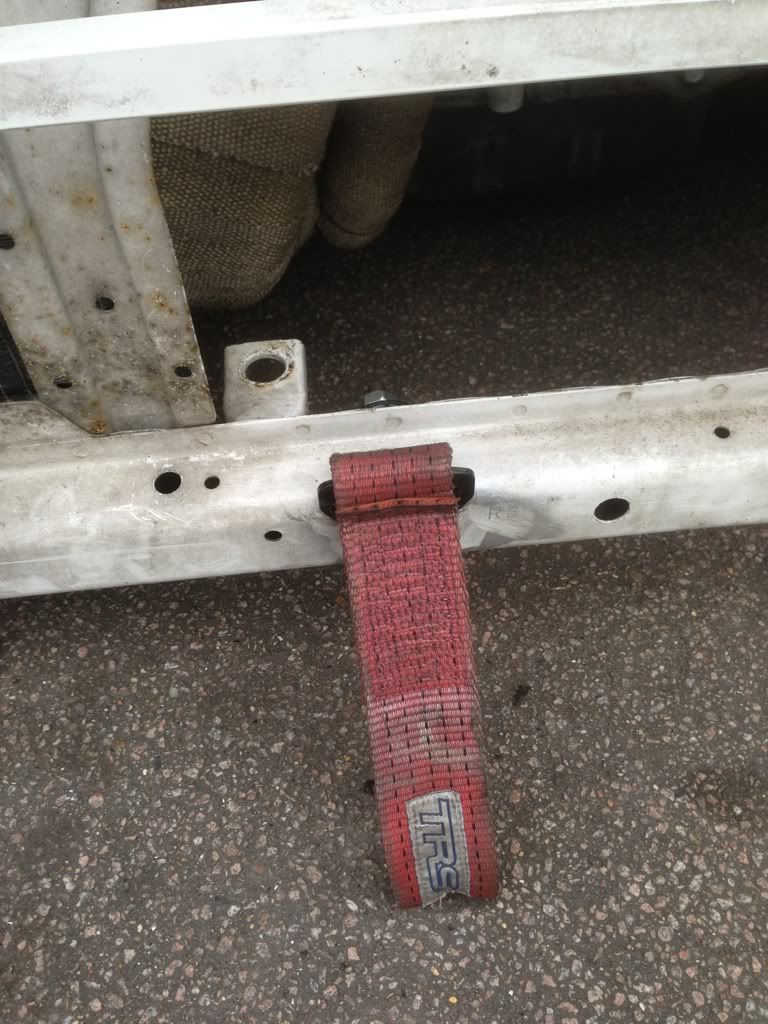
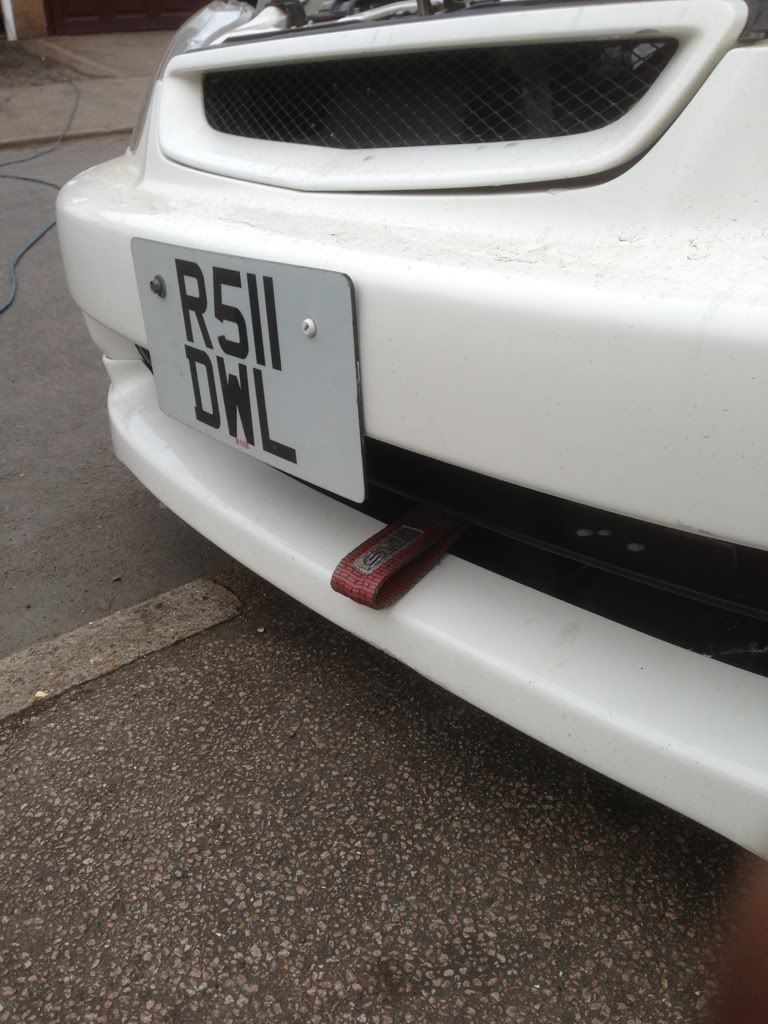
And fitted a tow loop I had laying around.
Now I'm not sure how you guys fit these as my 9 has a lightweight crash bar so I fixed it somewhere else,
Is this position okay? Seems okay from all pulling and lifting I tried to do to it.
Anyway this is how it looks with the bumper on
More updates to come at the beginning of march,
Okay so decided against those gauges as when I tested the water gauge that didn't work either.
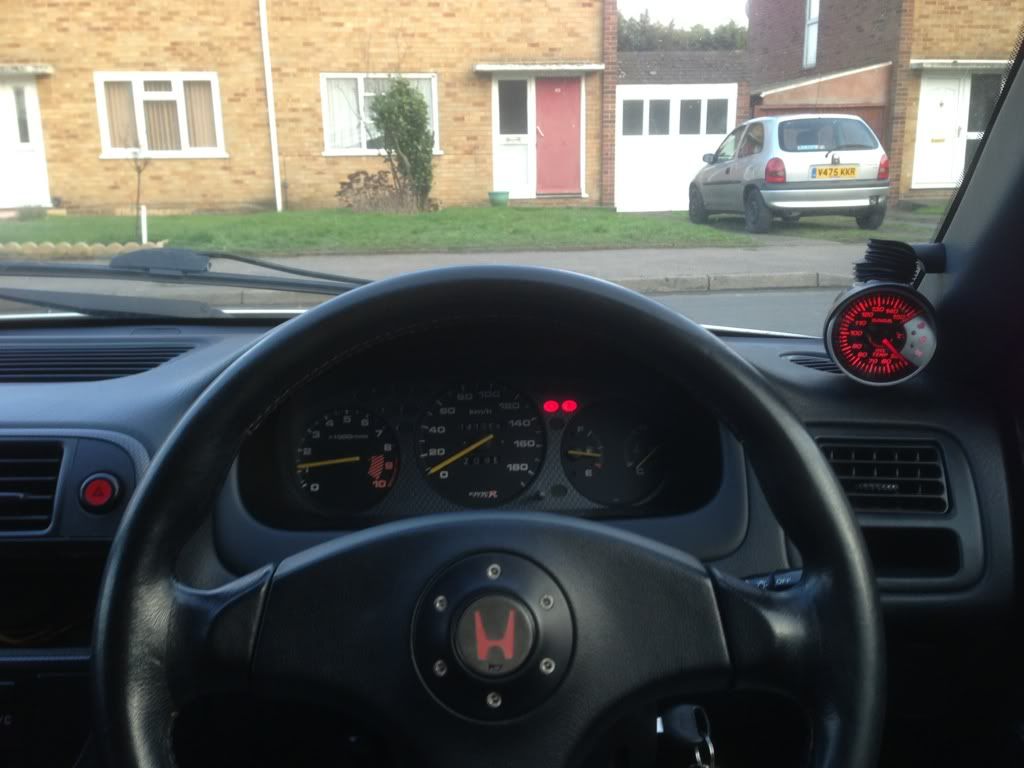
So found some 60mm gauges I like the look of.
Only have oil temp ATM but the rest will come soon enough
SAGA stepper motor gauges with all sorts of fancy functions.
What do people think of the location of the gauge? And where would you put the other two when I get them?
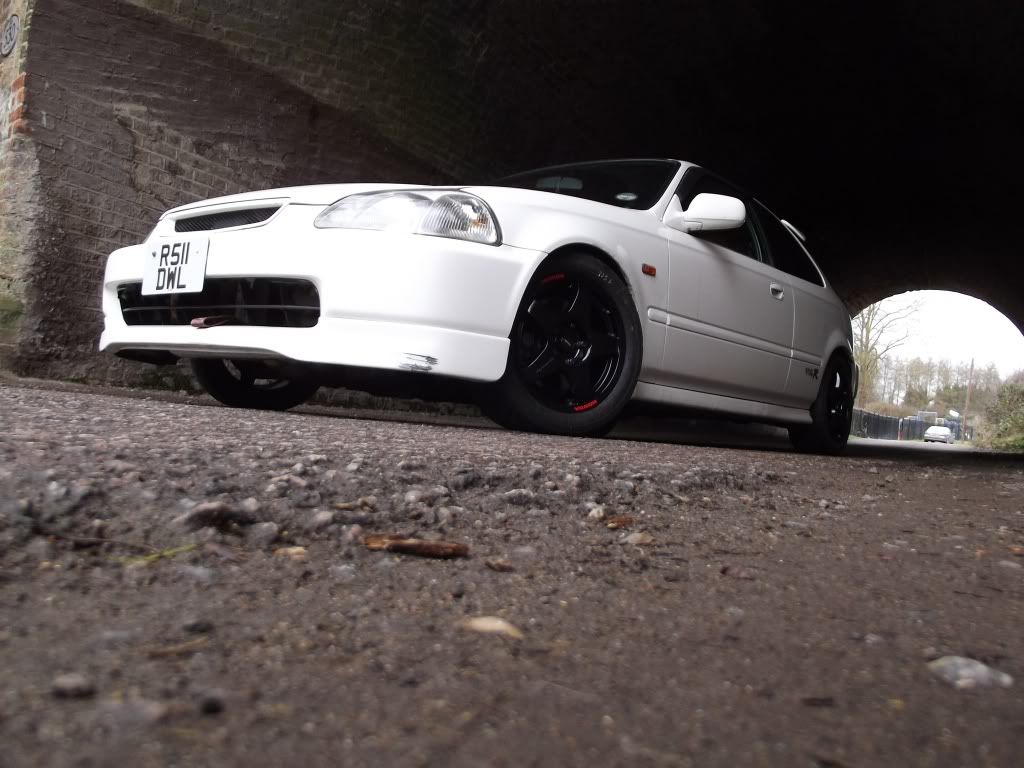
Another update and a few pictures my brother took.
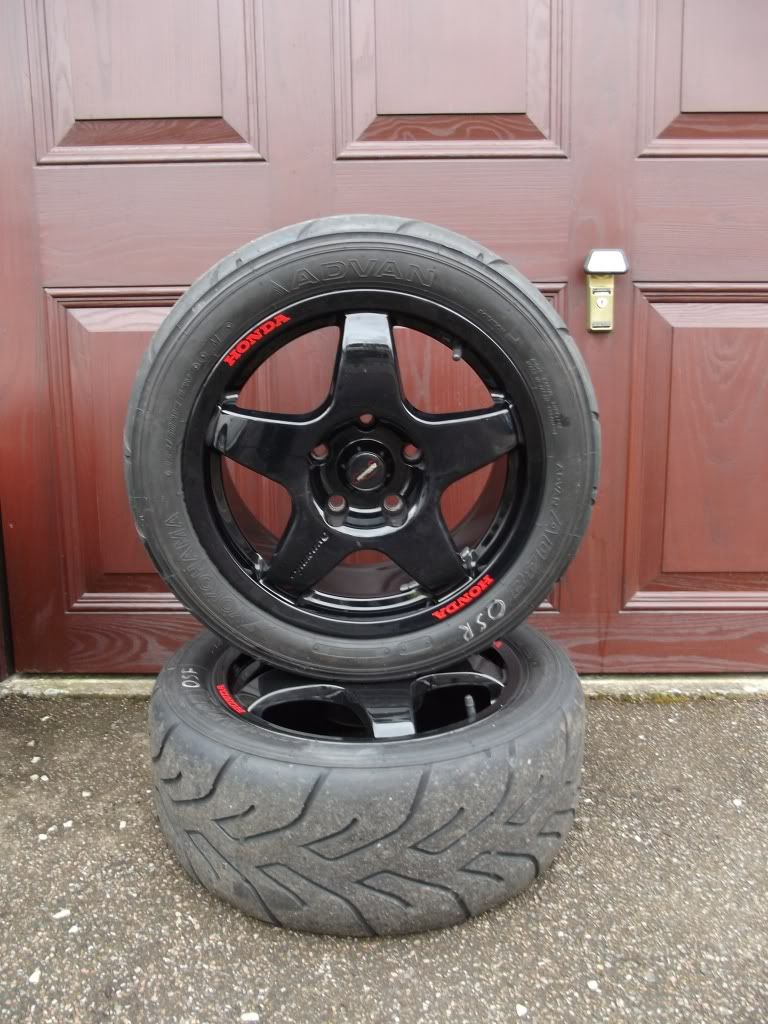
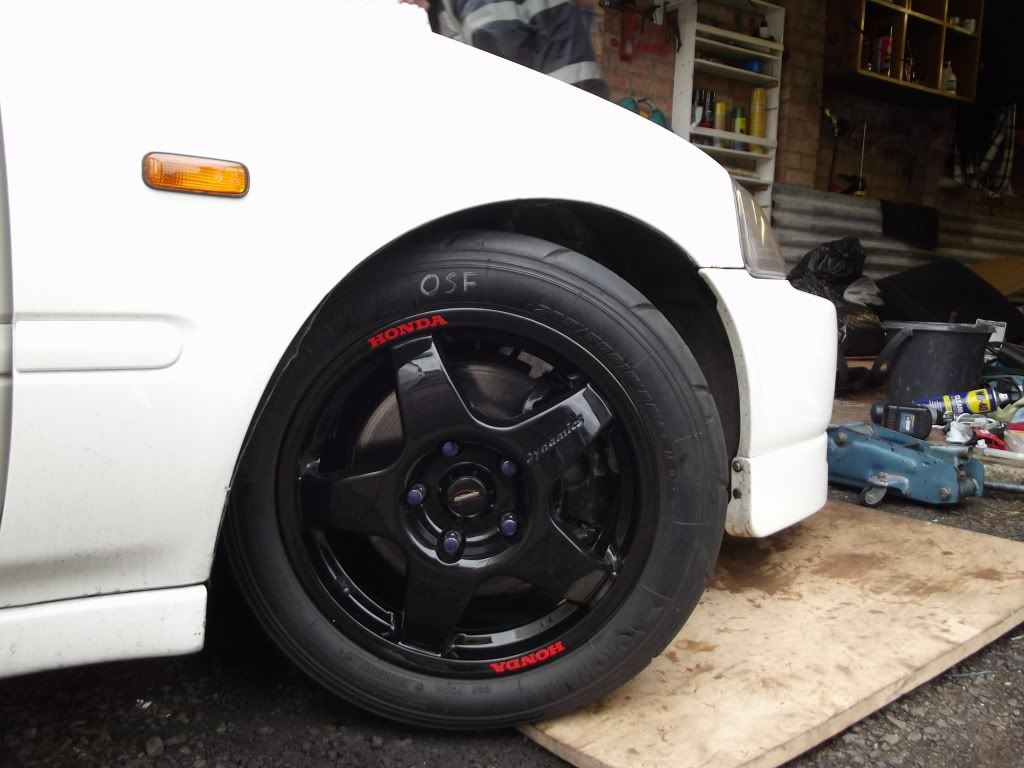
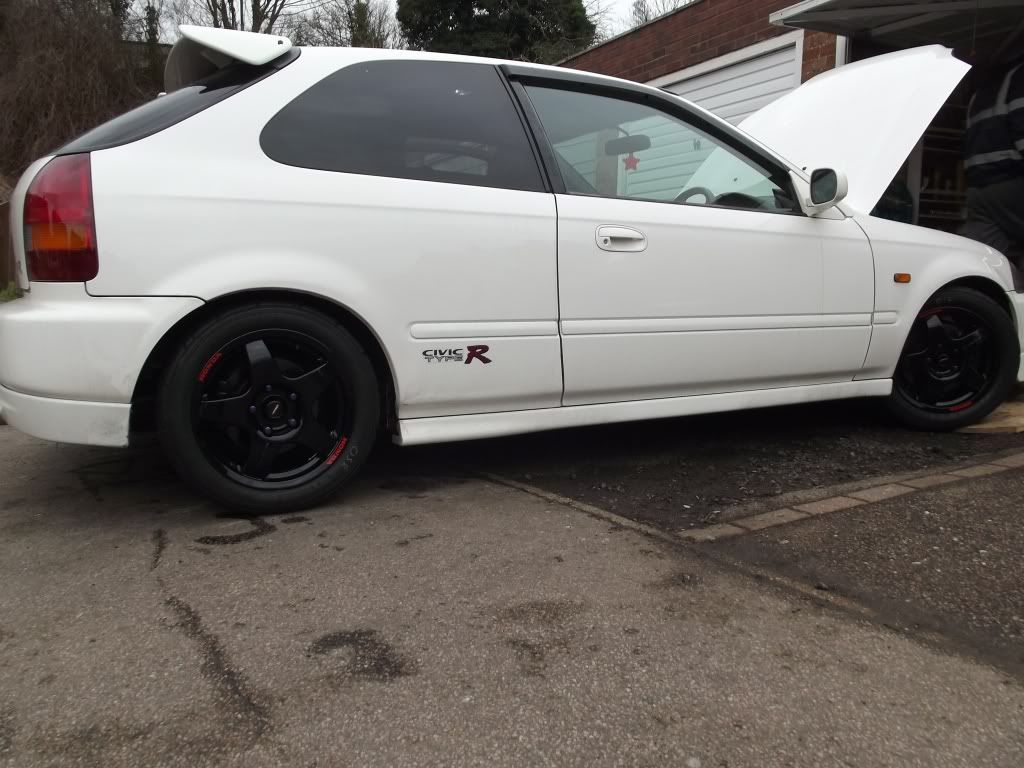
A friend was selling his track wheels from his old dc2 for a decent price so I bought them. I got 6x Pro Race 3 with A048s
Ran out of images again!
This will continue on page 7