Hi guys 'n' gals!
Have been a bit lazy with the updates as I have been busy sorting bits for Japfest, which has been and gone now.
Anyway here is the latest instalment from me!
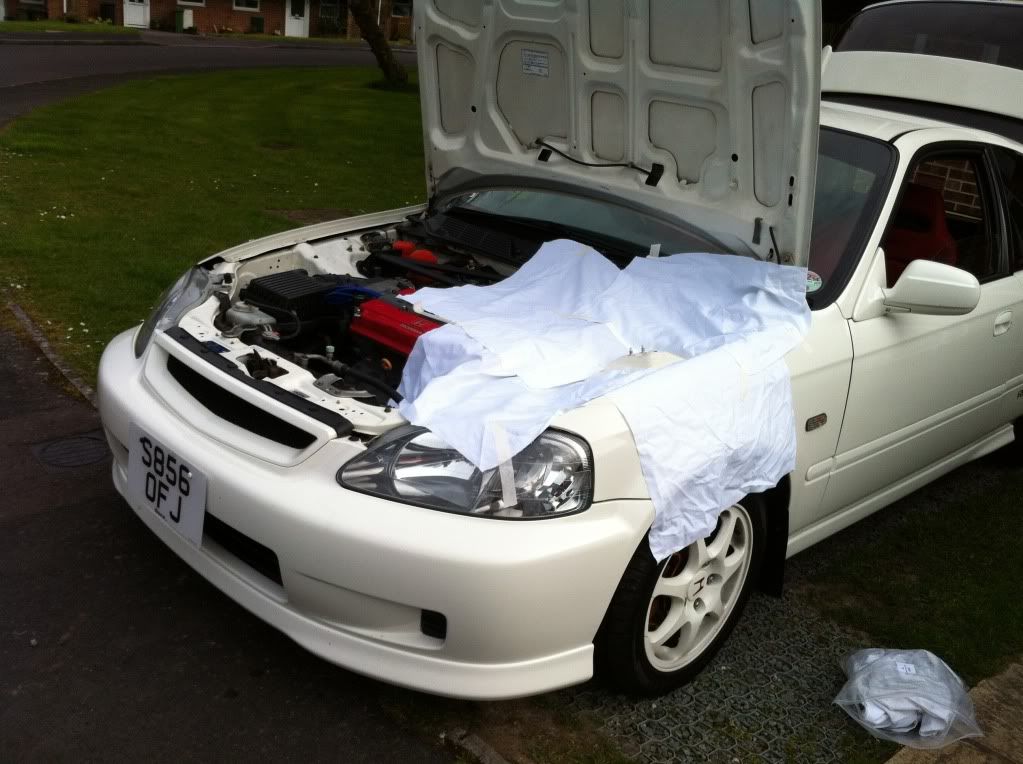
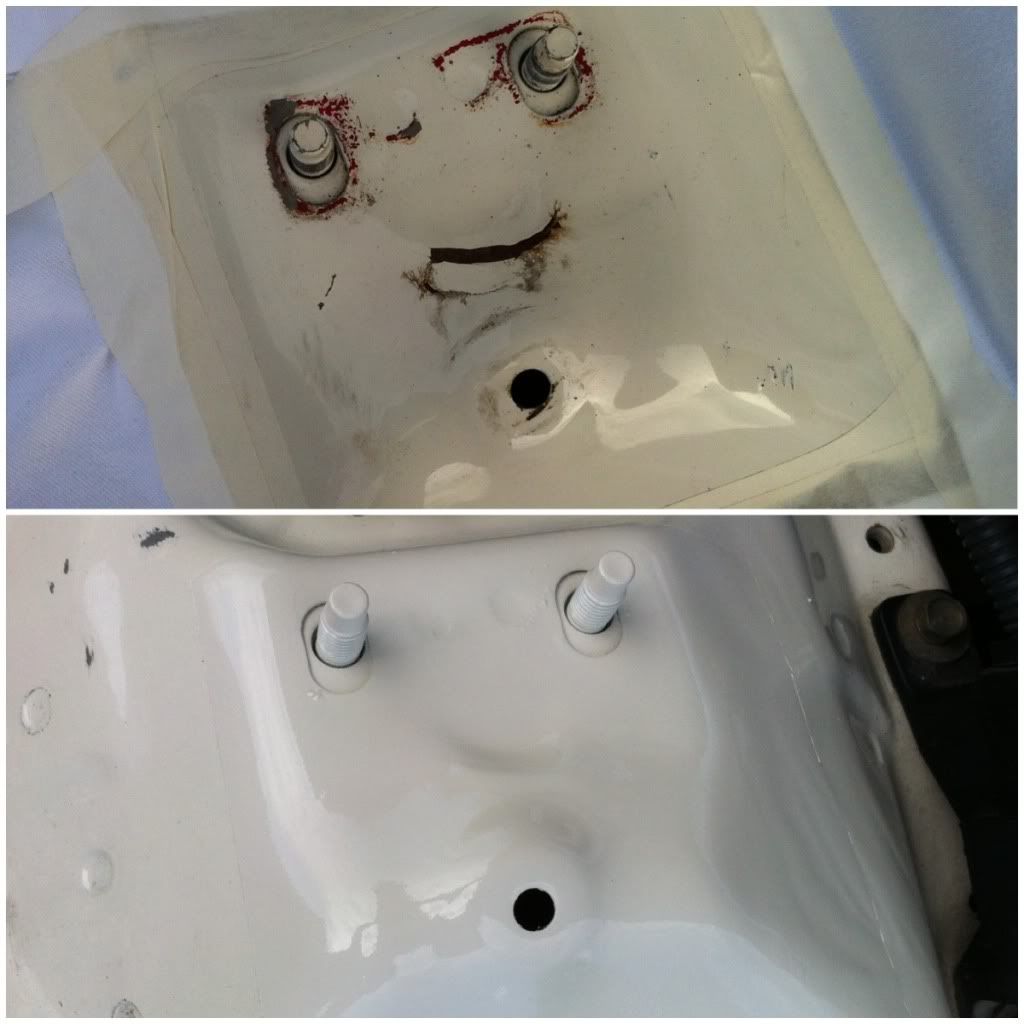
After installing the Password strut I had exposed some nasty paint where the OEM strut had been sat.
So I masked it up sanded it down and gave it blast of Championship White.
Still got some other bits to touch up but will get them done later.
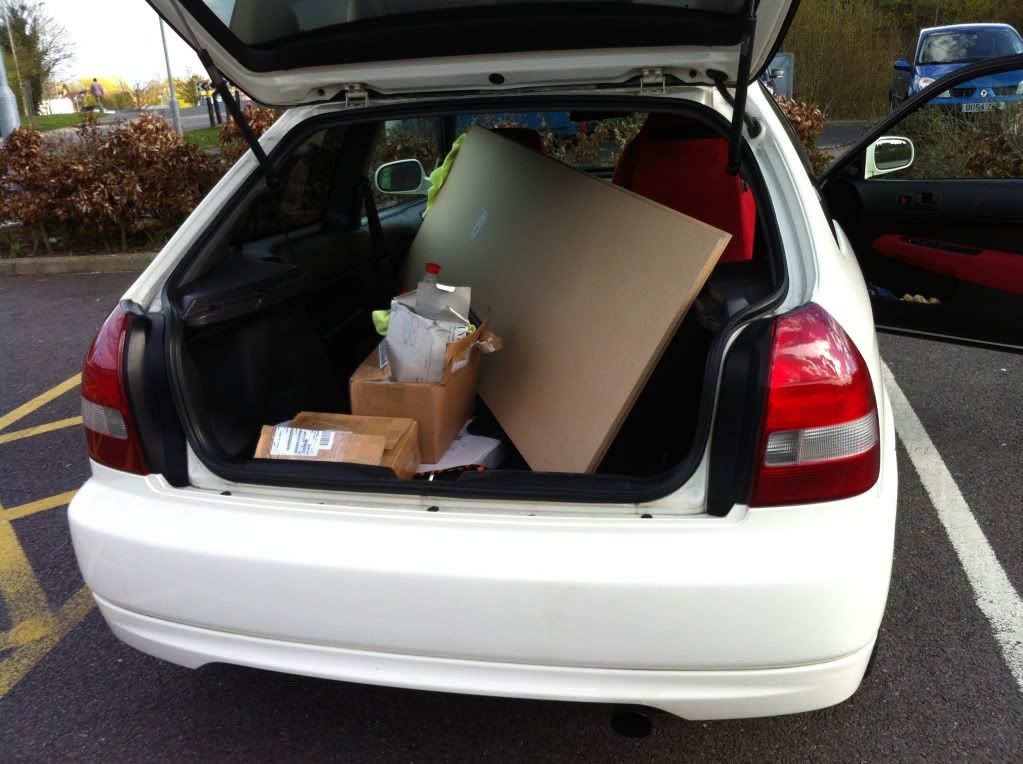
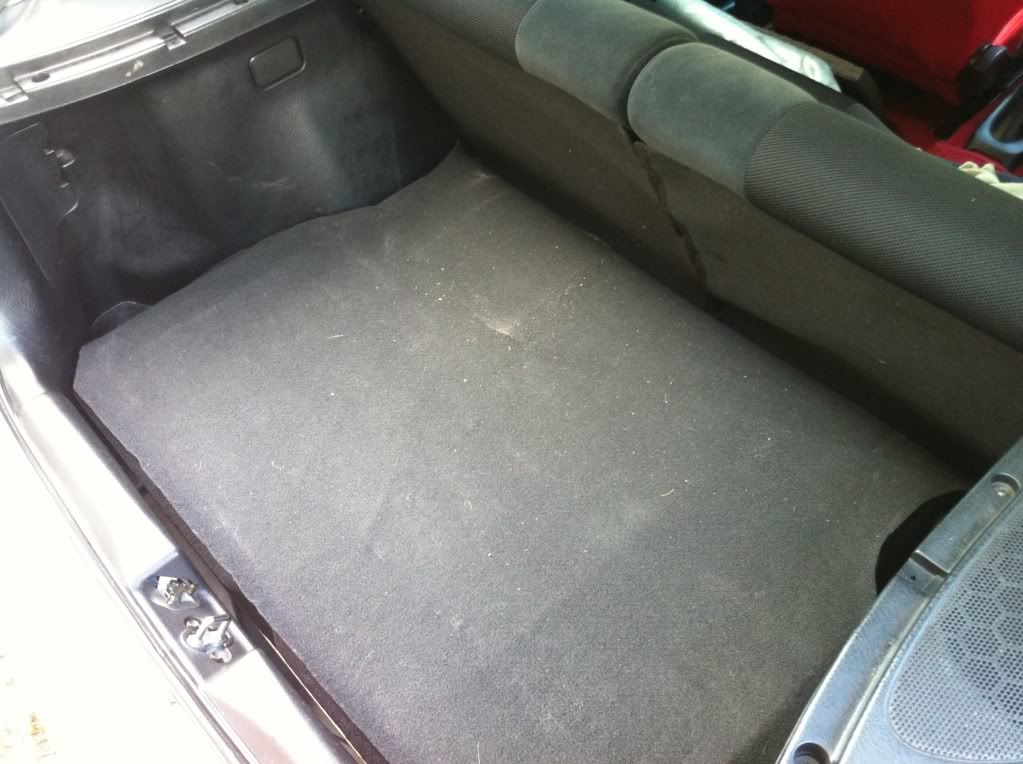
So have been thinking about what to do with the sub-woofer in the boot and had decided to mount in the spare wheel well, instead of having it taking up space sat in the boot/trunk.
This is what I had in mind.
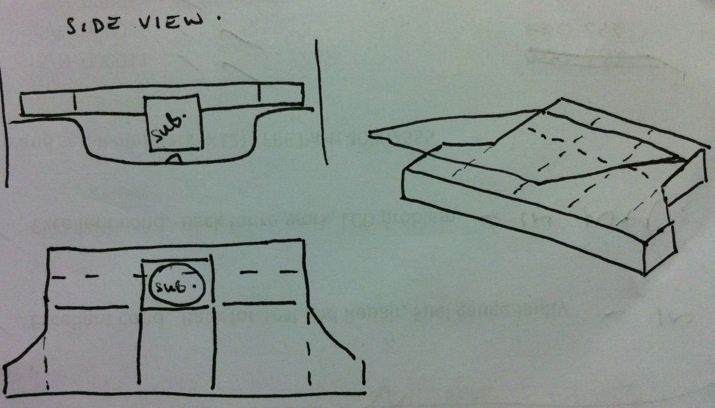
This way I will have somewhere to keep little bits like cleaning bottles etc. in the boot without them rolling around. Also keeps it looking tidy.
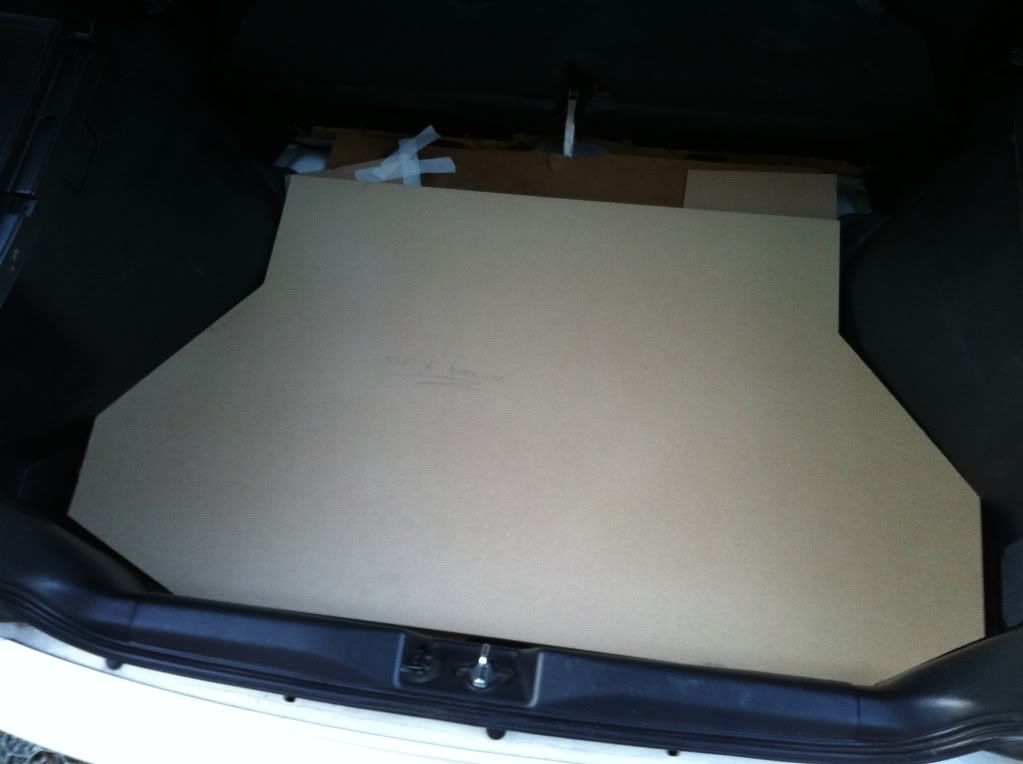
So started to make a template.

Once I'd got the measurements I could get the right amount of wood required. Trip to the local DIY shop.
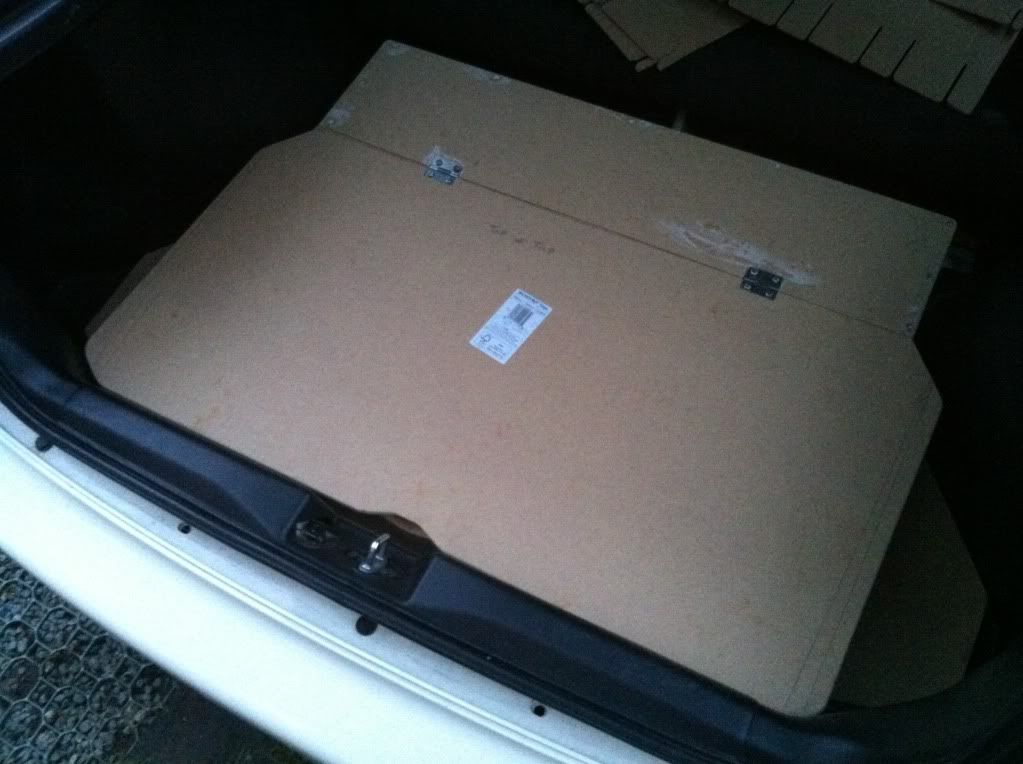
Bit of a squeeze!
So used the template and got the rough shape done.
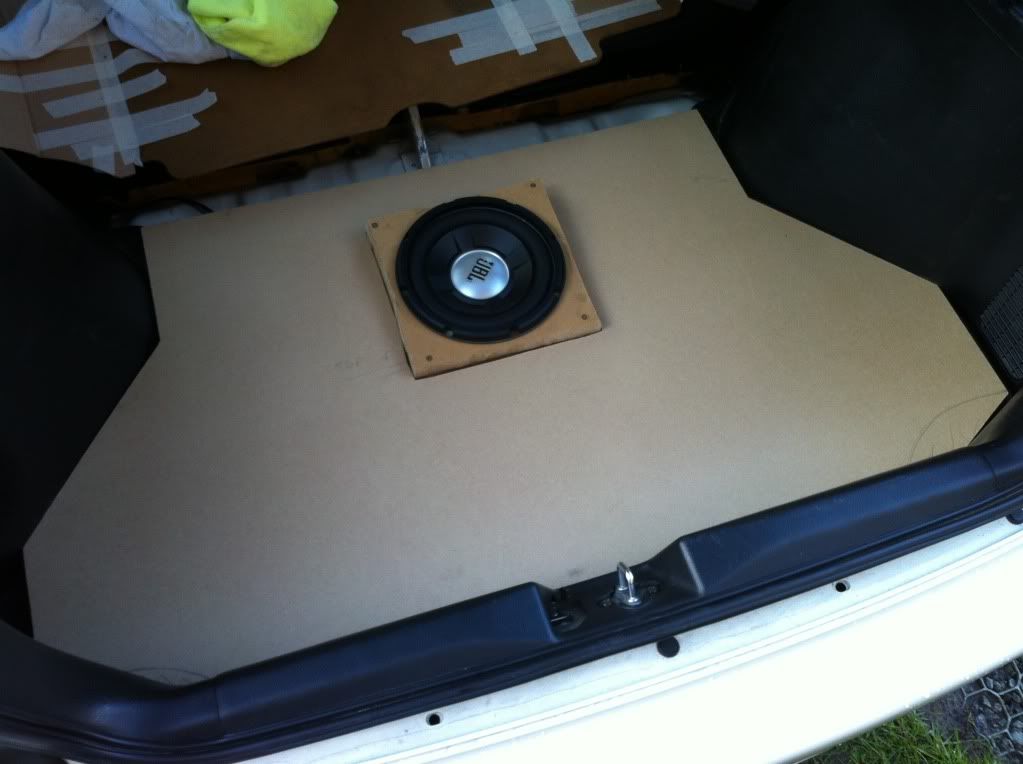
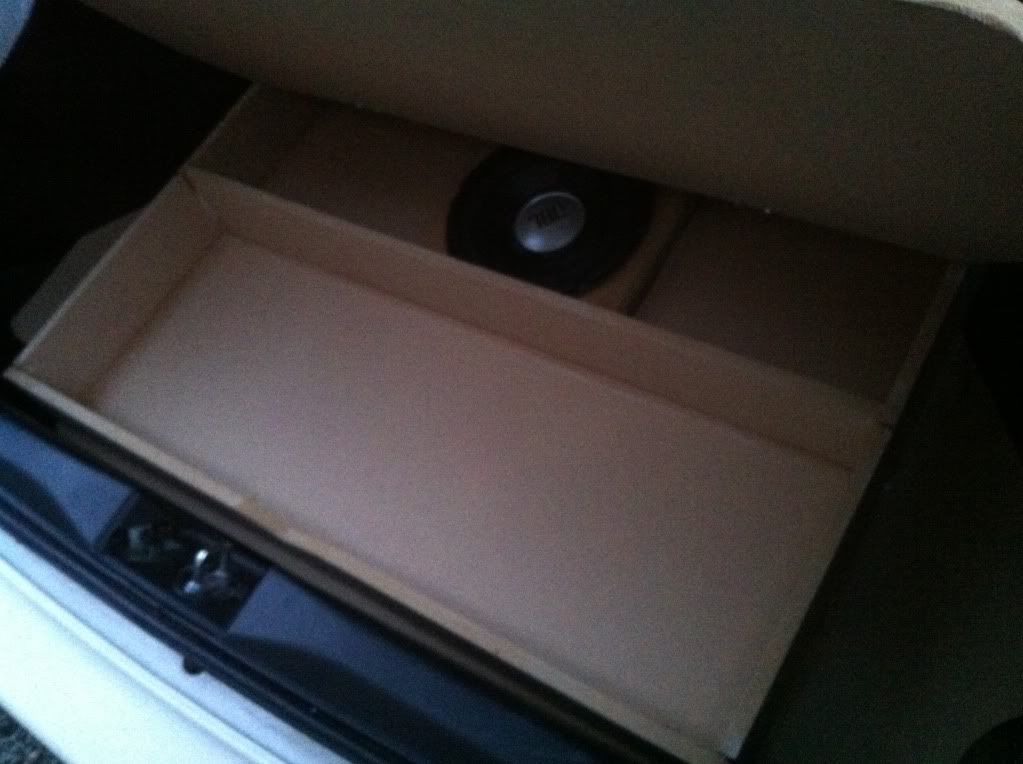
Fitted well. I wanted it to be tight fit so it wouldn't move about and it will also sit on the edges of the plastics, instead of rubbing the paint away, like the old one did.
Sorted a spot for the sub to sit and cut out the slot for it, test fit again.
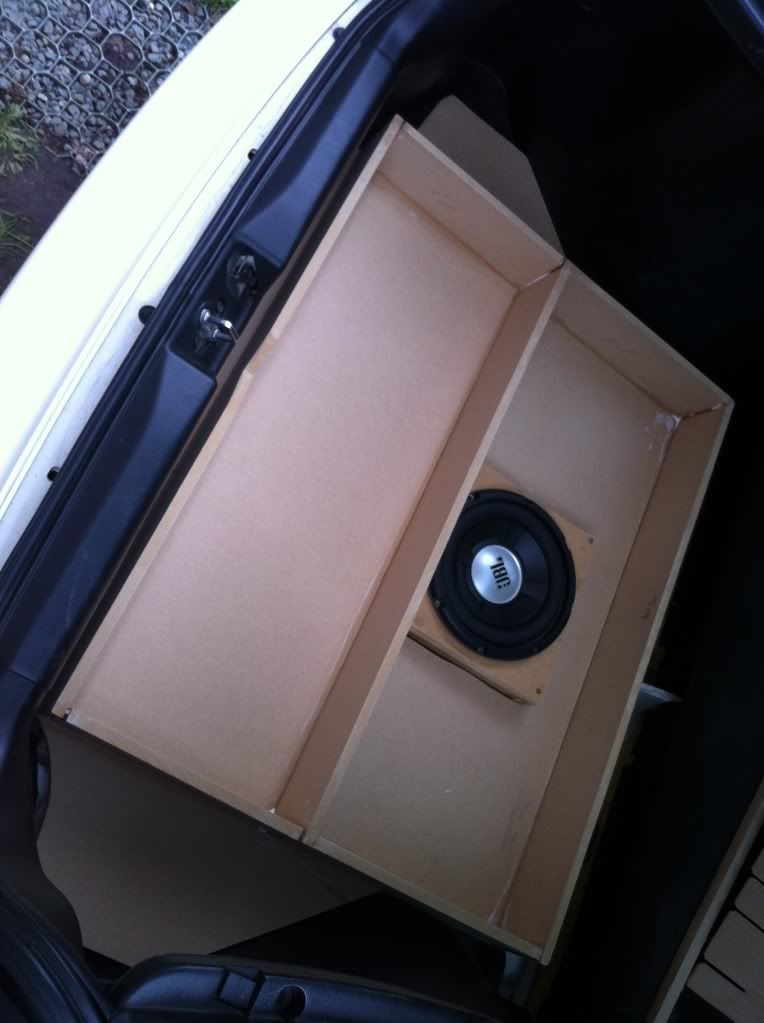
Then went ahead and made the walls for it, 9cm tall. Plenty of screws and glue required here!

Test fit again. I wanted to be sure that I could pull it out over the Sub each time without too much difficulty.
So made the lid after, same size as the base for unit. Cut a portion off the rear for hinging. Fixed it down.
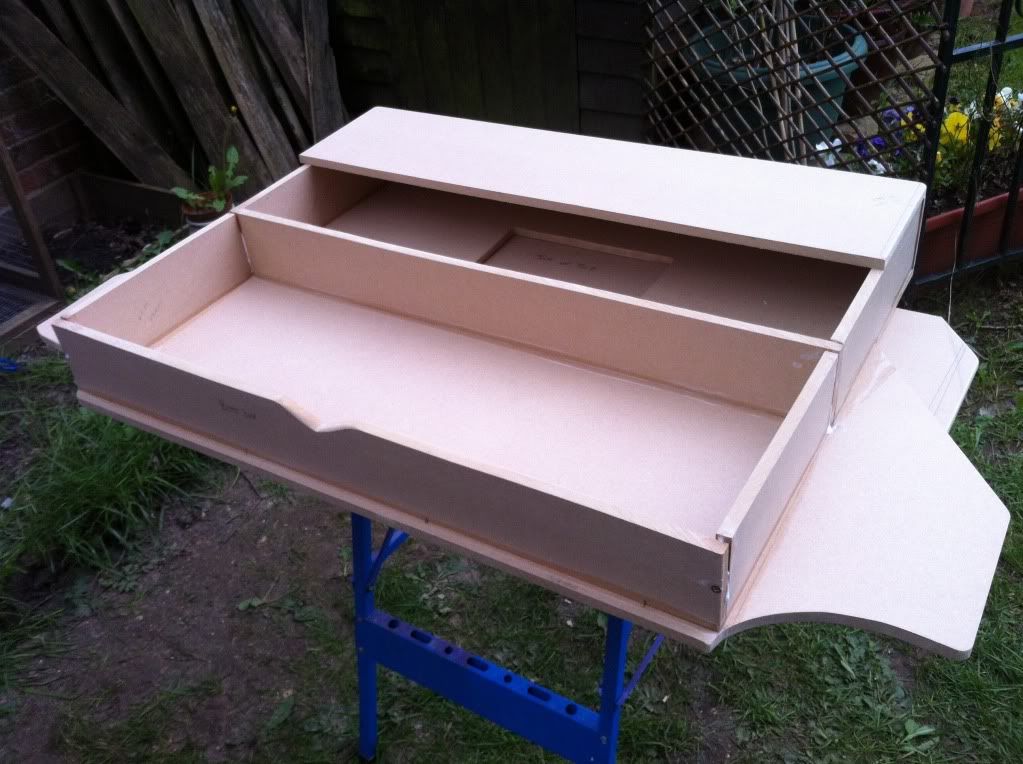
Fitted the hinges and sunk them in so they are flush and don't stick out. Had to make the lid narrower than the base else it would foul on the plastics.
All fitted and trial fit, again.
This way It is not fixed in anyway and can be taken out easily and more importantly doesn't rattle about.
When I was happy with it I rounded the edges with a file and tidied it up a bit.
Grabbed some fabric and laced that on, didn't quite have enough though but no problem. Its not really seen in there.
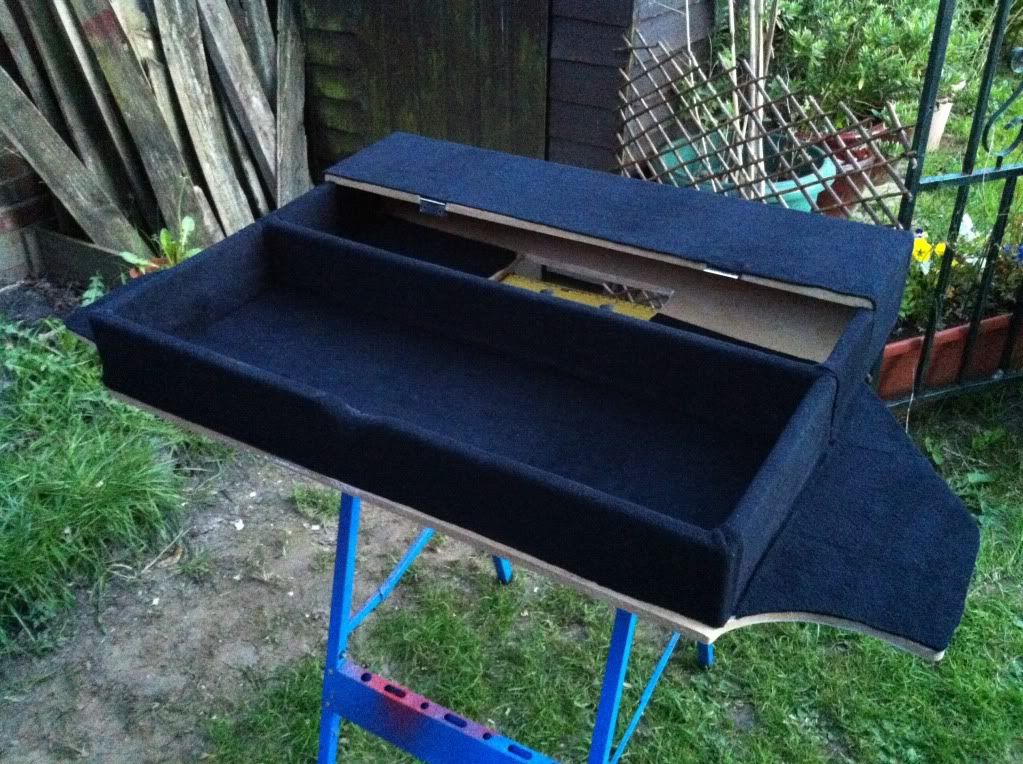
Installed with the boot liner over the top.
Hard work but totally worth it.
Then started with the japfest prep!
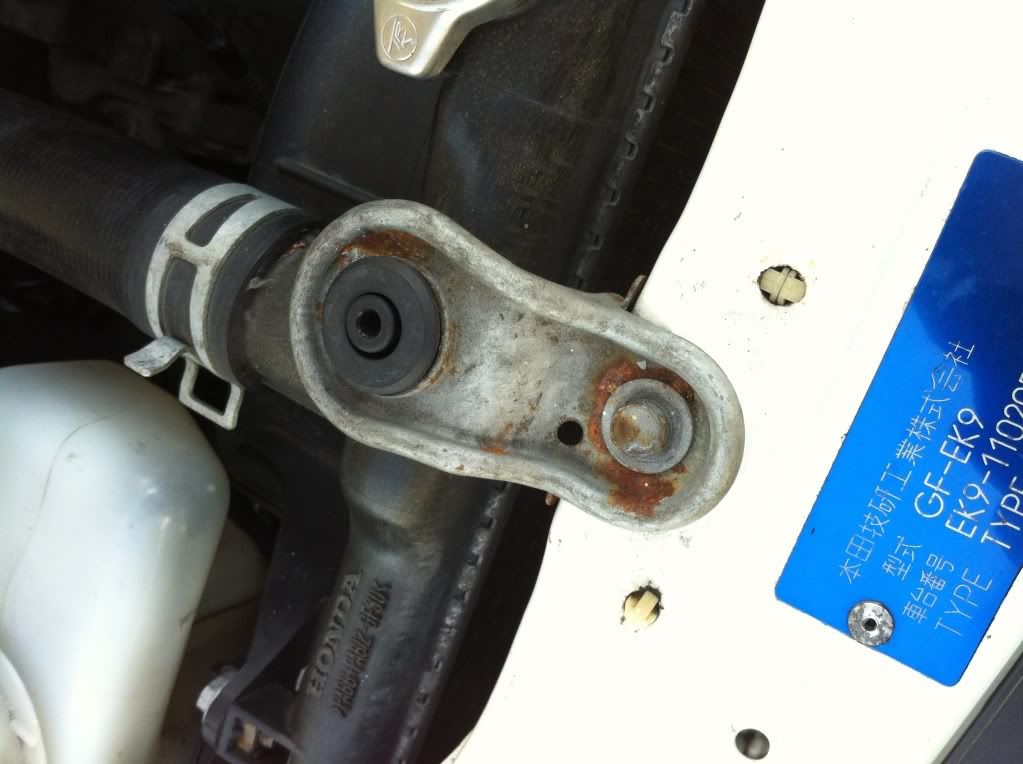
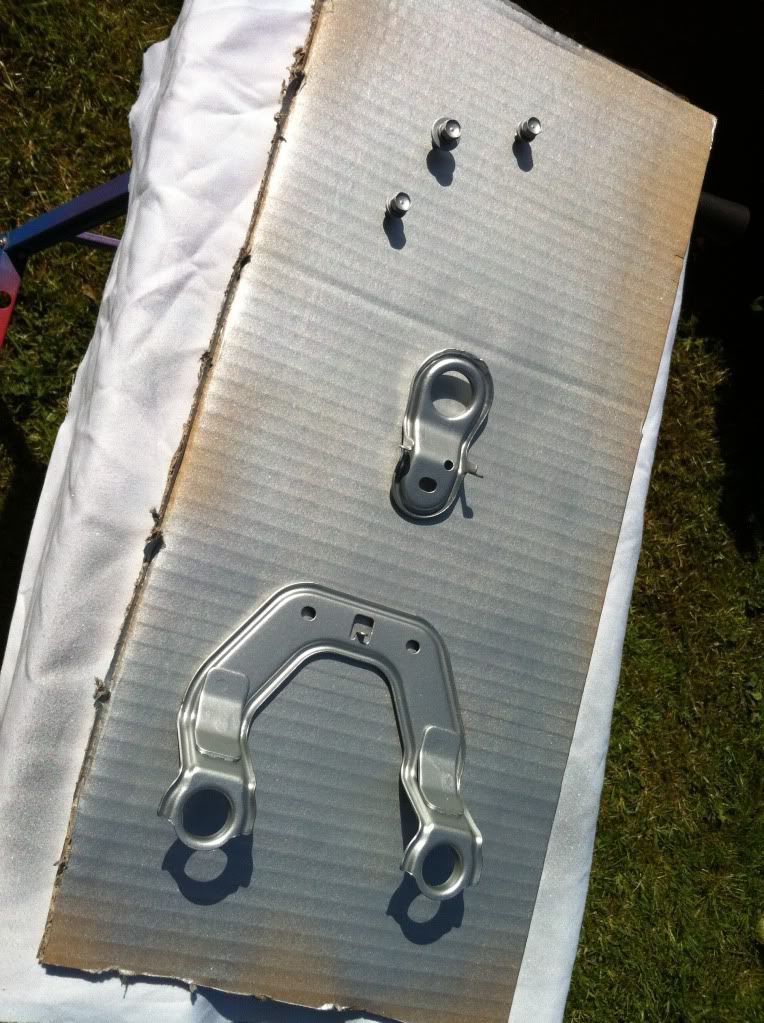
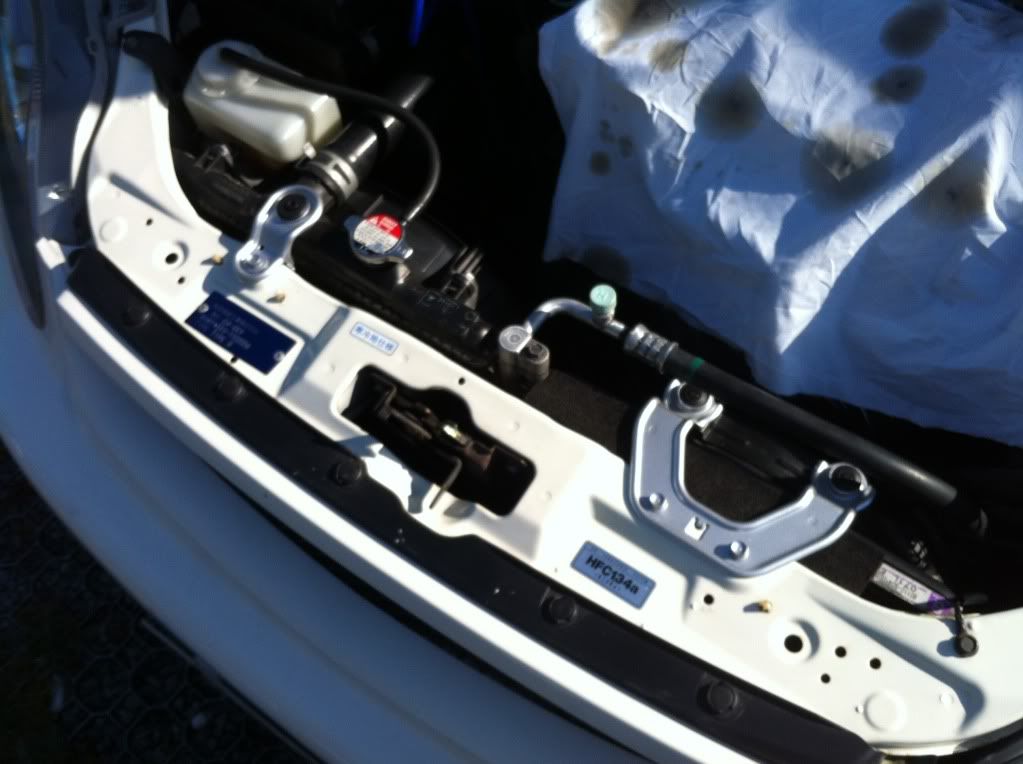
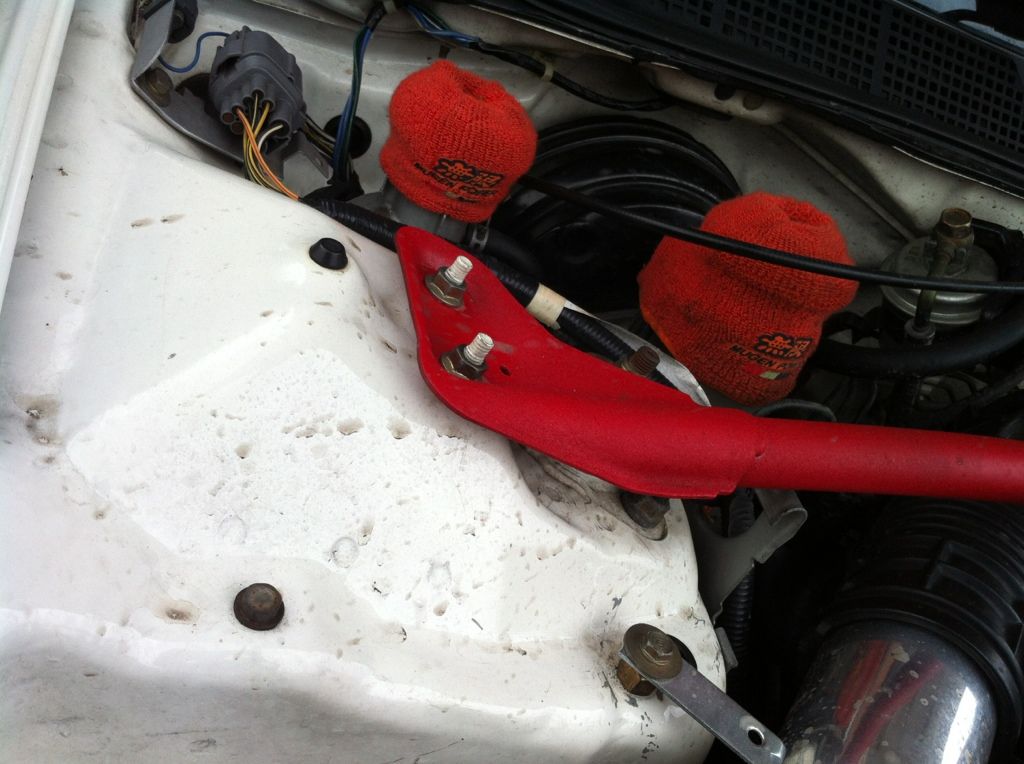
Usual rusty rad stays.
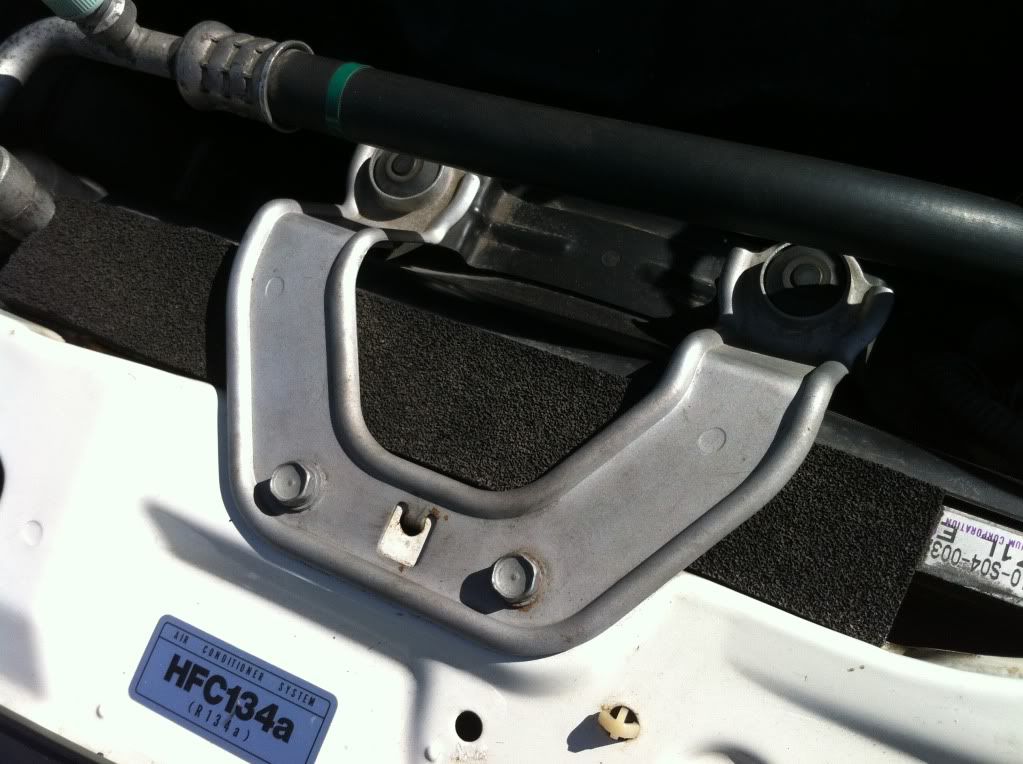
Air con was not bad but dull looking and would of looked strange, had I left it.
Blitzed them back with the dremmel!

Some zinc primer and a lick of ford silver we had lying around.
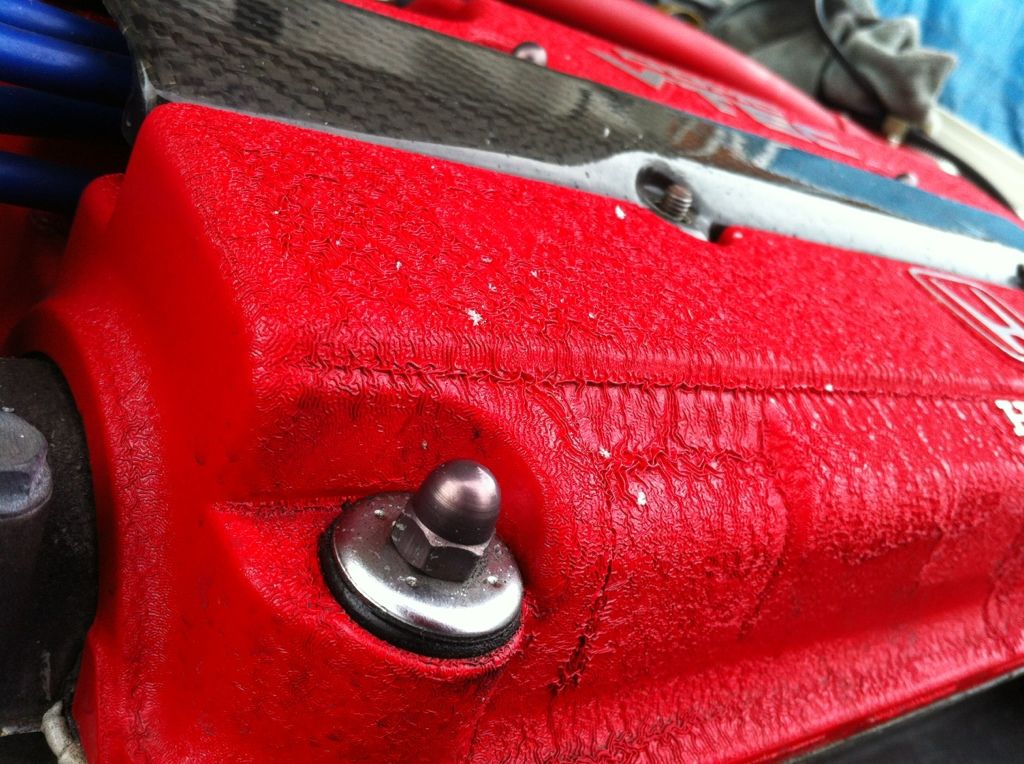
Then I started on the rocker, for a second time!
Paint stripping!
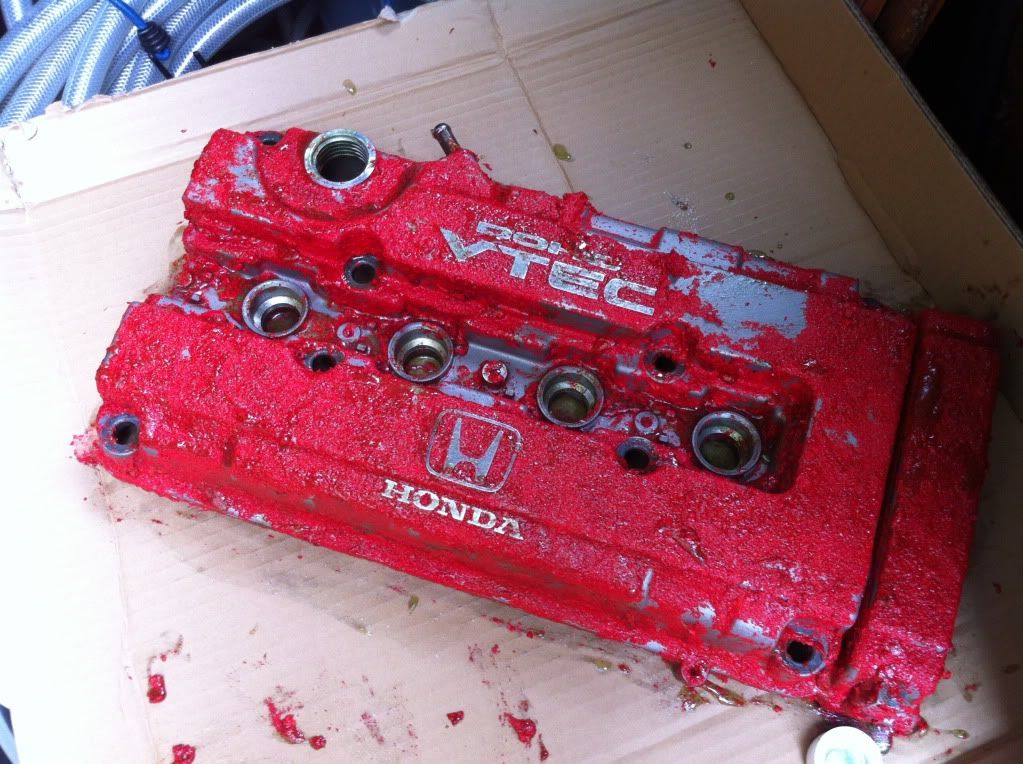
Came off easy!
Decided I wanted to shave most of the lettering. But had no angle grinder MIA so had to dremmel my little bum off!
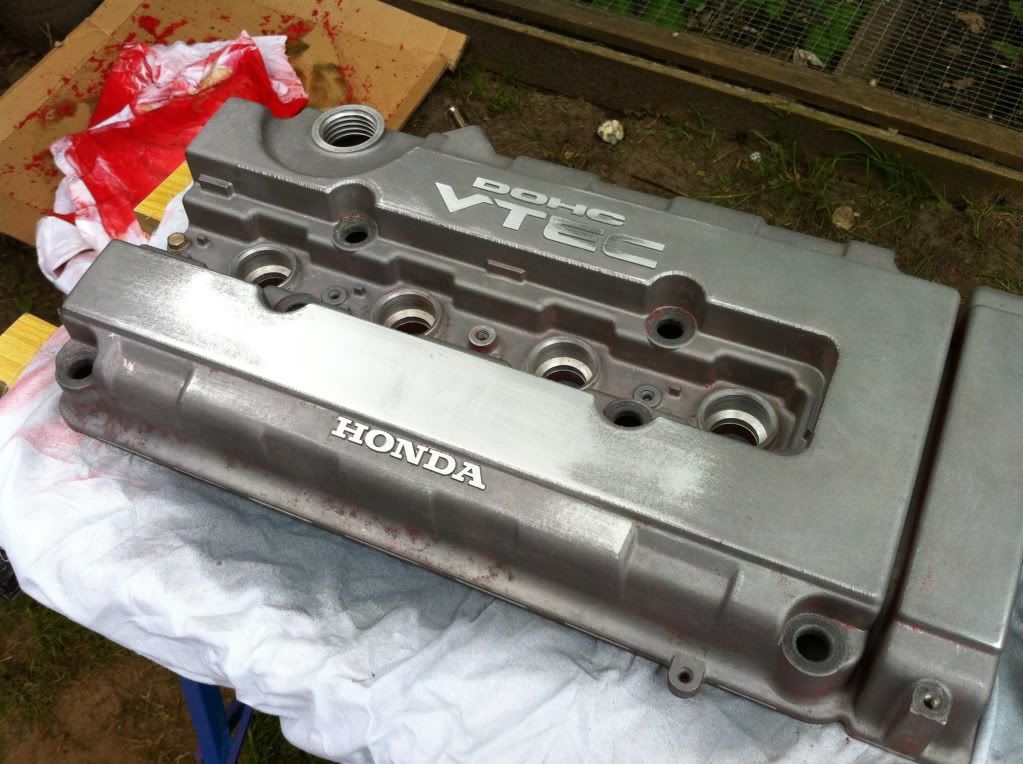
Took me a good few hours! hosed all the dust off and let it dry over night.
In the morning I masked it.
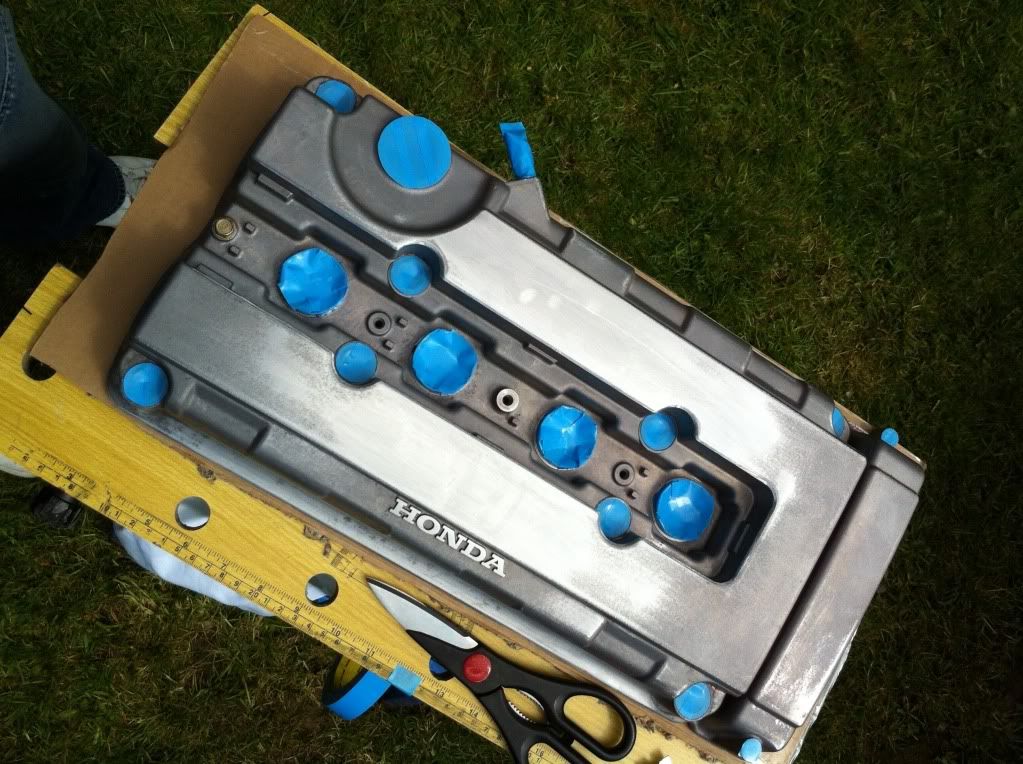
Wiped it down and got painting!
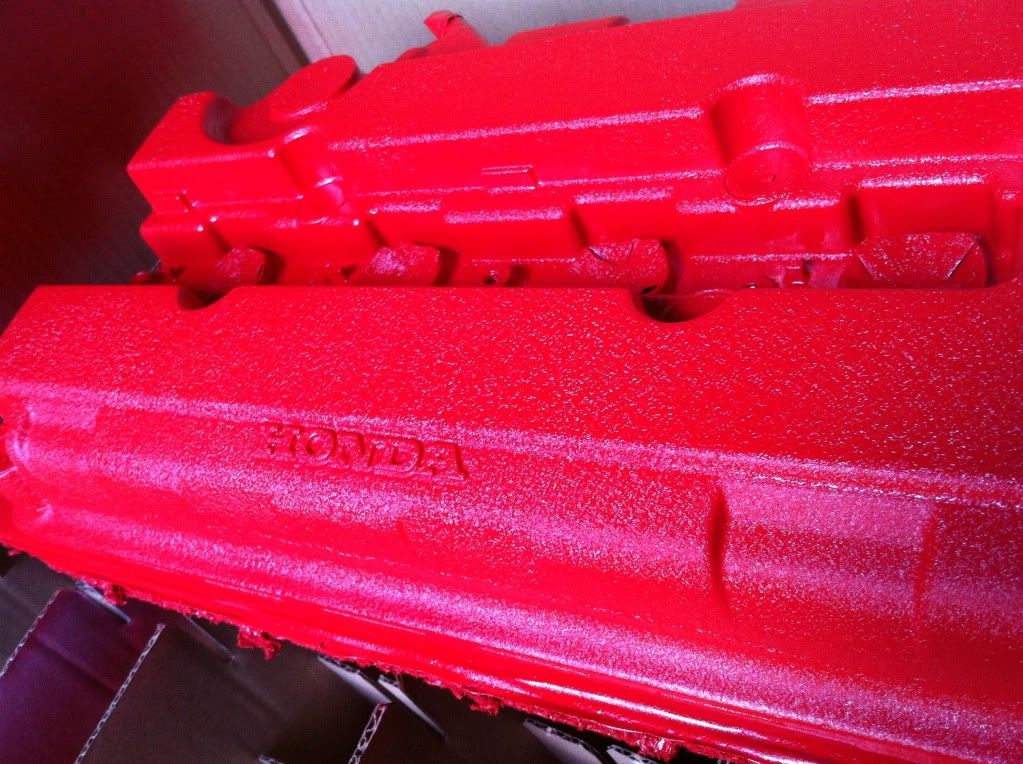
Took a few goes as the wrinkles where not even at 1st. So used 1+1/2 cans of wrinkle. Some warming with the hair dryer and left it over night. Then dusted it over with a better red.
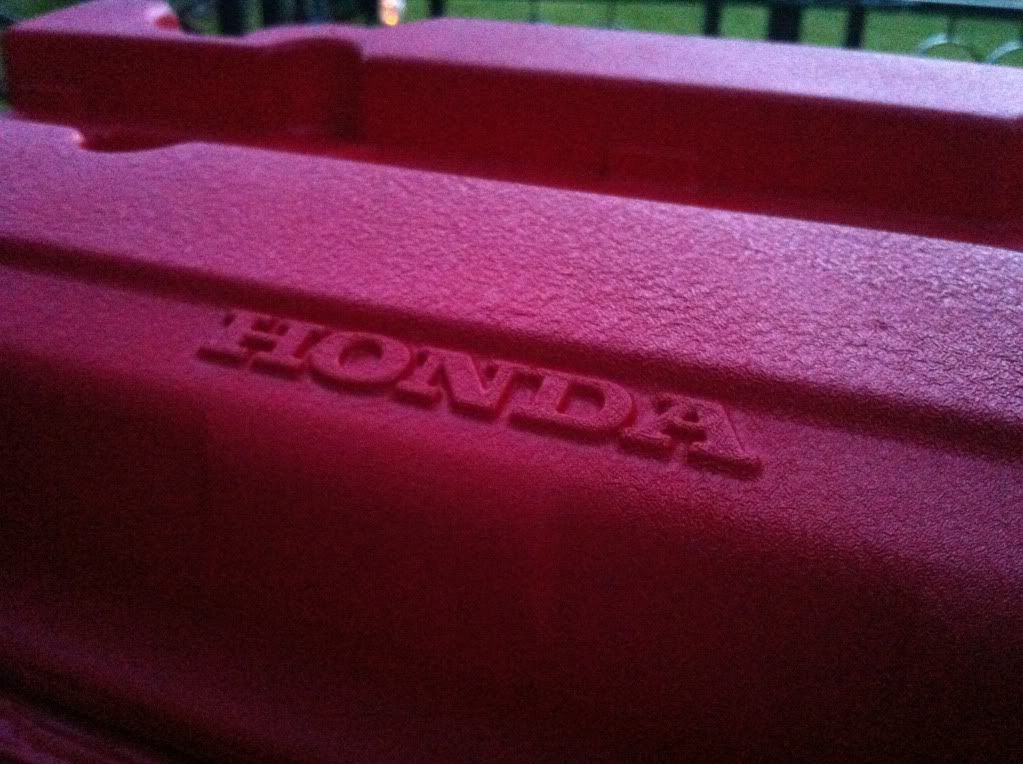
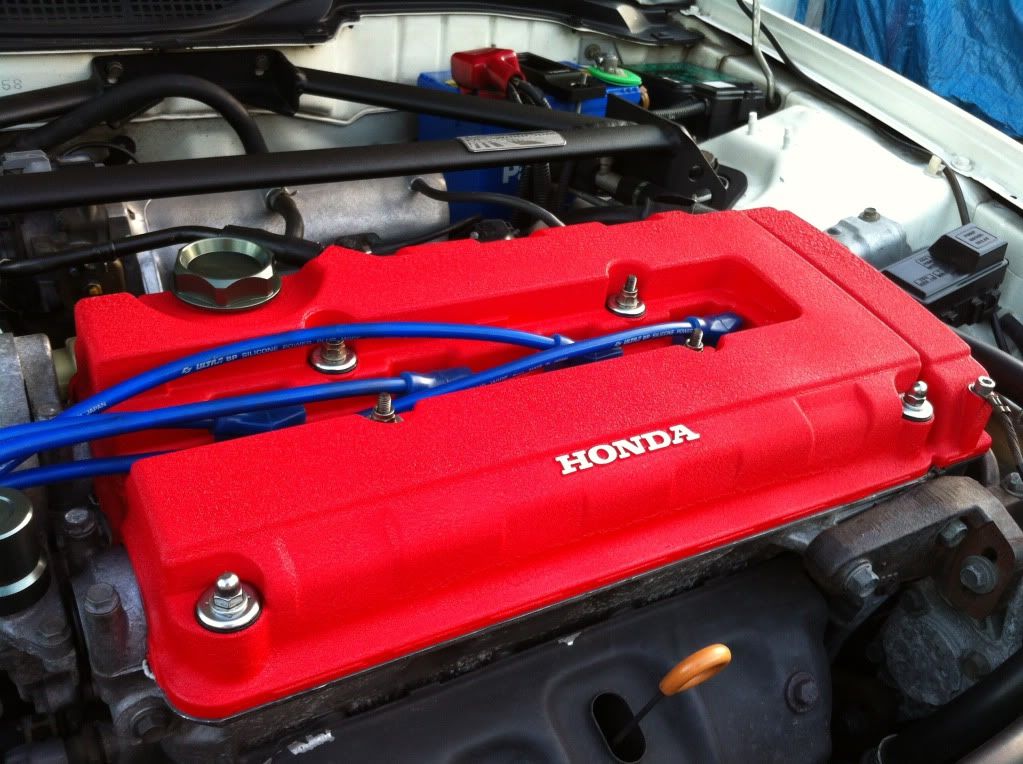
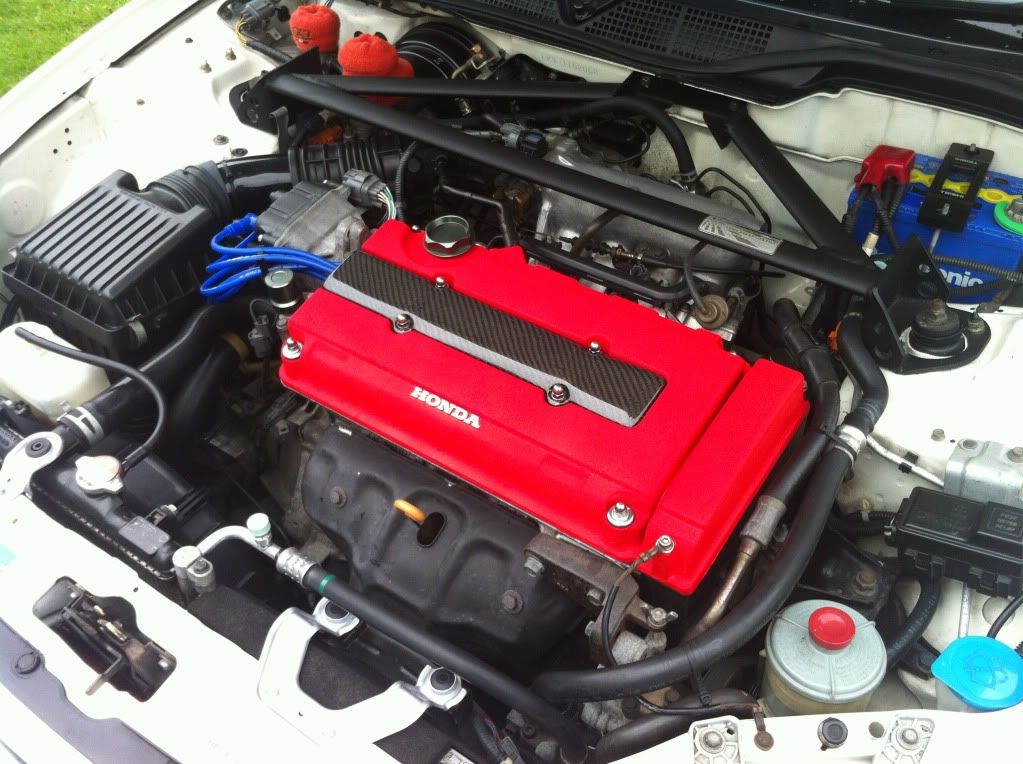
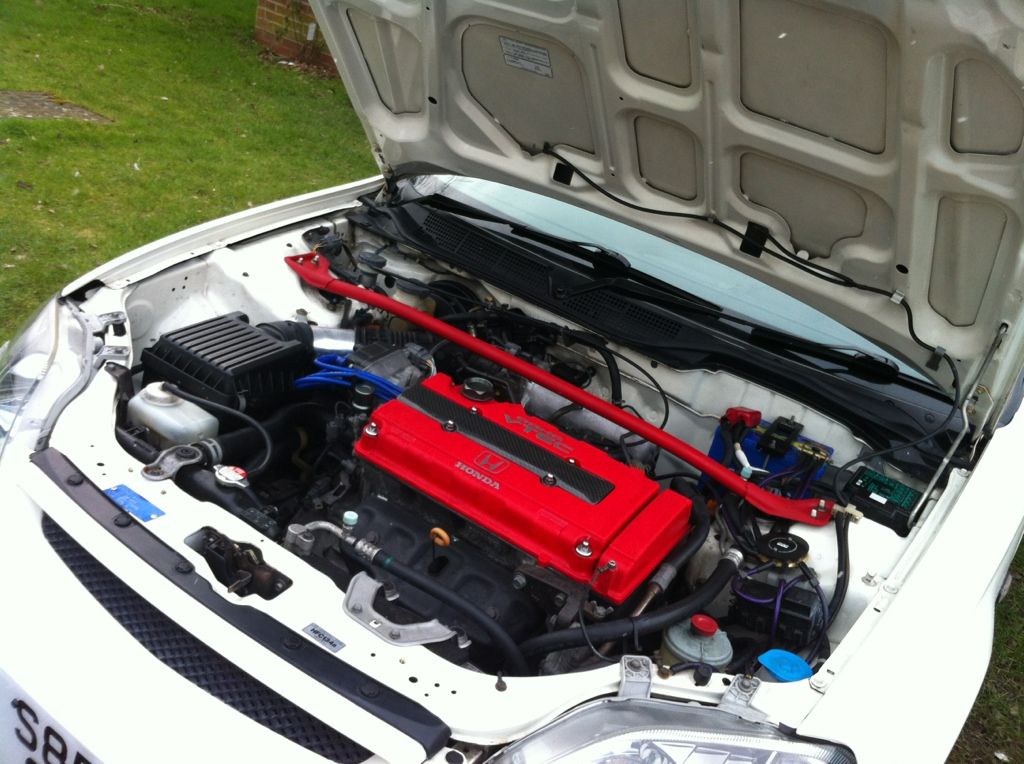
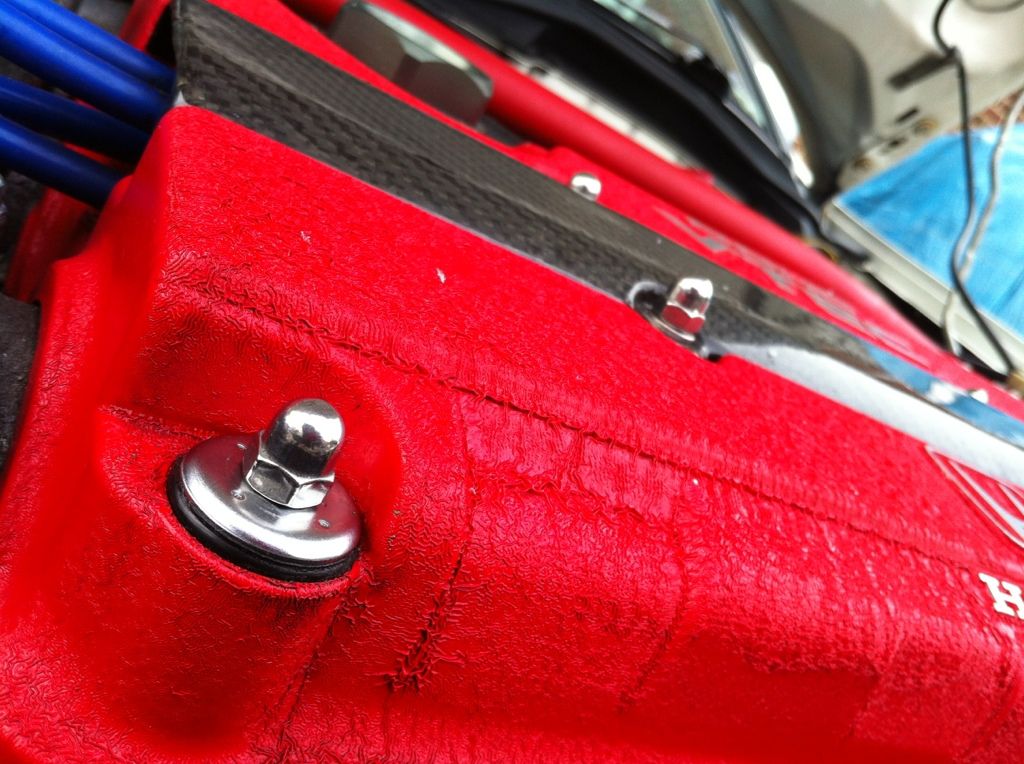
Finally ready for fitting.
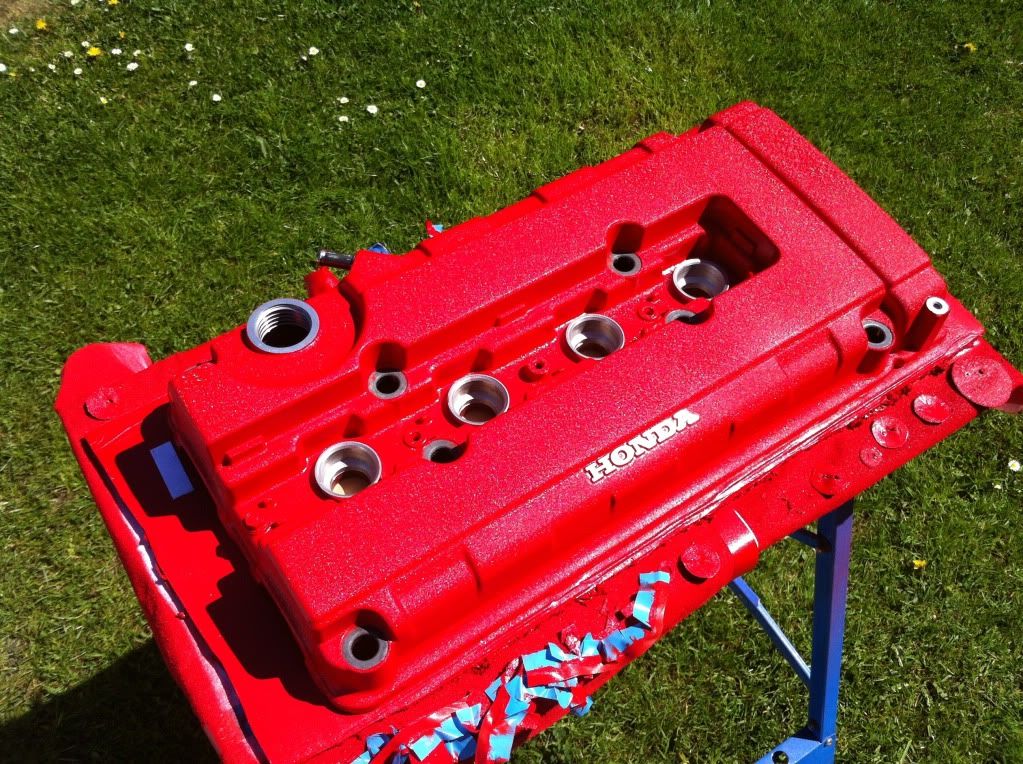
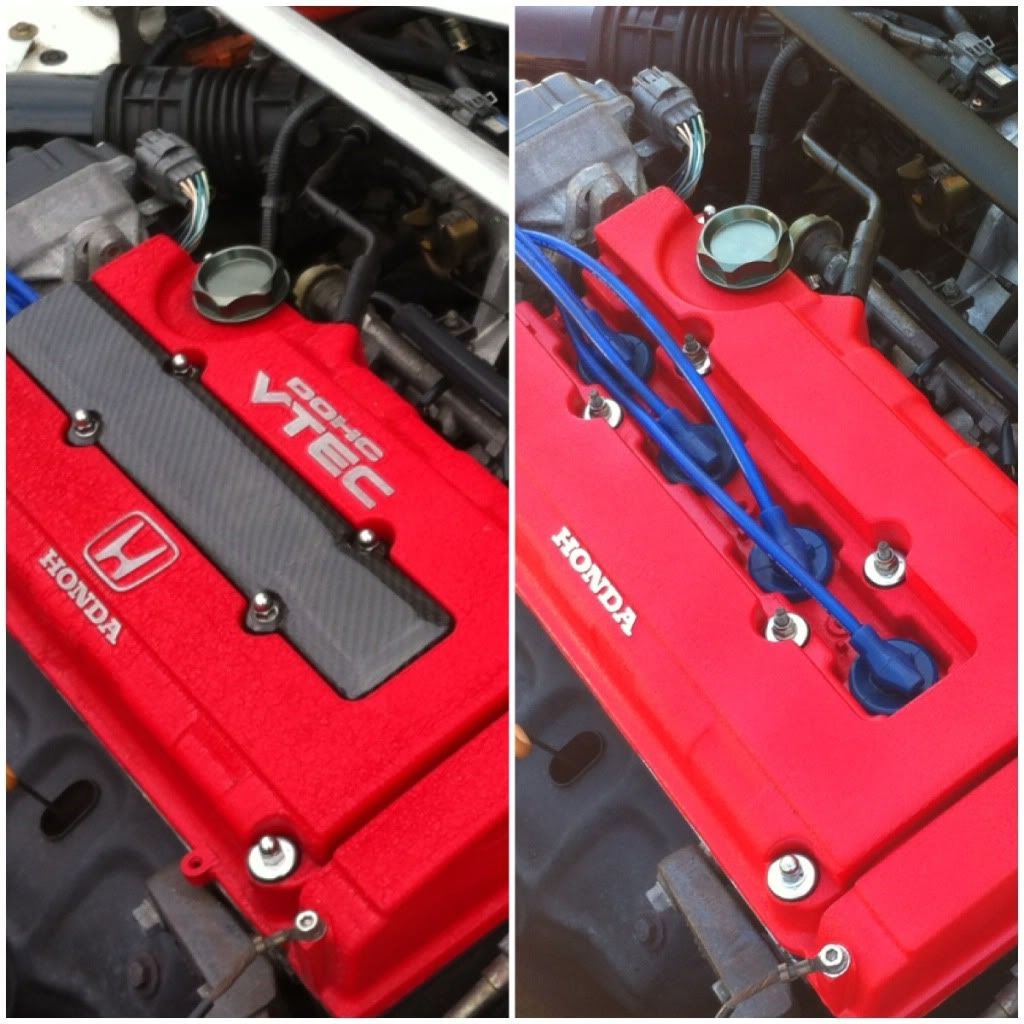
Comparison
Waited a day, for engine heat to fully cure the paint, before refitting the plug cover as it rubs in the corner.
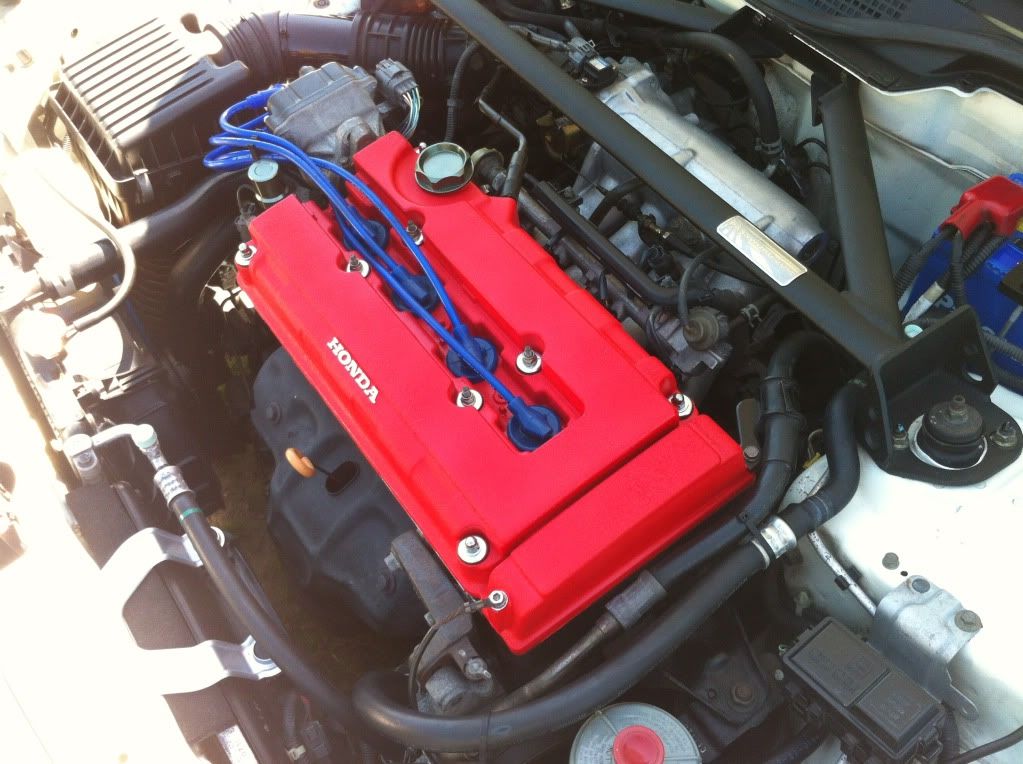
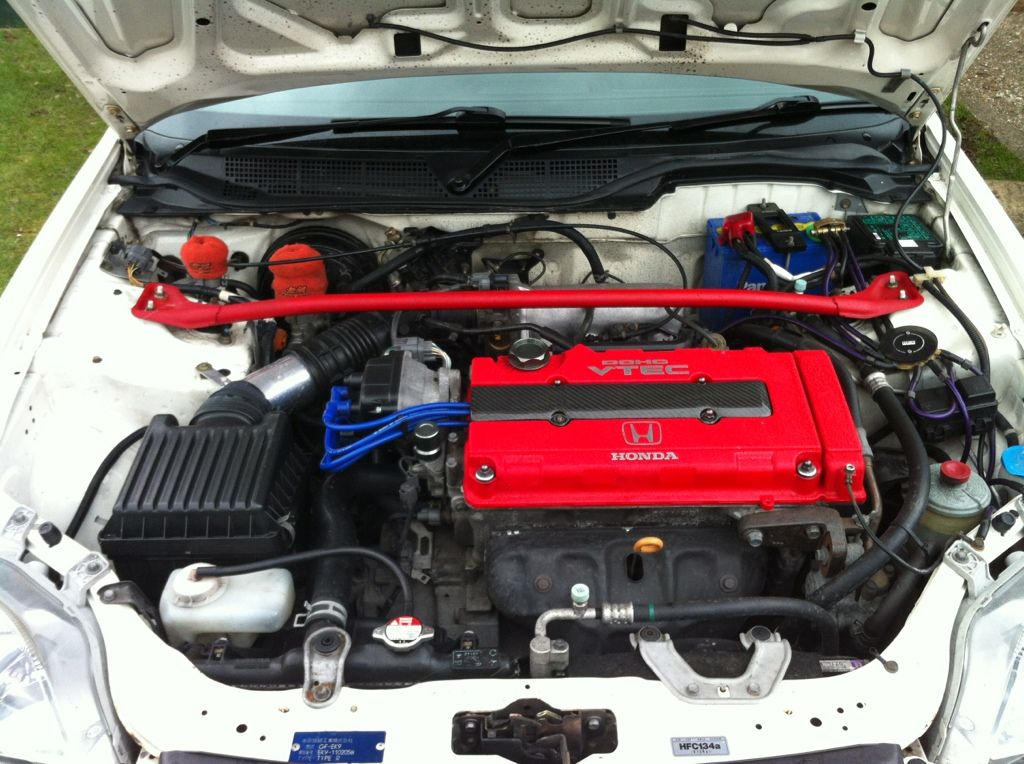
All done!
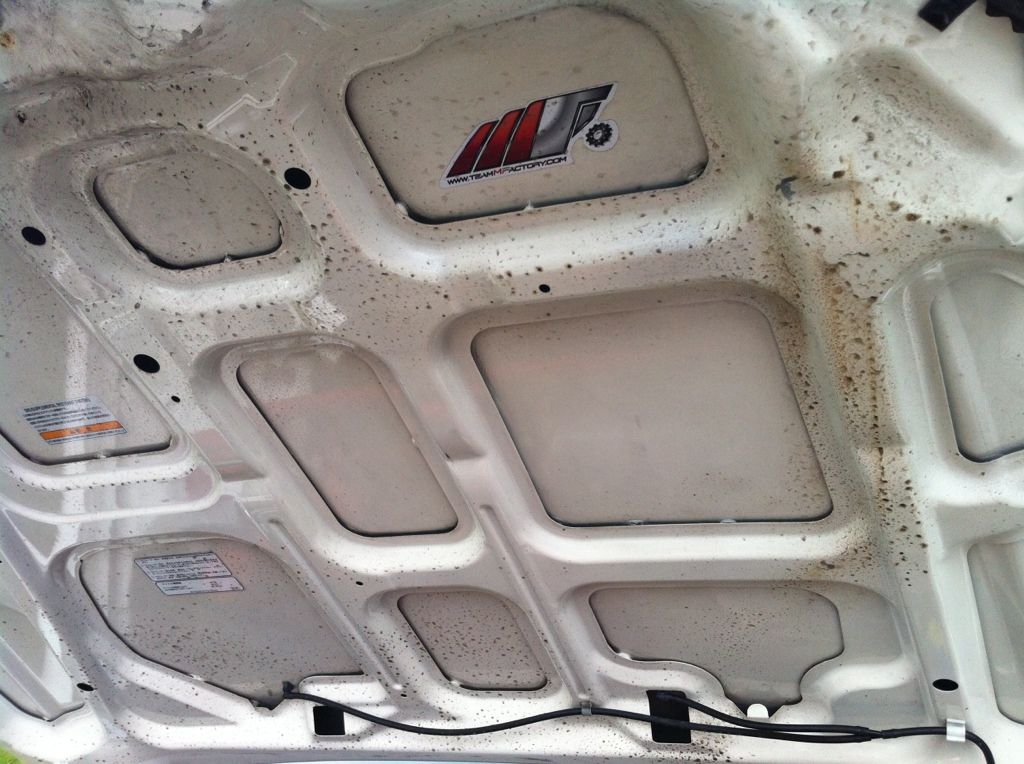
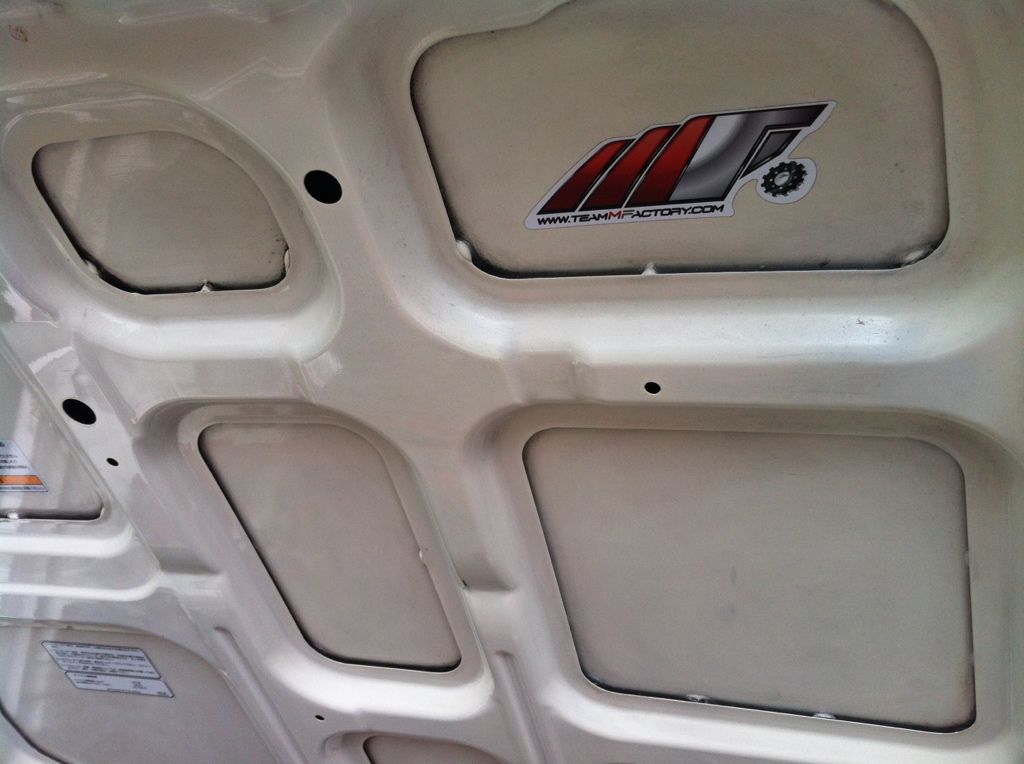
Did do lots of cleaning for Japfest also but didn't feel the need to bore you guys with all that!
More coming soon!
Thanks for reading as always!


).gif ":)) :))")


")